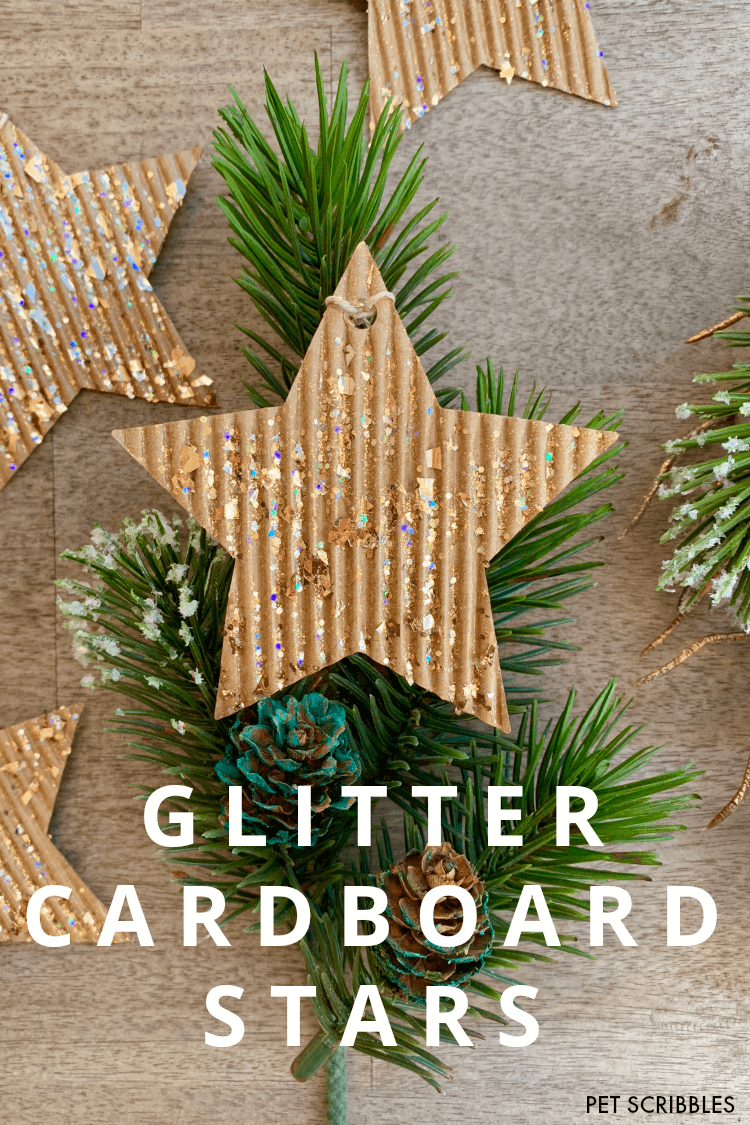
Glitter cardboard star ornaments are stunning when you use Glitterific paint, which looks like a mix of glitter and gold foil pieces. These Christmas star ornaments are so easy to make with just two supplies: cardboard stars and glitter paint!
So.
You find these packages of cardboard stars in craft stores, and you might even walk right past them without noticing.
Or, if you do notice them, you think they look boring — just cardboard stars — what’s so decorative about cardboard?
Once you make these glitter cardboard star ornaments, you’ll have your answer!
This is the easiest tutorial ever, because you are simply painting the glitter onto the stars, front and back.
That’s it!
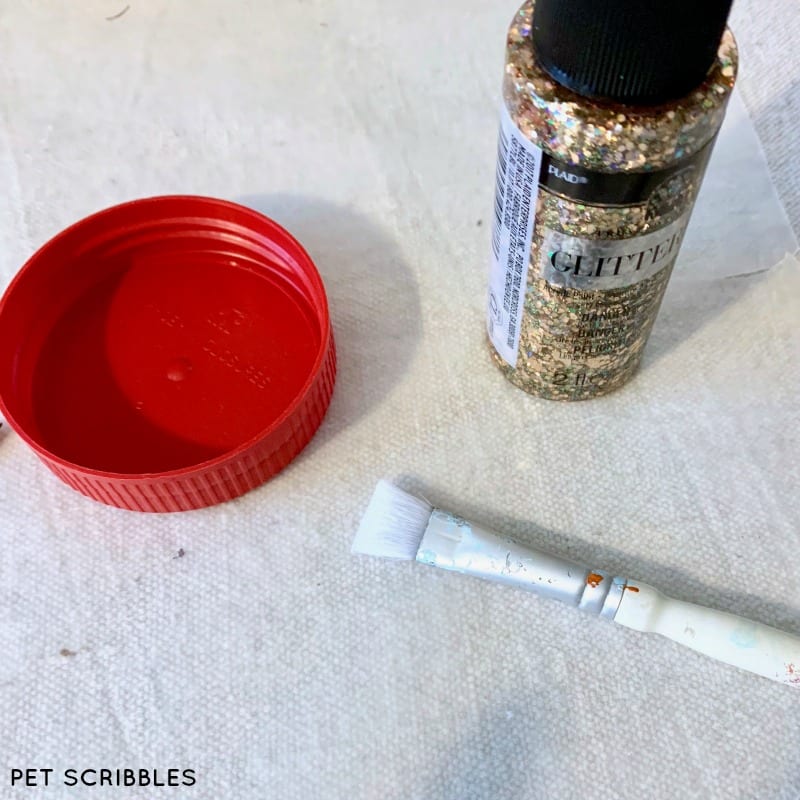
You need a fabulous glitter paint, which I’ll describe further below, a paintbrush, a plastic recycled lid to hold your glitter paint, and wax paper to help the stars dry easily.
That’s it!
Where to find cardboard star gift tags
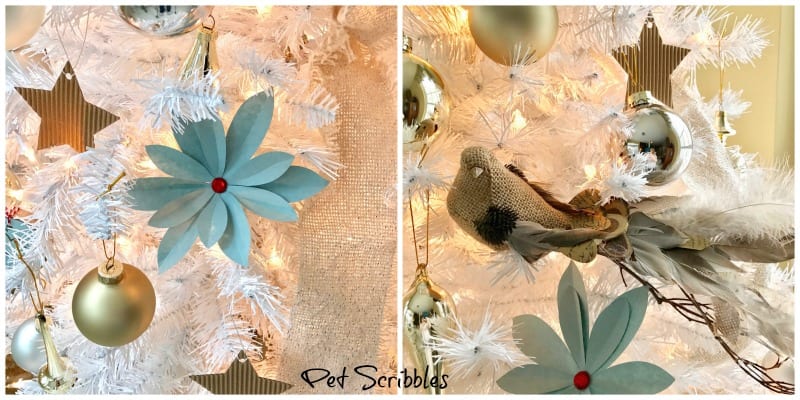
I purchased my cardboard star tags at Michaels, and used them on our white Christmas tree, which you can see here in my post about our Breakfast Room decorations.
These little tags are available in many places — from dollar stores to Michaels and even on Amazon.
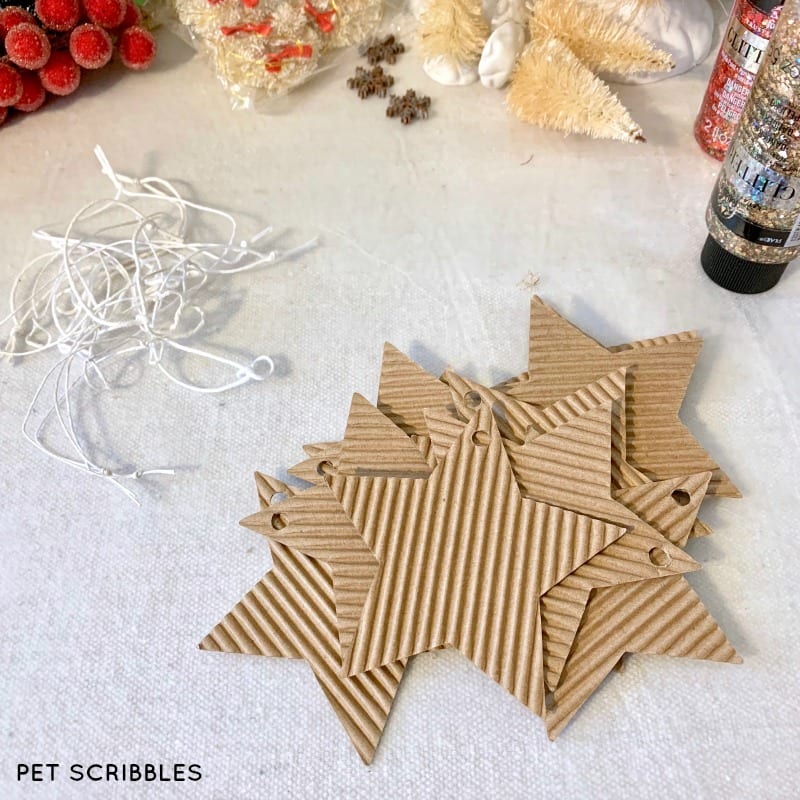
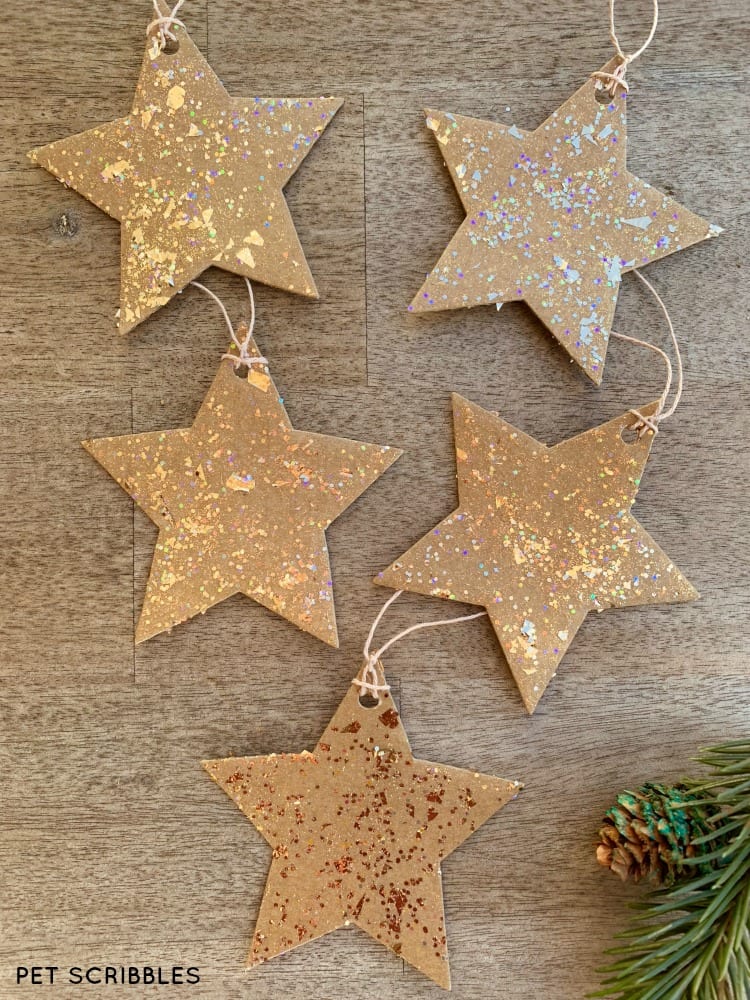
My stars are corrugated cardboard star tags, and they looked like this when I took them out of the package:
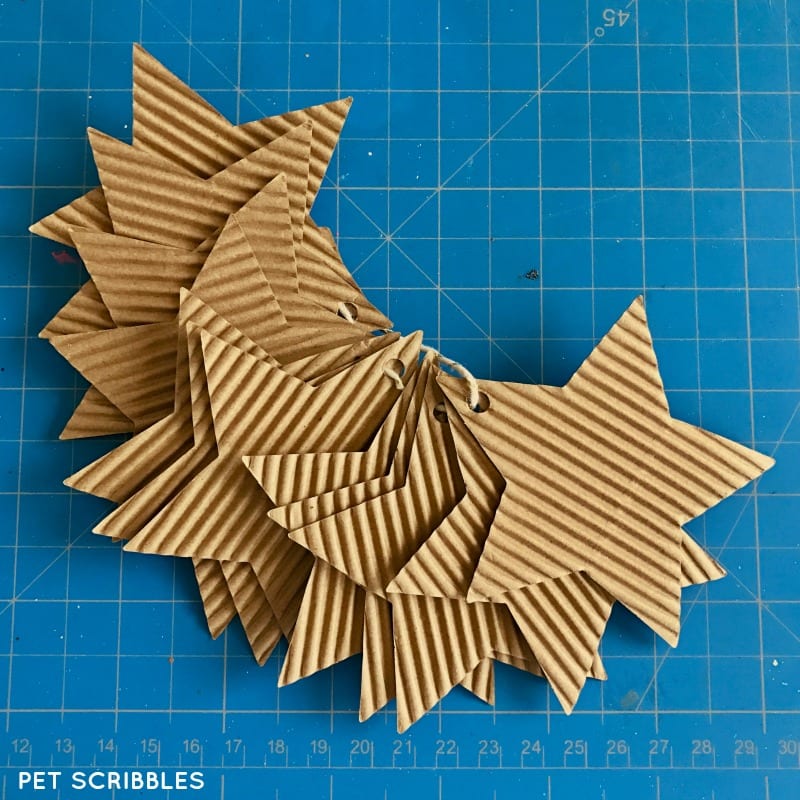
Some packages will include string to use for hanging, and some might not.
I found similar stars on Amazon which are a fabulous deal as they include the string.
Helpful tip: If you can only find smooth cardboard stars, this tutorial still works and the stars still look amazing. (You can see an image further below as an example.)
Why you need to try Glitterific
Glitterific is a total game changer for glitter paint. It’s from Plaid Craft’s FolkArt line, and they describe it best:
“FolkArt Glitterific features multiple size glitter particles suspended in a crystal clear base to create the most dazzling glitter paint available today!”
This is not being sponsored by Plaid. This is just me loving this glitter paint!
This glitter paint is much thicker than the glitter paints you might be used to, but it is very easy to manipulate with your paintbrush.
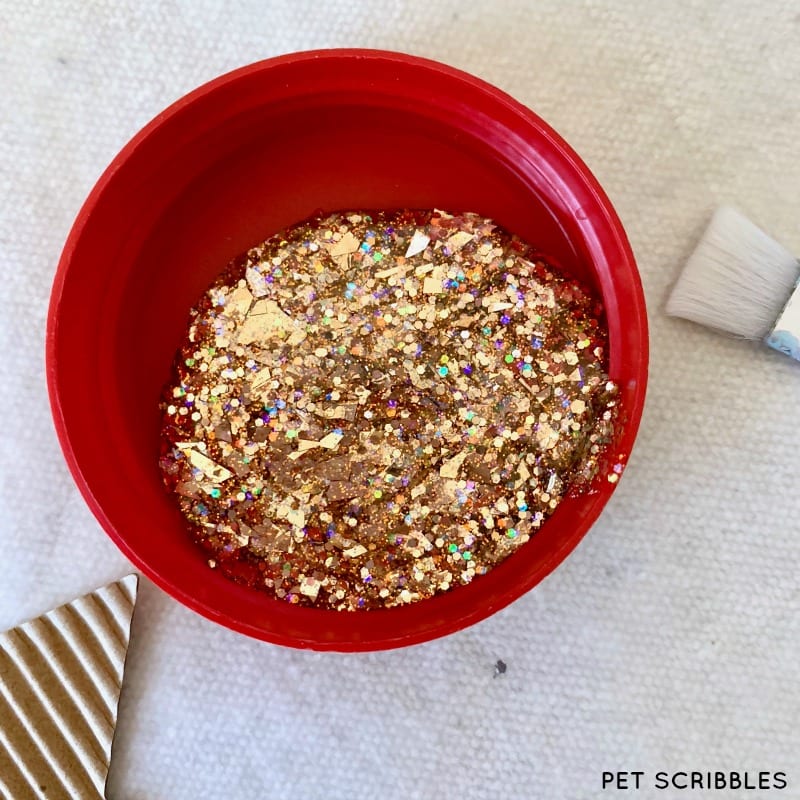
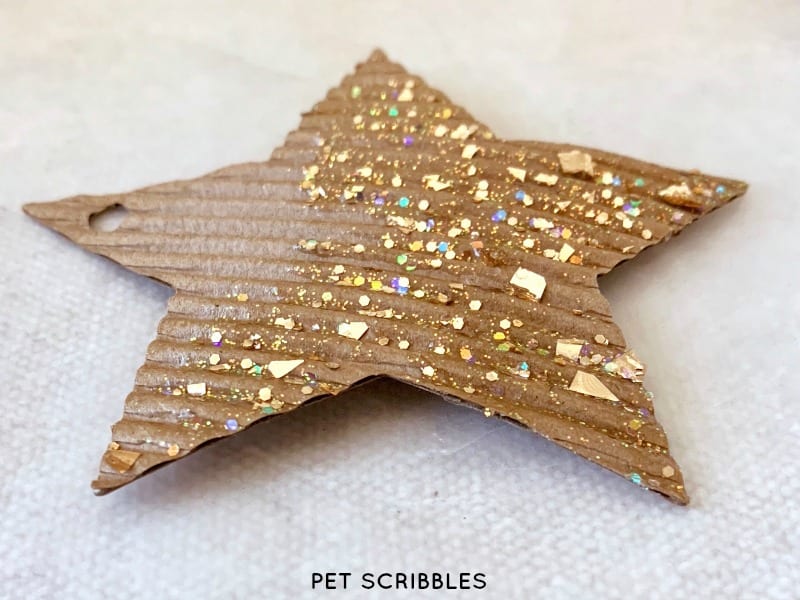
Look closely at the image above, and you’ll notice the different sizes of the glitter. There are large pieces that I swear look just like gold foil.
When I first played with Glitterific, I made some fun magnets you can see here, and it was instant love at first use, so to speak. (For those magnets, I did a basecoat of rose gold paint too, for a completely different outcome.)
Why is Glitterific so unique?
Glitterific is multi-dimensional, and the final appearance once dry is almost like there’s some vintage glass glitter plus gold foil pieces mixed into the beautiful sparkling glitter.
And Glitterific doesn’t look like glitter paint when you see it on ornaments, craft projects, or decorative accents. It looks like you could easily rub it off, but nope — that’s just the gorgeous 3D look and feel it has.
I’ve never seen a glitter paint mixture more beautiful — and as a craft blogger I get to see and use a lot of glitter paint!
To answer further questions you might have, please click over to Plaid Crafts’ FAQ page all about Glitterific.
Ok.
Let’s begin!
Supplies for Glitter Cardboard Star Ornaments:
- Cardboard or paper star tags
- FolkArt Glitterific in Rose Gold (glitter paint)
- Small paintbrush
(I love this Soft Grip brush set) - Recycled plastic lid (to hold the glitter paint)
- Wax paper (while stars dry they won’t stick to the wax paper)
Optional:
- String to hang, if not included with stars
- Mug of tea to tea stain the string
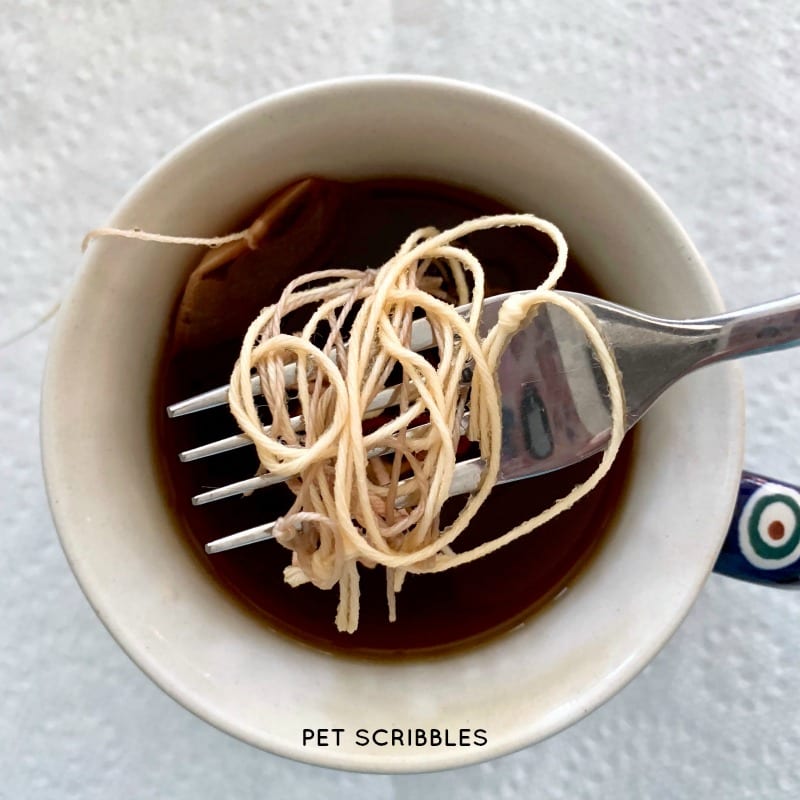
If you want your string to more closely match the color of the stars, you can easily dye the string in a mug of tea.
The strings in the image below sat in hot black tea for 10 minutes for a nice vintage coloring. (Let them dry on a paper towel before attaching to the glittered cardboard star ornaments.)
Glitter Cardboard Star Ornaments Tutorial:
First, remove the string — if necessary — from the star tags. Set the string aside for later.
Next, paint your stars.
Scoop some Glitterific onto your paintbrush then apply to each star using a mix of tapping, spreading, painting and dabbing.
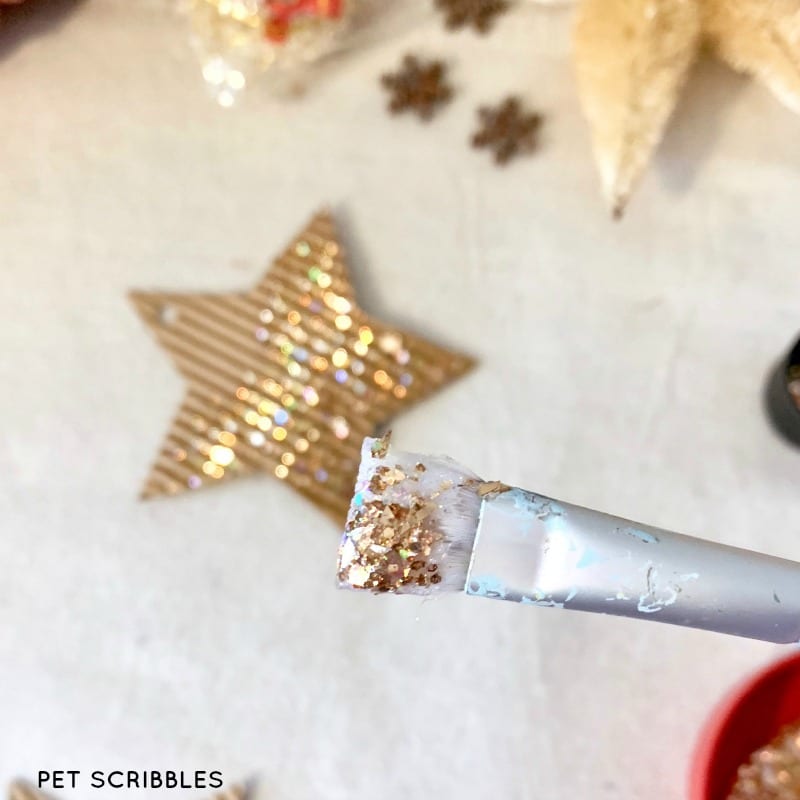
I left a small section blank to hold while I painted the star. Once dry, I then painted the last little section of each one.
As a result of the Glitterific — while wet — you’ll notice that each star rises up a bit in the middle. Once dry, they should go back down to flat stars…or almost flat stars.
Lastly, paint the back of the stars the same way you painted the front and let dry on wax paper.
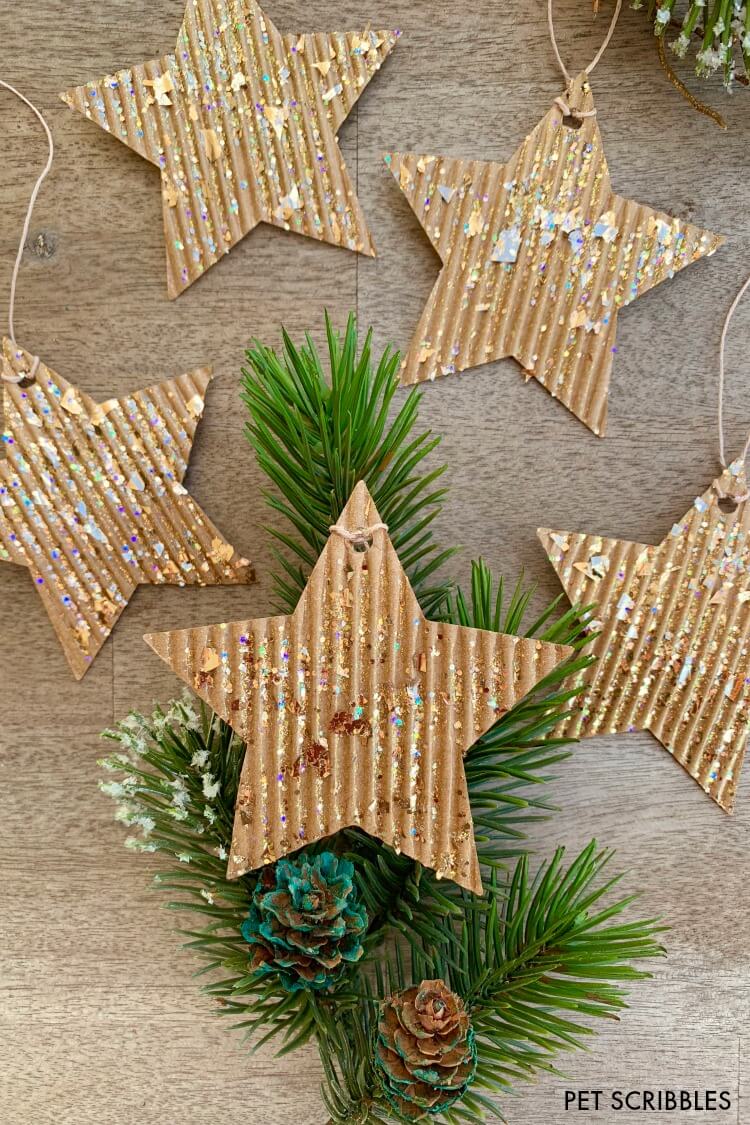
Reattach the string to each star.
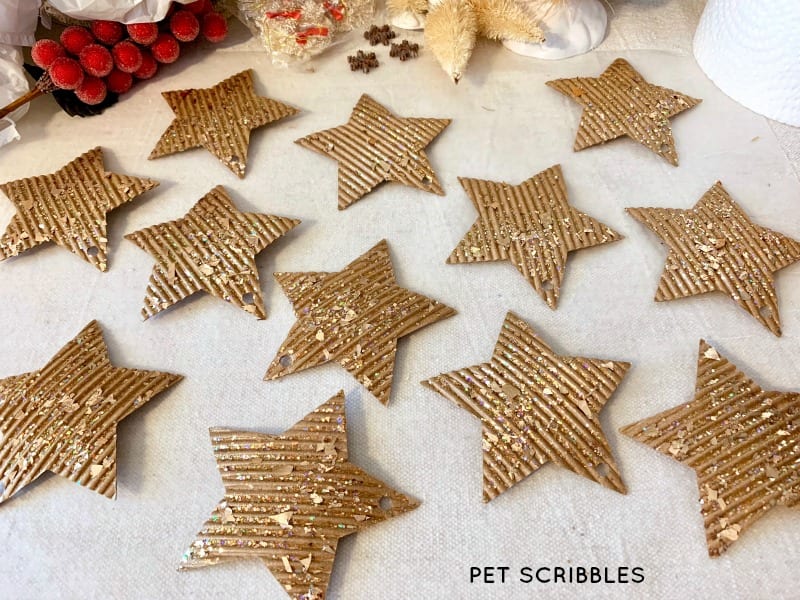
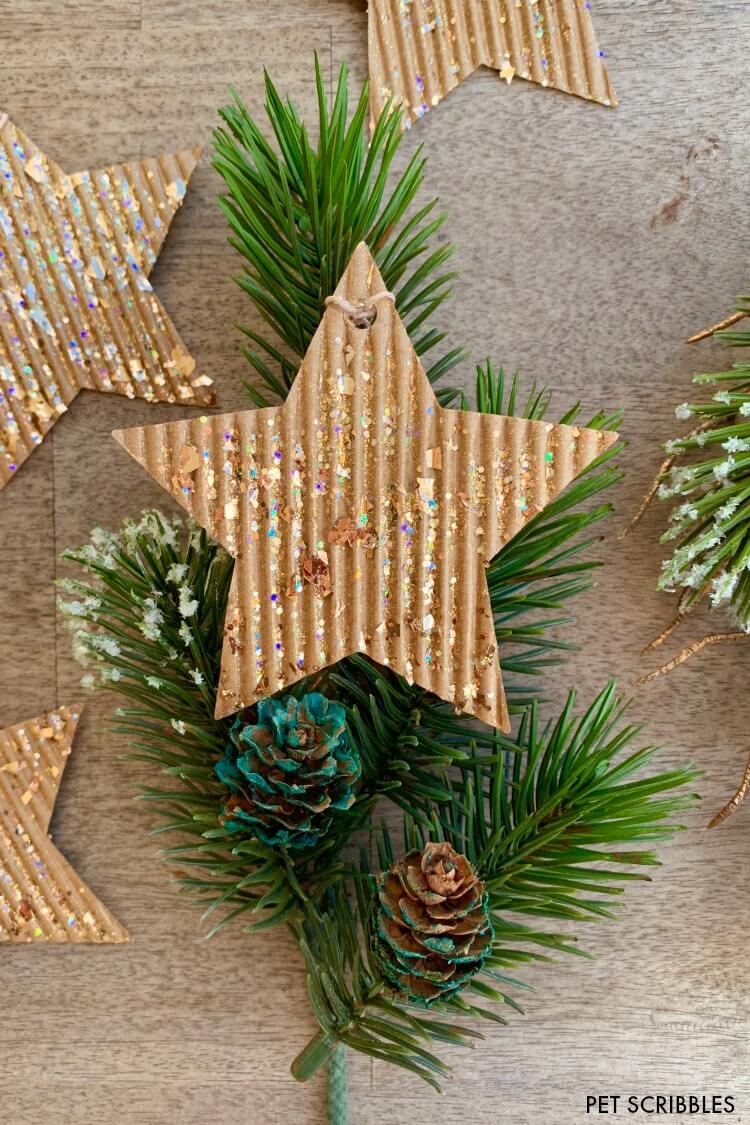
Sparkling Glitter Cardboard Star Ornaments!
The final result is so beautiful!
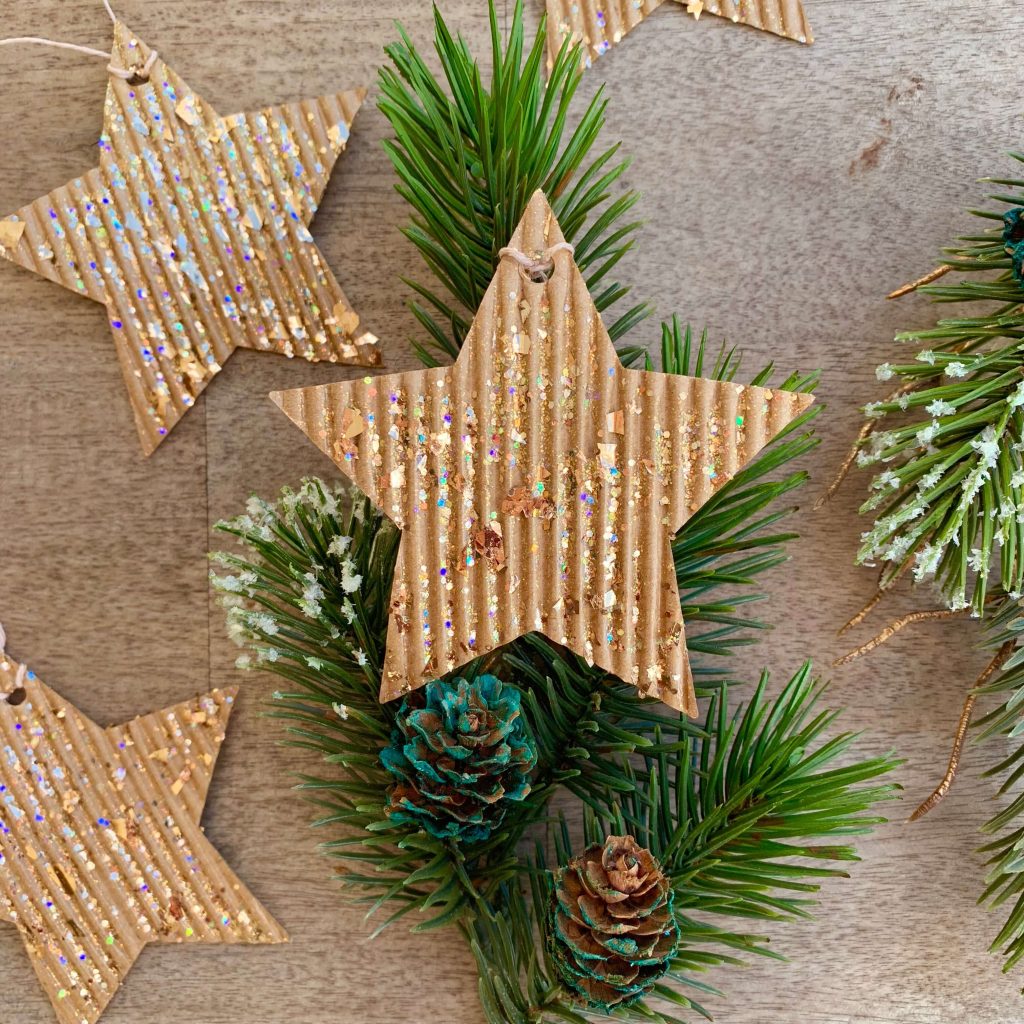
The glitter pieces all over the corrugated cardboard stars sparkles and catches the light so well.
Glitterific is just as stunning on smooth cardboard stars:
Further Ideas:
- Use the cardboard glitter star ornaments as gift tags instead — just leave the back of each one unpainted so you can write the gift recipient’s name.
- Hang these from a length of twine or ribbon for a pretty glittery star garland.
I hope you’ll try this easy ornament project!
Pin this for later!
More Sparkling Ornament Tutorials!
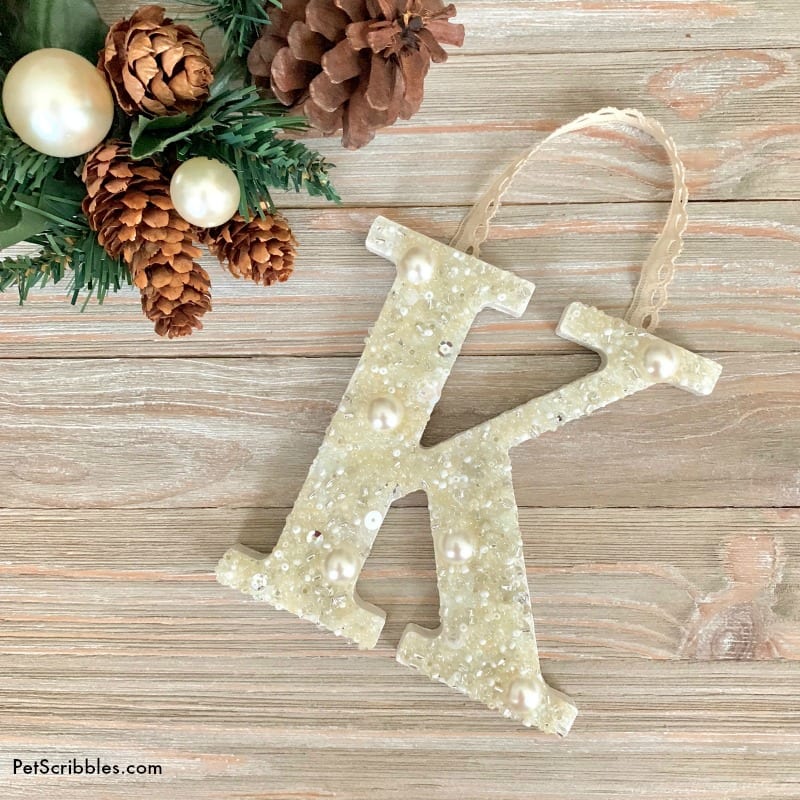
Beaded Letter Ornament
Stunning Teal Pinecone Ornament
You can see more of my ornament ideas on my Winter Crafts page!
Happy holiday crafting!
Leave a Reply