Learn how to make a beaded letter monogram ornament with this tutorial. Beaded letter ornaments are perfect for Christmas and weddings! Just start with any size wood letter. Easy step-by step tutorial with photos.
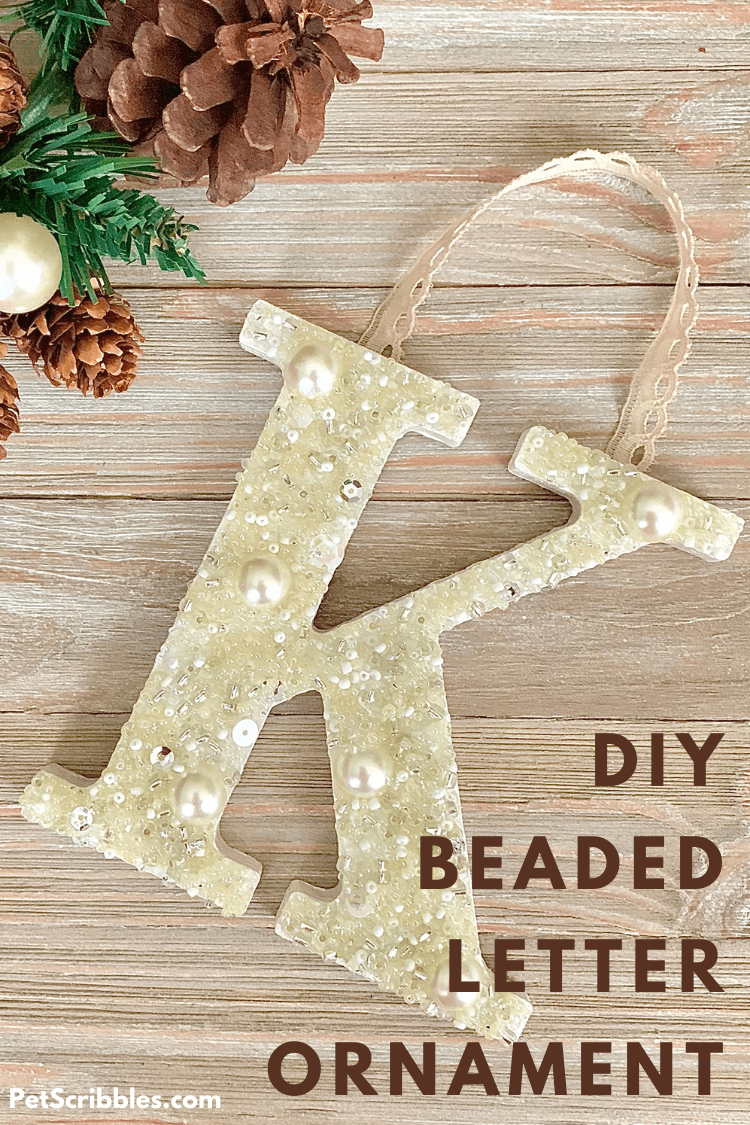
This DIY beaded letter monogram ornament is so pretty not only for Christmas decor, but also for weddings as well!
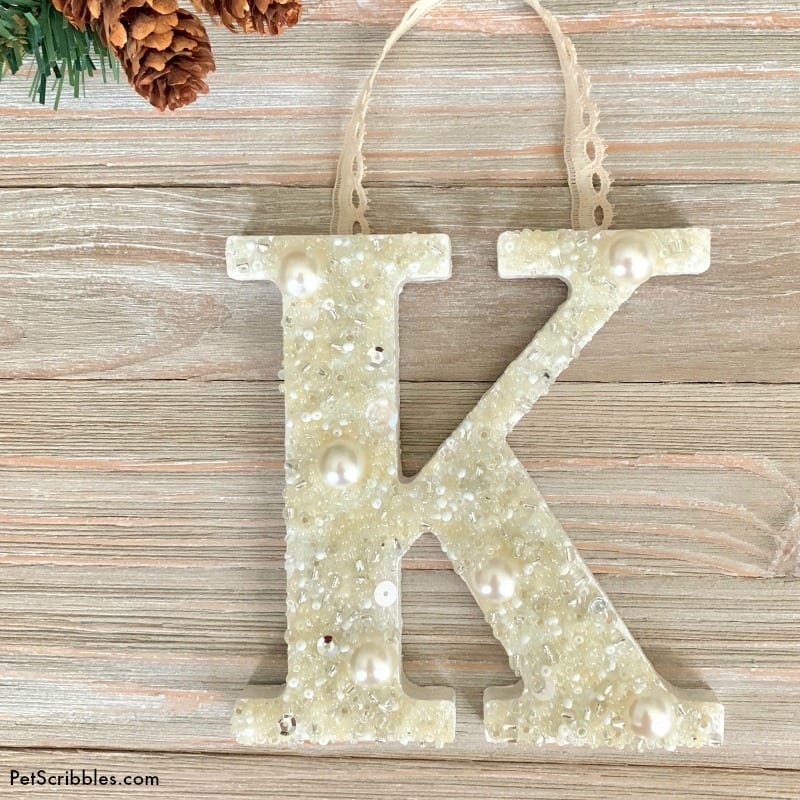
At 5 inches tall, this is an oversized ornament, but also looks wonderful hung on a wall.
It’s sparkly but at the same time has a bit of rustic glam too. Therefore, the best of both worlds!
Whether you make one for yourself, or to give as a gift, it will become a cherished keepsake!
I hope you like it!
Beaded Letter Monogram Ornament
Supplies:
- Wood letter of your choice, 5 inches
- FolkArt Multi-Surface Paint in Wicker White and White Pearl (Plaid Crafts)
- Small paintbrush (I use this brush set by Martha Stewart Crafts)
- Diamond Glaze Dimensional Adhesive (Judi-Kins)
- E6000 Craft Adhesive
- Glass seed bead assortment
- Imitation pearl flat-back beads
- White and silver sequins (just a few of each)
- Bowl for bead mixture
- Plastic bead tray
- Plastic recycled lid to hold paints
- Large craft stick
- Vintage lace trim for hanging
Tutorial:
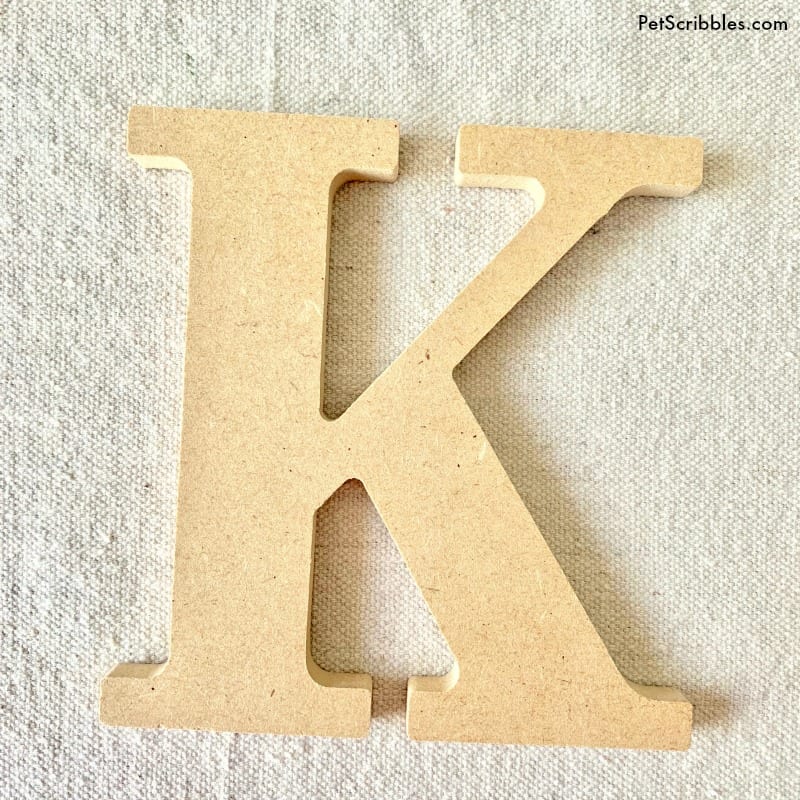
Step One: Start with an unfinished wood letter.
You can find these at craft stores and online. (Click the link in the supplies list to see what is available easily from Amazon, for example.)
I found mine at Walmart in their craft aisle. It measures 5″ by 5″ — a good size for a beaded letter ornament.
Sand any rough edges, then wipe with a slightly damp cloth to remove any dust. Let dry.
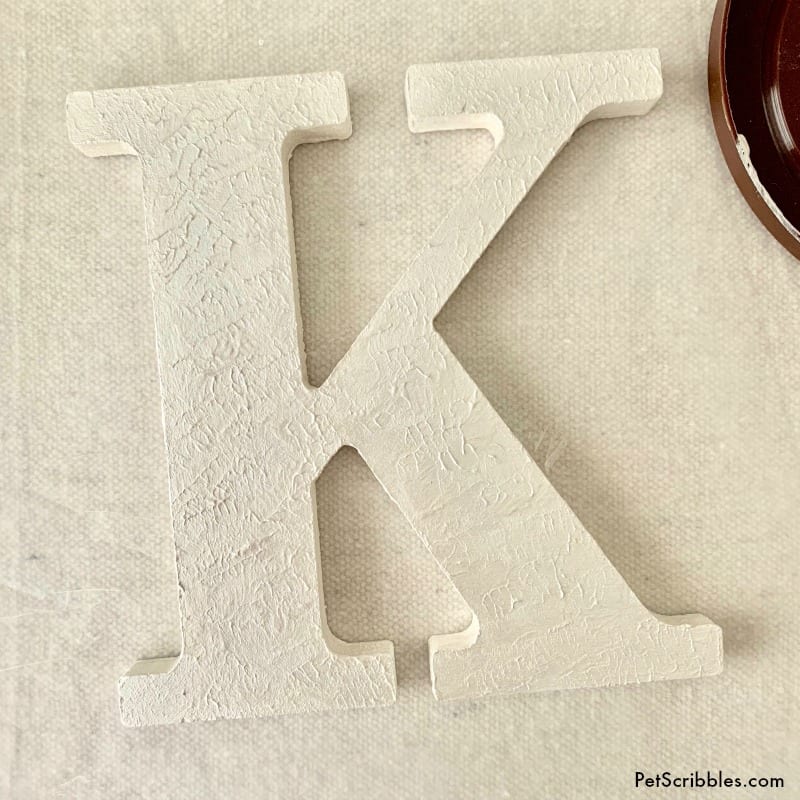
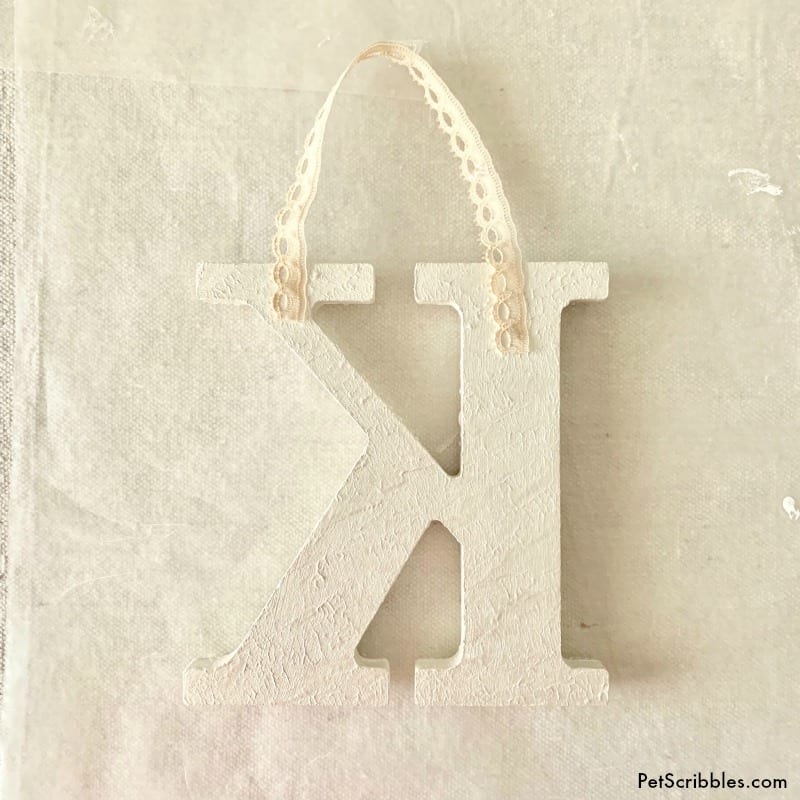
Step Two: Paint the letter to provide a color base that will match your chosen beads.
Because my beaded letter monogram ornament will be in shades of ivory, cream and white, I painted my letter in one coat of Wicker White craft paint.
Once dry, I added another coat of a similar craft paint color that has a metallic pearl sheen to it (called White Pearl) in a dabbing motion with my paintbrush.

Here’s a closer look at the texture I created just by dabbing the paint onto the letter with the flat end of my small brush:
I created this easy texture for three reasons:
First, the painted texture provides a better surface for the glue adhesive to grab on the front.
Second, it provides a finished look to the back of the ornament.
Third, the paint provides a nice reflective sheen to the sides of the ornament.
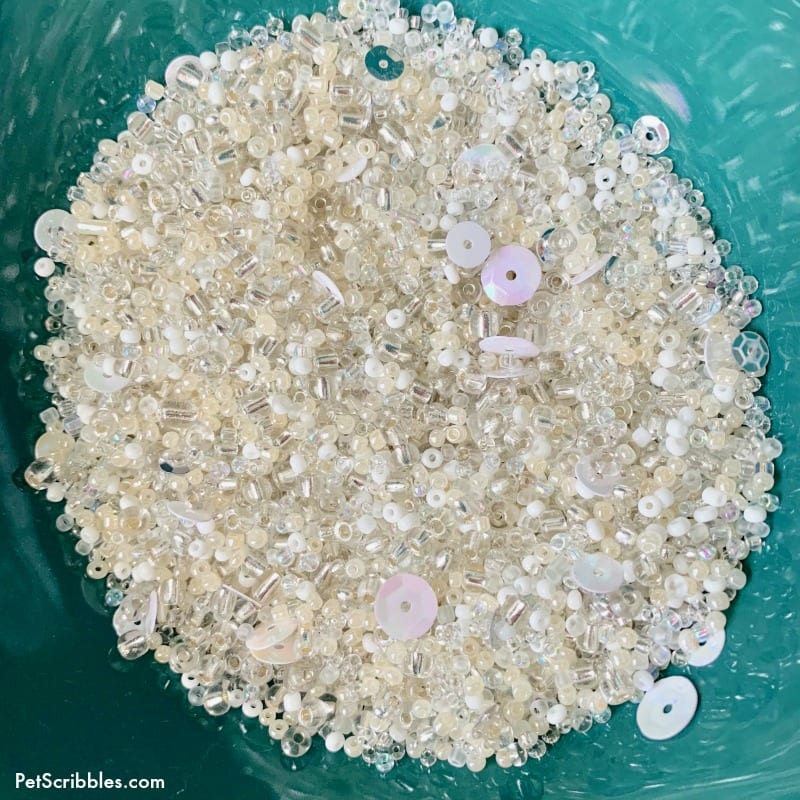
Step Three: Create your bead mixture, making sure you have enough to completely cover the surface of your letter.
I found this glass seed bead mixture at Walmart, and was instantly drawn to the white, champagne silver, ivory and crystal-colored seed beads.
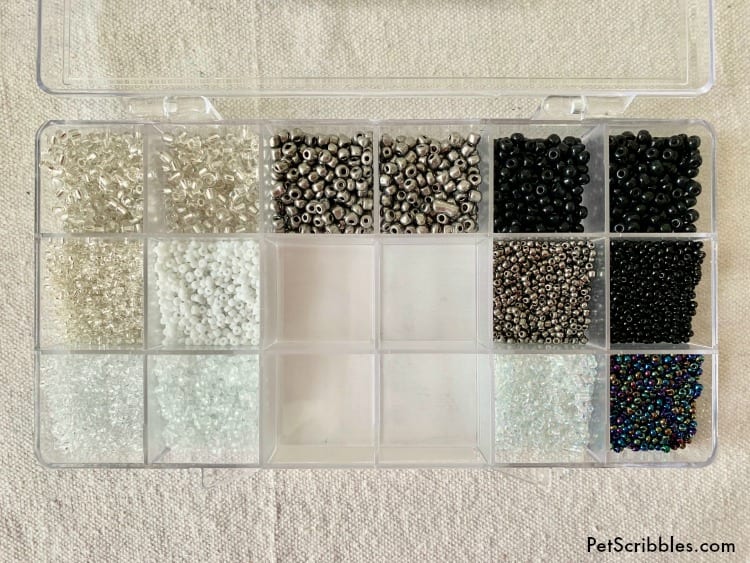
(I was, however, disappointed that when I opened this up at home, the center four compartments were empty, conveniently covered by the manufacturing label. Just a little pet peeve of mine.)
I mixed all of the seed beads together in a dark-colored bowl to better see the mixture. I ended up adding a few sequins into the mix for added sparkle.
Time to add the beads!
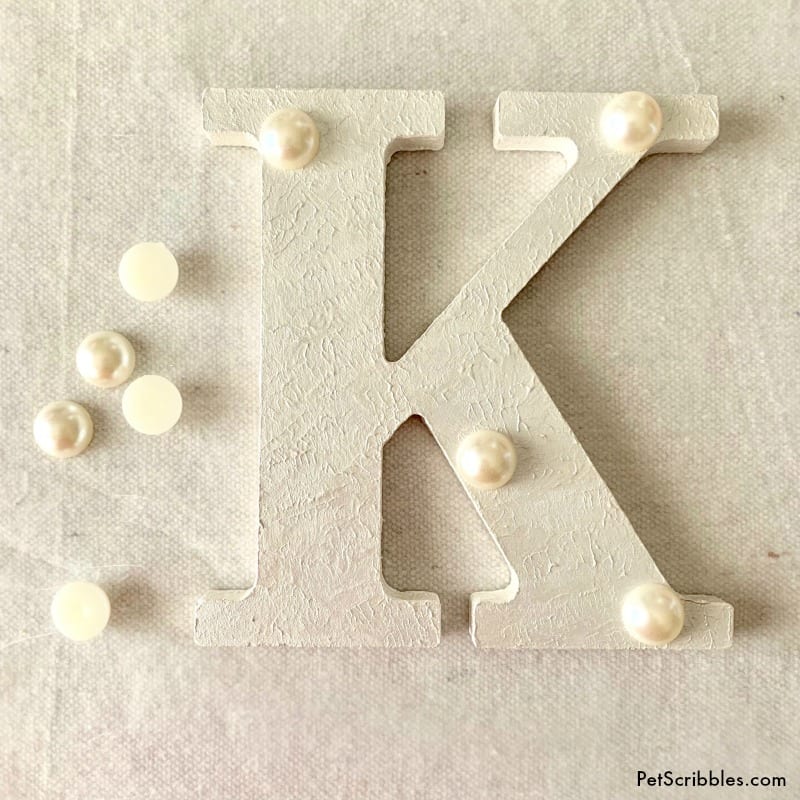
Step Four: Choose some larger beads to serve as your anchor beads, for the smaller seed beads and sequins to surround.
I chose some flat-back imitation pearl beads that already had in my stash.
Helpful tip: In the supplies list above, I have several clickable links — including a handy package of flat-backed pearls in various sizes.
After playing with the placement of these pearl beads, I began attaching each one using Diamond Glaze adhesive, which is quite often used in jewelry making and beading projects. I love how strong it is, and that it dries to a clear finish.
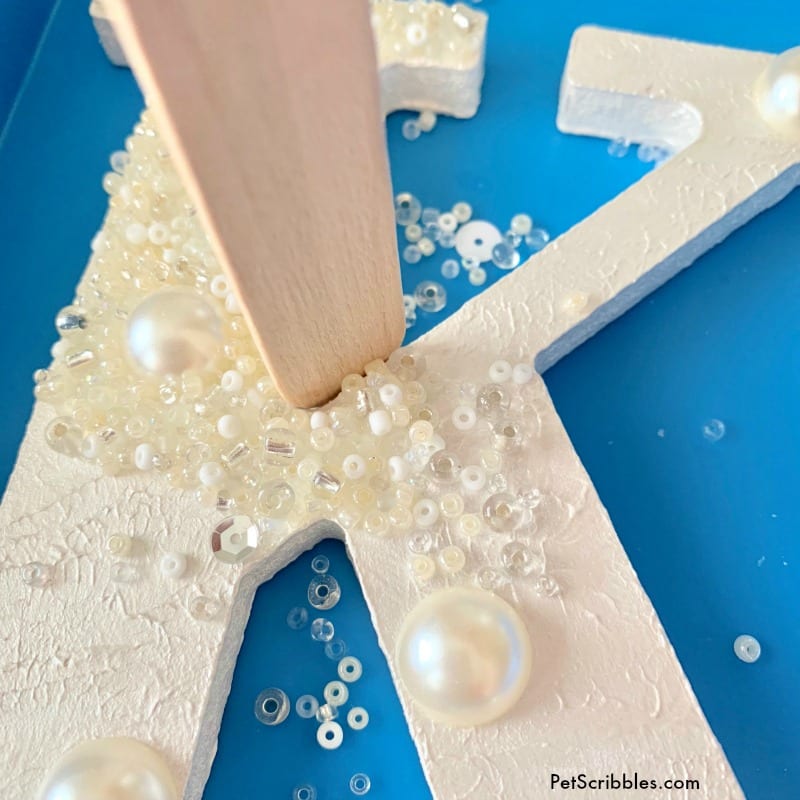
Step Five: Glue the seed bead mixture to the letter.
This step goes quickly, once you get into a groove.
I use a plastic bead tray, which makes this step super easy, as the beads fall right into the tray, making for easy cleanup — and no worries that beads will fall on the floor and be accidentally eaten by my cats!
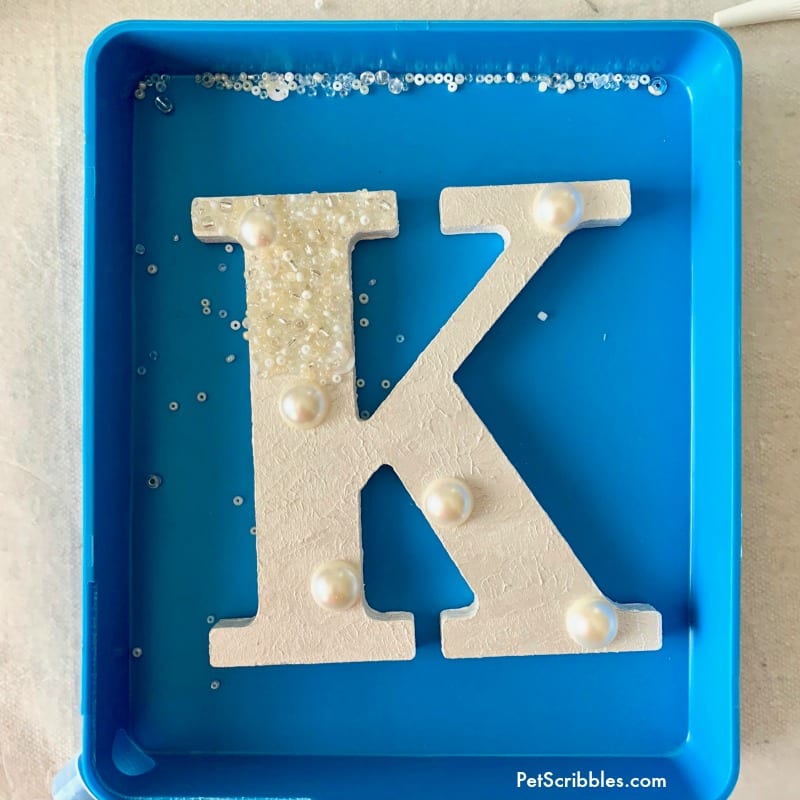
First, I applied a bit of Diamond Glaze adhesive, starting at the top of the letter.
Then I hand-sprinkled the beads on top of the glaze, working in small sections at a time.
To help the beads adhere, use the flat end of a craft stick (see below) to gently press the beads down.
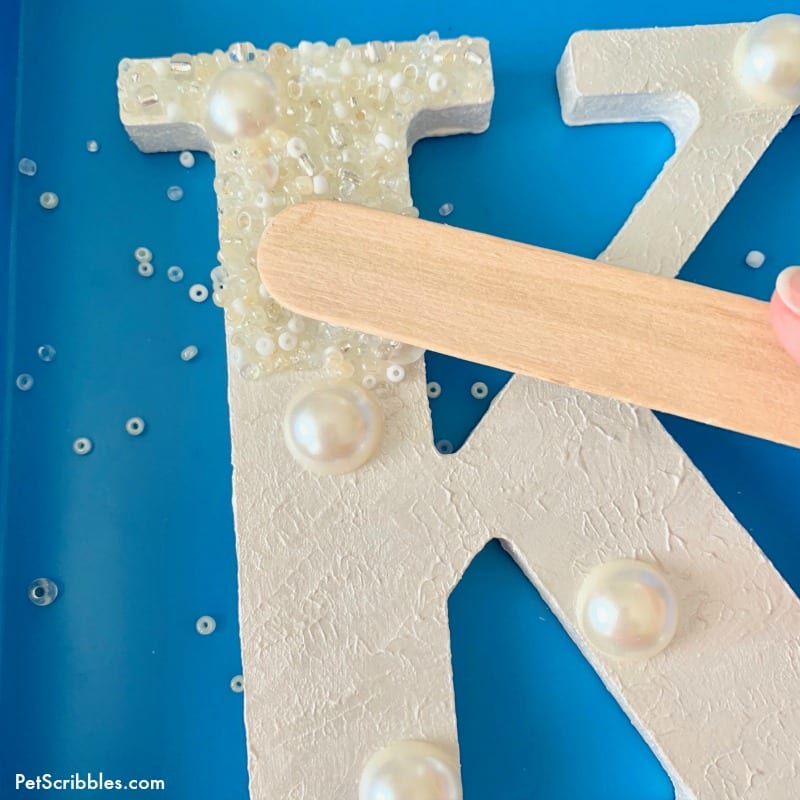
These craft sticks are also handy for keeping the beads contained onto the top of the letter, and not sneaking over the sides.
Use the craft stick (see below) to gently push any beads back onto the top of the letter.
This insures clean edges and a professional look, as well as a guaranteed smile on your face with how helpful this is!
Let everything dry well. I let mine sit overnight.
Once dry, pick up your letter and slowly begin turning it upside down, so that any loose beads can fall off into the bead tray.
Helpful tip: If there are any gaps in the dried beads, add a drop of adhesive and an extra bead or two to fill in.
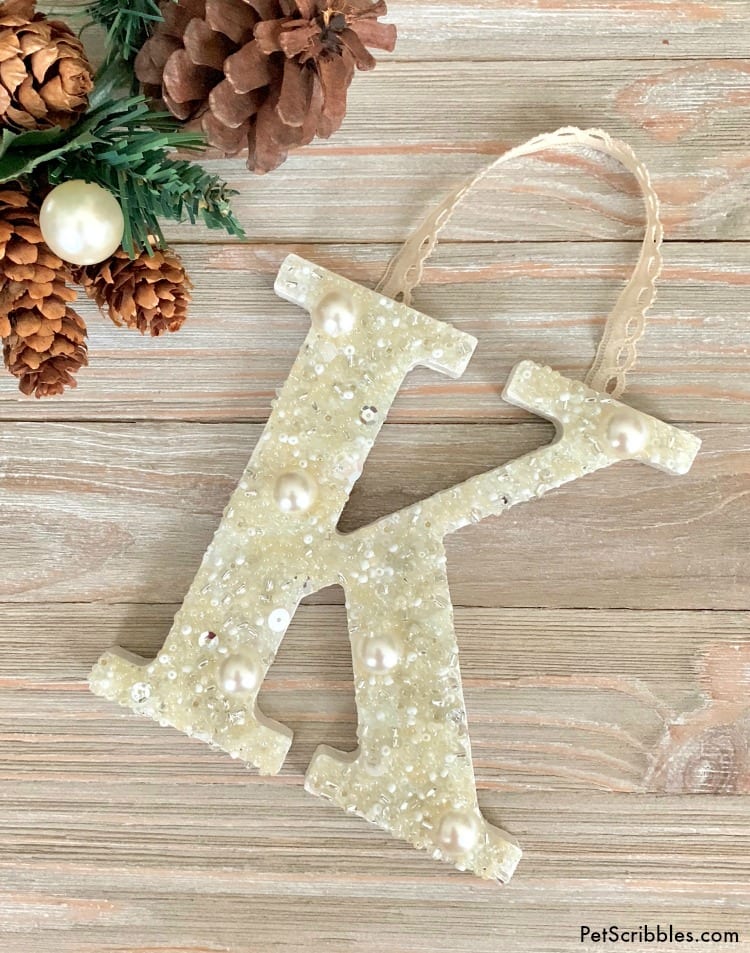
Isn’t this beaded letter ornament gorgeous? I think so!
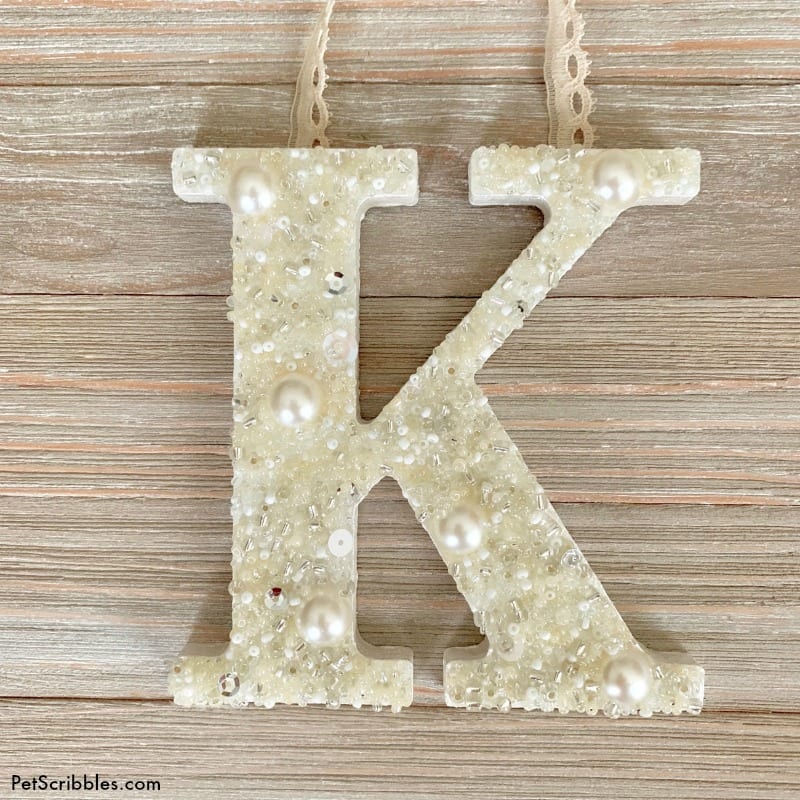
Add a hanger!
Step Six: Attach a lace hanger to the ornament.
To easily attach a lace hanger to your ornament, apply two drops of E6000 craft adhesive — which is super strong — to the back of the letter, wherever you want each end of the lace to start.
Add the lace, gently press it into place with a craft stick, and let dry for several hours. (I used a scrap of vintage lace from my own stash.)
And that’s it!
Pretty Beaded Letter Monogram Ornament for Christmas, Winter or Weddings!
This beaded letter monogram ornament is perfect for our Christmas tree, but this would also make a wonderful handmade gift too.
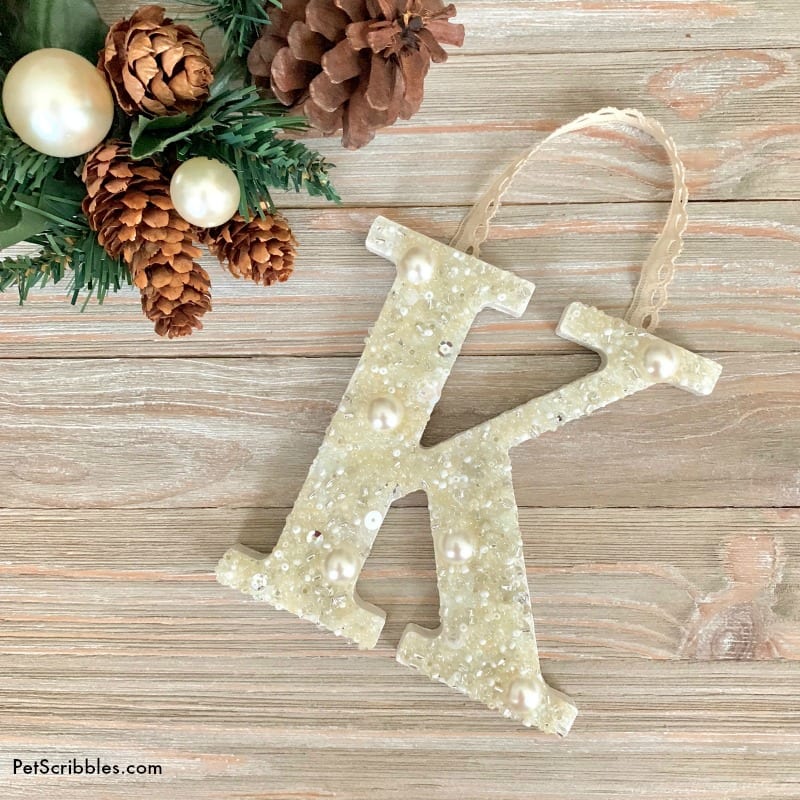
Hang it on your wall, by your mantel, on a door… there’s so many decorating possibilities!
I can also imagine using this beaded letter ornament as a wedding decoration.
Just one letter for the couple’s last name, or use the beginning letter’s of each person’s name along with an “&” symbol in between!
More DIY Christmas Ornament Ideas
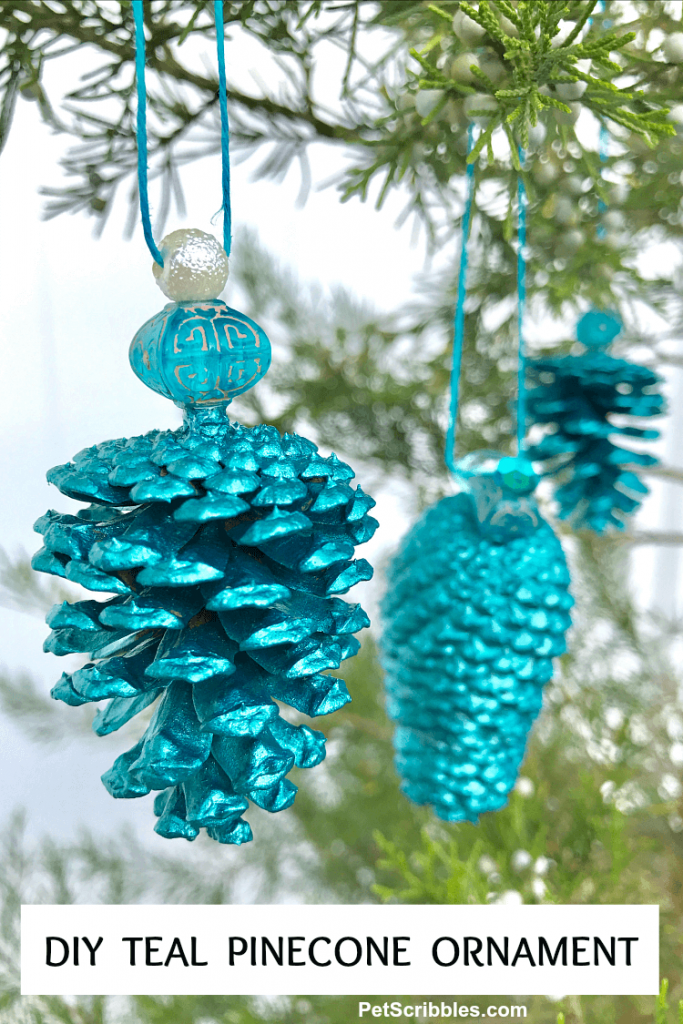
DIY Teal Pinecone Ornament
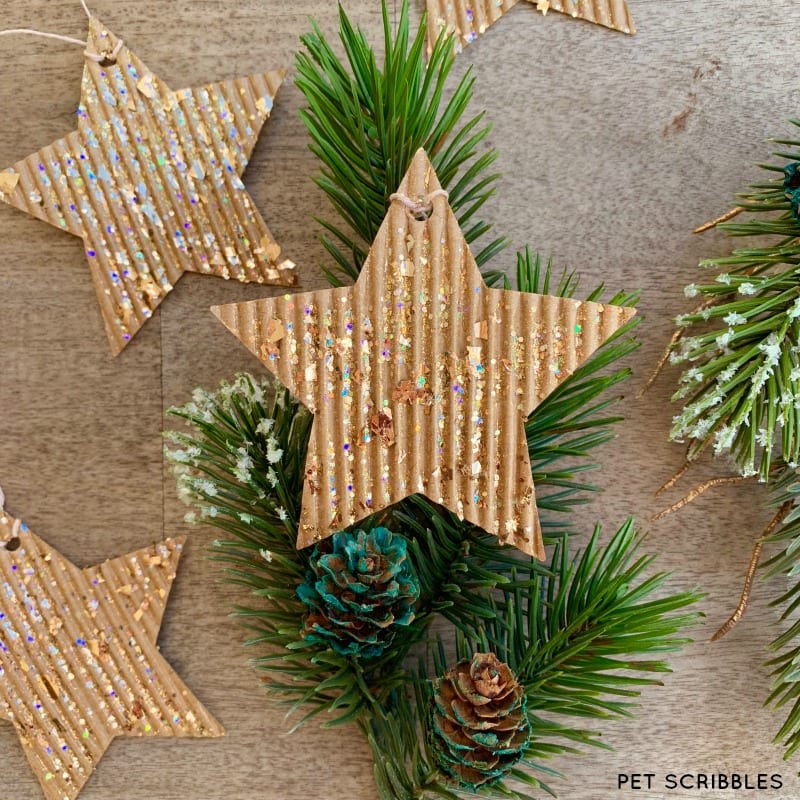
DIY Glitter Cardboard Star Ornaments
For more Christmas ornament and craft ideas, click here to go to the Christmas section of this website!
Happy holiday crafting!
Leave a Reply