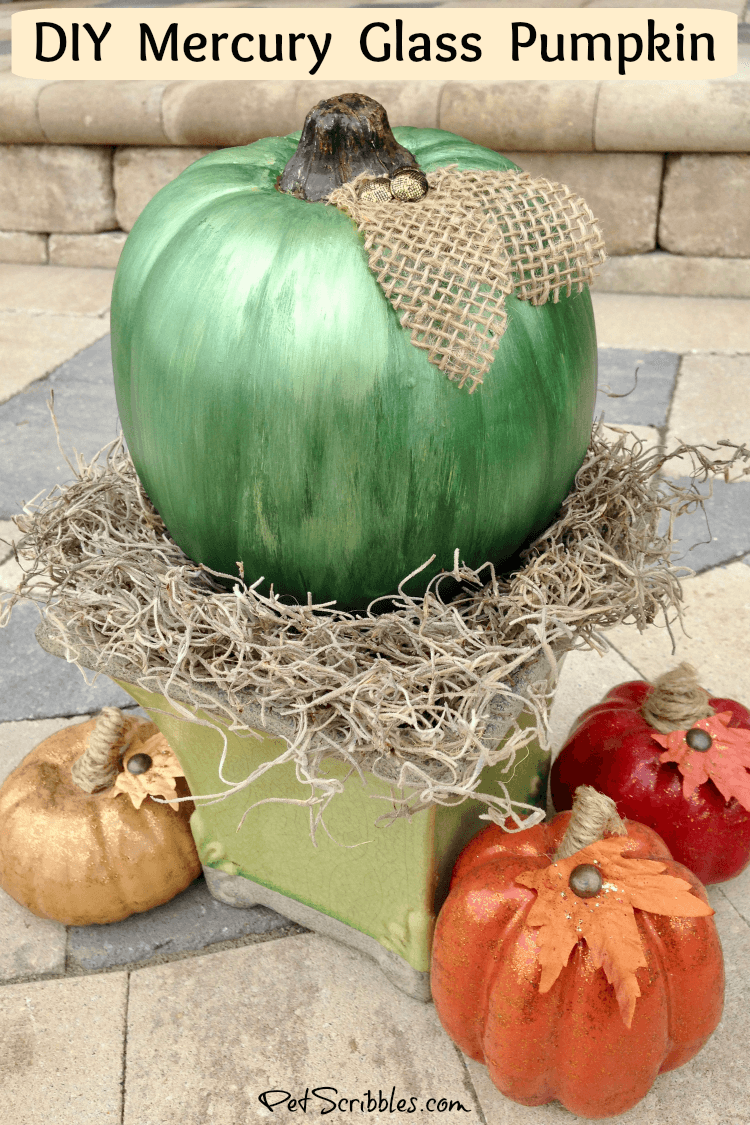
You can create this DIY mercury glass pumpkin with just three shades of metallic paint! No fancy chemicals or spray cans needed!
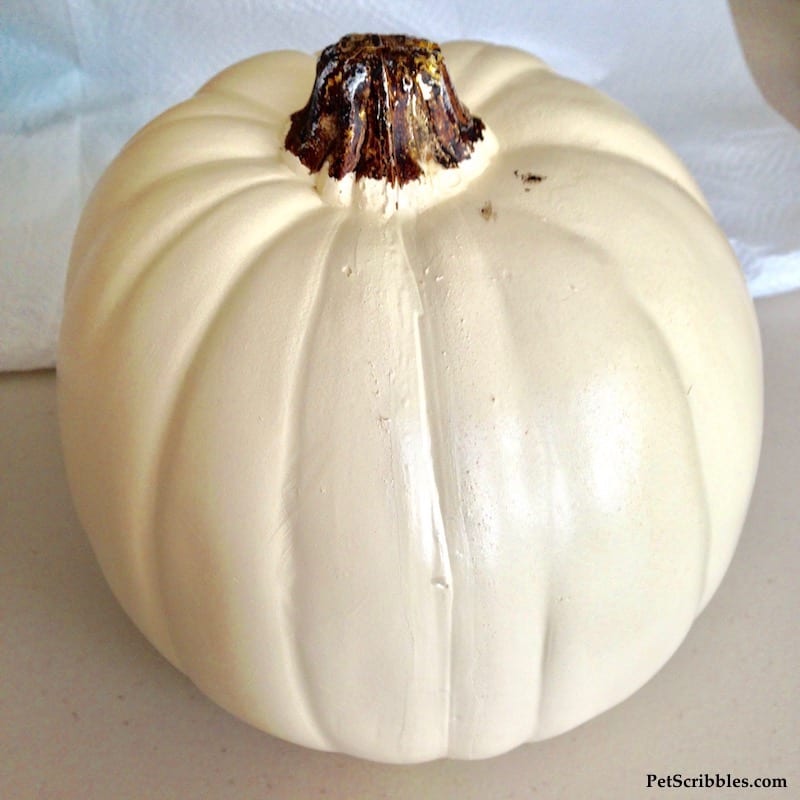
I started out with one of the faux craft pumpkins you can find this time of year at the craft stores and the dollar stores:
By layering three different shades of metallic paint over each other, I was able to get this pretty, mercury glass effect.
Let me show you how to make this yourself!
DIY Mercury Glass Pumpkin
Supplies:
- Medium size white craft pumpkin (from craft stores or dollar stores)
- Modern Masters Metallic Paints (sage, hunter green, oyster)
- Paint brushes — regular size plus a small detail brush
(My favorite long-lasting set: Martha Stewart Basic Paint Brush Set) - Paper towels
- Wax paper
- Burlap ribbon (for leaves)
- Scissors
- Furniture nails
- Optional for display:
- Spanish moss
- vintage urn
Tutorial:
Painting the Pumpkin
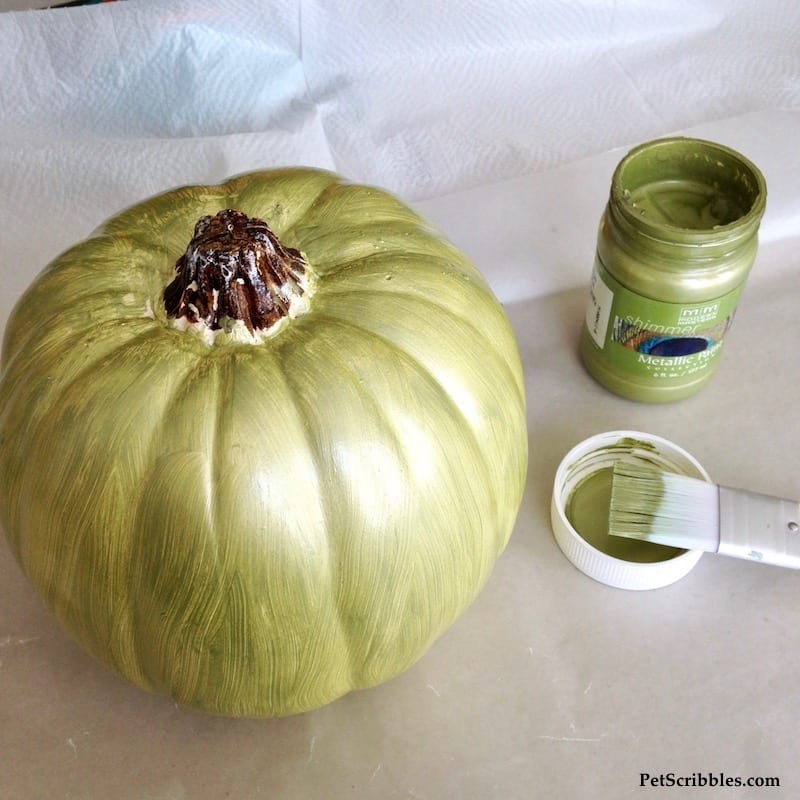
Step One: Paint the craft pumpkin with one coat of sage-colored metallic paint.
This metallic paint goes on smoothly. Thin coats are all that is needed. Let dry.
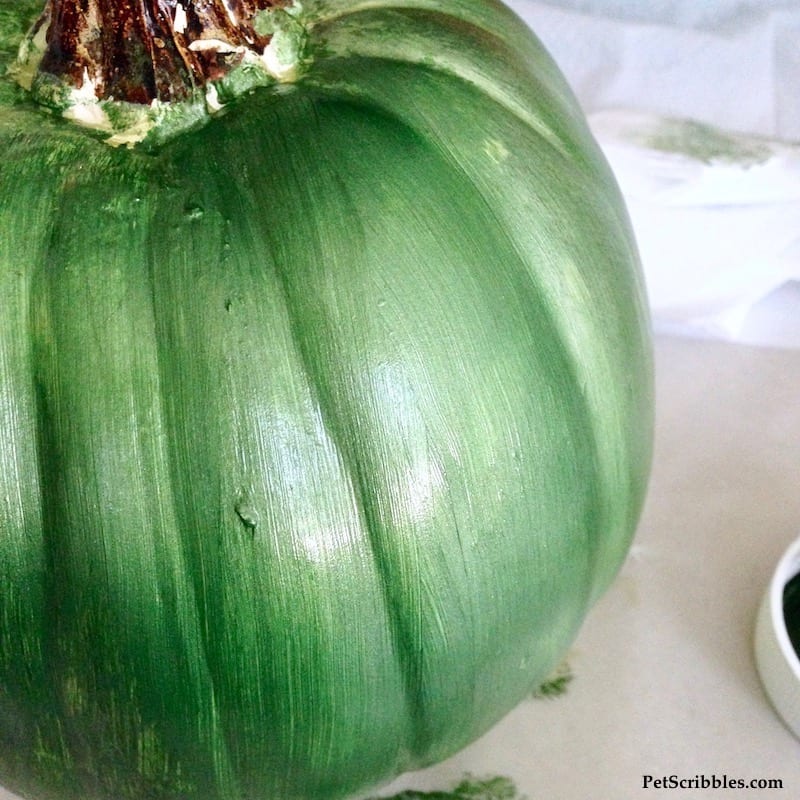
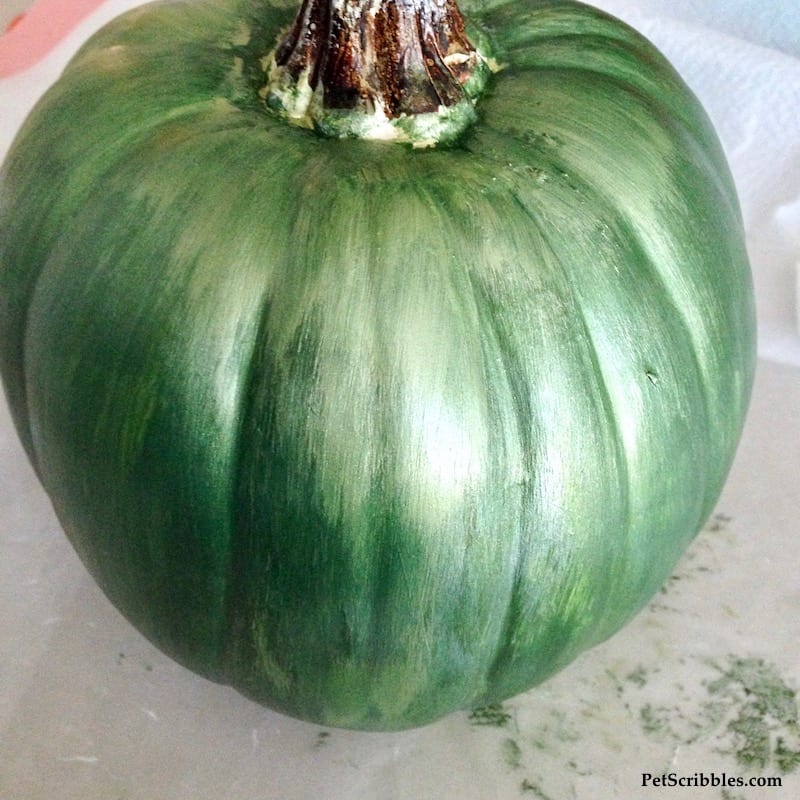
Step Two: Lightly paint a coat of hunter green metallic paint over the sage color, making sure not to cover the sage color completely.
As you paint, use your brush to fan out the paint from the stem all the way down to the bottom of the pumpkin. Let dry.
Step Three: Apply additional sage metallic paint in sections here and there — all over the pumpkin — keeping your brush moving the paint in a vertical direction.
For this step, to get the thinnest coat possible, I imitate a dry brush technique.
This makes achieving the variations in color much easier.
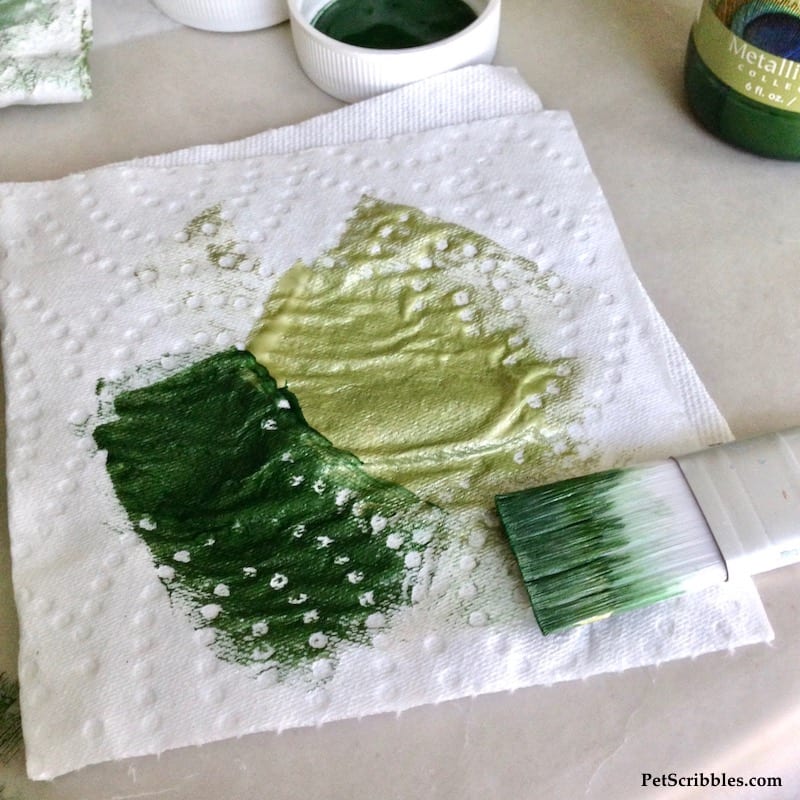
Dry Brush Technique:
- Wipe most of the paint off of the paint brush (onto a paper towel) before applying the paint to the pumpkin.
- Paint the color very lightly over the surface, so that color seems to blend in with the previously painted surface rather than heavily cover the previous color(s).
- As you need more color, reload your brush with the paint from the paper towel first before dipping into the paint jar again.
Helpful tip: To get the hang of the dry brush technique, practice painting on scrap paper or paper towels first before applying the paint to your pumpkin.
Step Four: Add a very light coat of the oyster (pale cream) metallic paint, as you did in Step Three.
The pale cream shade provides that mirror look and adds depth to the colors you are layering onto the pumpkin.
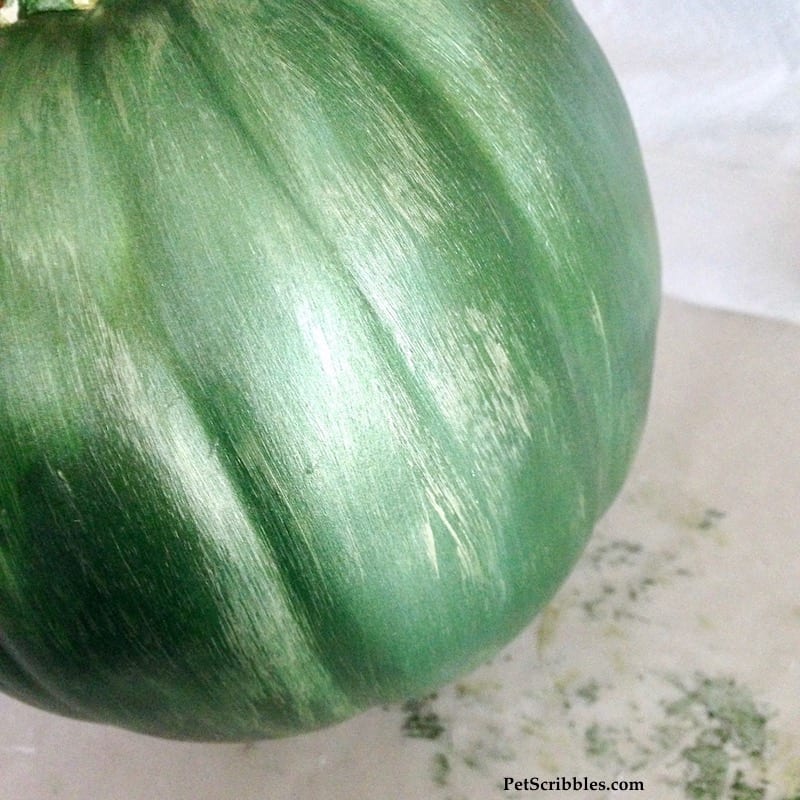
Step Five: Without waiting for the paint layers to dry, add more sage and hunter green paint to the pumpkin here and there, again layering the colors starting at the top and working your way down.
At this point, you are making the pumpkin look exactly how you want it to look.
Remember: There’s no right or wrong way, just do what is pleasing to your own eyes!
Step Six: Using a small detail brush, touch up and enhance the faux pumpkin stem.
This step can be helpful to cover up any paint you may have gotten onto the stem, like I did in the picture on the left, below.
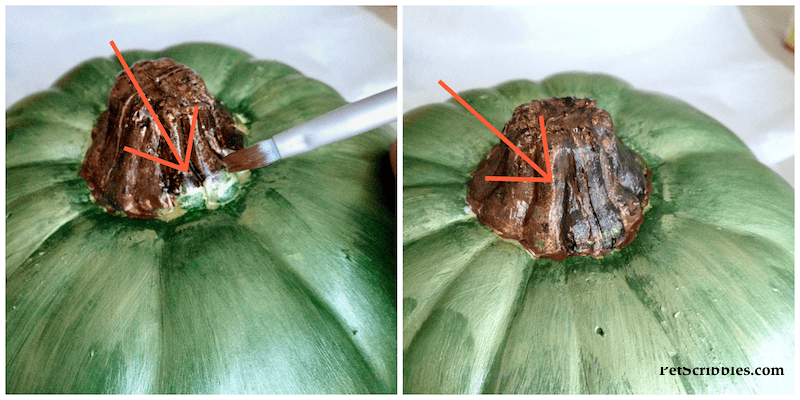
I used brown paint to cover the stem. Once dry, I began adding black paint here and there, which you can see above, on the right.
Again, you will know best when you’re happy with how the stem looks.
Let the pumpkin dry overnight.
Easy Burlap Leaves
Step Seven: Cut out two leaf shapes from burlap scraps. Attach them to the top of the pumpkin with brass-colored furniture nails.
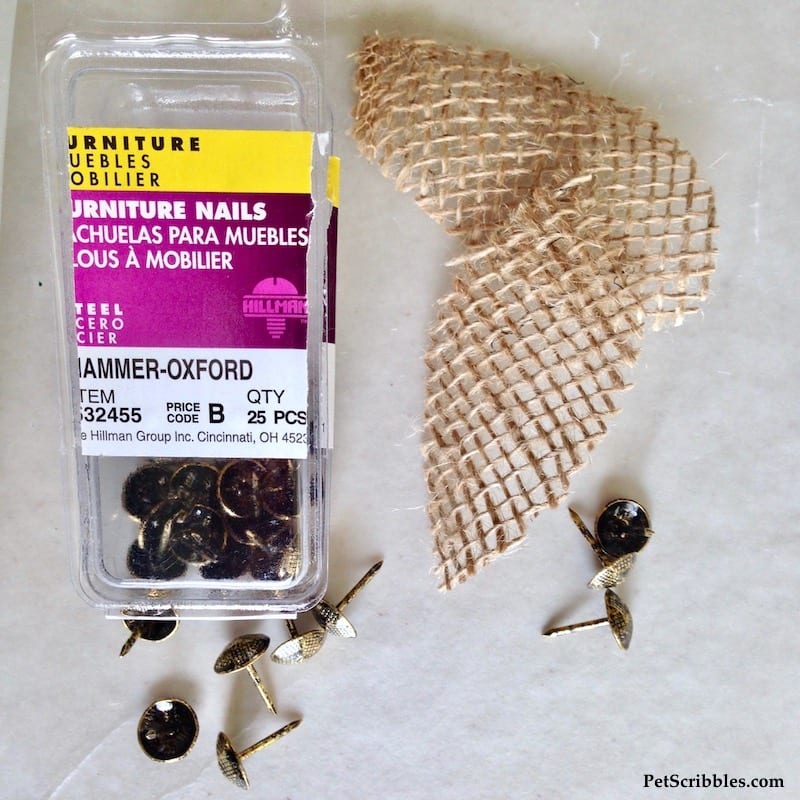
By the way, these hammered head furniture nails are a great craft supply! I use them as decorative accents on craft projects.
I used three furniture nails as an accent on this pumpkin.
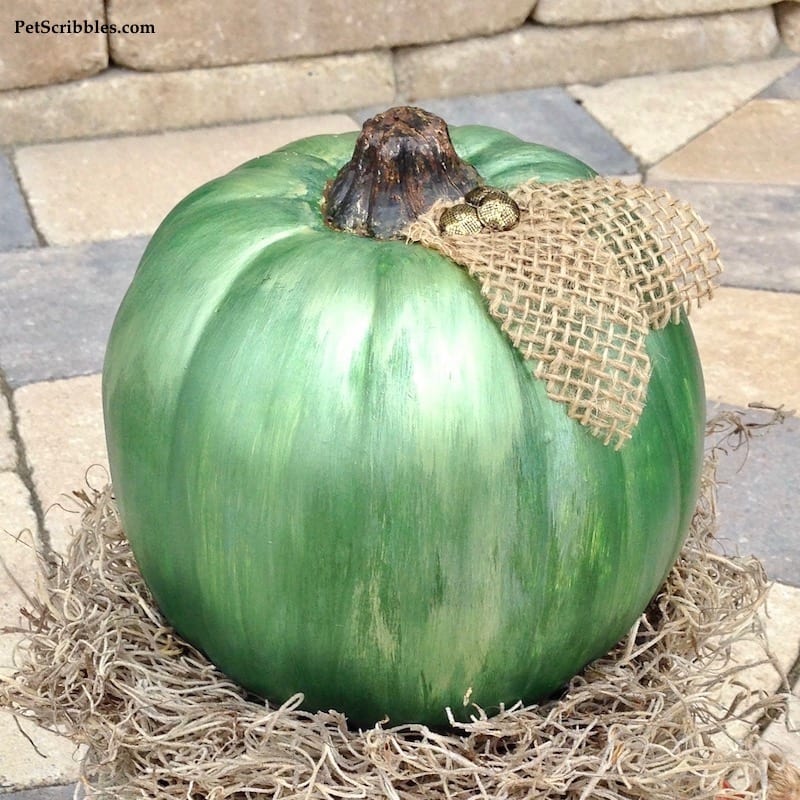
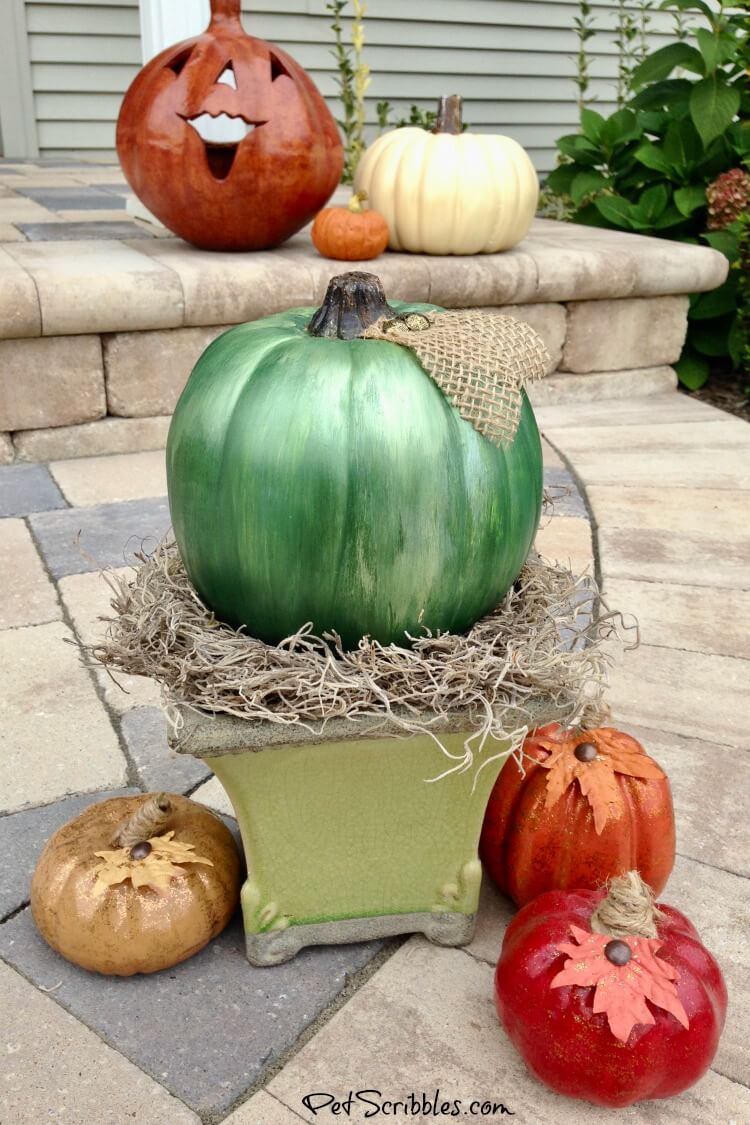
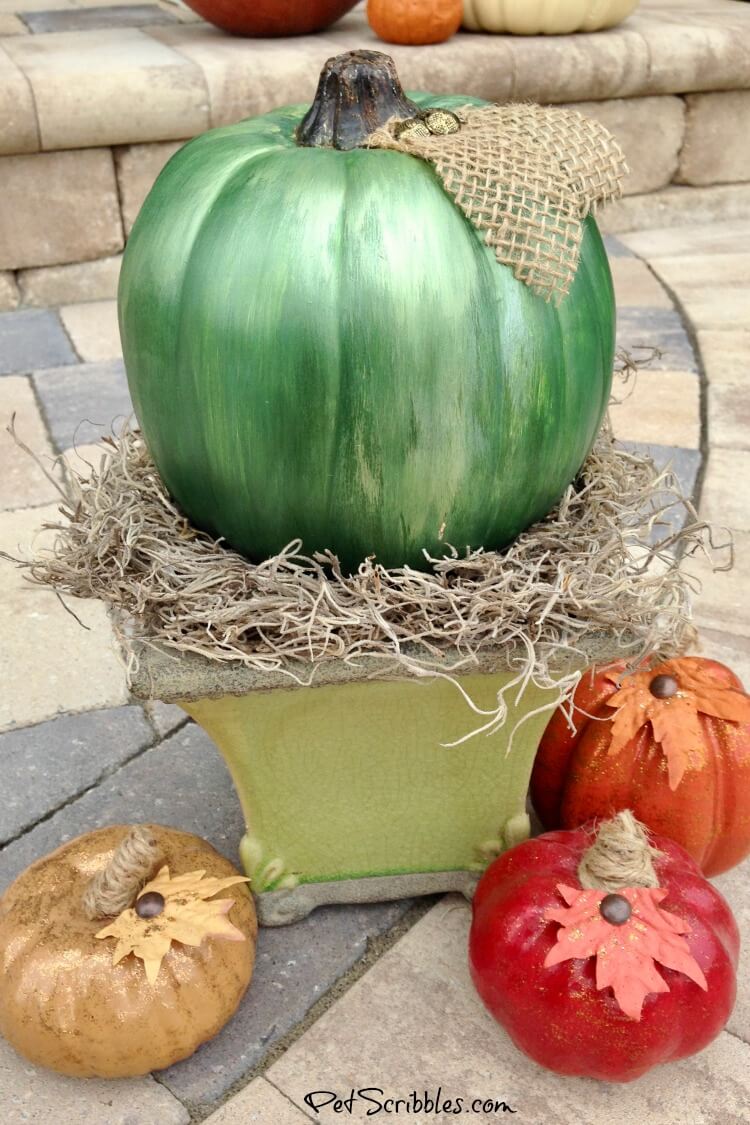
And now I have a pretty faux mercury glass pumpkin!
My Faux Mercury Glass Pumpkin!
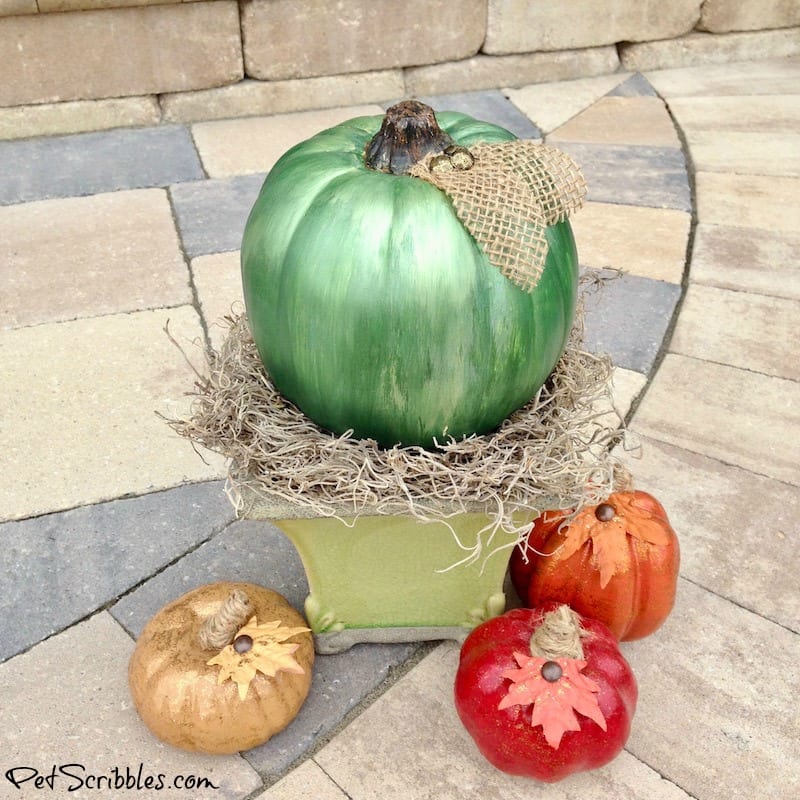
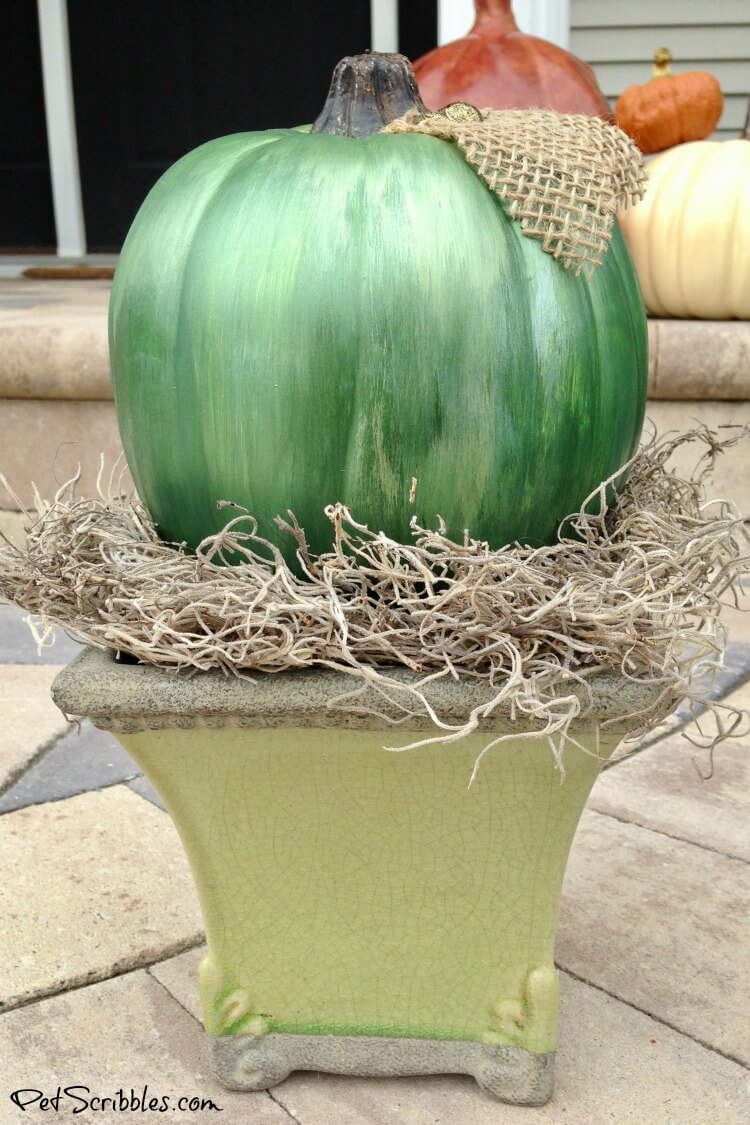
To display, I used a vintage urn I’ve had for quite some time that I never knew what to do with. It became the perfect display stand! I stuffed the bottom with plastic bags then added a bed of spanish moss.
I love the different textures of burlap, metallic sheen, and the hammered furniture nails.
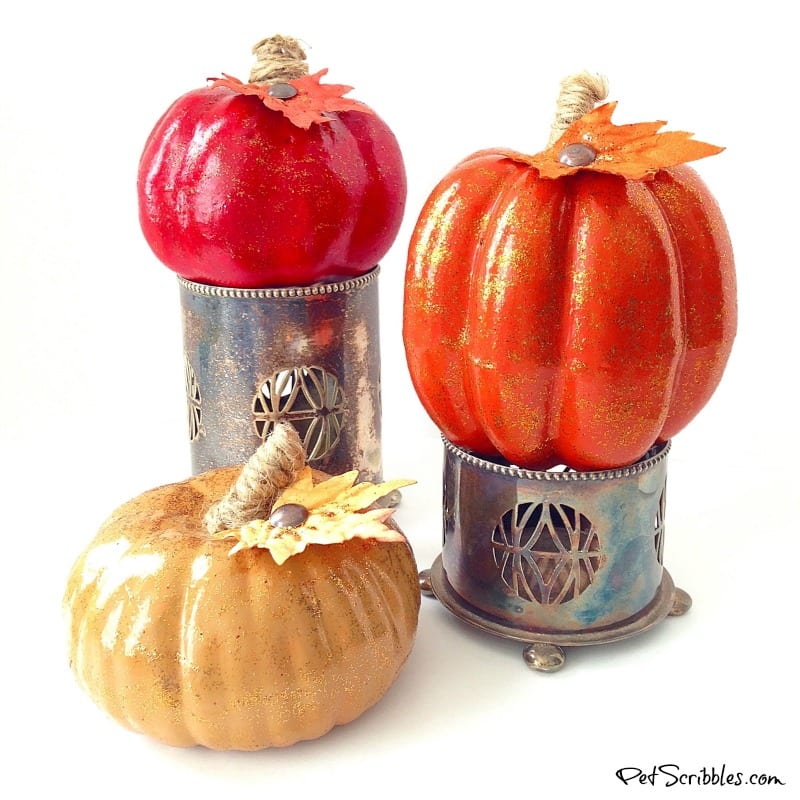
Want to learn how I made the small pumpkins too?
It’s a simple paint and glitter DIY here on Pet Scribbles!
Click here to see: Tone on Tone Painted and Glittered Pumpkins
These small pumpkins were each painted with craft paints then glittered with matching colored glitter paint, for a more subtle sheen than traditional glitters.
Happy crafting!
An older version of my DIY Mercury Glass Pumpkin tutorial originally appeared on the PinkWhen blog, when I was a craft contributor there. This tutorial has been completely updated.
Leave a Reply