Decorating BOO Halloween letters with Xyron is so much easier than decoupaging! Grab your favorite papers and embellishments and create something colorful, fun and spooky!
This week, our Xyron Design Team is sharing fun projects for Halloween — all kinds of crafts and decor to get you inspired to create something spooky or pretty or vintage-style — whatever you love to make!
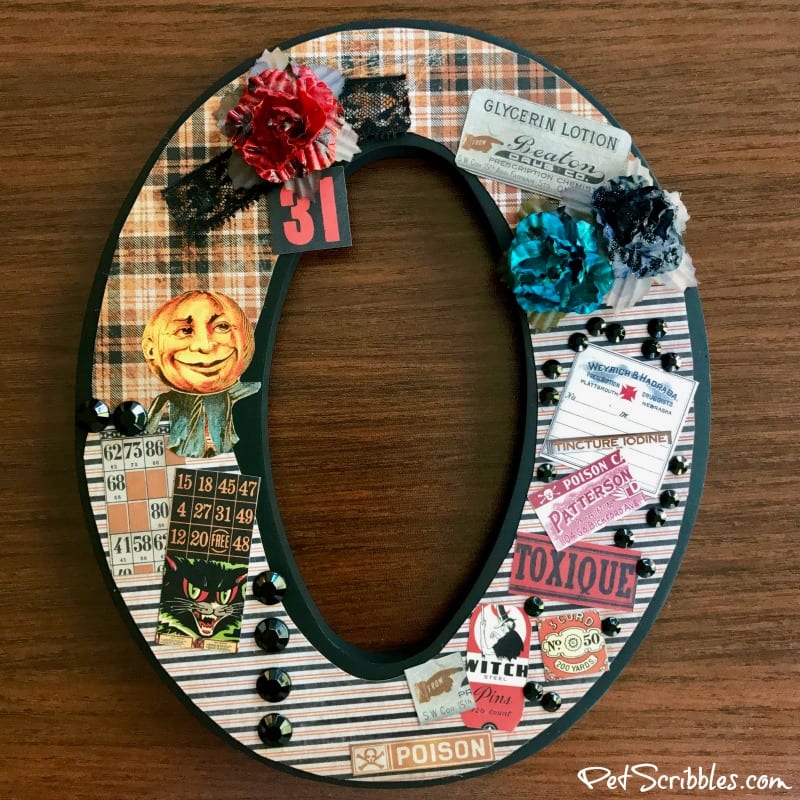
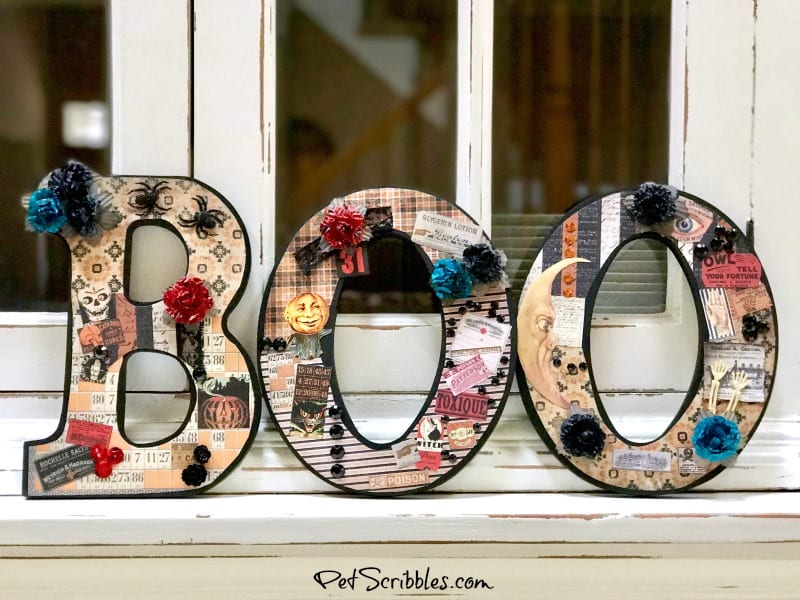
I decided to turn simple black wood letters from the craft store into a colorful, vintage-themed mixed media piece.
What I love about these letters is that I don’t need to paint them!

FTC Disclaimer: I’ve received products/compensation as part of the Xyron Design Team. These BOO Halloween Letters, however, are 100% my own project! Some of the links in this post are affiliate links. I explain more here.
Make BOO Halloween Letters with Xyron!
Supplies:
- Xyron® Creative Station
- Xyron® Permanent Adhesive Cartridge, 9”
- Xyron® 3” Disposable/Recyclable Sticker Maker
- Xyron® Sticker Maker “X” — 1.5″
- Xyron® Mega Runner
- Black wood letters to spell BOO — A.C. Moore
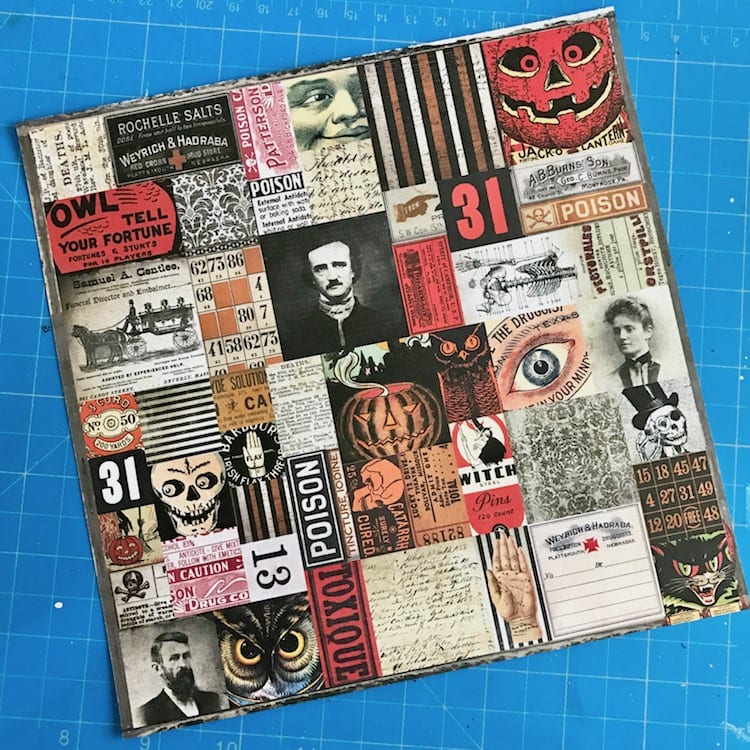
- Tim Holtz Idea-ology Halloween paper pad, 8″x8″ — Michaels
- White rose mulberry paper flowers
- Tattered Angels Glimmer Mists: Almost Black, Pumpkin Spice, Dragon Fly
- Tattered Angels Glimmer Glaze: Sangria, Blue Oasis
- Stickles Glitter Glue: Black Diamond
- Scissors
- Liquid adhesive
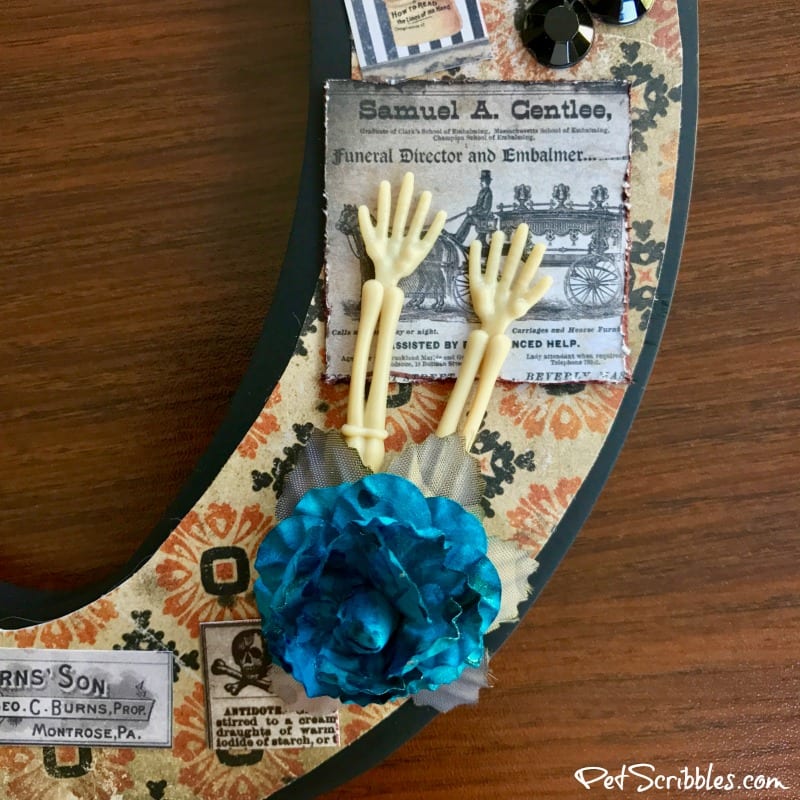
- Embellishments: lace, adhesive gems, sequins, plastic mini skeleton arms, glitter spiders, black plastic flowers
Tutorial:
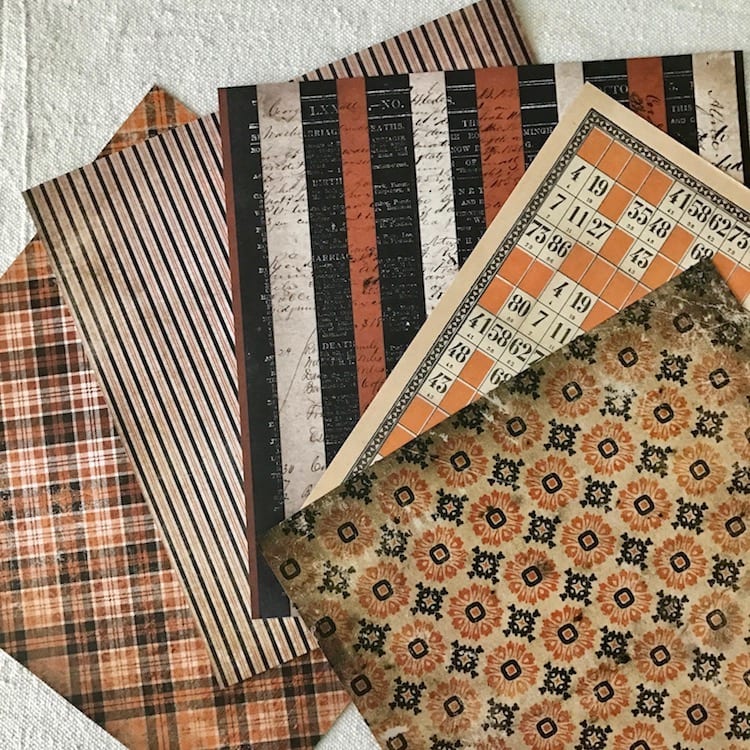
Step One: Choose your paper designs for each letter.
I fell in love with this Tim Holtz paper pad I found at Michaels.

Here are the papers I chose . . .
Step Two: Trace your letters onto the back of your chosen papers and cut out.
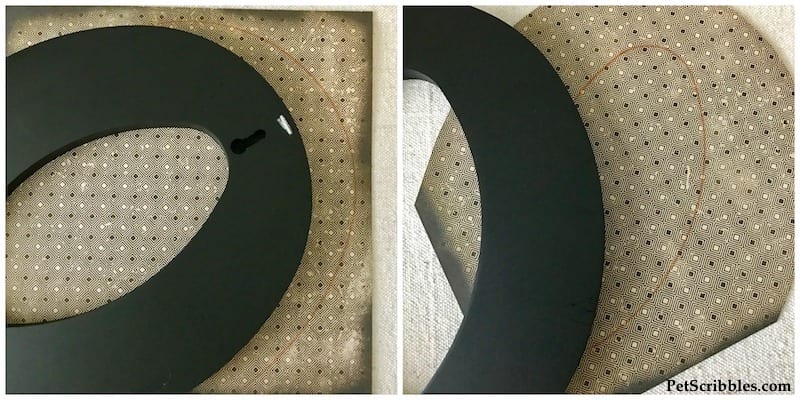
Tip: I purposely cut the outside of the letters just inside the lines, to let some of the black wood show around the front edges.
You can also cut the inside of any letters just outside the lines, also to let some of the black wood show.
Confusing, I know. But it will make sense when you do it.
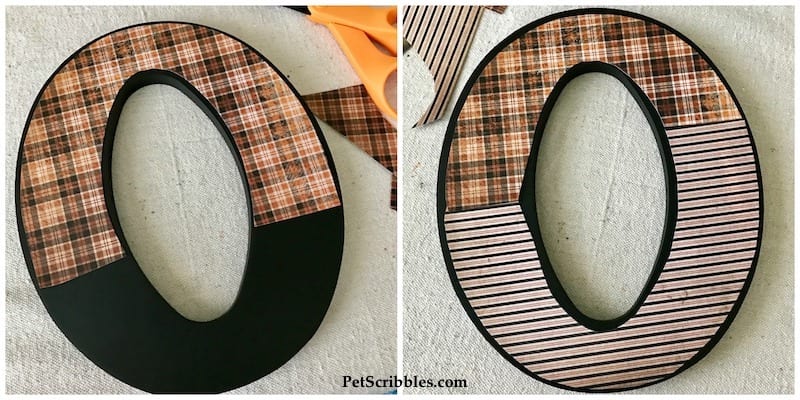
Step Three: Run the papers for each letter through the Xyron Creative Station to turn them into stickers.
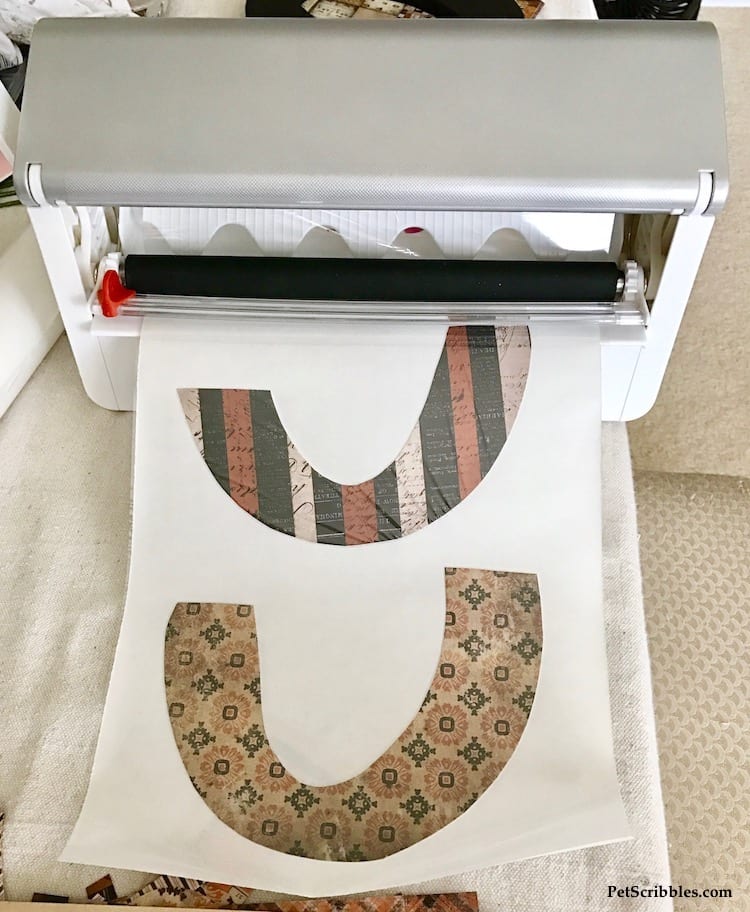
Step Four: Carefully attach each adhesive-backed paper onto their corresponding letters.
Smooth down with your hands.
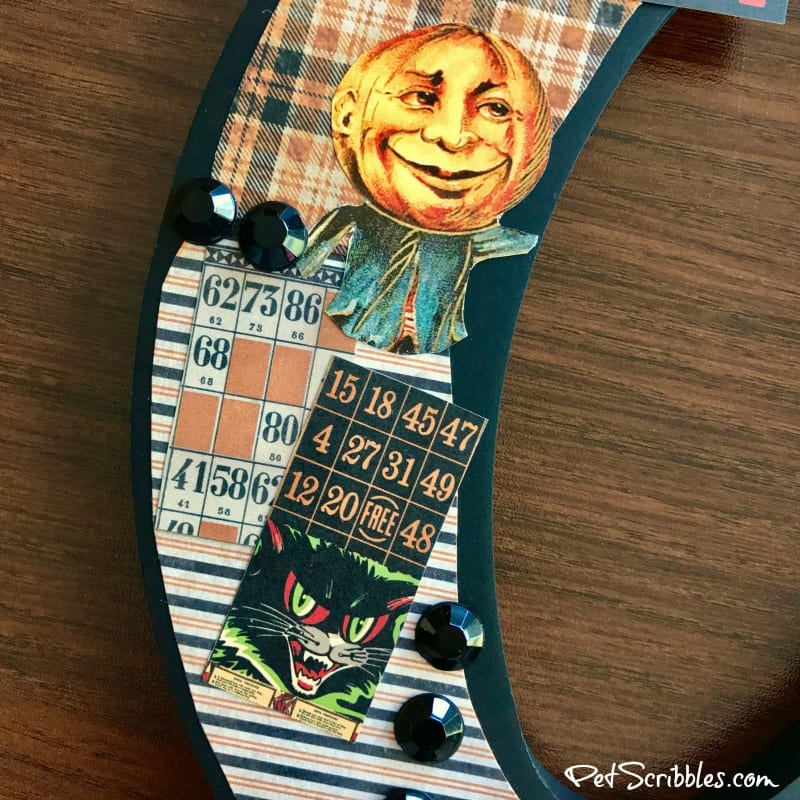
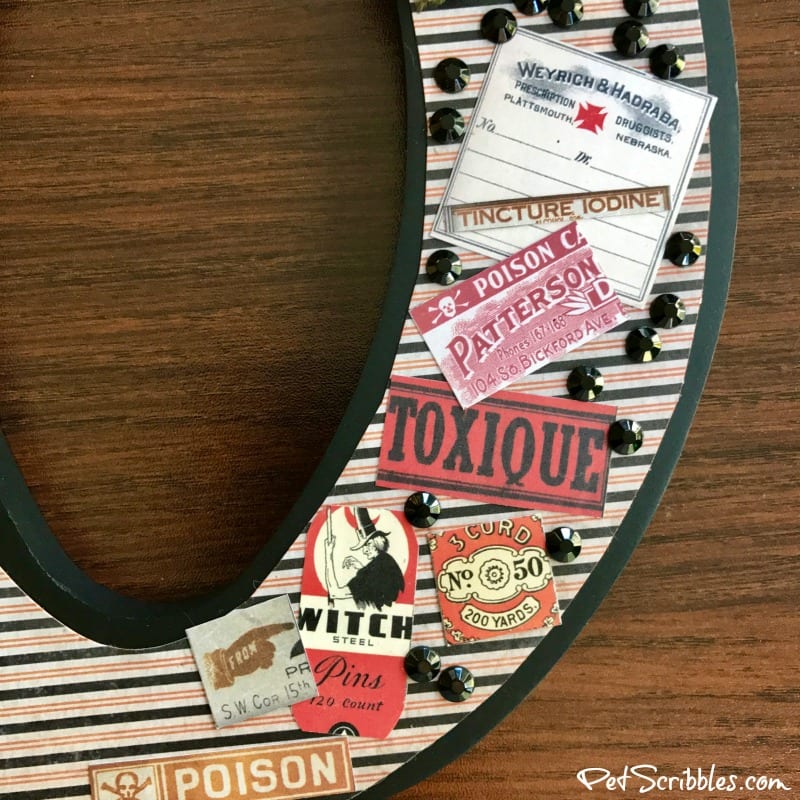
Add Paper Ephemera
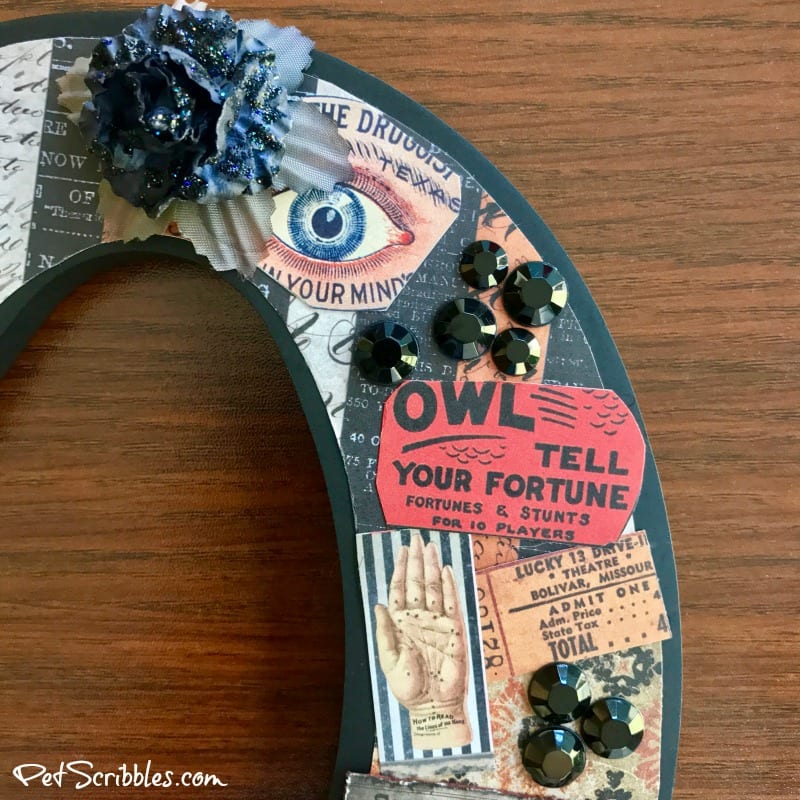
Step Five: Cut out your paper ephemera from the Tim Holtz Halloween paper pad.
There are several pages of fantastic ephemera that are just waiting to be turned into something fun!
I also used some Halloween ephemera from my own stash.
Step Six: After deciding on placement, run the various ephemera through the Xyron Sticker Makers.
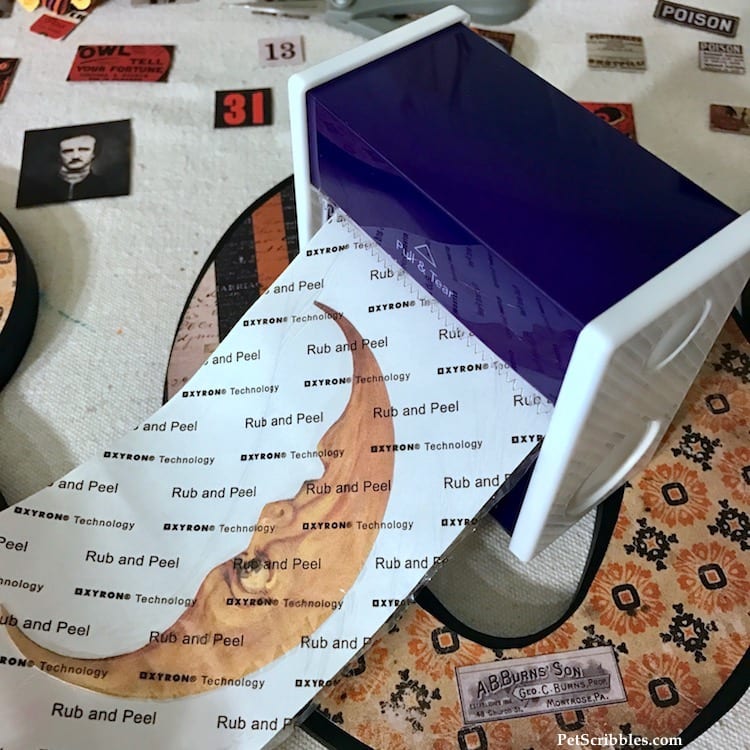
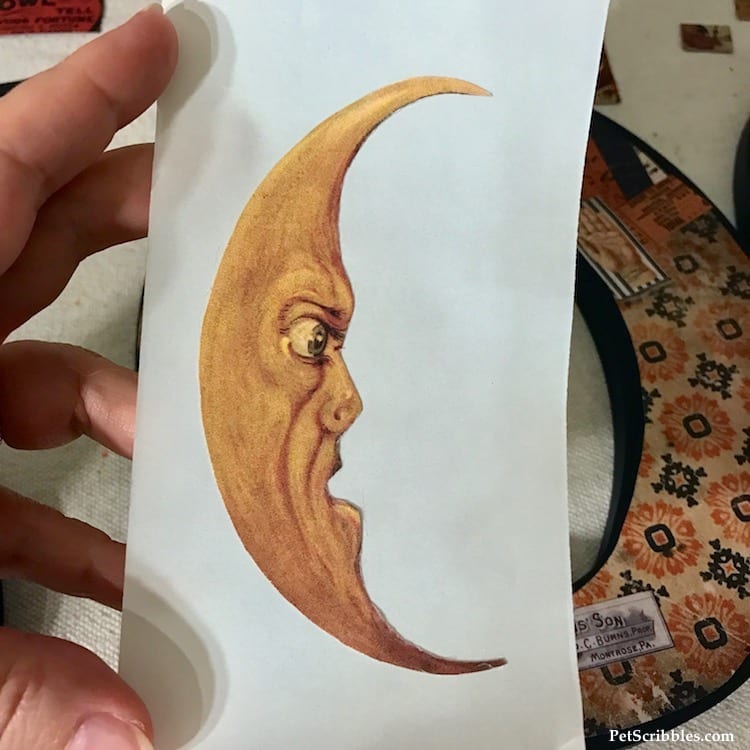
I used both the 3″ disposable/recyclable Sticker Maker as well as the “X” Sticker Maker.
Step Seven: Carefully adhere the ephemera to your letters.
Again, smooth down with your hands.
Add Embellishments to the BOO Halloween letters
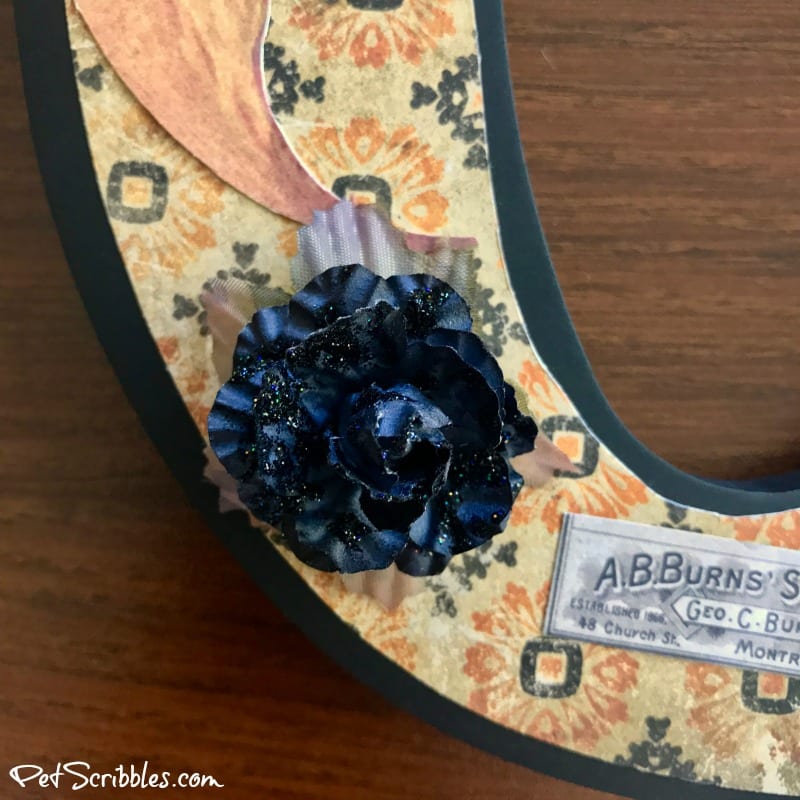
Step Eight: Paint white mulberry paper flowers with Tattered Angels Glimmer Mists.
This is the easiest way to get the exact flower colors you want for your projects.
Let dry.
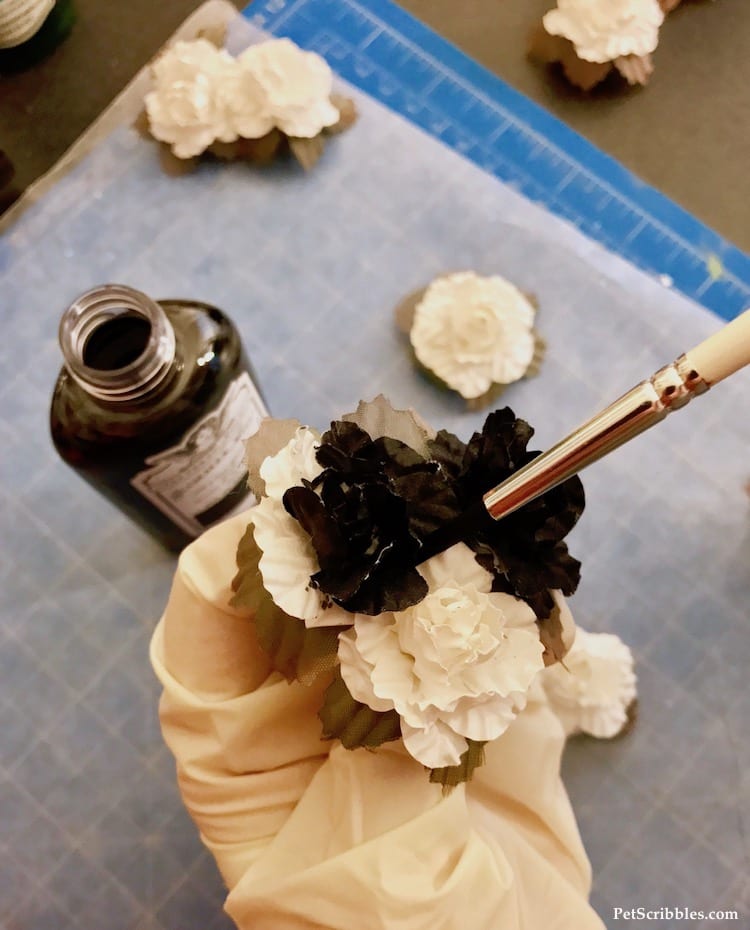
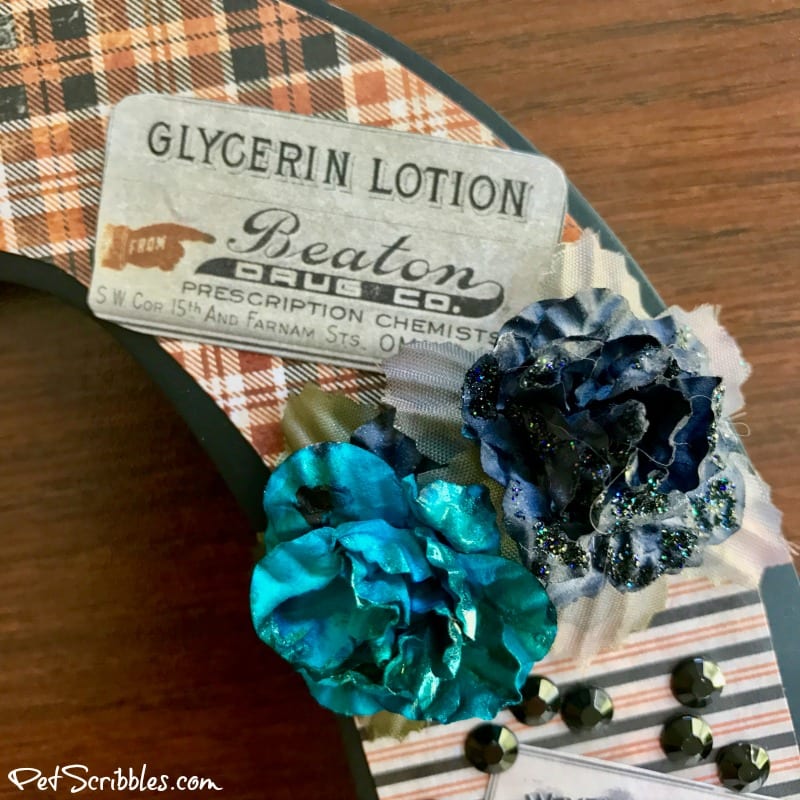
Step Nine: Apply Tattered Angels Glimmer Glazes onto the orange and blue flowers. Let dry.
Step Ten: Apply Stickles Black Diamond Glitter Glue to the black flowers. Let dry.
Step Eleven: Attach the flowers, bits of lace, and other embellishments to the letters.
For this step, I used a mixture of Xyron adhesives, depending on what worked best.
I used a liquid adhesive for the flowers.
Next, for the lace I used my Xyron Mega Runner. (For stronger ribbon, you can use the Xyron Sticker Makers.)
Let everything settle and dry and cure for a few hours.
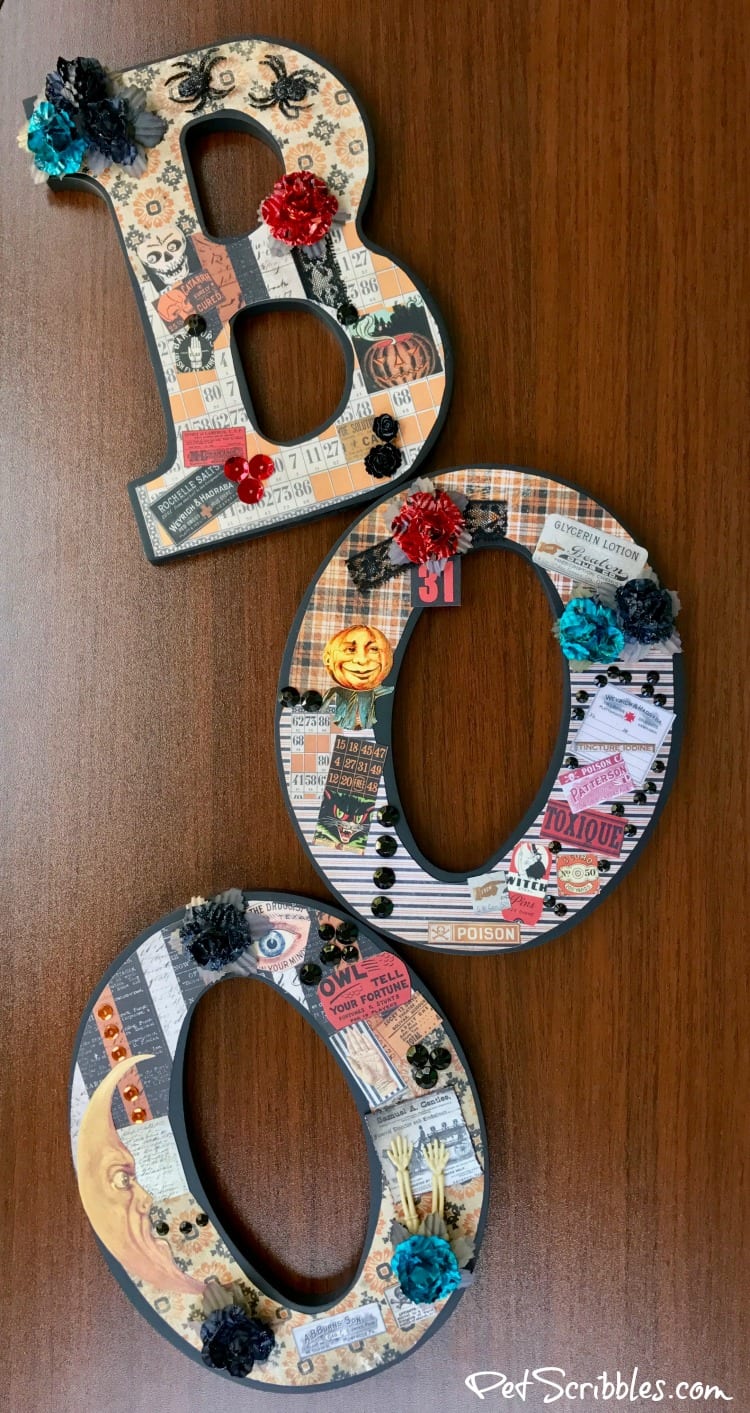
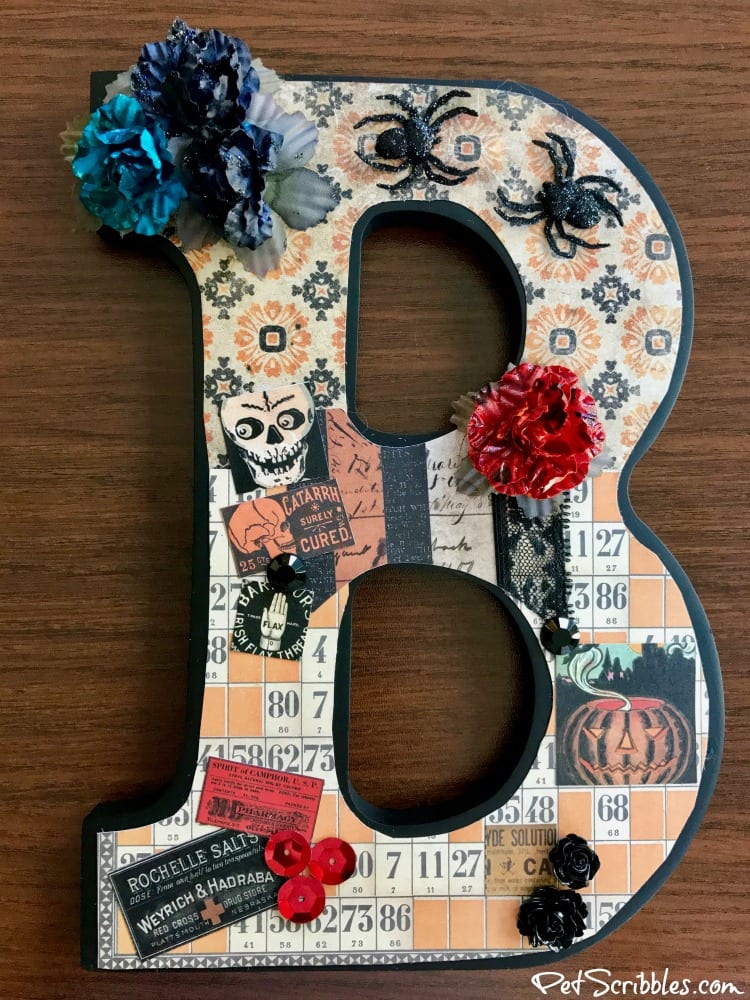
Colorful, fun and spooky BOO Halloween letters!
Now I’ve got a set of BOO Halloween letters with lots of wonderful vintage-themed details!
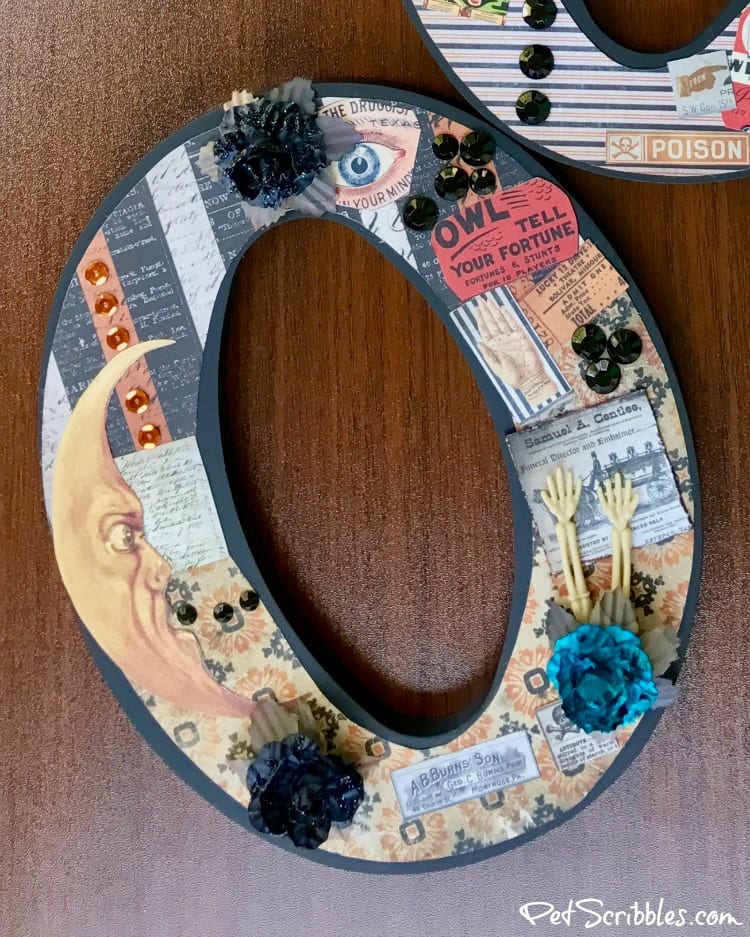
Finally, here is the final O . . .

Happy Halloween crafting!
Very cute idea – and so easy! I love it!
Thanks Amy! It is easy to put together — the fun is in choosing what you’re going to use…like skeleton parts!