Making a rustic Valentine’s Day sign is inexpensive and easy when you use distressed wood sign blanks and simple holiday stencils!

This is a game changer for me! Gone are the days of figuring out how to create a rustic wood sign that might take an entire weekend to do and involved umpteen steps.
Making inexpensive seasonal rustic wood signs — in particular for today — a rustic Valentine’s Day sign — is super easy when you find a large assortment of year-round seasonal and holiday stencils!
First, a little info for you on where you can find these products, and then I’ll show you how quickly you can make your very own Valentine’s Day sign!
FTC Disclaimer: I’ve received products to try out in my role as a Plaid Crafts Ambassador. This rustic Valentine’s Day sign, however, is 100% my own project! Some of the links in this post are affiliate links. I explain more here.
Where to find White Washed Signs
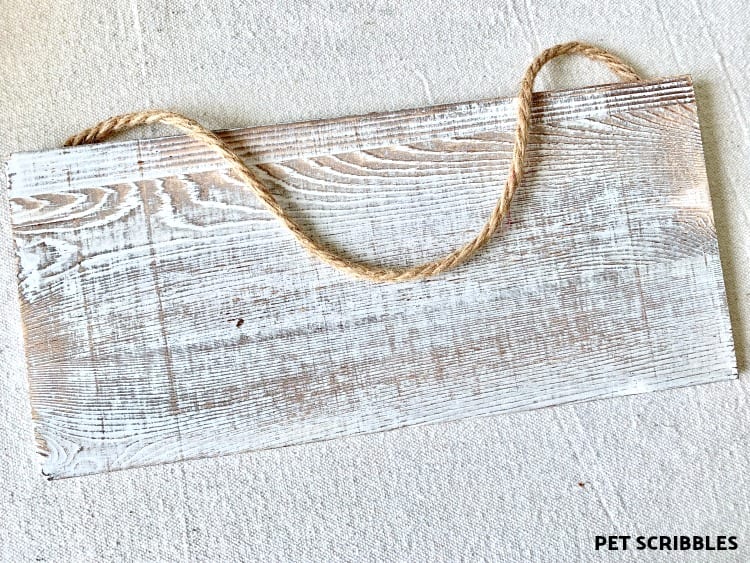
I found this sign at Walmart in their craft section. It’s made by “Lara’s Crafts” and measures 12″ by 5.5″ — a nice size for making seasonal rustic signs.
Here are similar rustic wood blank signs by Lara’s Crafts that I found on Amazon:
I’m sure there are similar rustic blank signs at the big box craft stores too.
Just hunt around to find a great deal!
FolkArt Value Pack Holiday Stencils
Periodically, Plaid Crafts sends me products to try out and see how I like them, offer feedback and of course share with you.
Awhile back they sent me one of their Value Pack Stencils, but I still haven’t gotten around to sharing a project on here with them.
Until I happened to be at Walmart recently and saw this particular stencil set! Cue the choirs of craft angels!
I bought this set so quickly, almost afraid someone was going to snatch it out of my hands even though there were multiples available. I was that excited!
Here’s the official description via Plaid’s website, as they can describe it better than I can:
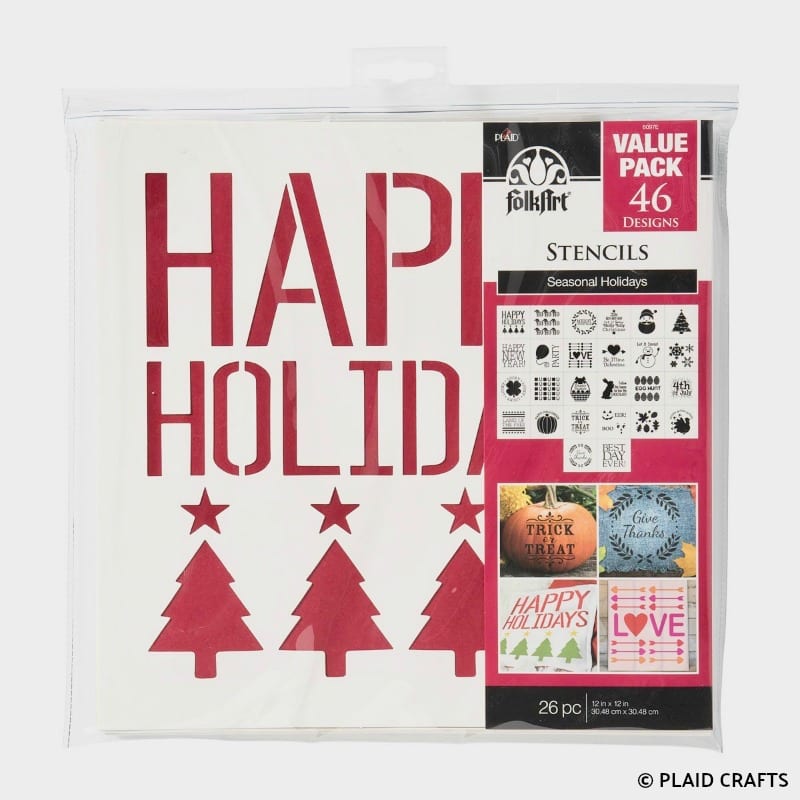
“This FolkArt Stencil Value Pack comes with 12″ x 12″ stencils featuring 46 designs, ideal for elevating your holiday decorating projects. Pair with other FolkArt stencils to created layered and dimensional designs. Use these 12″ x 12″ stencils to embellish furniture or create an eye-catching art project. Great for use with your favorite Plaid paint – from FolkArt to Apple Barrel. These durable stencils are reusable and can be cleaned up easily with a baby wipe and paper towel. Let dry and store flat.”
Did you catch that? 46 designs!
And with designs ranging from modern to traditional, whimsical to elegant, these craft stencils will add color and impact to just about any home decor project or craft.
This is quite a value for year-round holiday DIY decorating! And I’m starting off with an easy rustic Valentine’s Day sign tutorial!
In addition to Walmart, you can buy these online directly from Plaid, Amazon, and at most major craft stores.
These stencils — by the way — come in many variety packs, with letters in different fonts, or themes like forest, sea life, inspirational phrases and more. See them all here on Plaid’s website.
Supplies for Rustic Valentine’s Day Sign:
Helpful tip: I often link the supplies I use to Amazon, so that you can 1) see what the item looks like, 2) read the reviews there, and 3) easily purchase the product. However, please remember that you may find these items at your local craft store for a cheaper price.
(And yes, I make a tiny commission on anything you purchase through the Amazon links at no extra cost to you, which I put back into the expenses of running this website.)
- White Wash Pallet Plank — Lara’s Crafts
- Waverly Inspirations Chalk Paint in Crimson — Plaid Crafts
(I got a fabulous mini set of these paints at Walmart,
but you can use similar colors in this set from FolkArt) - Folk Art Value Pack Holiday Stencils — Plaid Crafts
- FolkArt Stencil Brush Set — Plaid Crafts
(These are perfect sizes for all of the FolkArt Stencils!) - Red Heart Scrubby Cotton Yarn in pale pink
- Sanding sponge or sand paper
- Scissors
- Paper towels
- Latex gloves
(The gloves allow me to get messy without worrying about my hands!) - Washi tape
Optional:
- Jewelry pliers
- Old heart jewelry pieces
(You can find in craft store jewelry aisles) - Jump rings
(I use this small package from Tim Holtz)
Valentine’s Day Sign Tutorial:
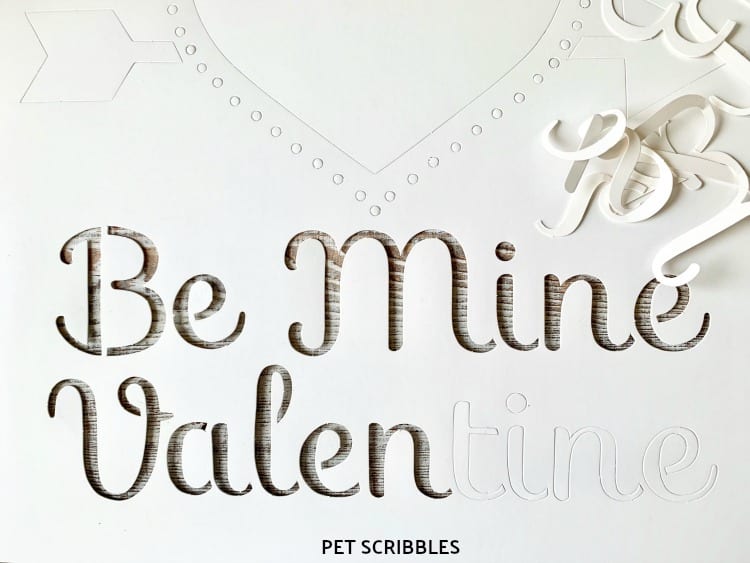
When you take these stencils out of the package, you’ll notice that pieces can easily be popped out to reveal your stencils. I like this because it keeps everything perfect until you’re ready to use each one!
Remove the stencil pieces is your first step.
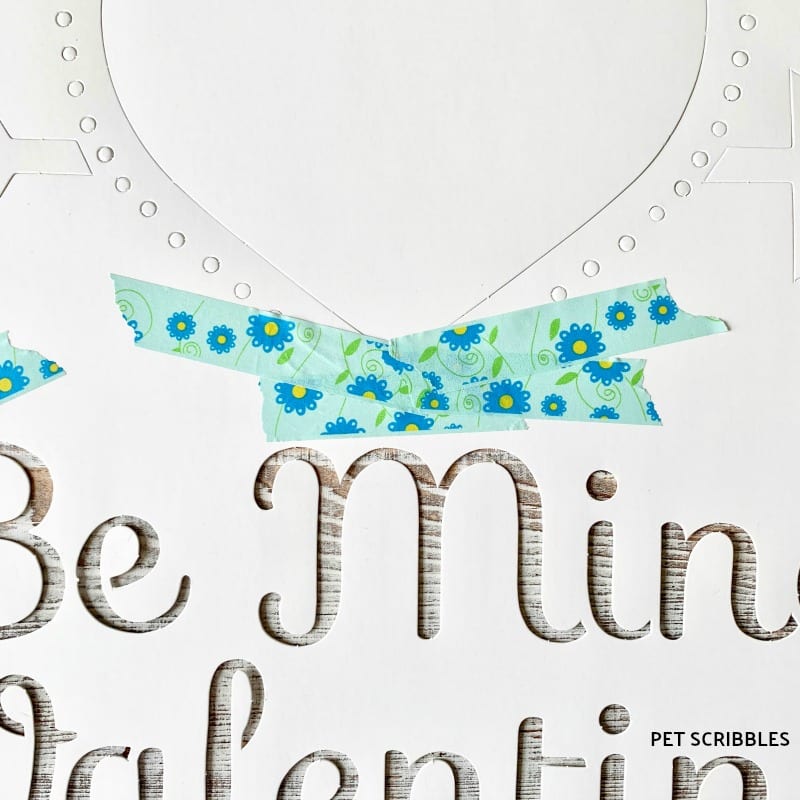
Next, use washi tape to do two things:
- tape down your stencil to the surface you’re painting;
- cover up any parts of the other stencils that you don’t want to accidentally paint over;
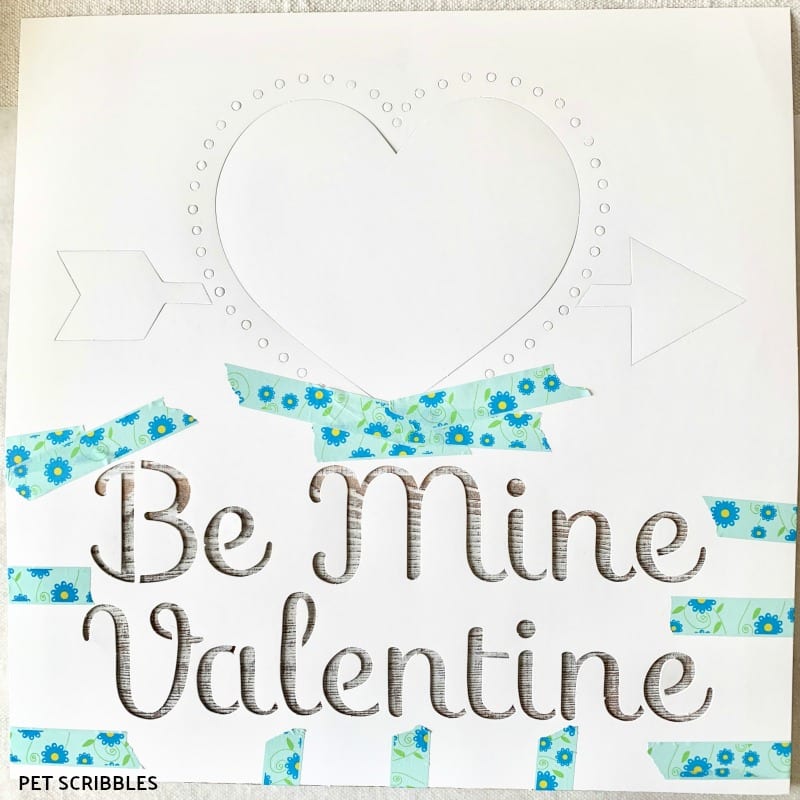
I suggest using washi tape as it is much gentler than painters tape. These are durable cardstock stencils, but you still want to be careful with them.
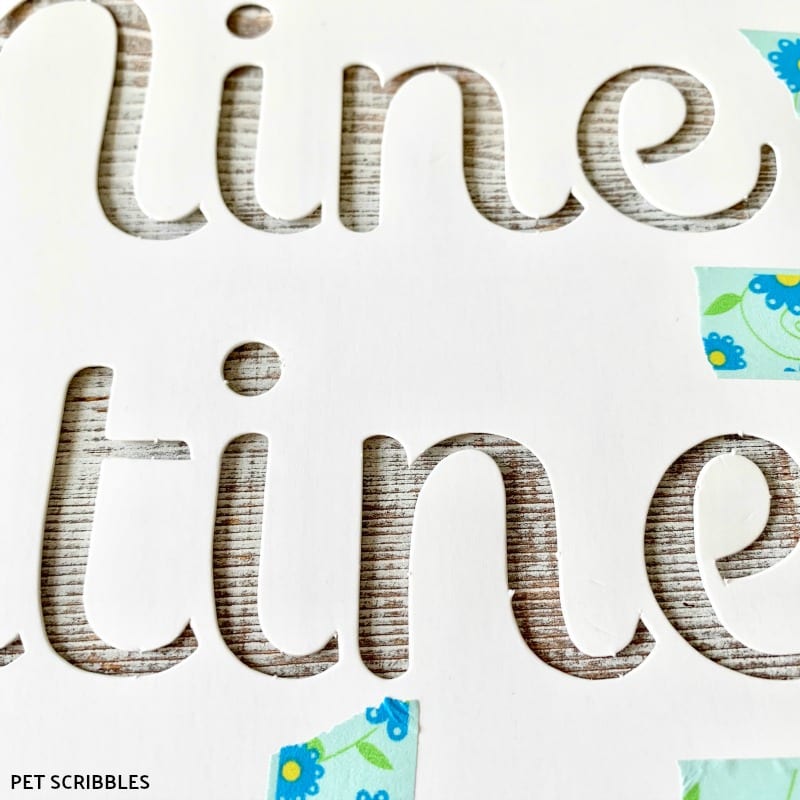
Now that you have everything taped down, you may notice — depending on your surface — that there is some space between your stencil and the surface you’re painting:
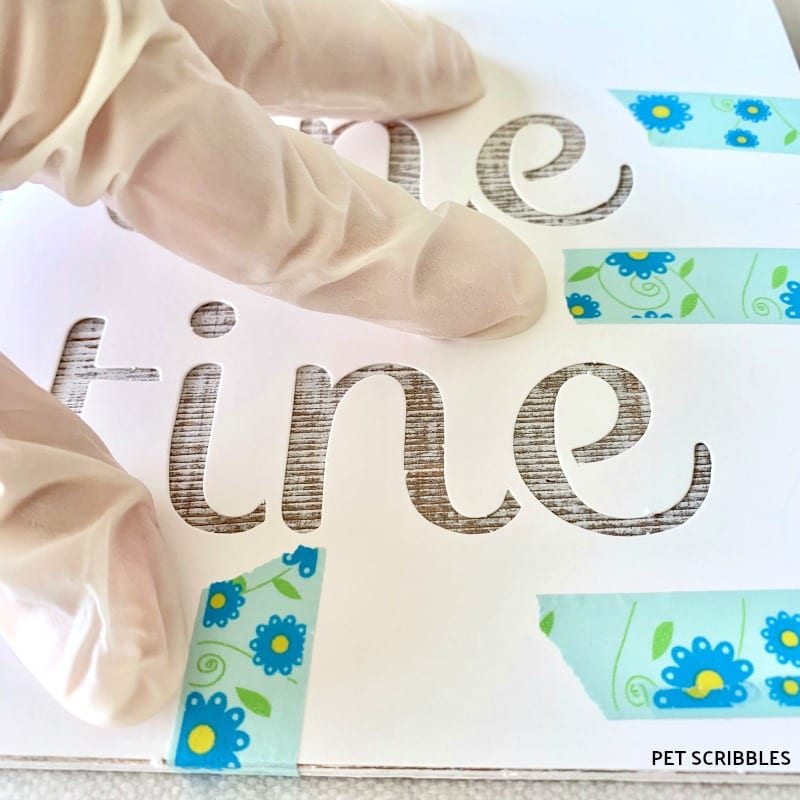
Before you begin painting, practice your hand position to see where the best spots are to hold your stencil in place while you apply the paint.
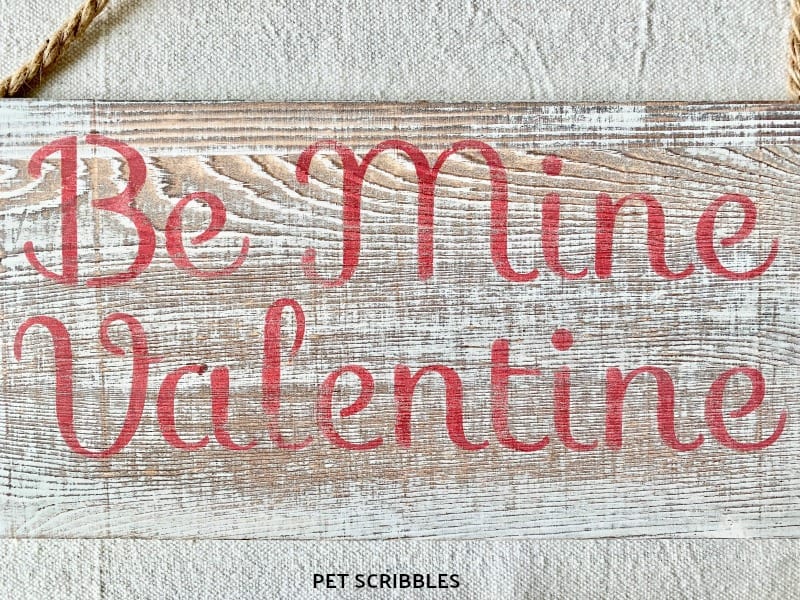
Finally, stencil your design onto the rustic wood blank sign.
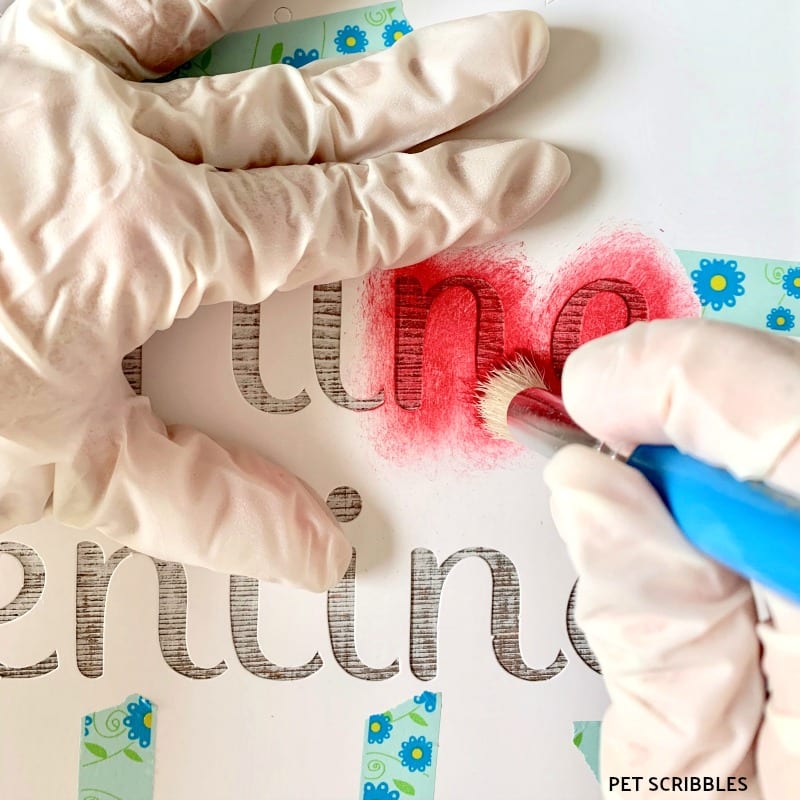
This step goes quickly — but — take your time anyway!
Periodically move your hand that’s holding the stencil down as you go. I worked right to left with the letters in my stencil, but that’s just me. Do whatever works best.
For stenciling, you want as little paint as possible on the end of your stencil brush. I keep folded paper towels next to me and just dab the paint off until there’s barely anything on it. Like this:
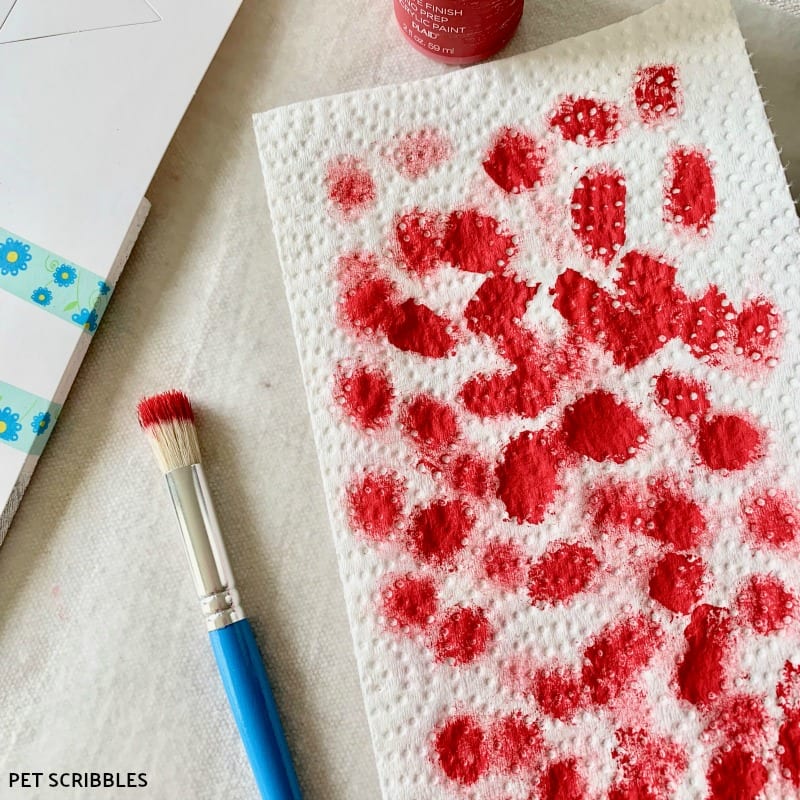
Remember: it’s always possible to go back over your stencil design before removing it — but — it is not possible to remove excess paint after it’s applied. That’s why you want to use as little paint as possible.

All done and look how great the words came out!
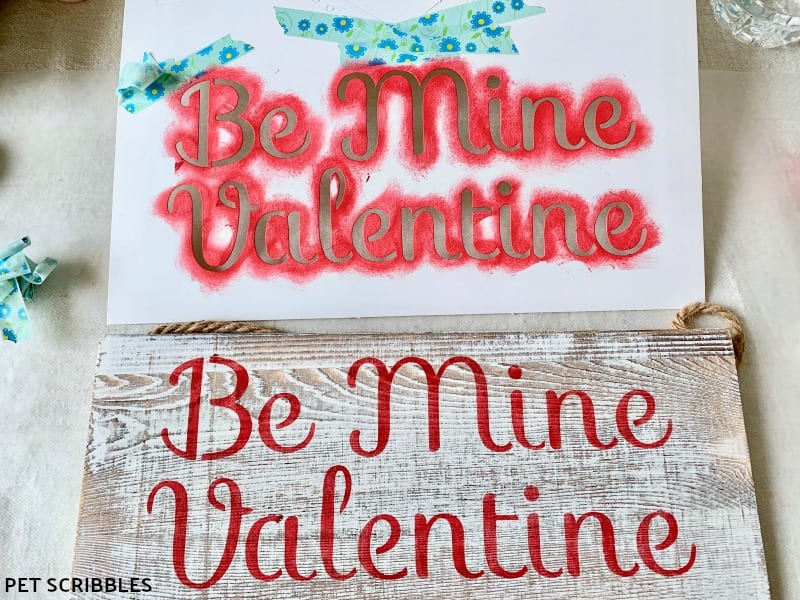
Distressing the Stenciled Words
If you’re like me, then you love everything looking distressed, especially if you’re making a shabby, rustic sign!
I felt the lettering looked “too new” on the distressed wood sign.
Take a sanding sponge and work in one direction, gently at first, and sand over the lettering. I worked from left to right.
In the images above and below, you can see the difference that sanding makes.
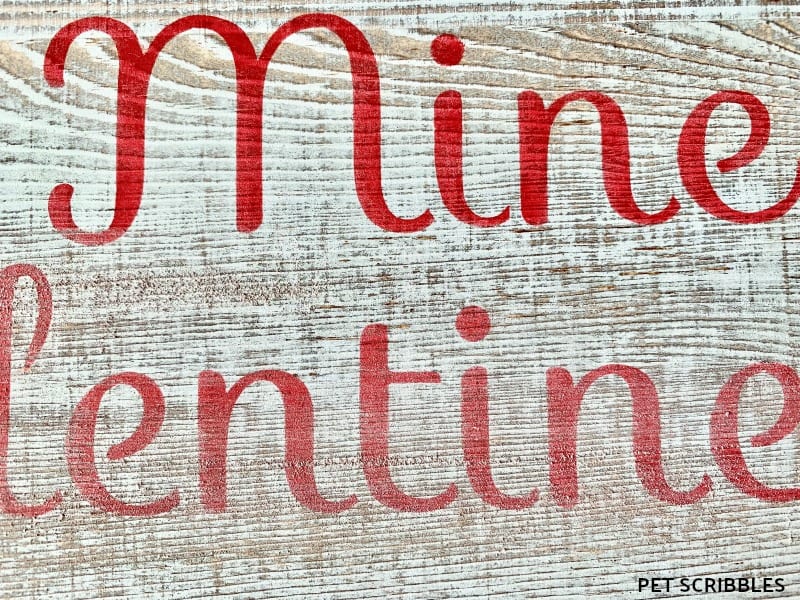
This sanding step is optional, and if you are stenciling on a solid-colored piece of wood perhaps you want the letters to be very crisp and clear. Either way works!
Adding the Final Touches
This rustic Valentine’s Day sign needs a bit more “something” and it took me awhile to figure it out, while playing with different ideas.
I used a wonderful scrubby cotton yarn last week on this easy no-sew felt heart garland I made:

This yarn, I thought, will provide a nice texture element plus give a bit more color to the sign.
Wrap the yarn around the base of the sign multiple times and tie in the center. You can either leave the ends dangling, cut them short, or tie them in a bow. Again, your choice!
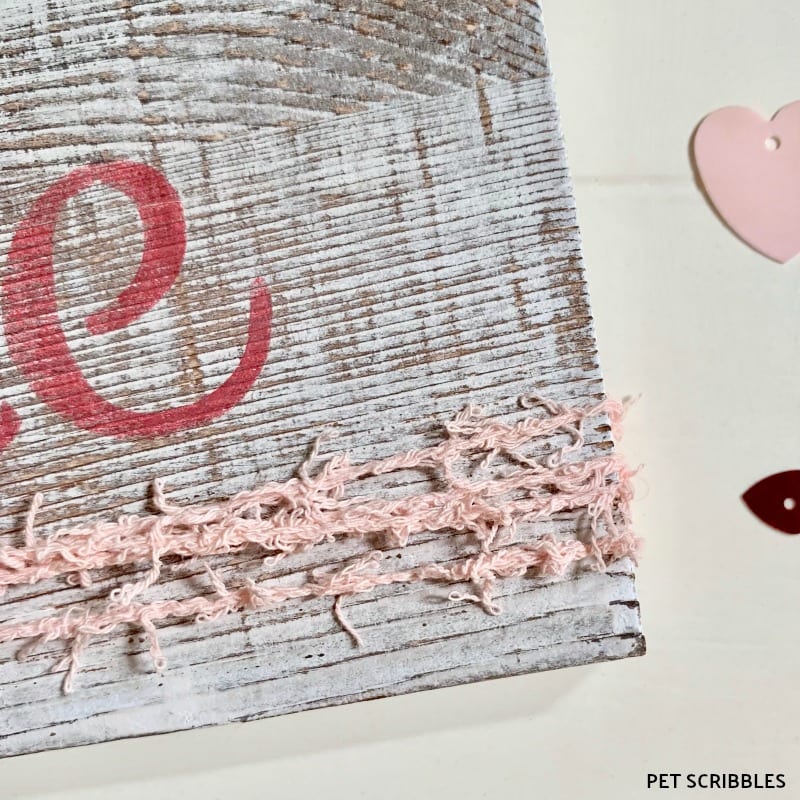
I decided to leave the ends dangling, because I wanted something to dangle from them!
More thinking and poking around my craft room.
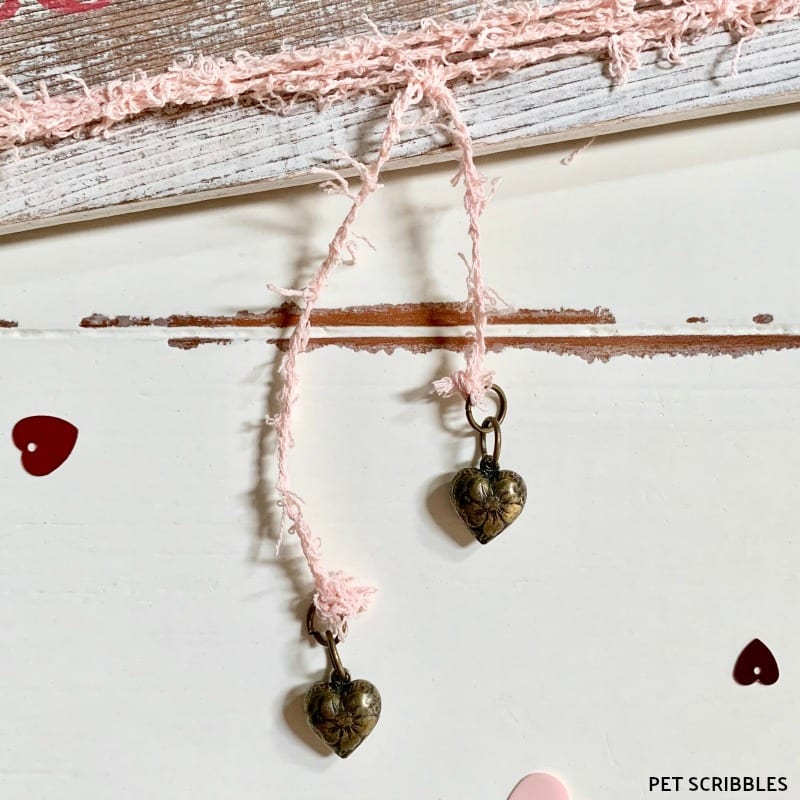
Old and broken jewelry always comes in handy!
This old bracelet had the perfect heart charms to dangle from the yarn!

Use jewelry pliers to remove charms from old jewelry, then add jump rings to make it easy to attach the hearts to the yarn.
Finally, tie the yarn ends to the jump rings and cut off the extra. I purposely made mine two different lengths.
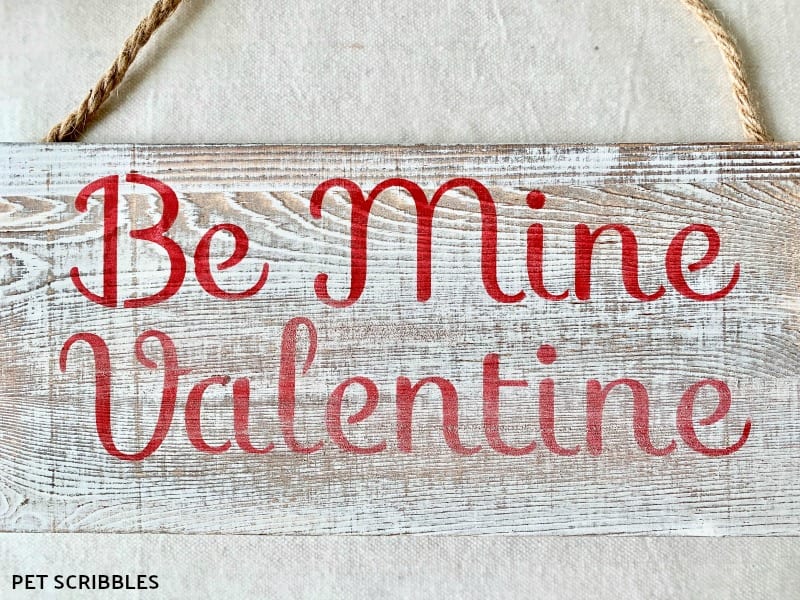
Rustic Valentine’s Day Sign
I love how this turned out, and how easy it was to create!

The stencils worked out great, and I’ll definitely be using these year-round for upcoming holidays and seasons!
(And you’ll be seeing those projects too!)

And when you purchase an already-distressed blank sign, you’re halfway there to being finished!

Happy crafting!
Looks Great!!!
Thanks Robert!