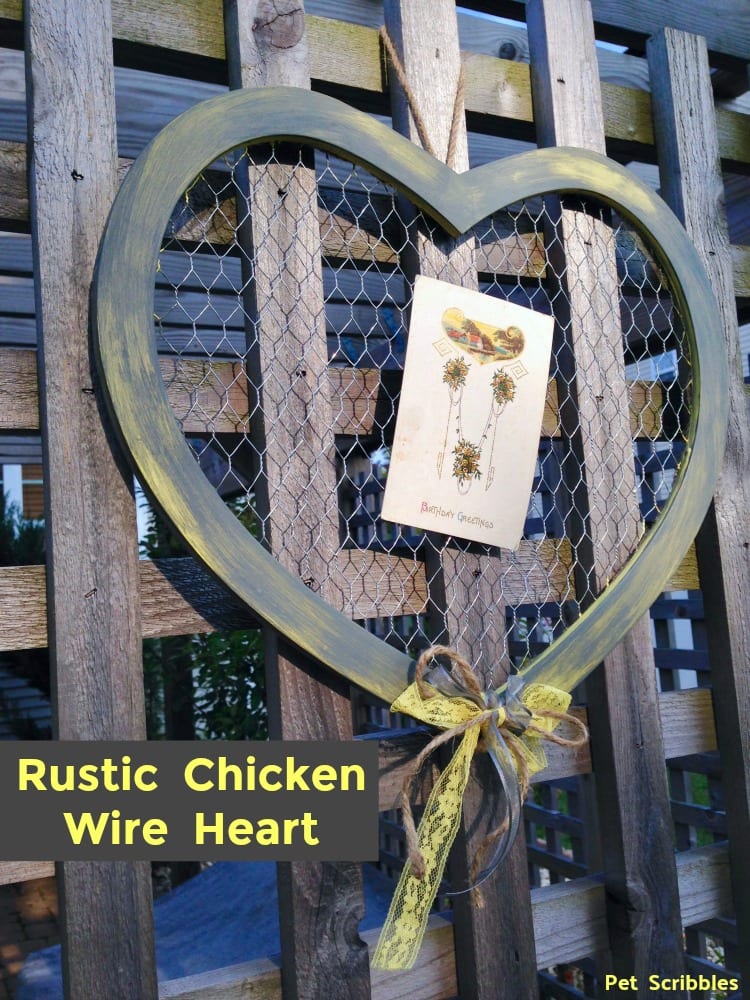
Today I’m going to show you how easy it is to paint a Rustic Chicken Wire Heart! You can get a distressed look with basic craft paints and a washcloth. This is a super easy-peasy DIY — trust me!
Have you seen the rustic farmhouse chicken wire trend? Maybe it isn’t a trend, but many frames and home decor items have chicken wire as part of the decoration. It’s a rustic, farmhouse style that I really like!
FTC Disclaimer: Some of the links in this post are affiliate links. I explain more here.
Instead of paying good money for something similar that’s already painted — buy an unfinished chicken wire heart and paint it in the colors that you want to match your own farmhouse decor.
Helpful tip: Simply purchase a ready-made home decor item and customize it with craft paint to match your own color scheme!
Here’s a picture of a rustic chicken wire heart, made by Darice Crafts.
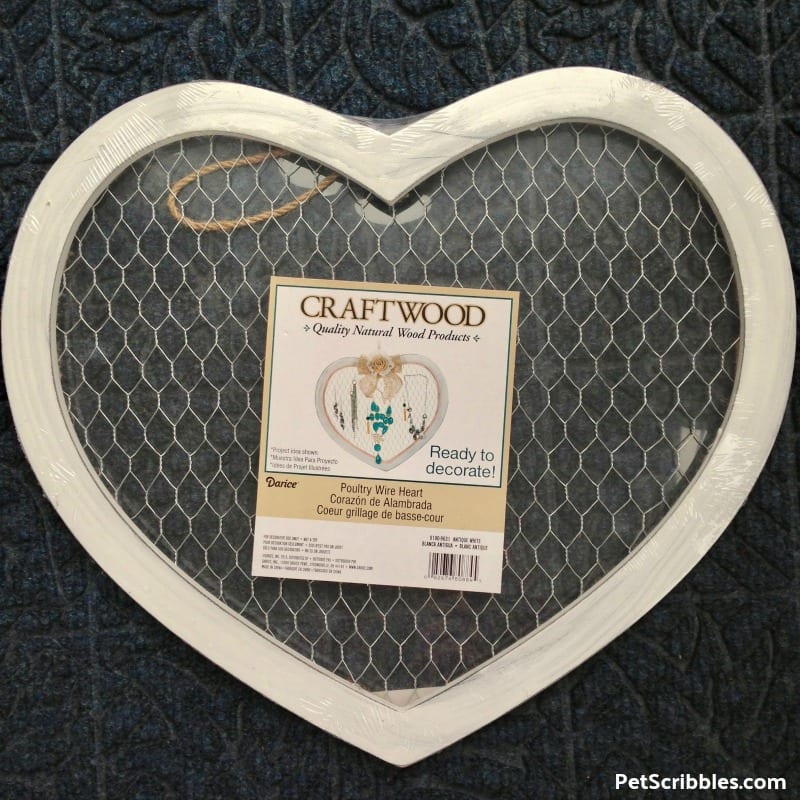
You can buy this on Amazon here for under $10.
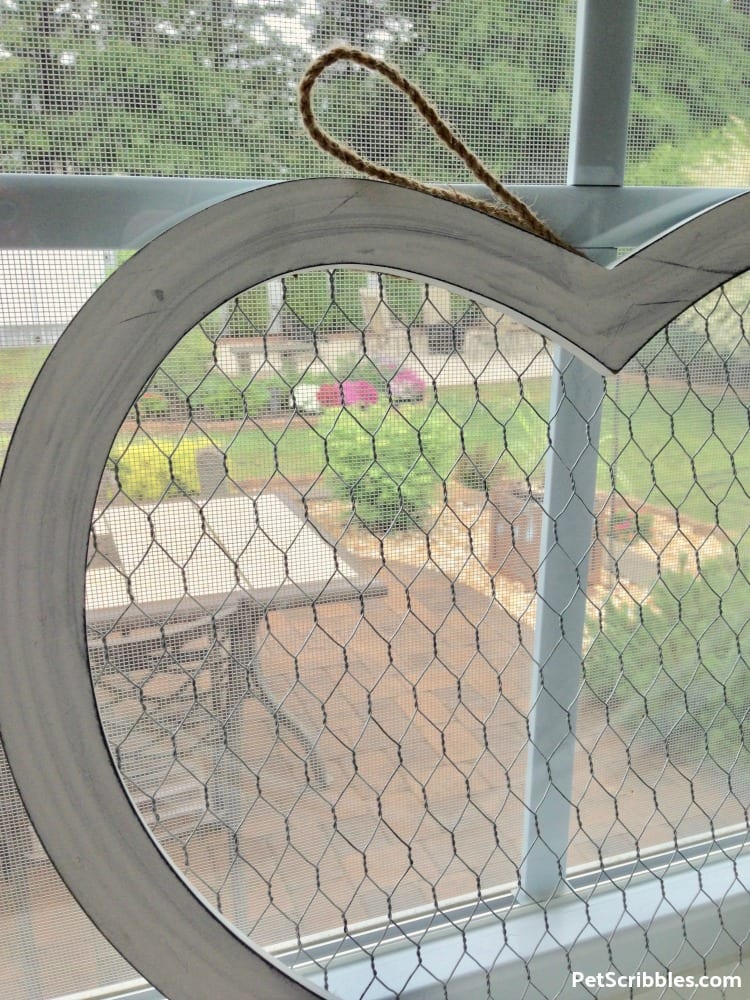
The size of the heart is approximately 14 inches by 16 inches, and there is a twine loop at the top for easy hanging.
The wood has a very light rustic white paint finish, so you could display it as is.
I can imagine using these as wedding decor, painted to match the wedding colors, with ribbon or flowers wound through the chicken wire.
So pretty!
I decided to paint mine and embellish it with some of my own ribbons and vintage lace seam binding.
PAINTING WITH A WASHCLOTH??
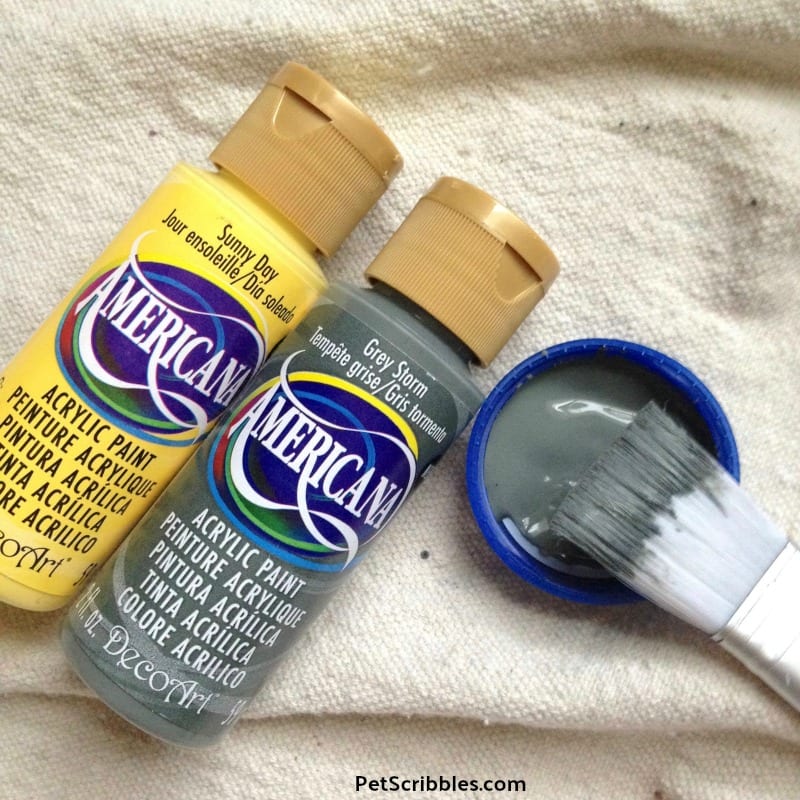
The paint technique I used to get a weathered-wood finish consists of two paint colors and a wet washcloth.
A wet washcloth?
Yes, and it’s very easy to do!
RUSTIC CHICKEN WIRE HEART
Supplies:
- Chicken wire wood framed heart — Darice Crafts
- Craft paint in yellow and grey — Americana by DecoArt
- Paintbrush
- Plastic lids to hold paint
- Washcloth
- Water
- Ribbons, trims
- Scissors
Tutorial:
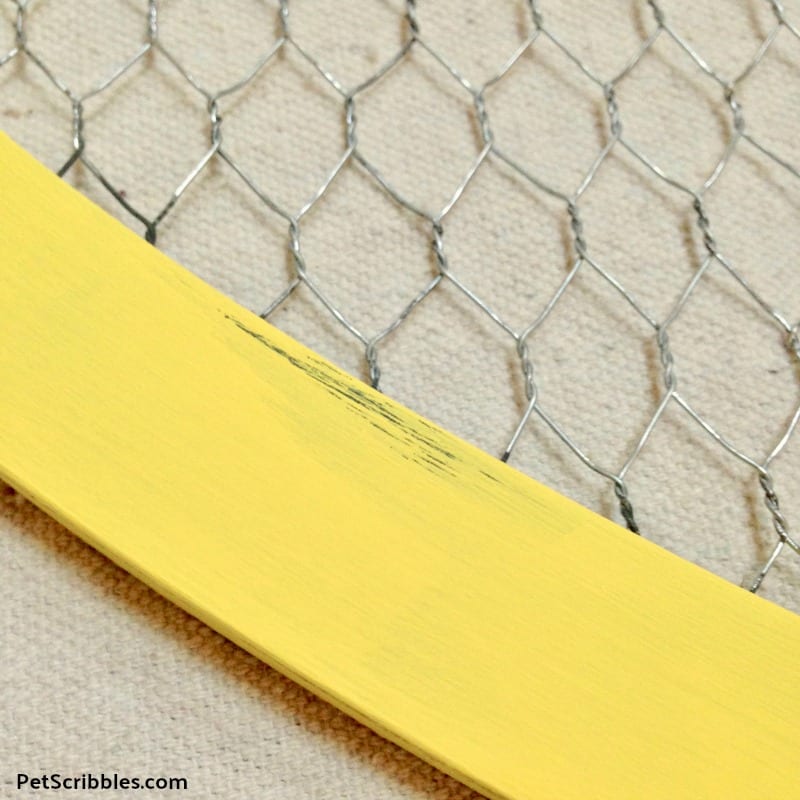
First I applied two coats of yellow craft paint onto the wood frame of the heart.

I did these coats quickly and if my paint brush missed a few spots here and there, I wasn’t worried about it. I’m going for a rustic look!
Next I painted on Grey Storm, waited just a few seconds, then wiped off the paint here and there – in the direction of the heart shape – with an old wet washcloth.
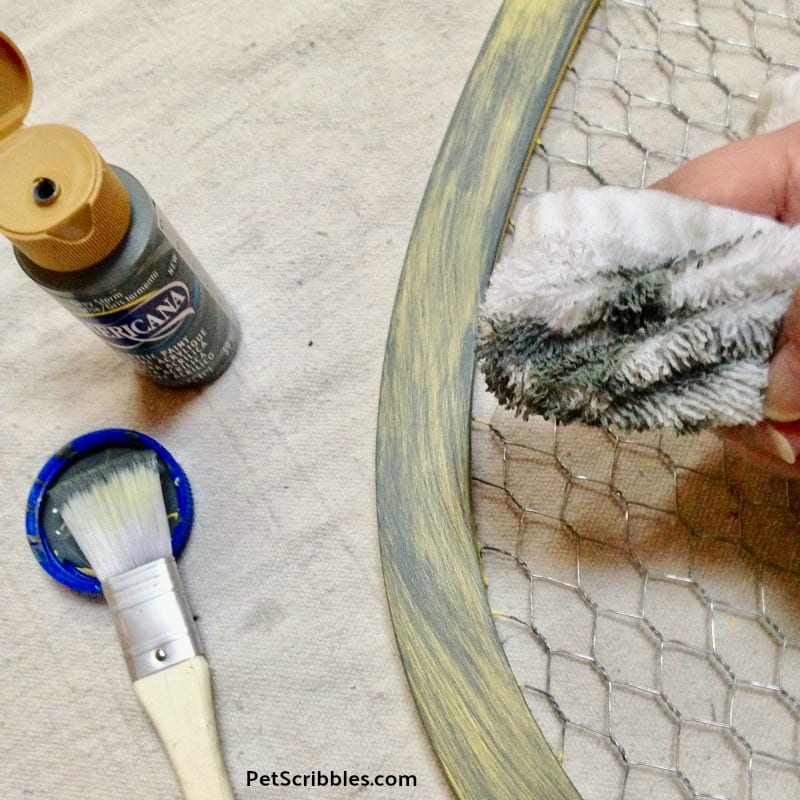
- Make sure your washcloth is wet but not dripping wet.
- Keep painting on the Grey Storm and then wiping back until you love how it looks.
- This is one of those quick paint crafts where there’s no right or wrong way!
- Let dry and you’re all set!
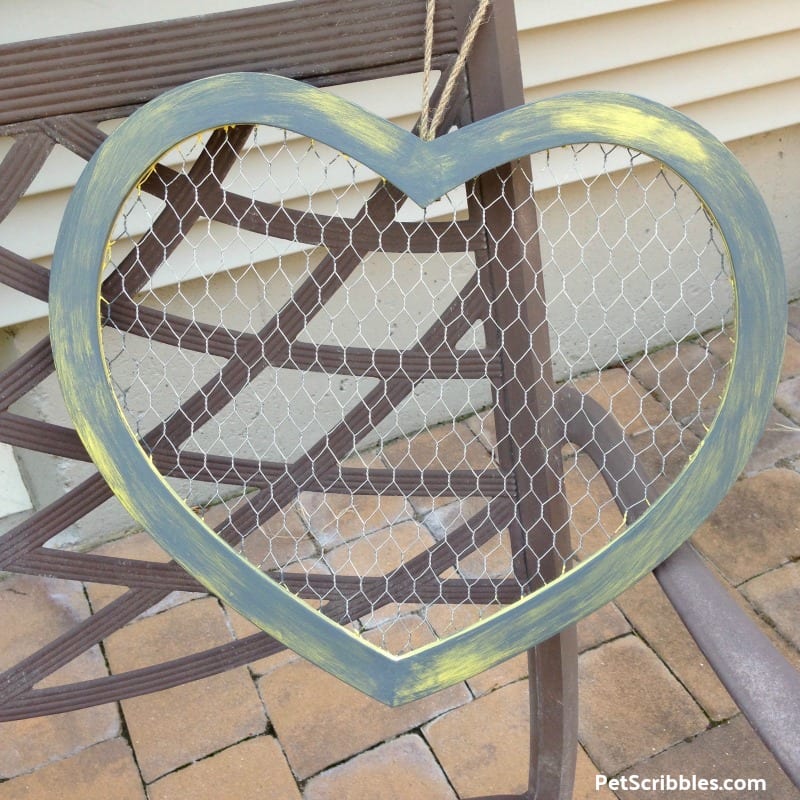
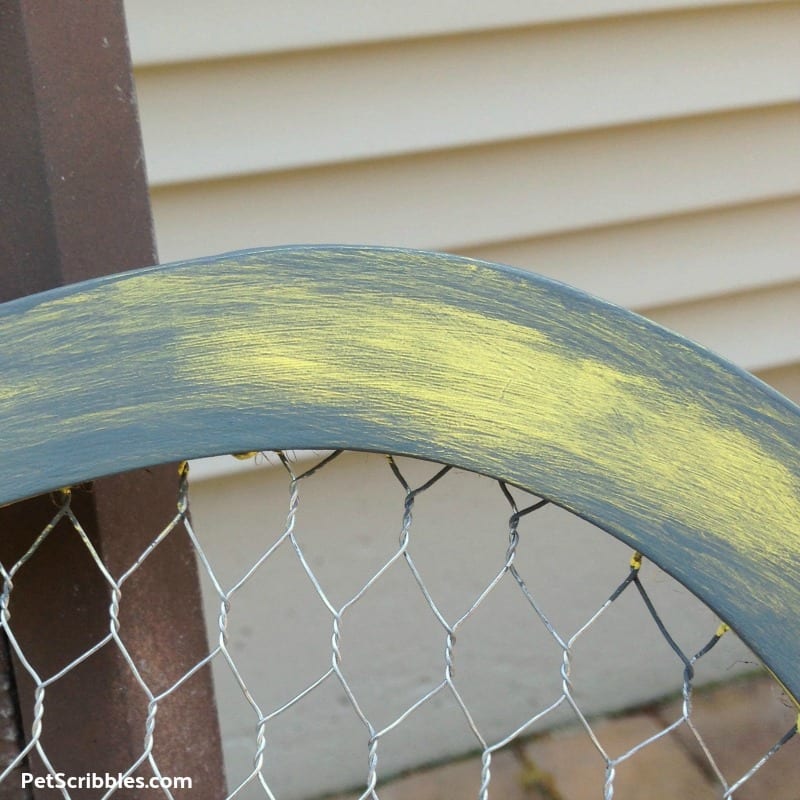
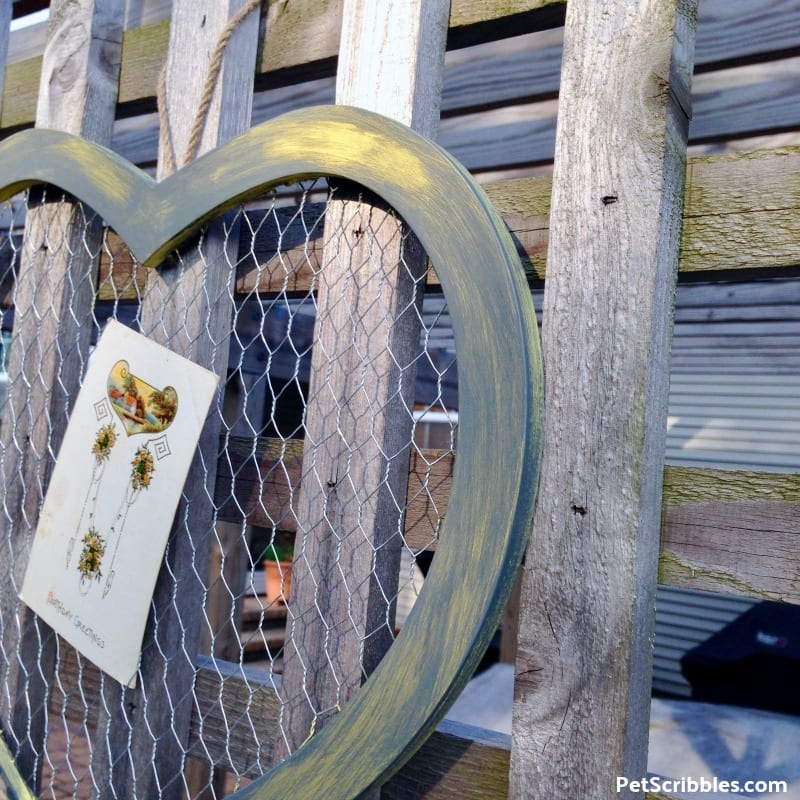
This paint finish looks weathered and distressed — yet no sanding was involved!
I’m always adding ribbons and trims to my projects, and this one was no exception!
First I gathered up everything I thought matched the color scheme and style . . .
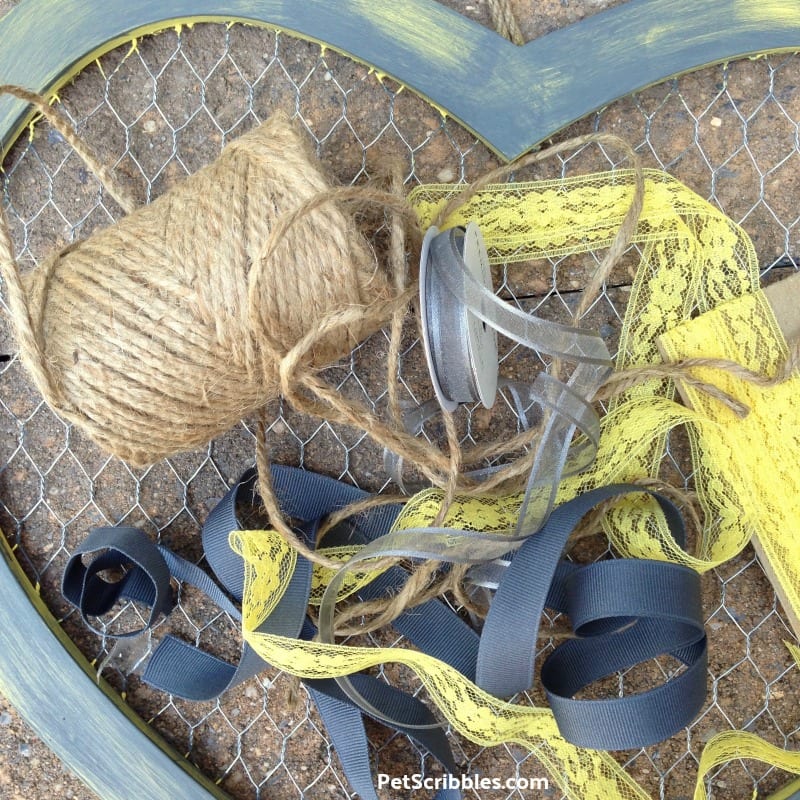
Then I played with everything until I was happy.
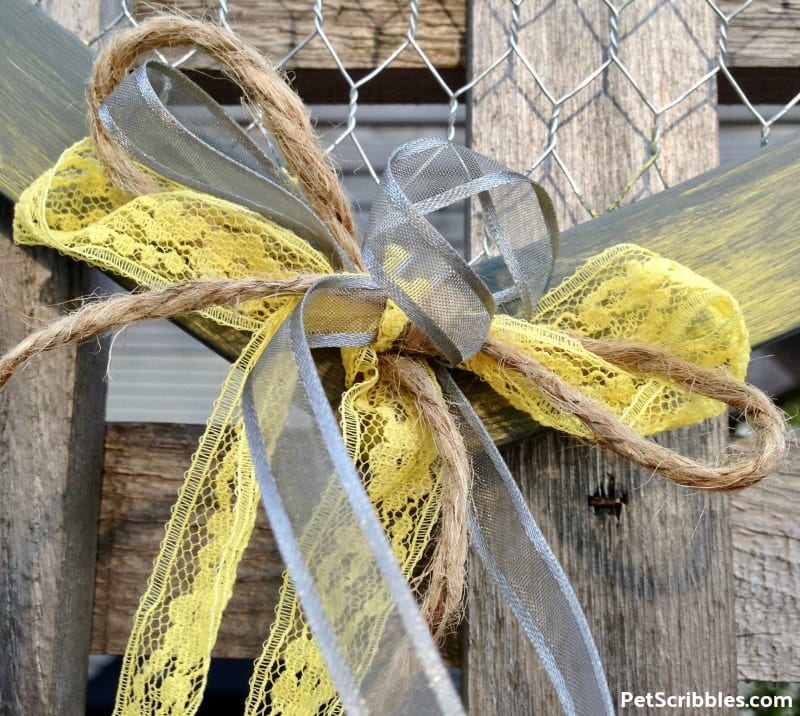
I ended up choosing one grey ribbon, some vintage seam binding and twine, cutting them the same length, and making a simple bow.
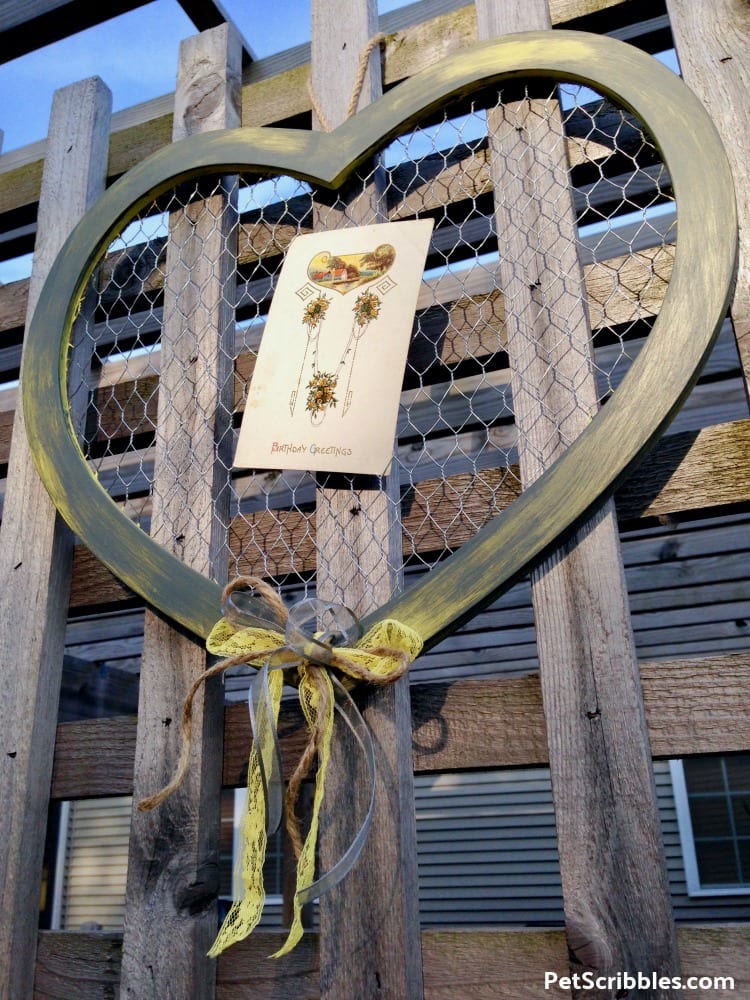
Hang the chicken wire heart as is, or add something special to it, like a treasured photo or greeting card.
The chicken wire also makes this heart handy as a jewelry hanger for earrings.
I’m displaying a vintage birthday postcard in mine.
I love how this DIY came together so quickly! And I’m sure you will too!

Gotta love easy-peasy DIY ideas!
Happy crafting!
An older version of this tutorial first appeared on Deja Vue Designs, when I was a craft contributor there. This tutorial has been completely updated for you here!
Leave a Reply