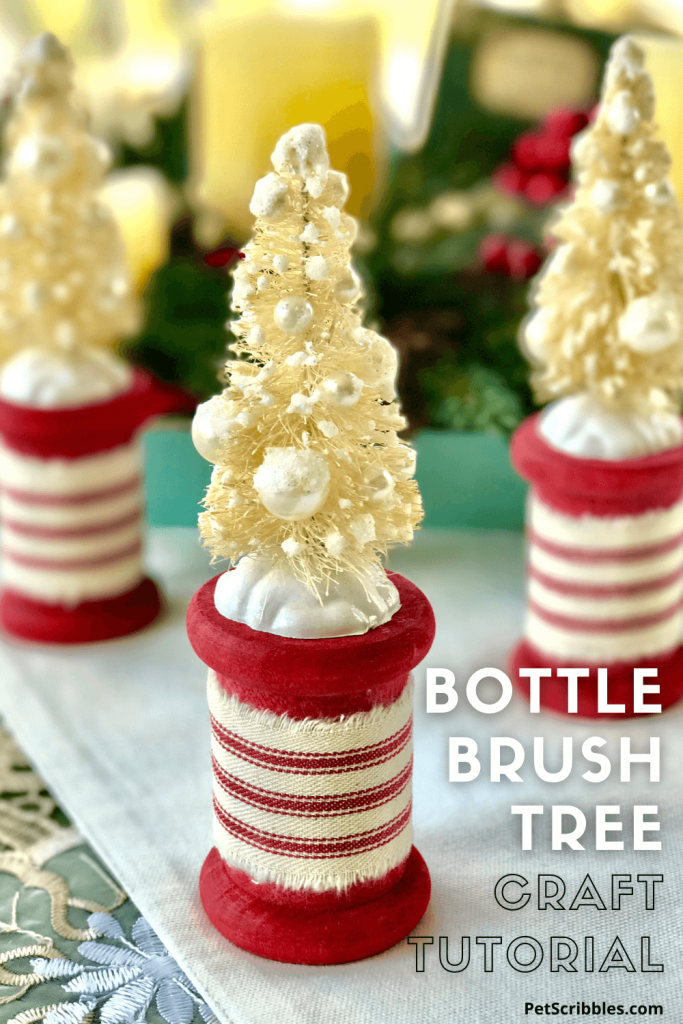
Ivory bottle brush trees on red spools — an easy Christmas craft for holiday farmhouse style! Paint the spools to match your own decor. Step-by-step instructions with photos.
Bleaching green bottle brush trees
Years ago — I bleached these bottle brush trees. At the time, you couldn’t readily find bottle brush trees in ivory or any other color than green.
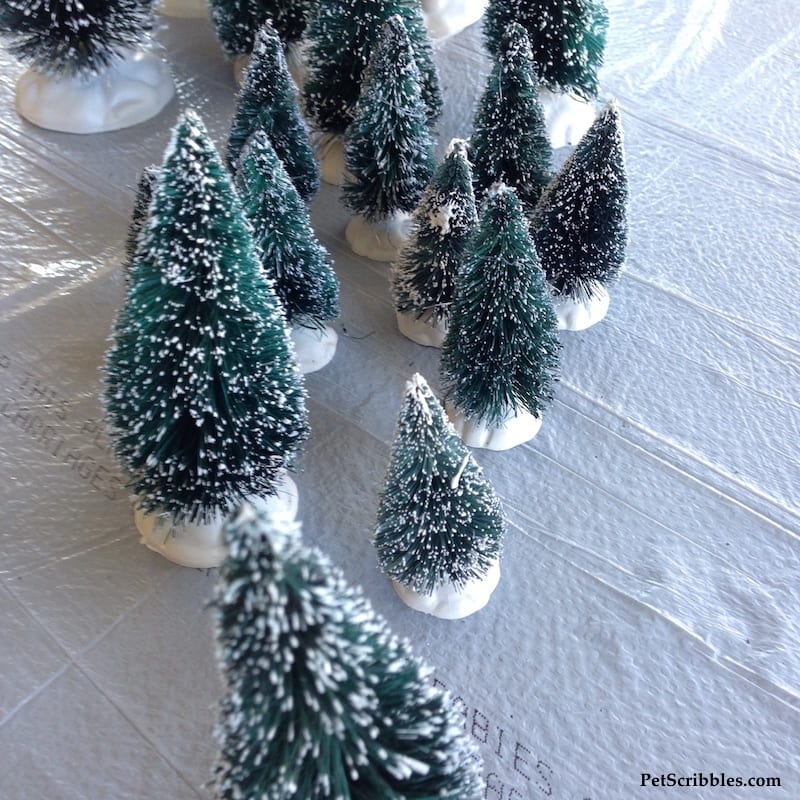
Of course now you can find just about any color you can think of in the craft stores or on Etsy.
Every time I see ivory bottle brush trees in online or in stores, I just laugh at how easy everything has become.
You want ivory bottle brush trees? Don’t bleach them, just buy them!
Supplies for Ivory Bottle Brush Trees on Red Spools
- Large unfinished wood spools (3)
- Dylusions Shimmer Spray in Postbox Red — Ranger Ink
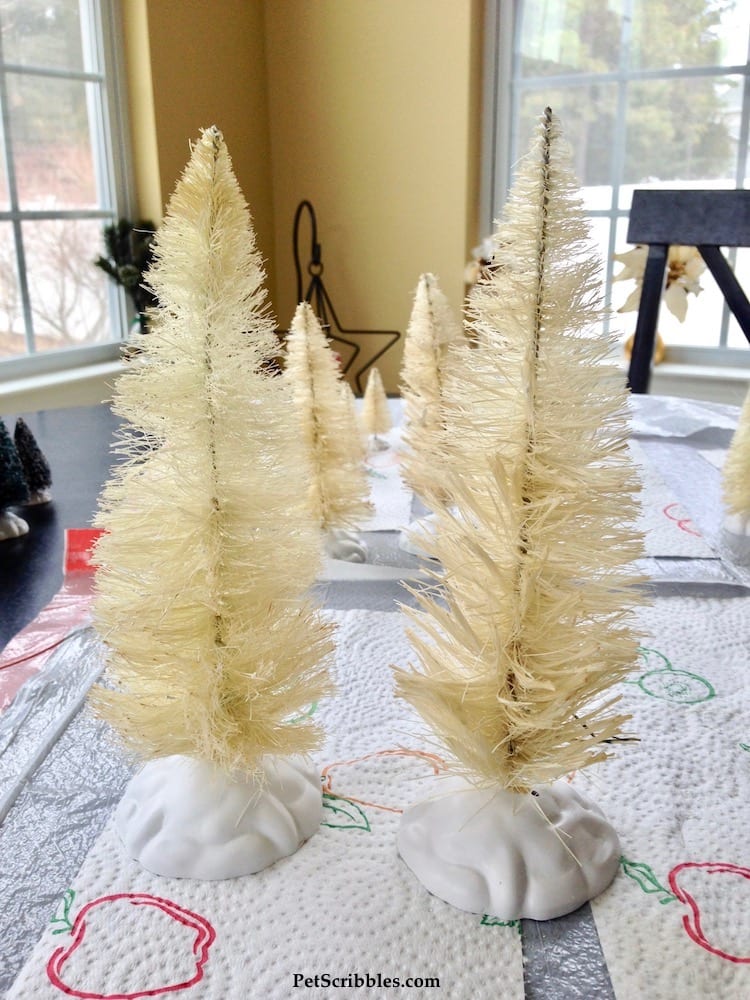
- Trees (3)
- White and ivory craft pearls – various sizes — Darice
- Red and ivory ticking ribbon
- Beacon Fabri-Tac Permanent Adhesive
- E6000 Adhesive
- Sparkle Mod Podge — Plaid Crafts
- Craft Scissors — Fiskars
- Glistening Snow-Tex Glittering Snow — DecoArt
Decorating the Wooden Spools
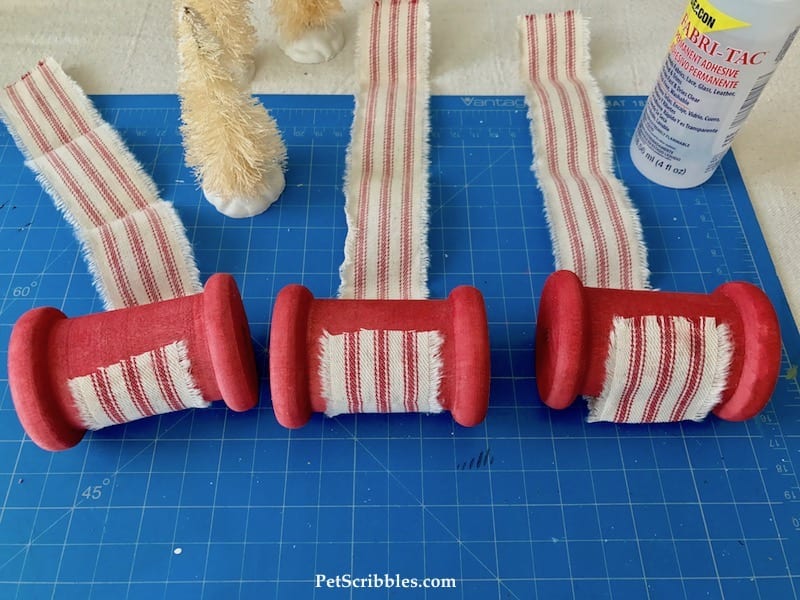
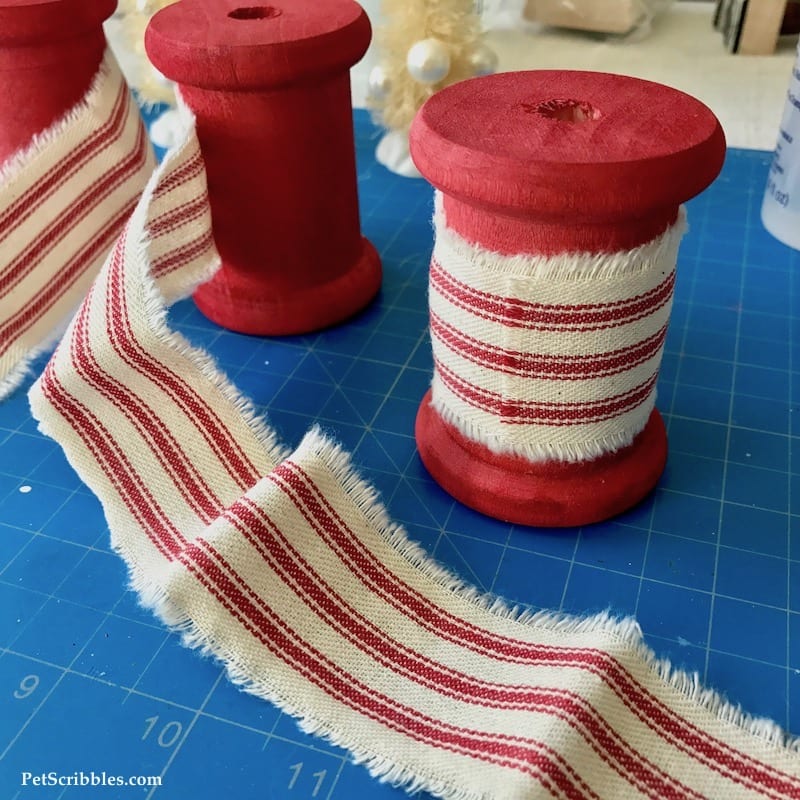
First I dyed the unfinished wood spools with Dylusions Shimmer Spray in Postbox Red.
I was excited that the wood matched the ticking ribbon perfectly!

Next, I measured off a length of the ribbon to wrap around each spool. (The ribbon I used for this has been discontinued. I have linked to other options above in the Supplies list.)
Using Fabri-Tac adhesive, I attached one end of the ticking to each spool, as shown below.
Decorating the trees
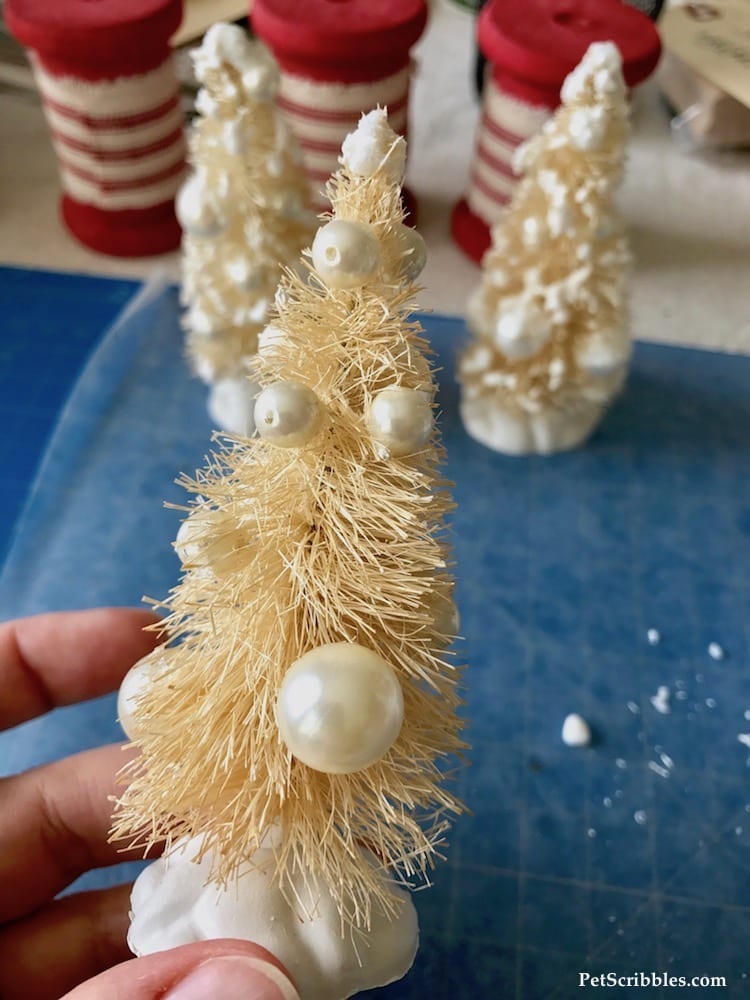
While I let the adhesive on the spools dry thoroughly, I began adding pearls of different sizes to each bottle brush tree.
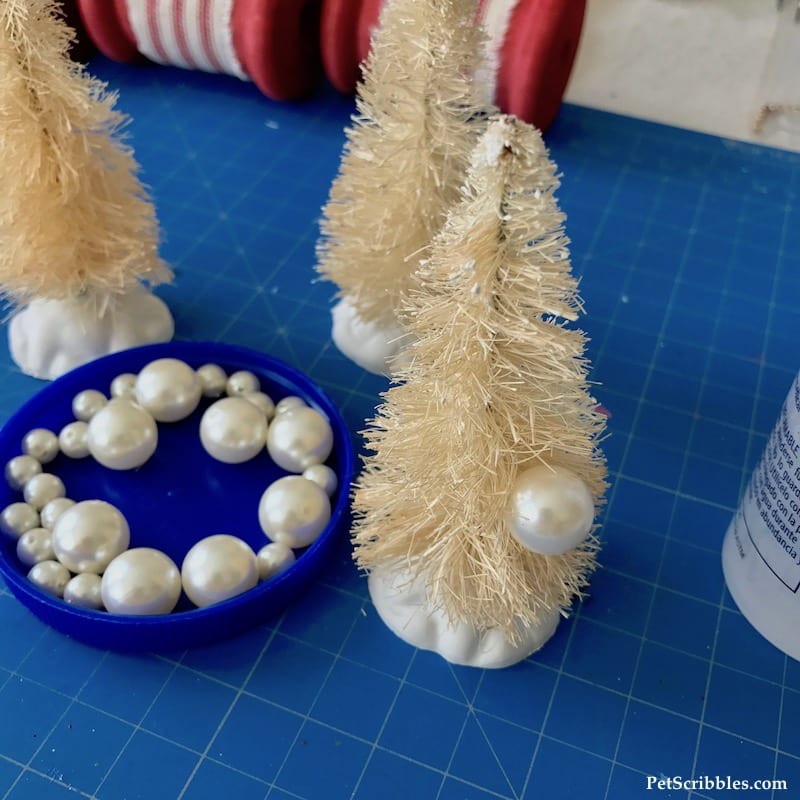
I used the Fabri-Tac adhesive to adhere the pearls – it worked great.
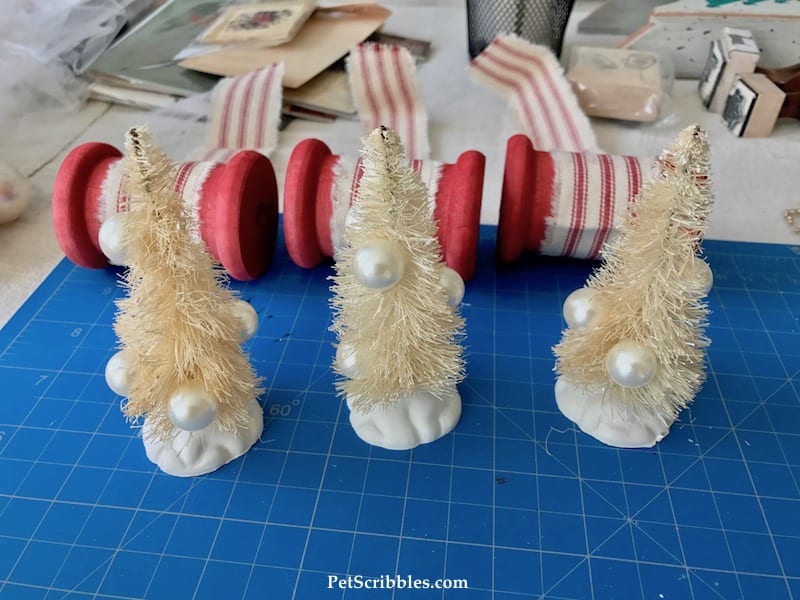
After adding the largest size pearls, I added medium sized pearls here and there.

Let the trees sit for at least several hours so that the glue can dry and cure.
Adding fabric to the red spools
To begin, take each spool and wrap the canvas ticking fringe around the spools tightly, then seal the remaining end with Fabri-Tac.
Let dry well.
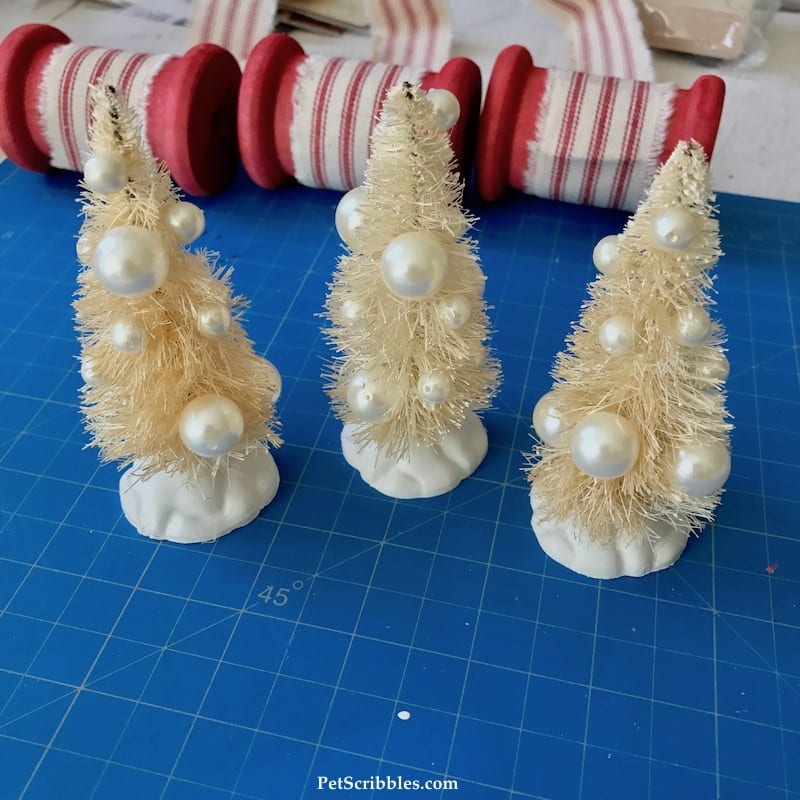
Adding fake snow to bottle brush trees
The trees still looked a bit sparse, so I added some fake snow to fill them out.
Start at the very top of each tree, with snow completely covering the top, as shown above.
Helpful tip: In the image above, you can see some of the bead “holes” are visible. These can easily be covered up with fake snow, which is what I did!
See my detailed instructions on how to apply Glistening Snow-Tex Glittering Snow here.
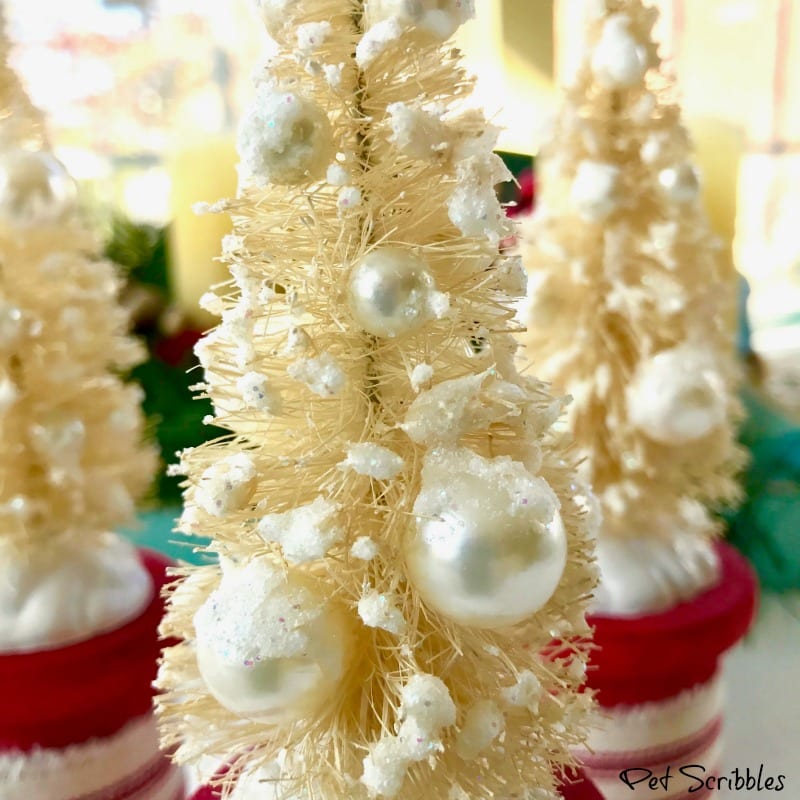
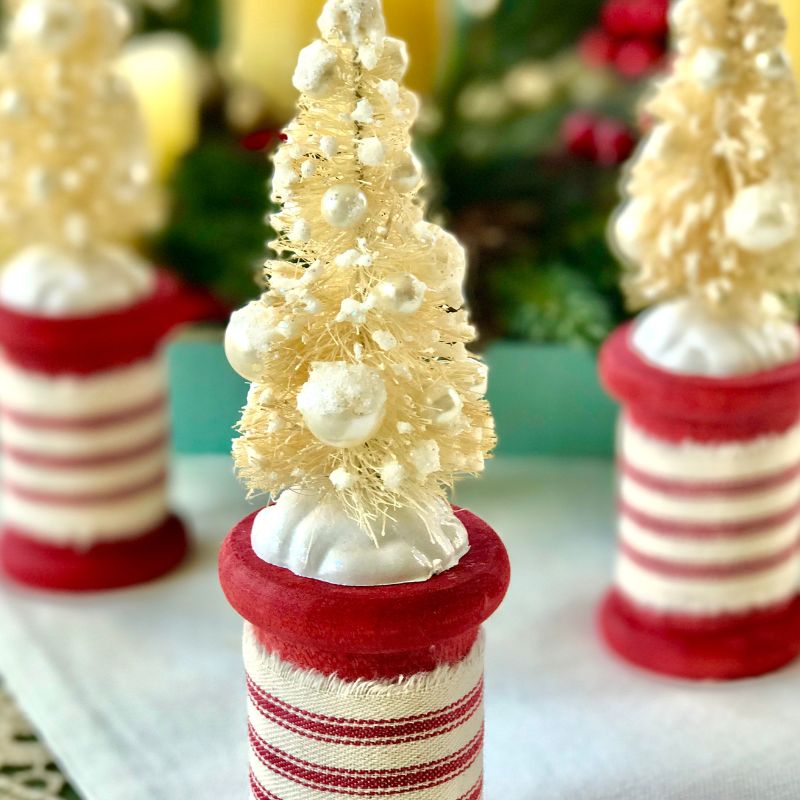
In the close-up image above, you can see that I made sure the snow “fell” onto the tree branches and the ornaments. I love how it looks!
The package directions say it takes 24 hours for complete drying time, so plan for this before proceeding to the next step.
Attaching the trees to the spools
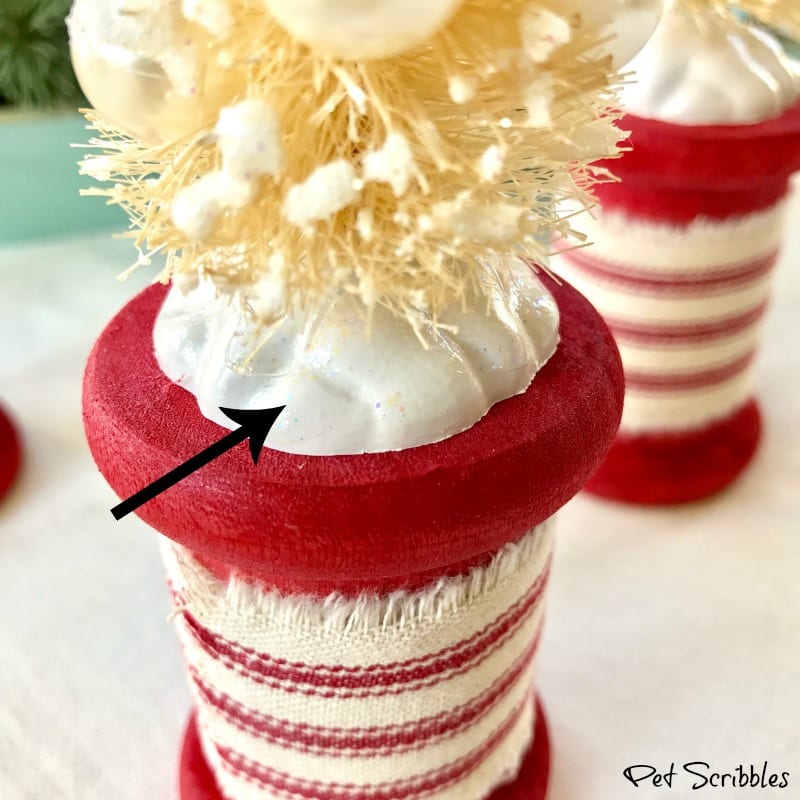
Next, I attached the trees to the spools using E6000 Adhesive, and then let the adhesive dry and cure thoroughly.
Finally, I painted a coat of Sparkle Mod Podge onto the white base of each bottle brush tree — see below — which matched the sparkle in the trees from the glitter snow.
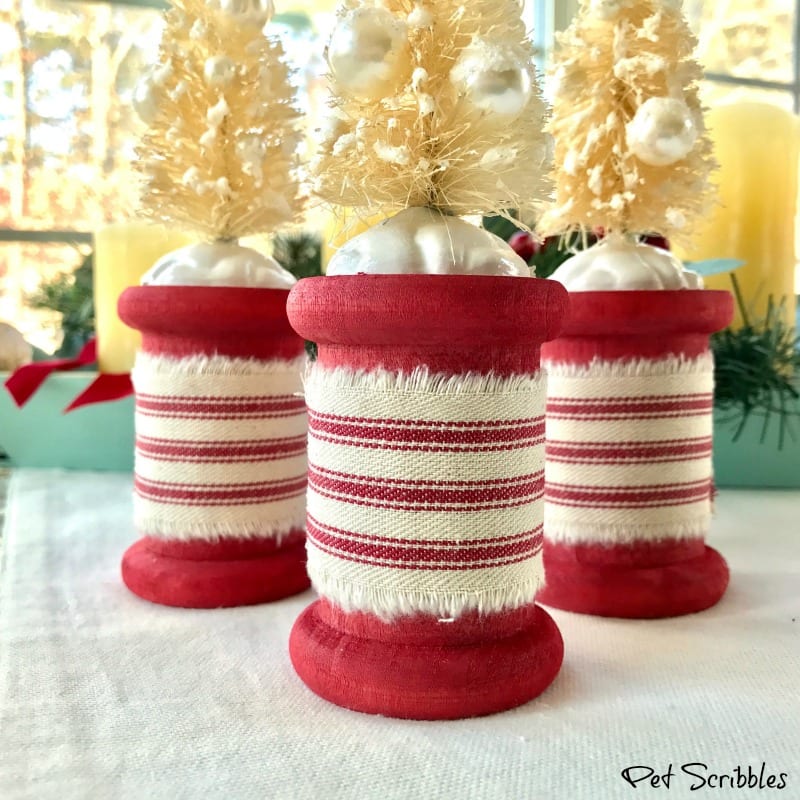
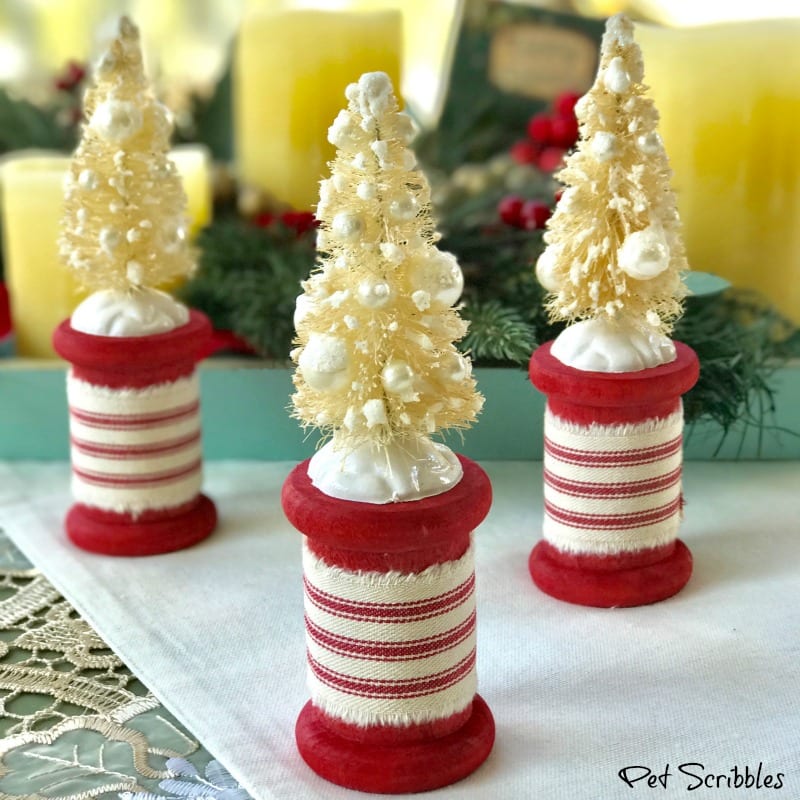
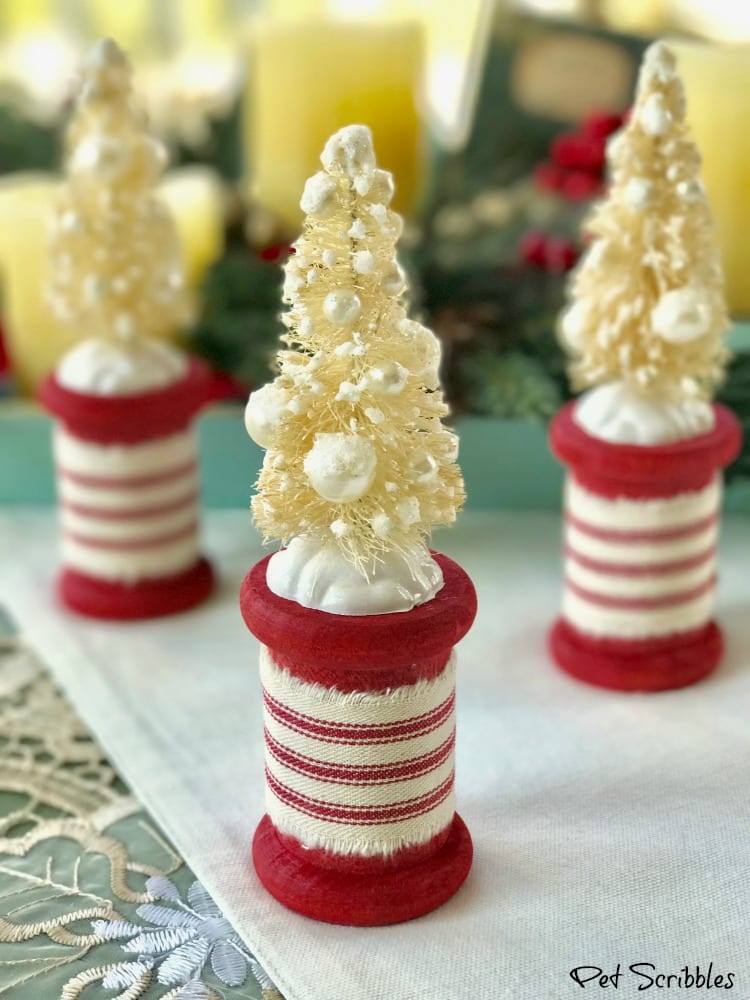
Trio of Ivory Bottle Brush Trees on Red Spools
Once everything dried and cured, I had a sweet trio of decorated ivory bottle brush trees on rustic red spools!
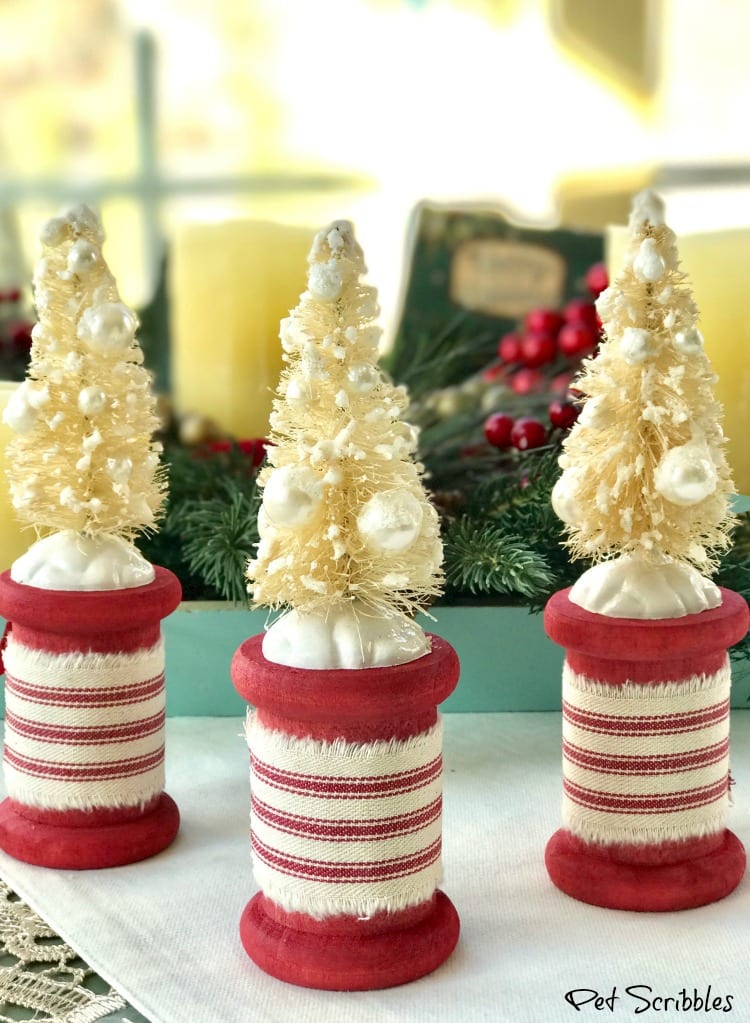
I love the mix of raw stained wood, farmhouse ticking fabric and bottle brush trees filled with pearls and glittery snow!
Decorating bottle brush trees is so much fun!
More Bottle Brush Crafts
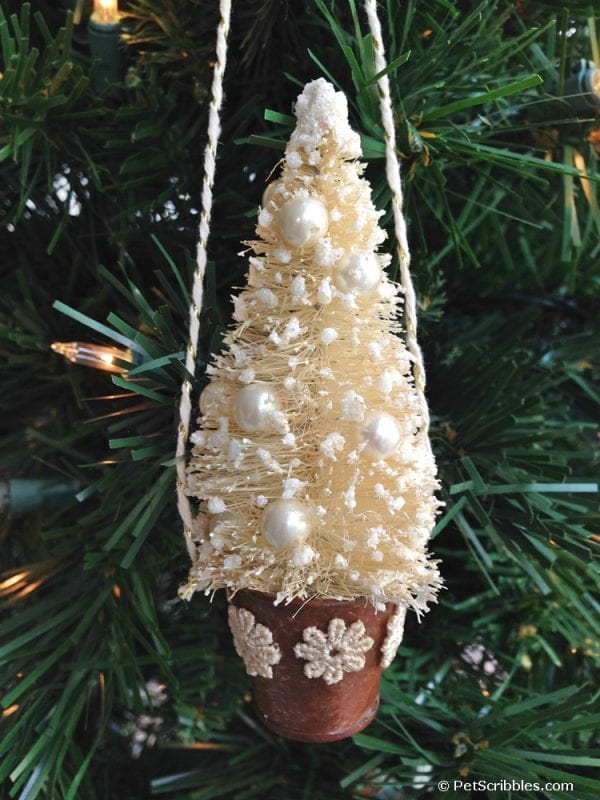
How to Make a Beautiful Bottle Brush Tree Ornament
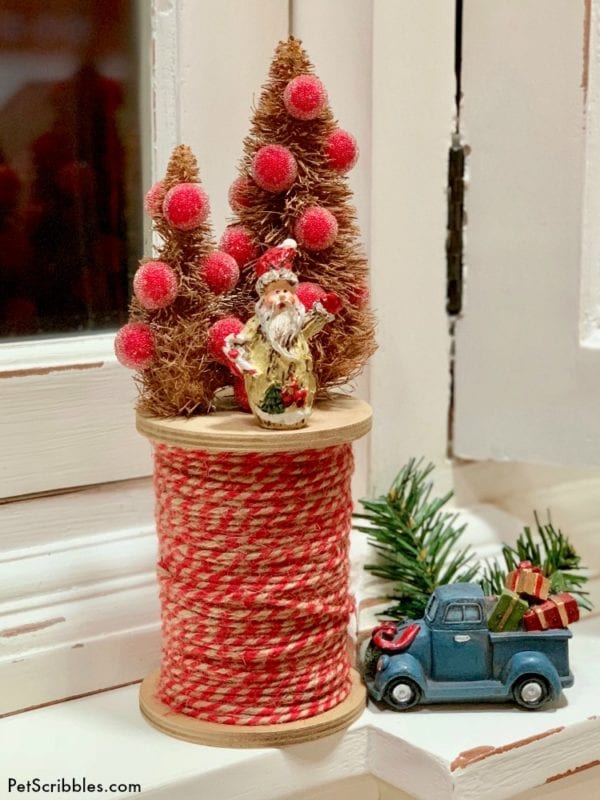
Rustic Bottle Brush Trees on Large Spool
Happy holiday crafting!
Leave a Reply