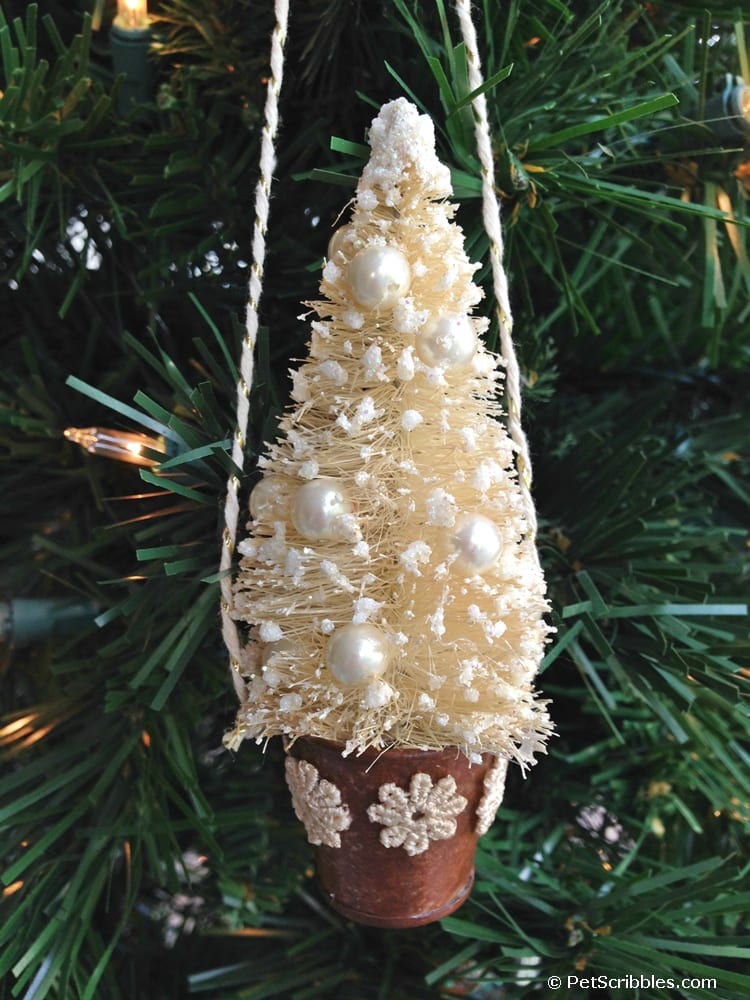
Make a beautiful bottle brush tree ornament with a miniature bottle brush tree, pearl beads for tiny tree ornaments and a rusty fairy garden bucket. This tutorial will guide you step by step with helpful images.

Imagine an off-white, miniature bottle brush tree, snow-covered, with small pearl ornament balls. Imagine this little tree is tucked into a rusty bucket.
Let’s make one to hang on the tree this year!
Supplies needed:
- Miniature galvanized bucket
- Miniature bottle brush tree (off-white color)
- Brown chalky finish paint
- DecoArt Decou-Page (used as sealer)
- Deco Art Glistening Snow-Tex Glittering Snow
- Small paintbrushes
- Scissors
- Wax paper
- Paper towels
- Glue Dots
- E6000 Adhesive
- Faux pearls
- Tea-stained lace scrap
- Decorative baker’s twine
- Small cotton ball
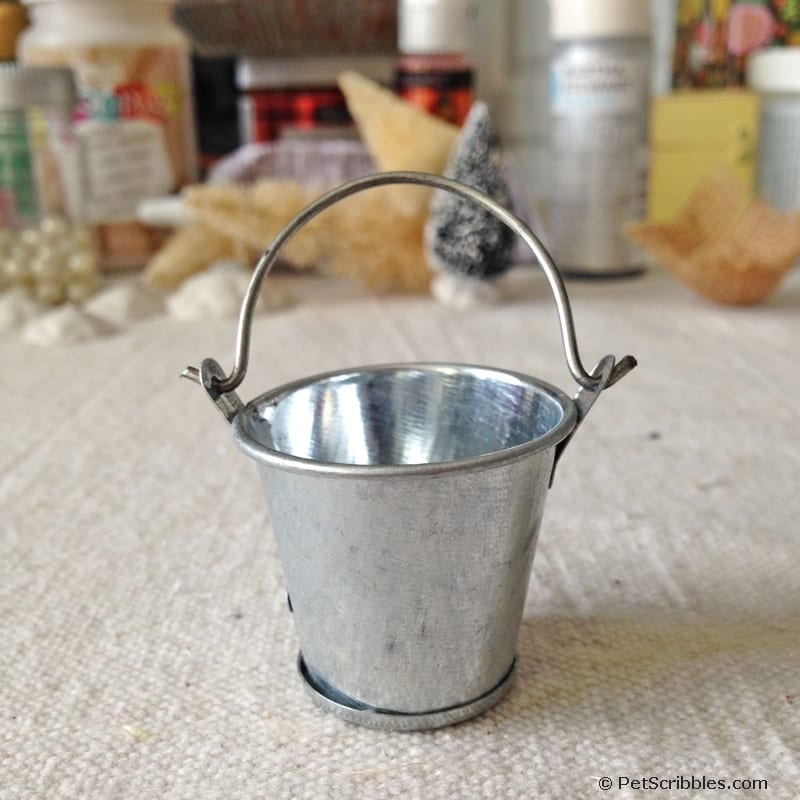
Distress a miniature fairy garden bucket
It all begins with a miniature bucket, which you can find in the fairy garden or miniatures aisle at your craft store.
Use brown chalk paint to make the bucket rusty.
Dab on the chalk paint with a small paintbrush, both inside and outside of the bucket. Do as little or as much as you prefer, depending on the look you want.
Let dry.
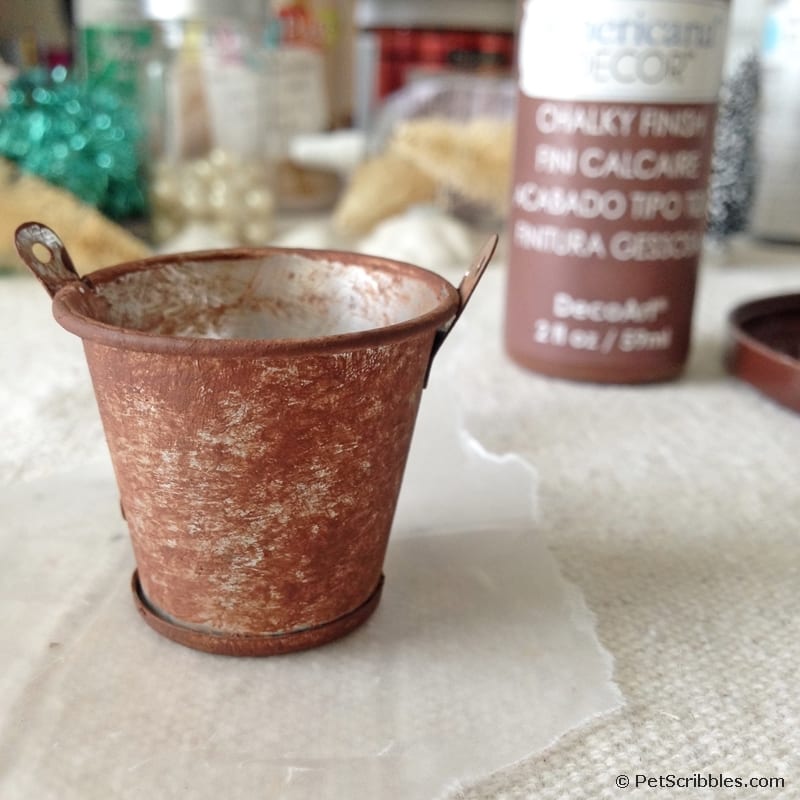
Next, seal the bucket with a coat of Decou-Page, both inside and out.
Let dry on wax paper.
Easily add snow to your bottle brush tree
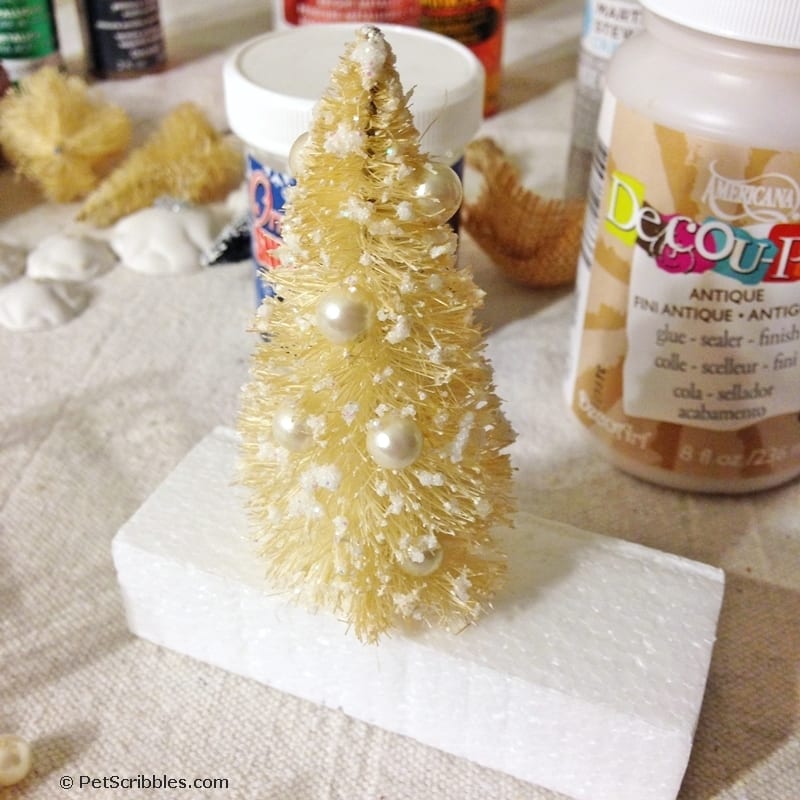
Using a small paintbrush, scoop out some of the DecoArt Glittering Snow and tap and push it into the tiny branches of the bottle brush tree.
Start with a tiny amount of snow and gradually build up until you like the look of the tree.
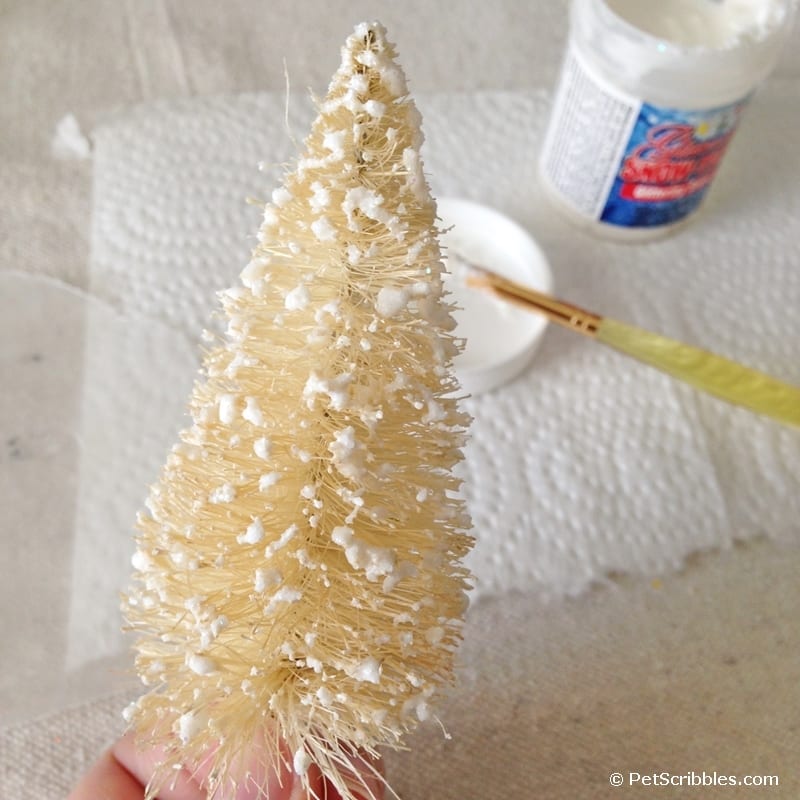
You can create a snow-covered tree, a snow-dusted tree, or somewhere in the middle.
Helpful tips:
- Remove any base from your bottle brush tree — usually you can easily twist to unscrew — and stick the tree into a scrap piece of Styrofoam. This makes painting, embellishing and drying much easier.
- The directions say it takes 24 hours for complete drying time, so plan for this.
Decorate the tree with pearl ornament balls
Attach individual pearls to the bottle brush tree with E6000 craft adhesive.
Let dry thoroughly.
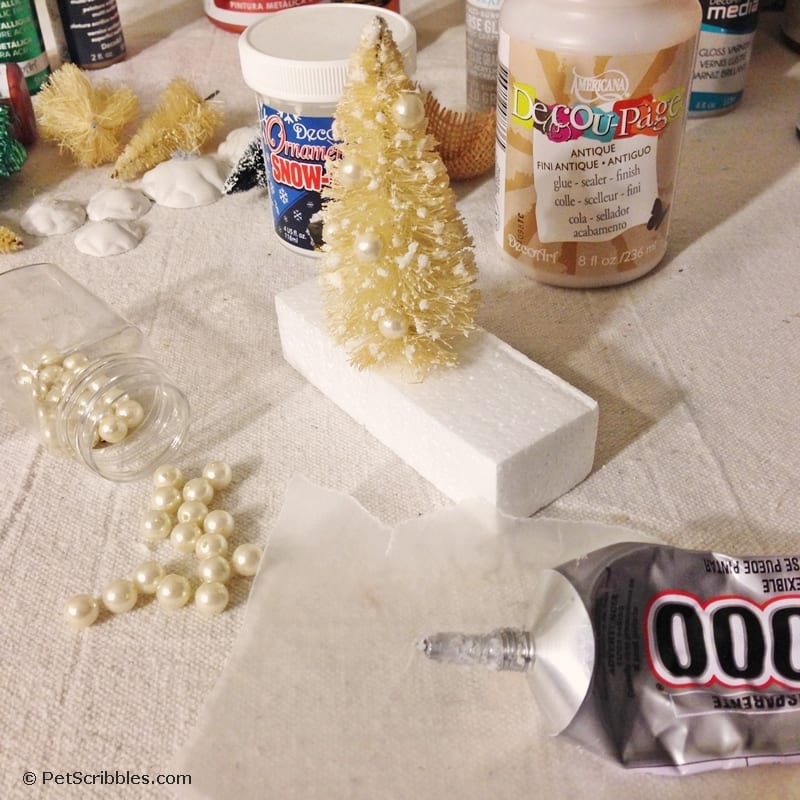
Helpful tip: I used an old fake pearl necklace that I cut up. You can find small bead strands in the craft aisle at Walmart or in the jewelry aisle at Michaels. Make sure to attach the pearls so that the holes won’t show. (And if they do? Just add some glittering snow to cover them!)
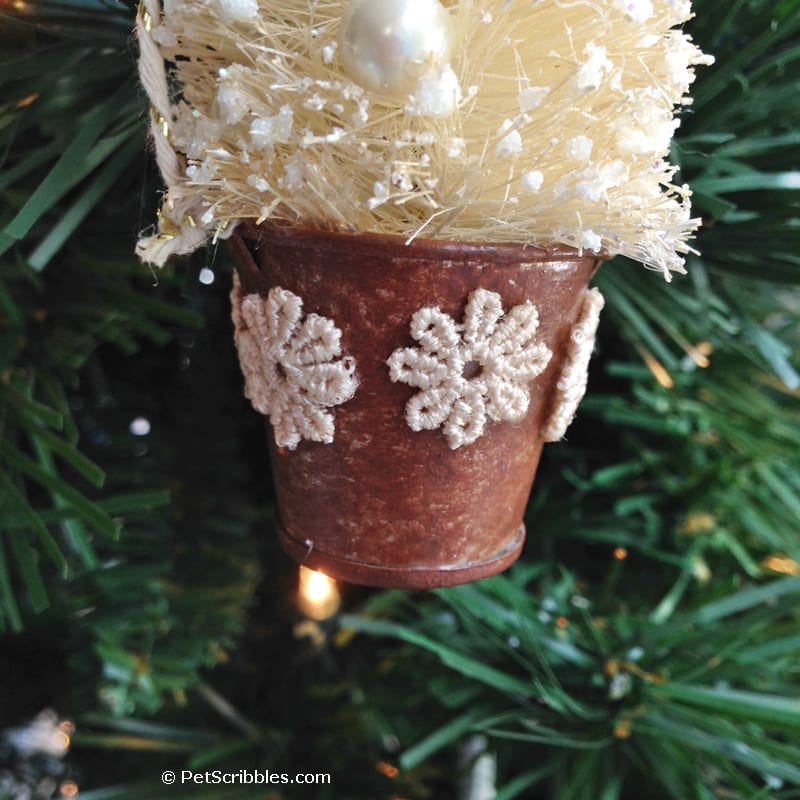
Make the rusty bucket pretty
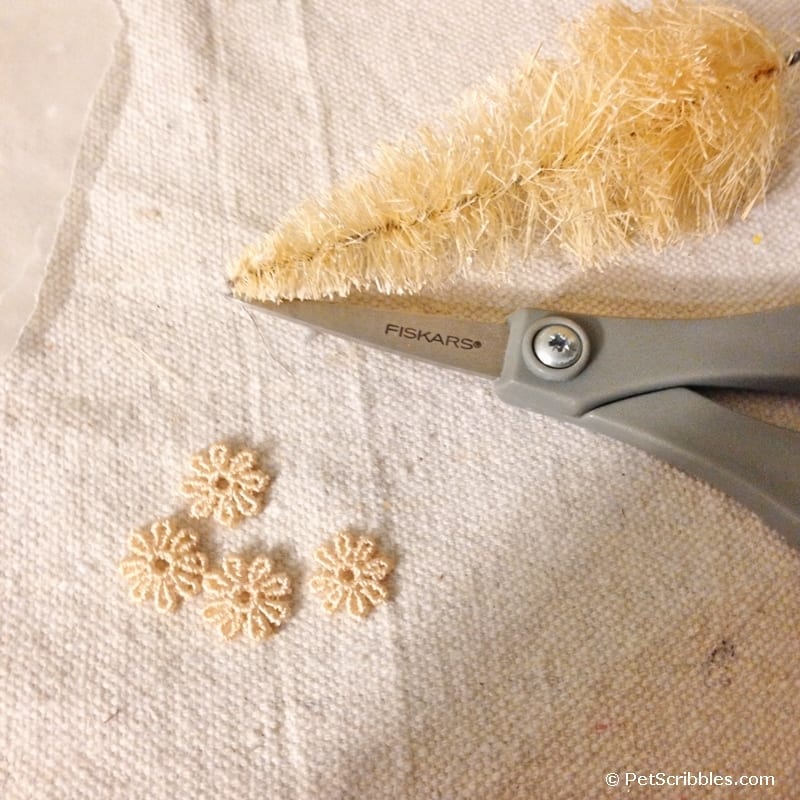
Cut up a tea-stained small floral lace scrap, and adhere the individual flowers to the rusty bucket with Glue Dots.
Add string to the bottle brush tree ornament
Tie decorative baker’s twine to each handle to hang. Make sure to allow enough room for the bottle brush tree.
Now put it all together!
Stick a small cotton ball into the rusty bucket.
Add some E6000 to the inside bottom of the bucket, then the cotton ball.
Next, squirt some E6000 onto the bottle brush tree stem and stick it into the bucket.
Hold in place for about 30 seconds then let dry thoroughly overnight.
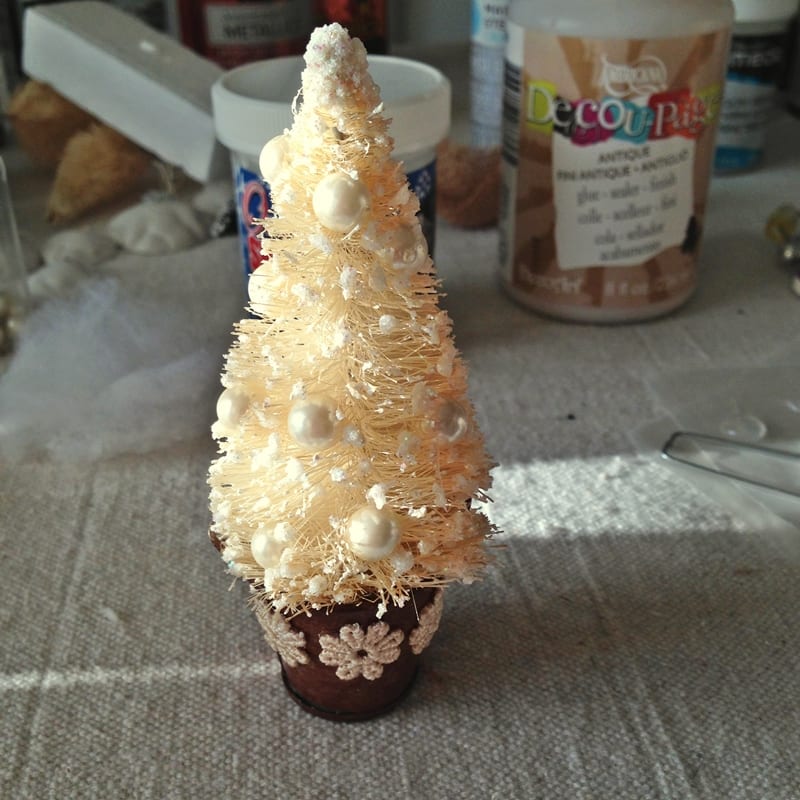
A beautiful bottle brush tree ornament!
Now is the perfect time to make handmade Christmas ornaments!
And these days, especially with all that’s available at the craft stores, it’s easier than ever to create something pretty.
More bottle brush tree ideas!
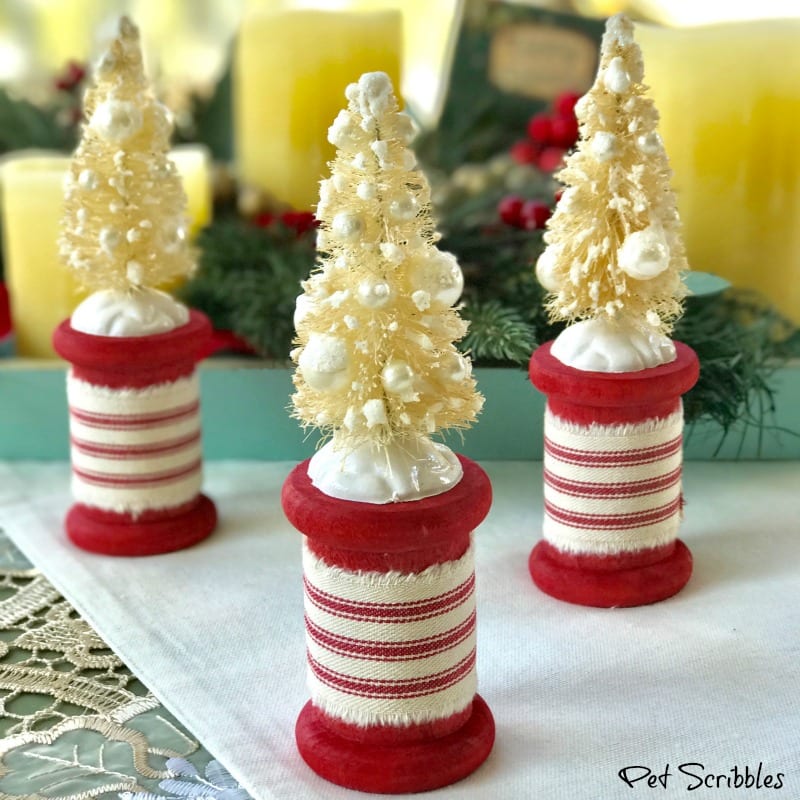
Ivory Bottle Brush Tree Craft
Similar to how I decorate the bottle brush tree above, then glue it to a painted (or stained) wood spool for a pretty display!
(Click on title above to see full tutorial and more images.)
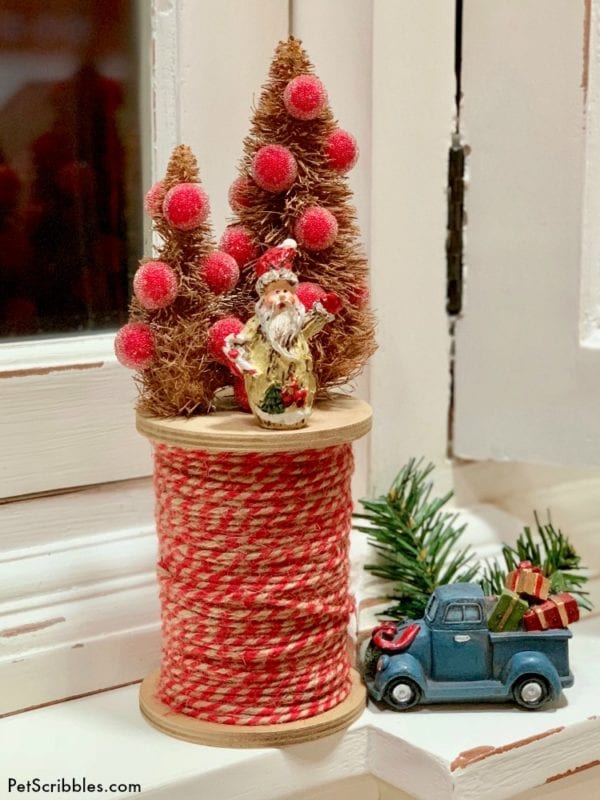
Painted Bottle Brush Trees on Large Twine Spool
I made these bottle brush trees rustic by painting them to match the wood color of the spool. You can find twine (or baker’s twine) wrapped on spools at craft stores or online. Then glue a small grouping of trees on top!
(Click on title above to see full tutorial and more images.)
For even more ornament ideas, use these handy links:
Christmas Crafts and DIYS (link takes you to another section of this website)
DIY Christmas Ornaments (link takes you to my Pinterest board filled with ideas)
Happy holiday crafting!