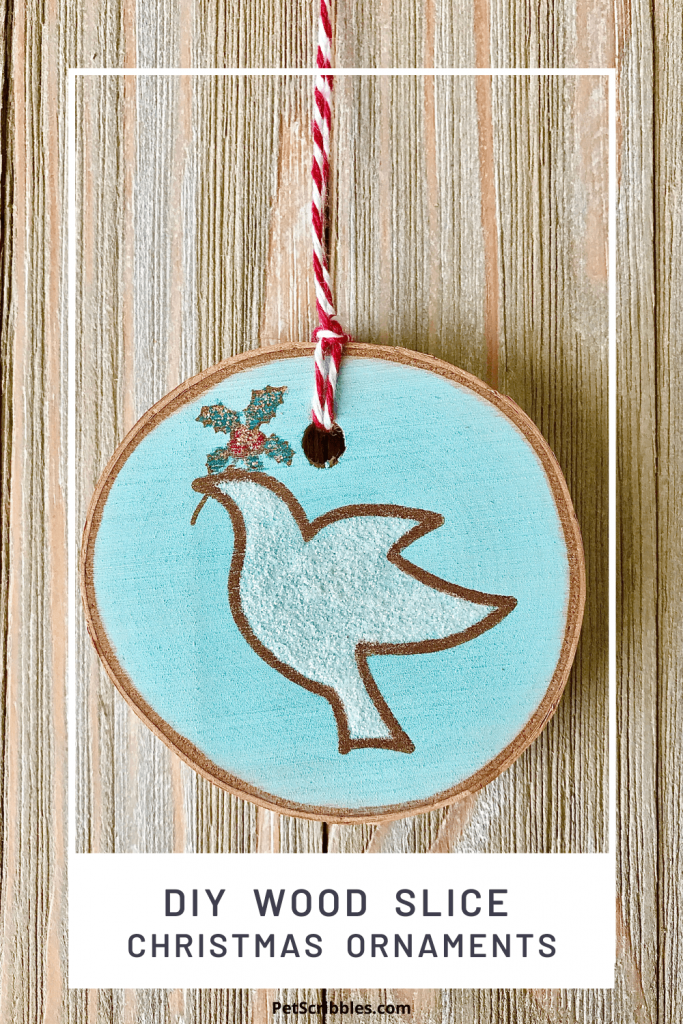
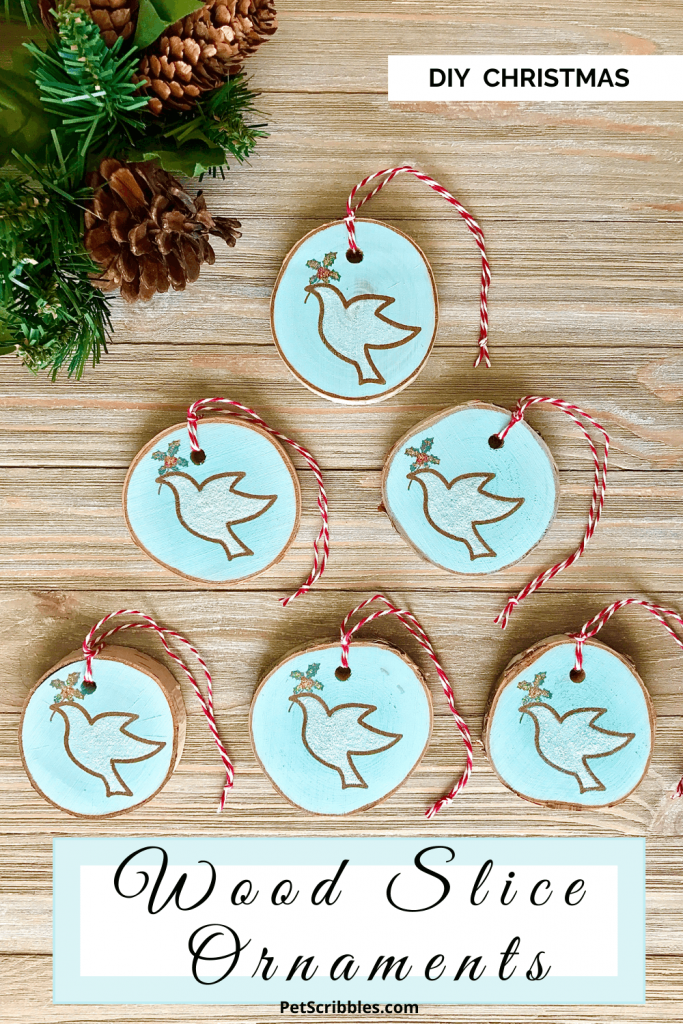
Today I’m sharing how to stamp charming wood slice ornaments for Christmas! Using stamps on wood slice ornaments is simple, fun and a great way to decorate.
This post was originally published on November 14, 2017 and updated on November 18, 2020.
Making your own ornaments for Christmas doesn’t have to be complicated at all.
While this ornament tutorial has quite a few steps, it is straight-forward and you can adapt this tutorial to create your own version that is perfect for you!
Using stamps on wood slices
I previously used a stamp to make this pretty Thanksgiving decoration:
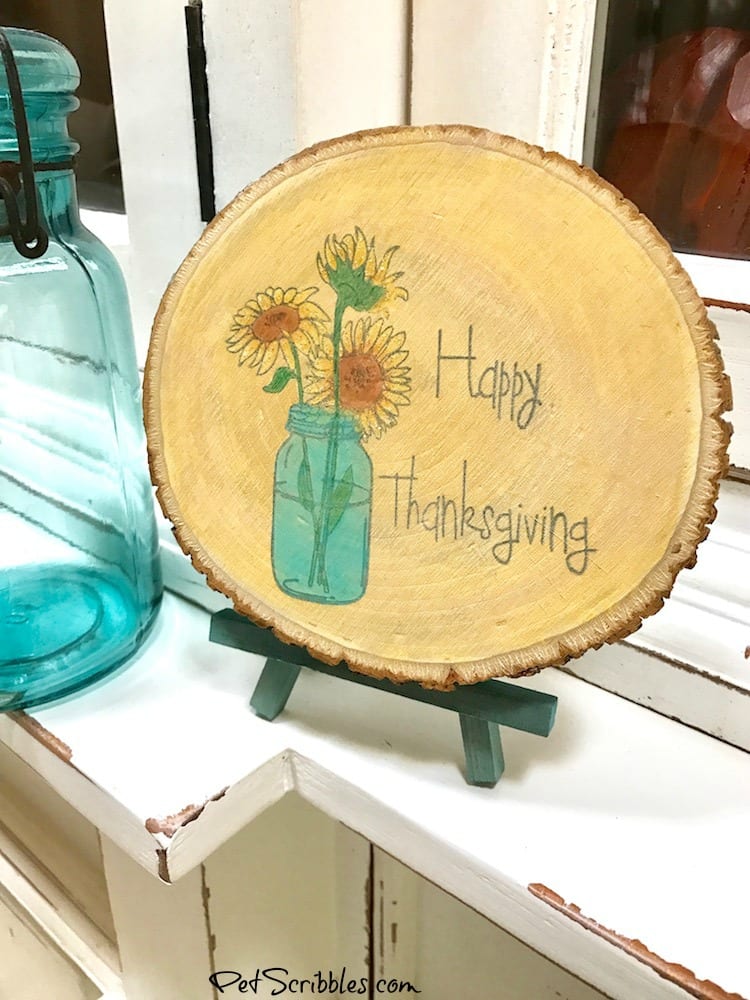
The process will be the same for today’s Christmas ornaments:
- stain the wood slice with pickling wash
- stamp a design (that fits well) onto the wood slice surface
- color in the stamped design
- add glitter glue accents
The only difference is I’m going to shrink everything down by using these small rustic birch wood slice ornaments:
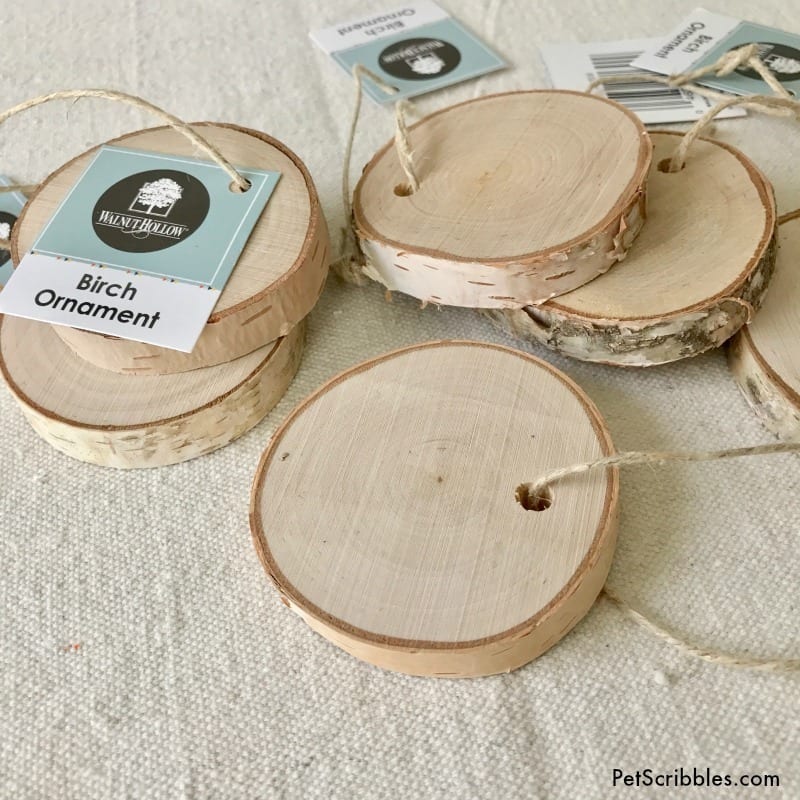
These are similar to the regular wood slice ornaments sold everywhere, but the bark is this wonderful peeling birch bark instead of the standard tree bark.
If you can’t find these birch wood ornaments, by all means this tutorial will work on the regular wood slice ornaments too.
These particular ornaments I’m using measure approximately 3 inches in diameter, give or take a tiny bit.
Helpful tip: Measure your own wood slice ornaments before you purchase your stamp for this project. You want to make sure your stamped design will fit nicely within the wood slice surface.

I used this Peace Dove Craft Stamp from Simply Stamps, available in several sizes, from a tiny 1-inch size up to 4 inches.
I chose the “medium” size, which is 2 inches by 2 inches, so that it would fit nicely on the wood slice ornaments.
Let’s get started!
How to stamp charming wood slice ornaments for Christmas
Supplies:
- Peace Dove Craft Stamp — Simply Stamps
(dove stamps can be found online at Amazon) - Birch Wood Slice Ornaments — Walnut Hollow
(wood slice ornaments can be found online at Michaels and Amazon) - StazOn Midi Ink Pad in Spiced Chai (brown) — Tsukineko
- FolkArt Pickling Wash in Sea Glass — Plaid Crafts
- Small paintbrush
(My favorite set are these by Martha Stewart Crafts) - Lint-free cloth or old t-shirt
- Emery board
- Colored pencils
- Stickles Glitter Glue in Diamond and Frosted Lace — Ranger Ink
- Wax paper
- Red and white baker’s twine
Tutorial:
Step One: If needed, gently sand the surface of each wood slice with an emery board then wipe with a damp cloth. Let dry.
Emery boards work perfectly for this purpose. I place the emery board flat on top of the ornament and lightly move it around to smooth.
Step Two: Stain the front of each wood slice with the Sea Glass pickling wash, avoiding the edges.
You can click here to see my step-by-step on how to apply pickling wash to wood slices.

Place on wax paper to dry.
Repeat this step for the other side of each ornament and let dry.
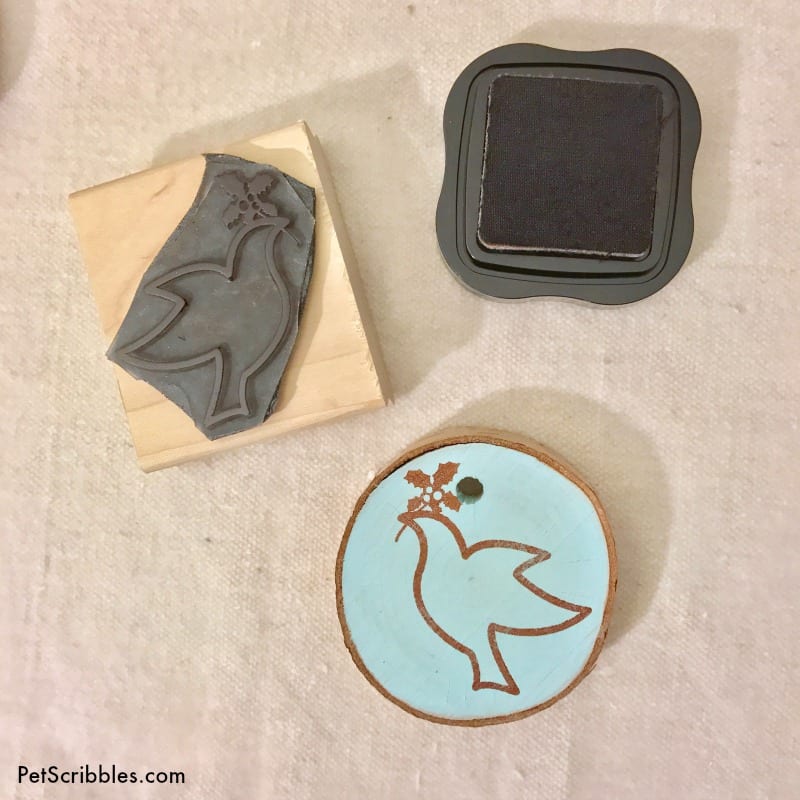
Step Three: Stamp the Peace Dove Stamp onto each wood slice, one side at a time. Let dry.
Helpful tip: If you’ve never stamped on wood before, definitely practice first! I usually purchase an extra of whatever I’m going to stamp just for practice, as each type of wood will take the stamped image differently.
Repeat this step for the other side of each ornament and let dry.
Color your wood slice ornaments!
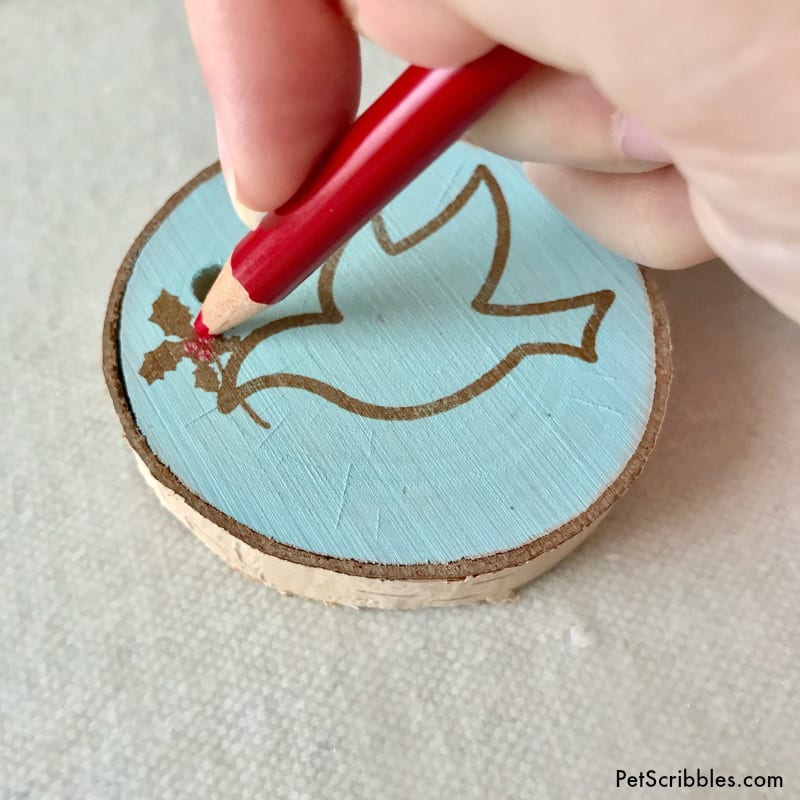
Step Four: Color the Peace Dove stamped images with colored pencils.
First, I colored the holly berries with a red pencil:
Next, I used a teal blue color for the holly leaves:
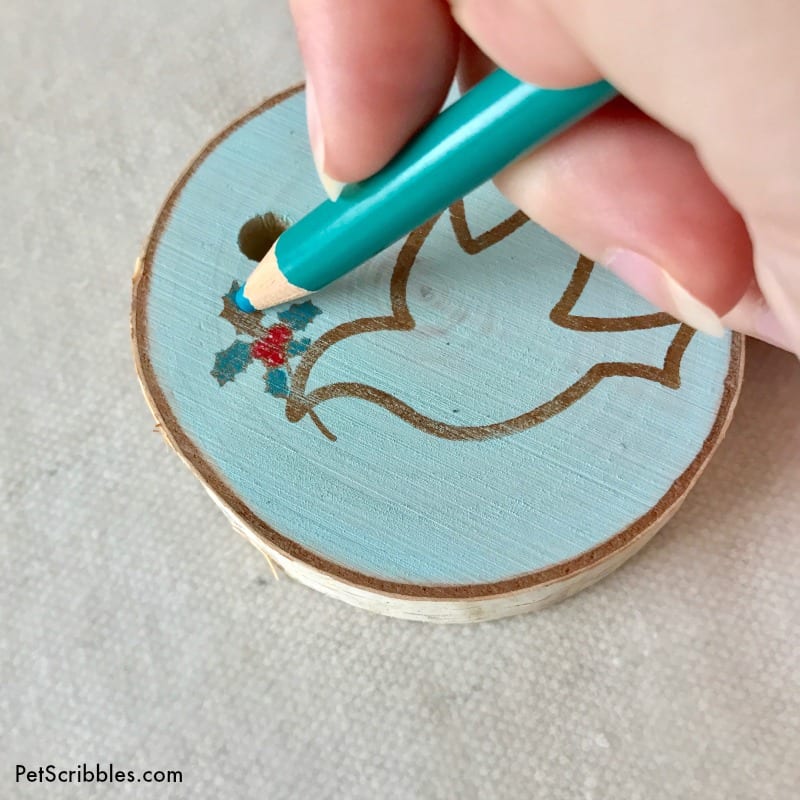
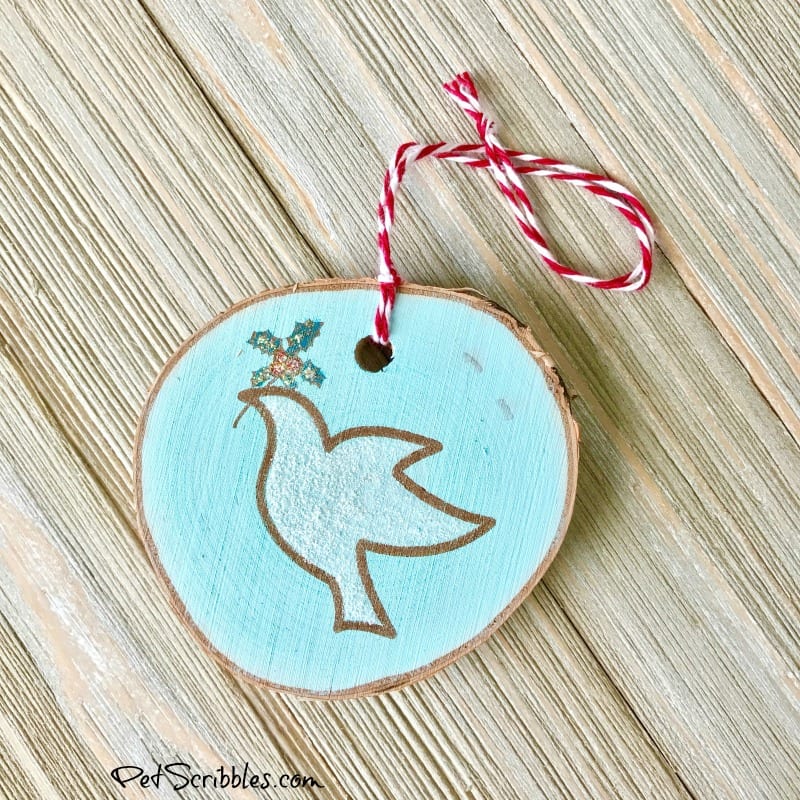
And finally, I colored in the doves using a white pencil.
Helpful tip: If any parts of your stamped image don’t come out super clear, you can use a matching colored pencil to fill in any gaps.
Glitter your ornaments!
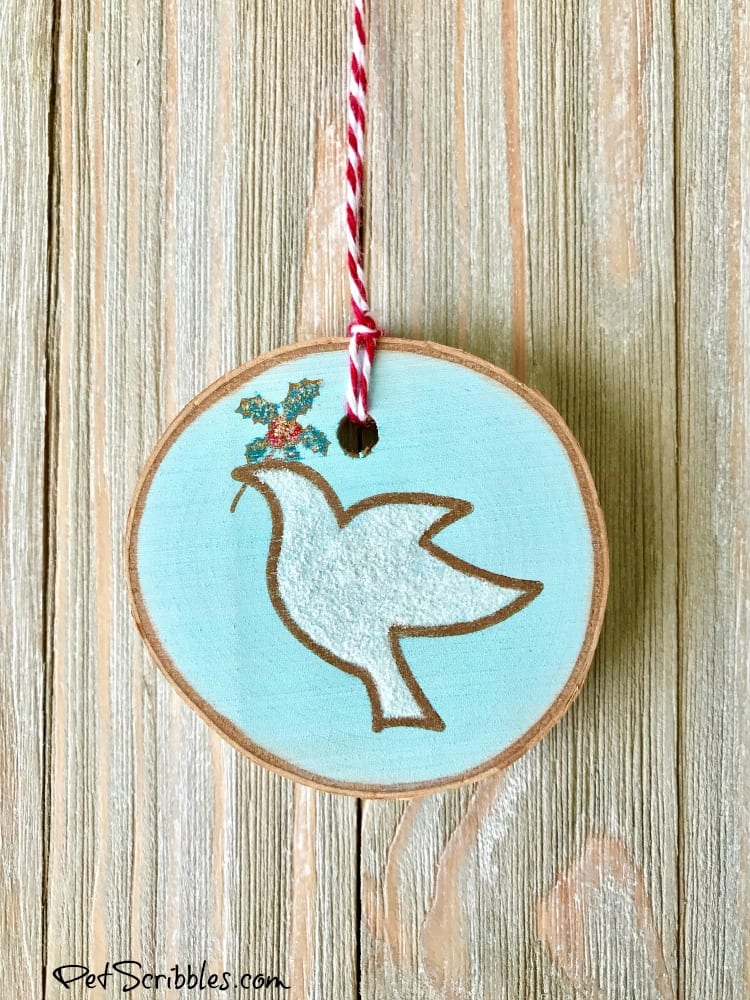
Step Five: Apply glitter glue to the stamped images on each ornament, one side at a time. Let dry.
I used Diamond Stickles glitter glue on the holly berries and leaves. This gives a sparkly finish.
I used Frosted Lace Stickles glitter glue on the dove.

Step Six: Attach a length of baker’s twine to each ornament to hang.

Here are the finished ornaments!
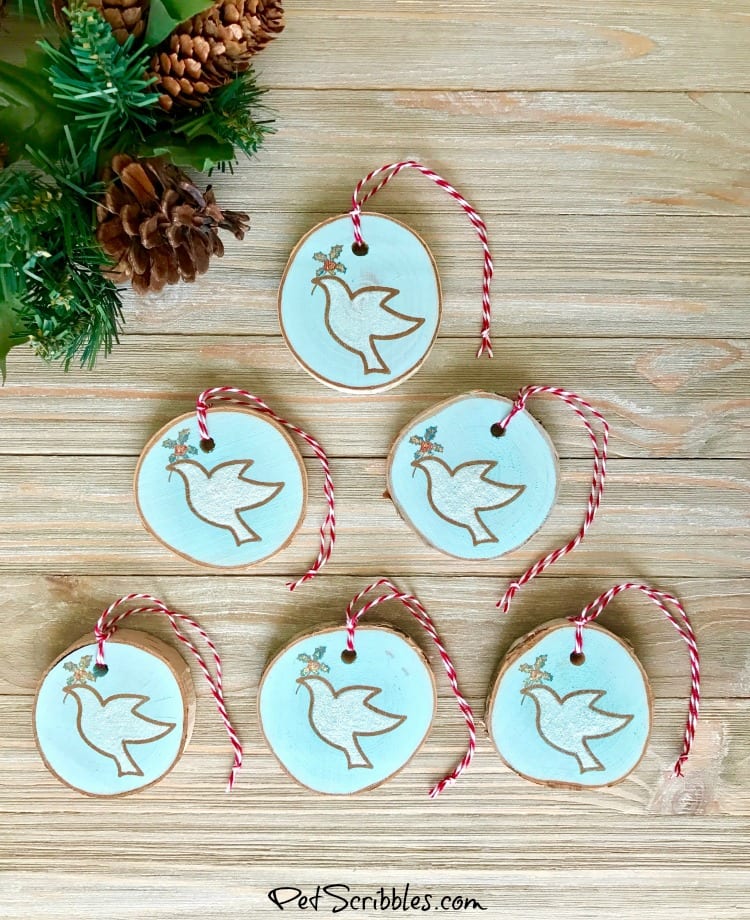
Use these dove ornaments on your Christmas tree or as a gift topper on wrapped presents!

These ornaments were featured in the 2018 Holiday issue of Farmhouse Style Magazine! Click here to see!
Here are the dove ornaments on our white Christmas tree in our Breakfast Room:
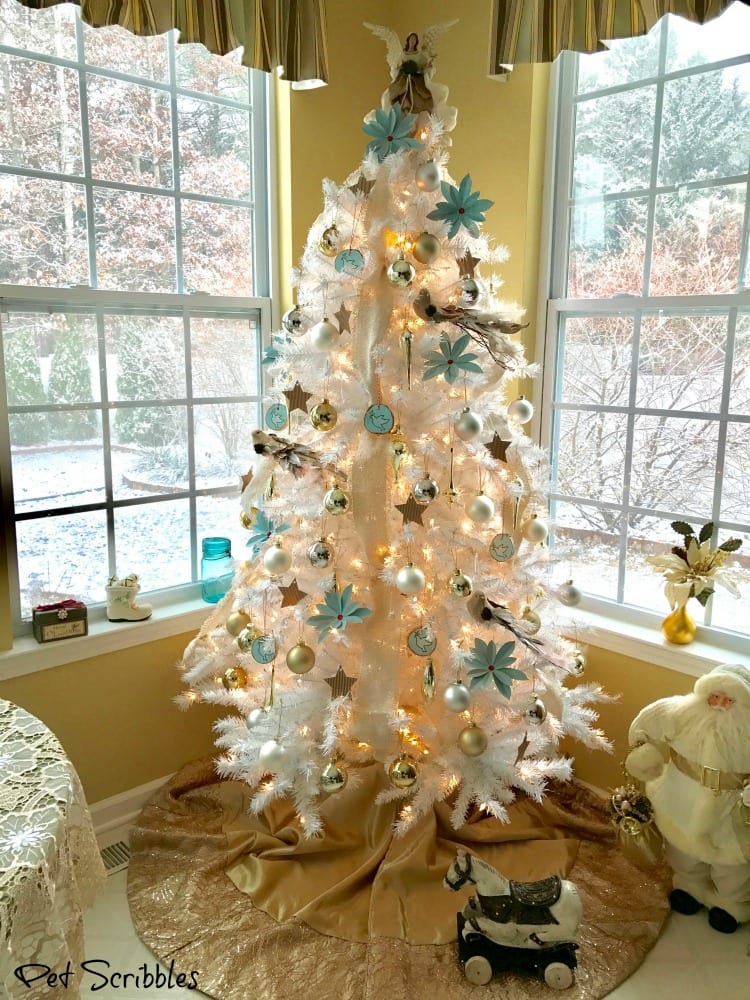
You can read how I decorated this room here: Garden Breakfast Room All Decorated For Christmas!
Happy holiday crafting!
Leave a Reply