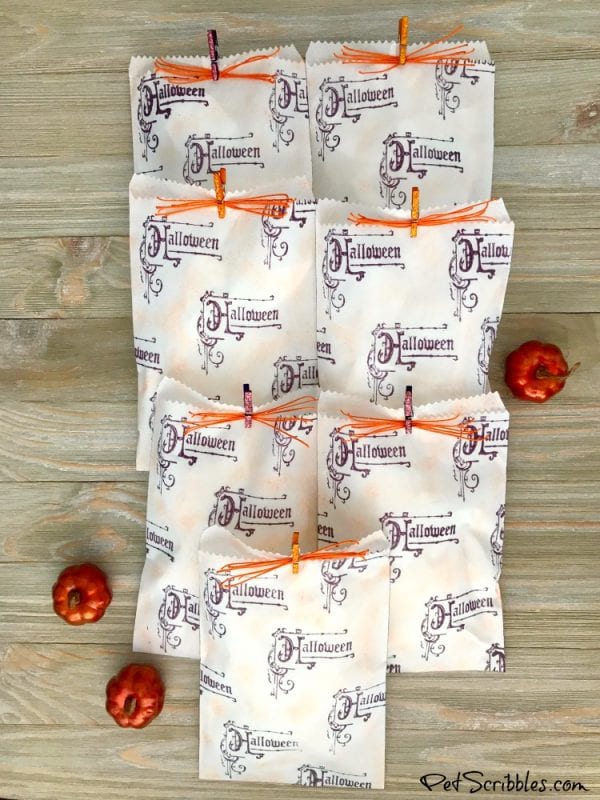
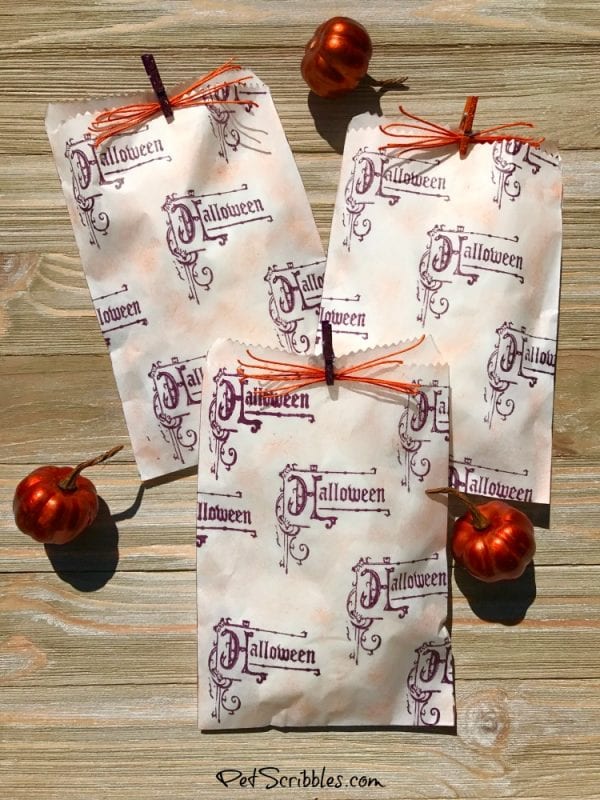
How to stamp charming Halloween treat bags that look just like you purchased them at a store! Don’t fuss or spend a lot of money — make treat bags instead!
Halloween treat bags don’t have to be expensive, nor do they have to be very time-consuming to make.
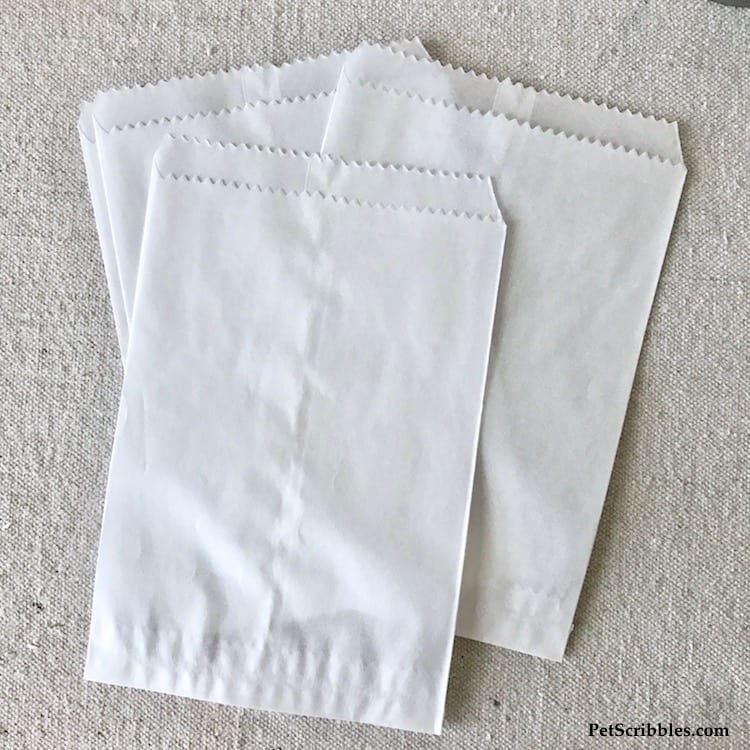
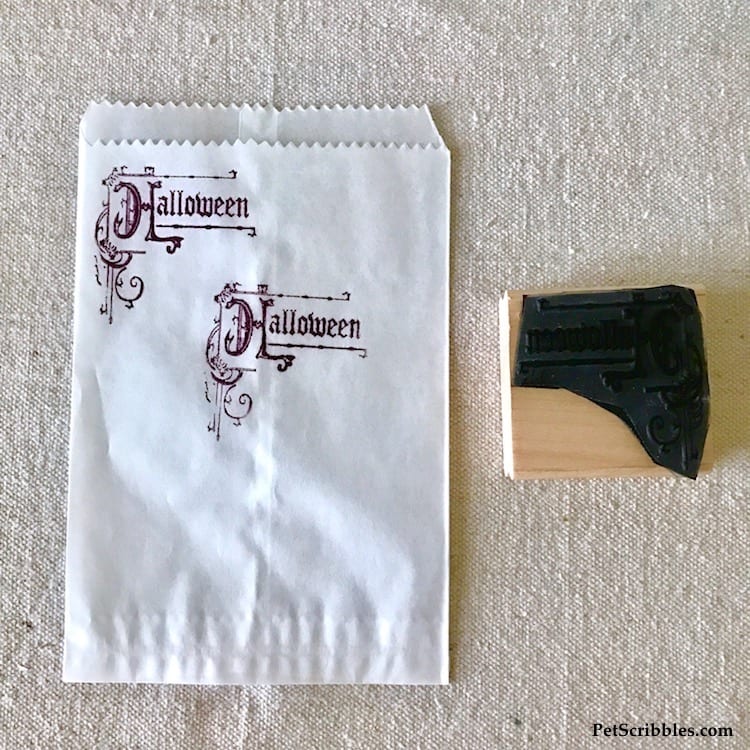
I made these treat bags with one stamp, ink, and glassine bags that are easy to find.
You can make these in an afternoon, or a morning, depending on how many goodies you’re giving out!
This Halloween Ornamental Sign Craft Stamp from Simply Stamps caught my eye because of its Victorian and gothic style.
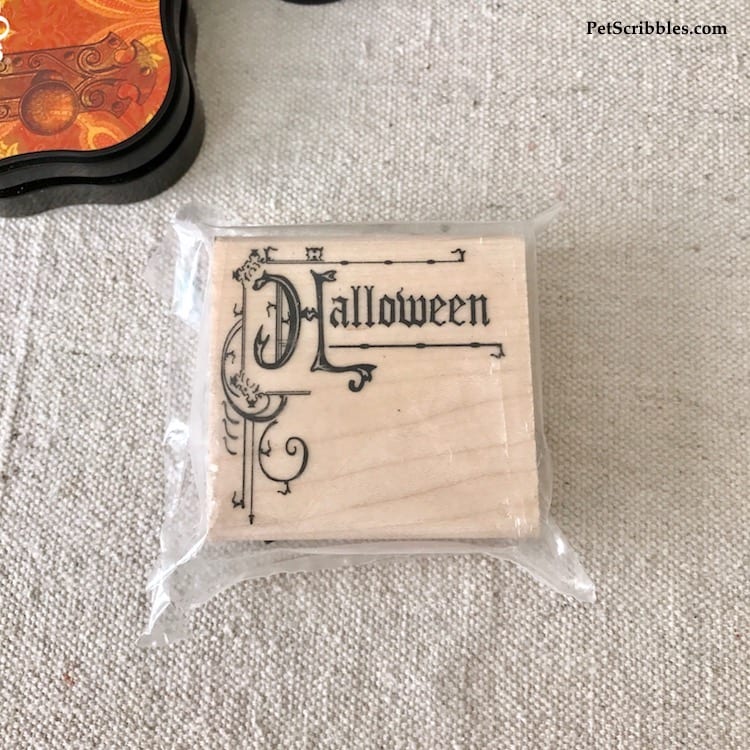
This stamp — like all of the handmade rubber stamps from Simply Stamps — is available in multiple sizes:
- Small – 1.75”
- Medium – 2.00”
- Large – 3.00”
- X-Large – 4.00”
I’m using the medium size in this tutorial.
I found my glassine treat bags at Michaels, but they are widely available both in stores and online:
Stamping on glassine bags
StazOn is the best ink I’ve found for stamping on glassine bags. You can use other inks, but you may need to heat-set them with a hair dryer or craft heating tool to prevent them from smudging. (Check the manufacturer’s instructions for your chosen ink.)
When using StazOn, I still give it some time to dry. Once dry, it’s permanent!
FTC Disclaimer: I’ve received products/compensation as part of the Simply Stamps Design Team. These stamped Halloween treat bags, however, are 100% my own project! Some of the links in this post are affiliate links. I explain more here.
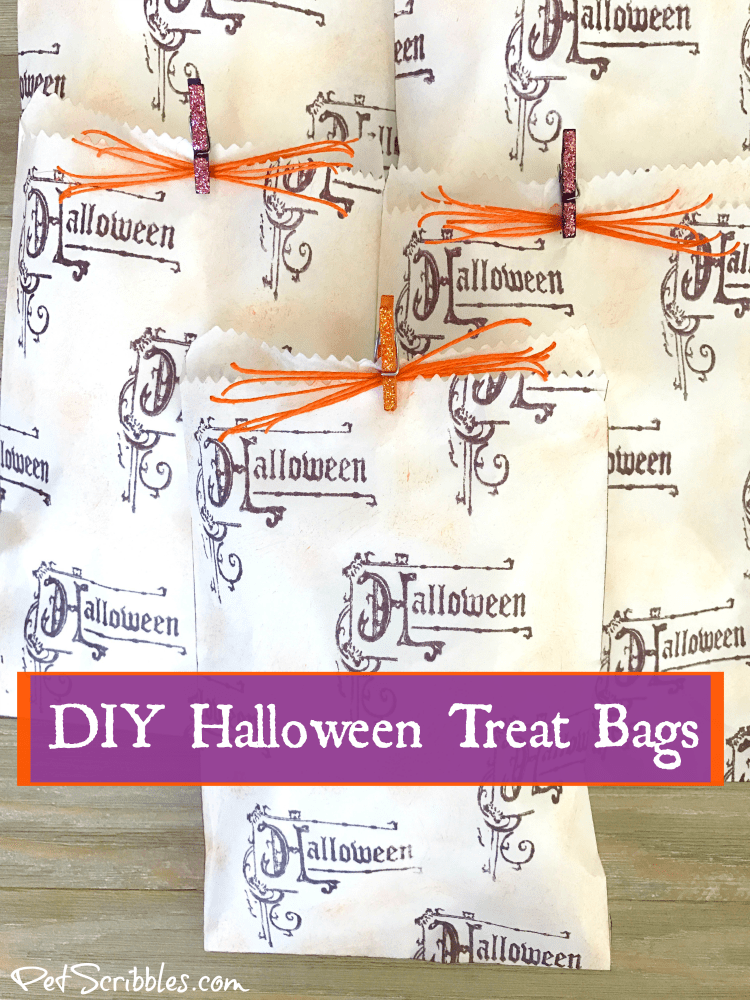
How to Stamp Charming Halloween Treat Bags!
Supplies:
- Halloween Ornamental Sign Craft Stamp — Simply Stamps
- Glassine Treat Bags, 4.5″ x 7″ — Michaels
- StazOn Midi Ink Pads: Gothic Purple and Orange Zest — Tsukineko
- Small stencil brush
- Scissors
- Orange decorative hemp cord
- Miniature clothespins in orange and purple
- Stickles glitter glue in orange and purple
- Cardstock scraps
- Scrap paper
Tutorial:
Step One: Practice stamping.
Before stamping on your project, practice so that you get the feel of the stamp, especially if it’s new.
I stamped on scrap paper first, then practiced on the glassine treat bags.
Practicing on the glassine bags helped me figure out how I wanted each bag to look.
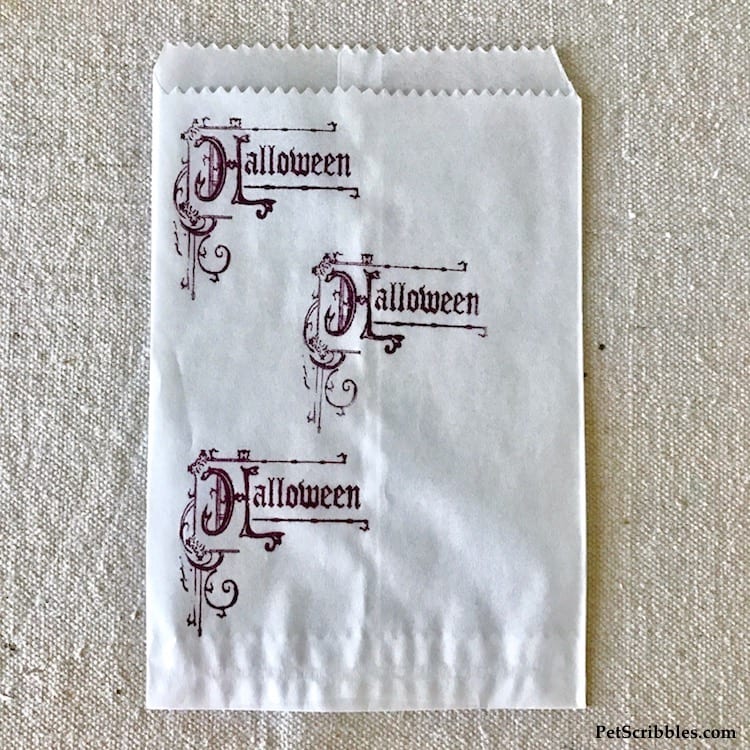
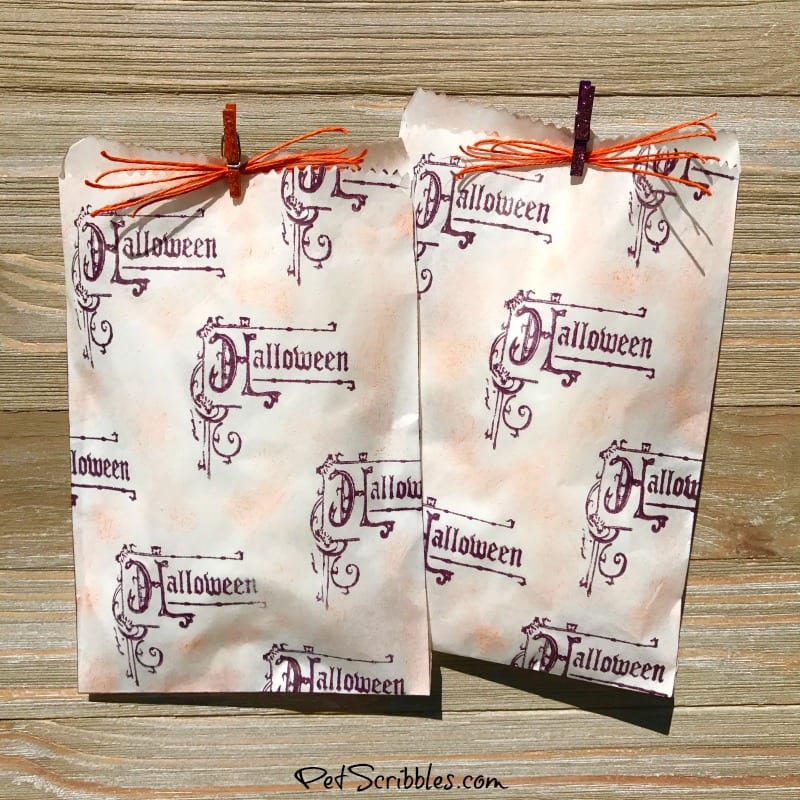
Step Two: Stamp the Halloween Ornamental Sign onto the glassine bags.
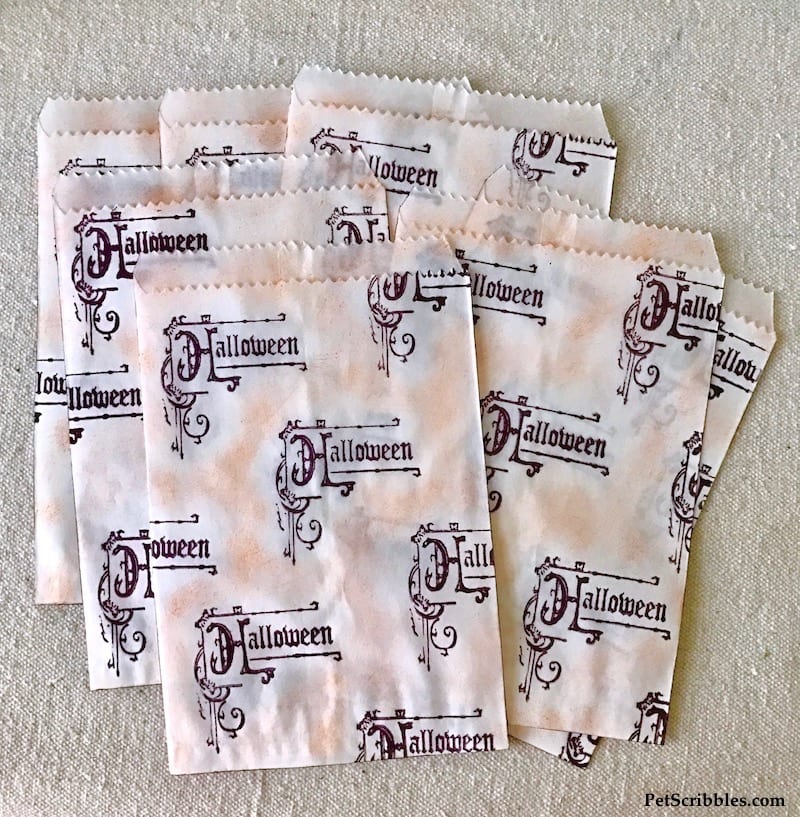
Here is the design I came up with for the Halloween treat bags:
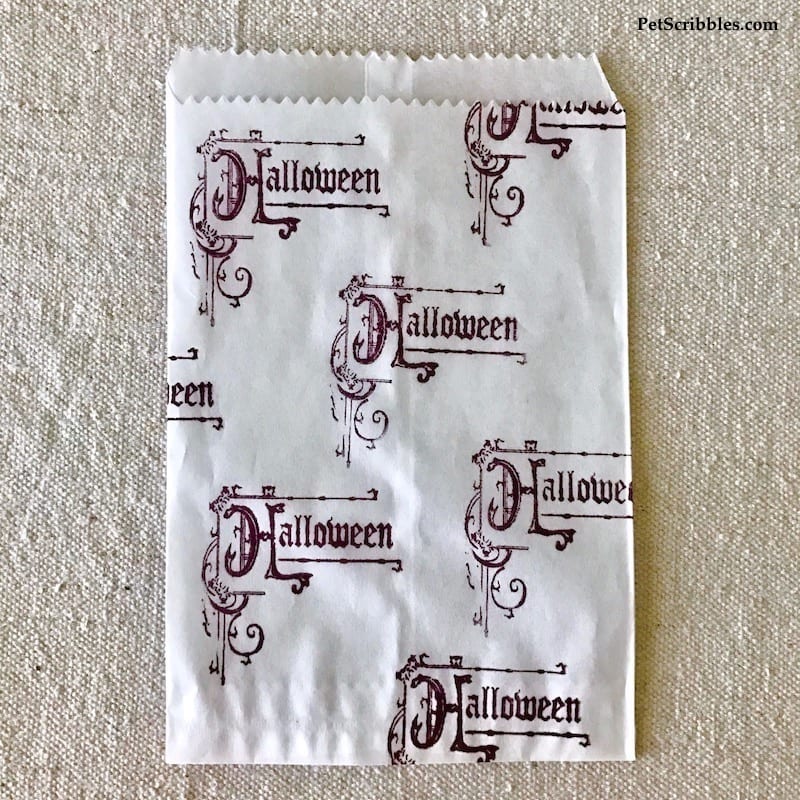
I like this look of the repeated design.
Here’s how you can easily create this:
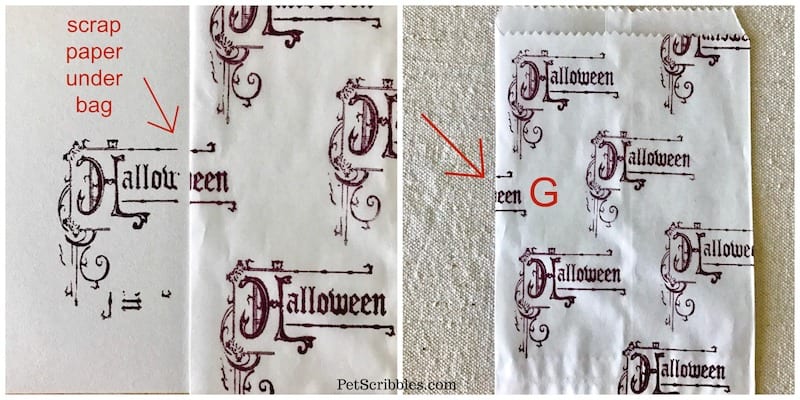
A — Stamp in the upper left corner:

B — Move your stamp over to the right and lower than the first stamp:
C — The third stamp is back over to the left and below the second stamp:
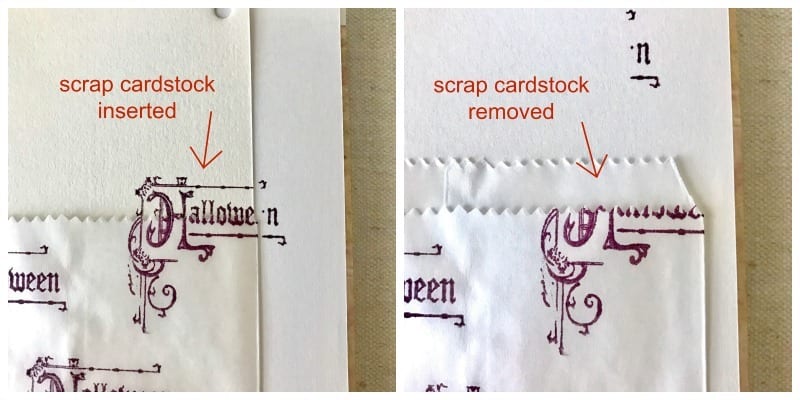
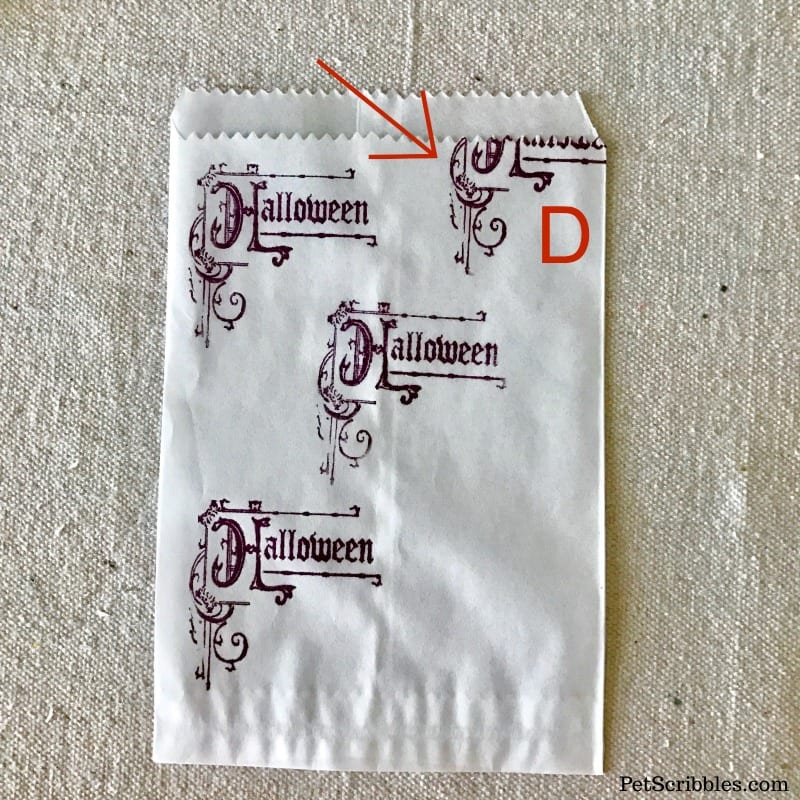
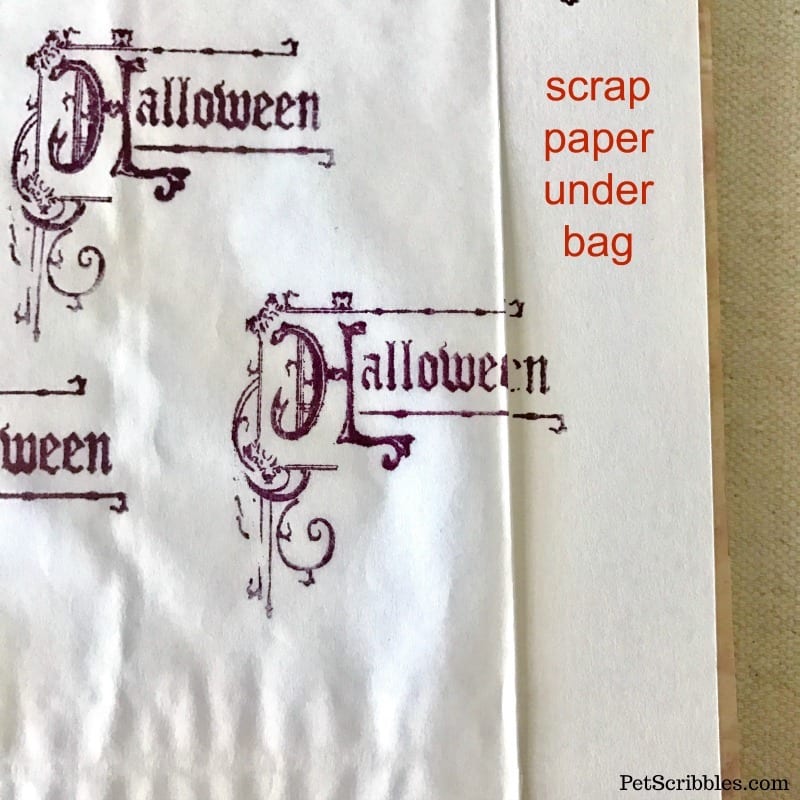
Next you will fill in some of the edges with partial stamped images.
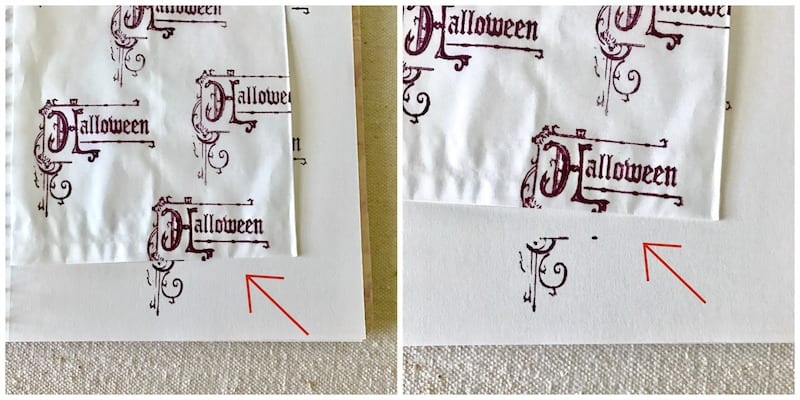
D — Insert a scrap piece of cardstock into the glassine treat bag in the upper right corner. Stamp the design so that only the bottom of the “H” along with the Victorian flourish is on the bag:
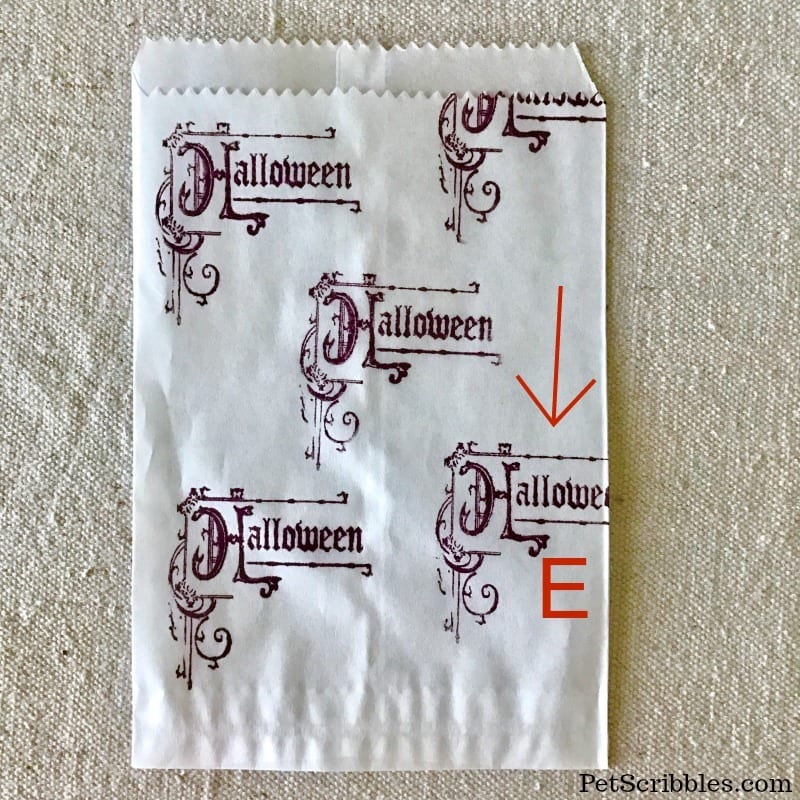
E — Staying on the right side of the treat bag, move the stamp down midway. The design will look like “Hallow” going off the right edge of the bag:
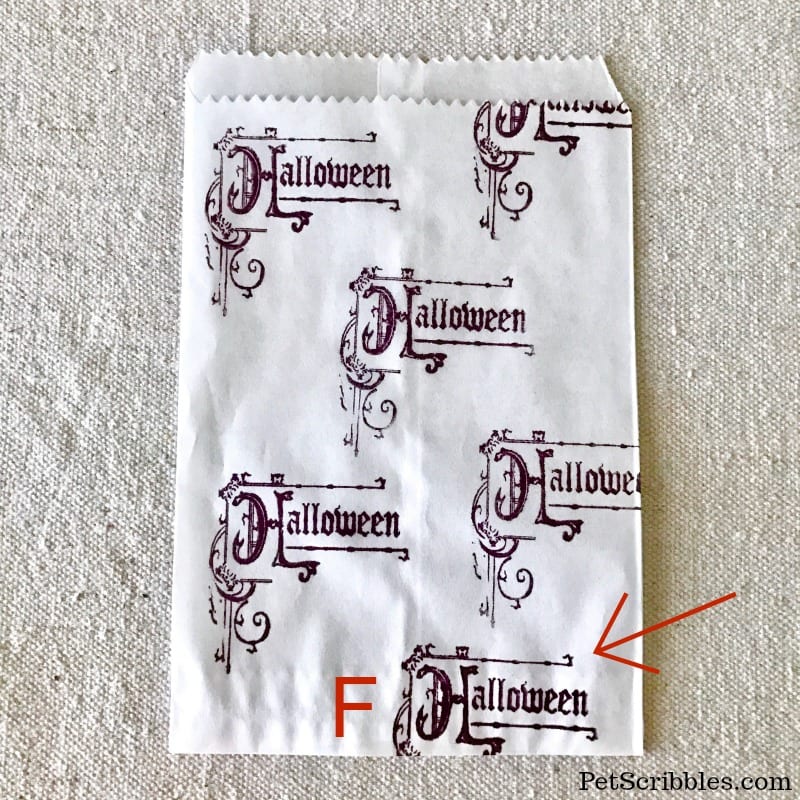
F — Move the stamp to the bottom right of the page, but slightly over to the left. The “H” in this stamped image will look as if it’s lined up with the white space in between the two stamped designs above. The flourish will go off the bottom edge of the treat bag:
G — The last stamped image will be on the left side, in between the two stamped images already on that side, with the last part of the “Halloween” word coming onto the bag from the left edge:
Repeat for each bag.
Let your Halloween treat bags dry.
Step Three: Using a small stencil brush, tap and swoosh the orange ink color in between each of the stamped designs.
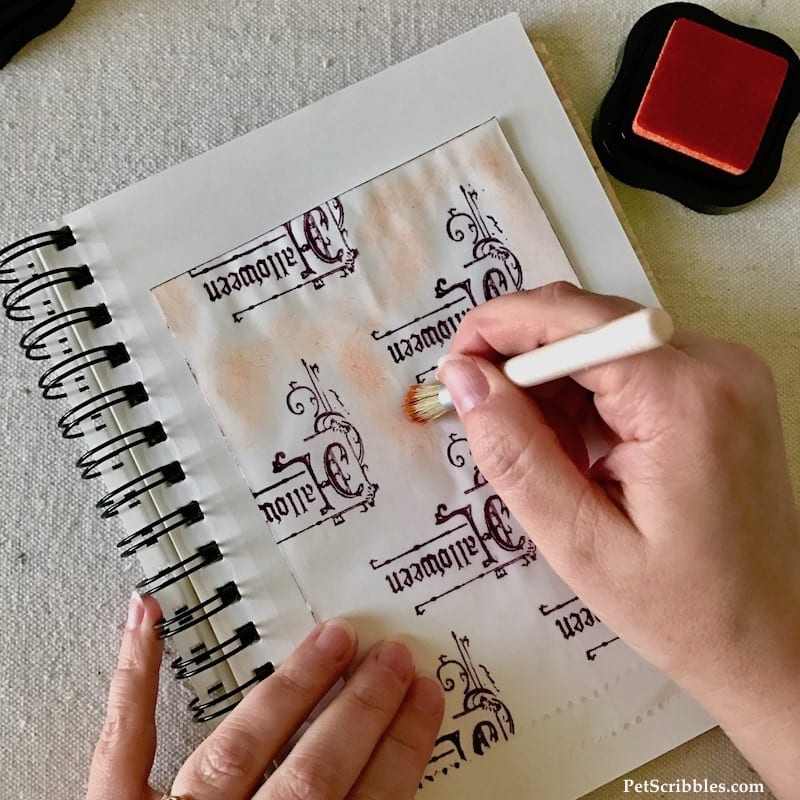
Repeat this process for each of the treat bags.
Let everything dry.
Step Four: Cut six small strands of orange decorative hemp cord.
Bundle five of the strands together. Tie this bundle in the center with the remaining strand.

Repeat this step for each bag.
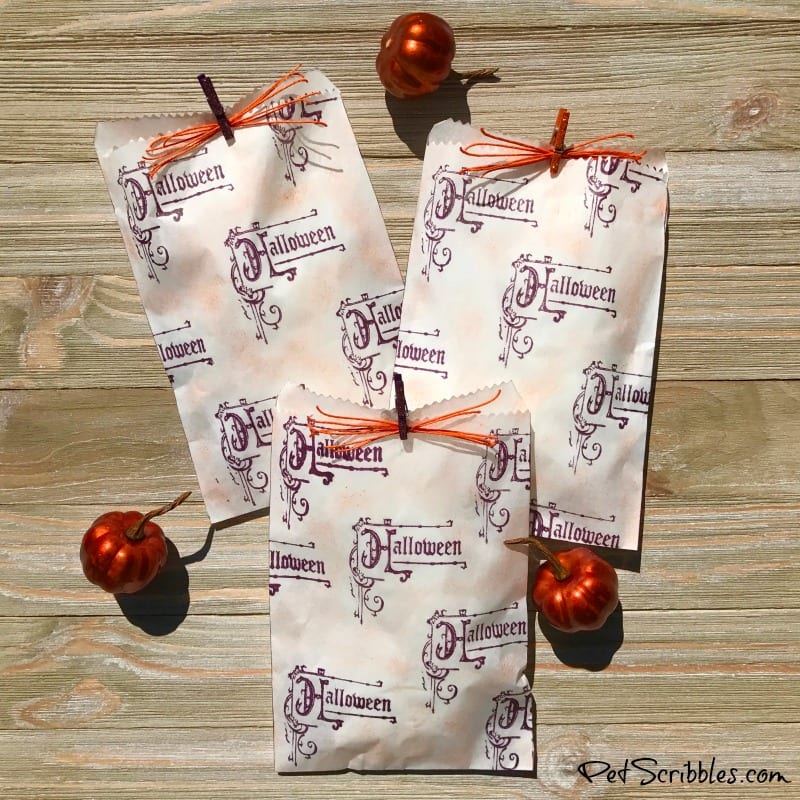
Step Five: After your fill your Halloween treat bags, close them with a miniature clothespin and an orange hemp cord bundle.
Step Six: Lay each treat bag on a flat surface. Add Stickles glitter glue to each clothespin.
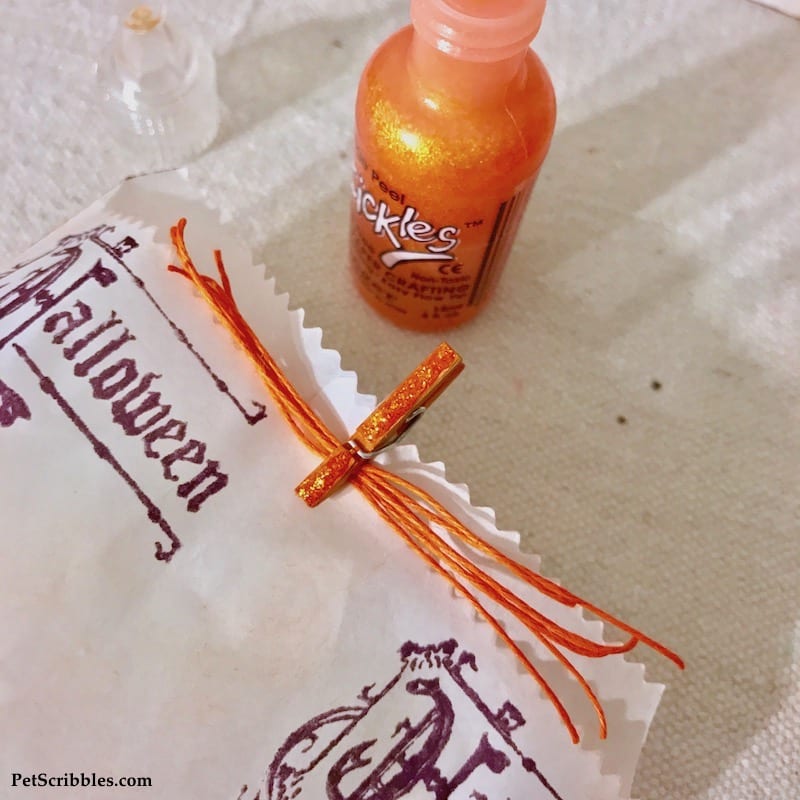
Let dry thoroughly.
That’s it!

Now is the perfect time to buy Halloween stamps to make your own treat bags, cards, and crafts!
Halloween DIY Fun!
Here are a few more fun Halloween projects:
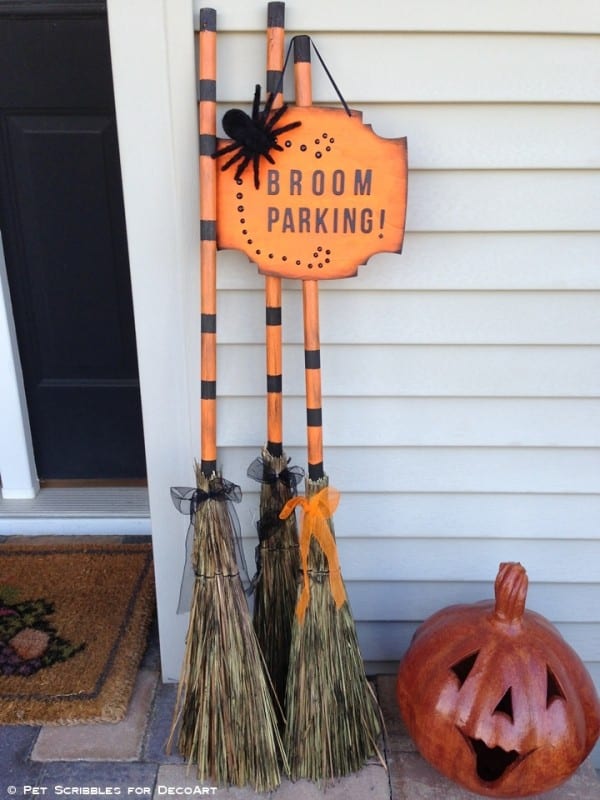
Broom Parking Sign with Brooms (with an easy trick for the lettering!)
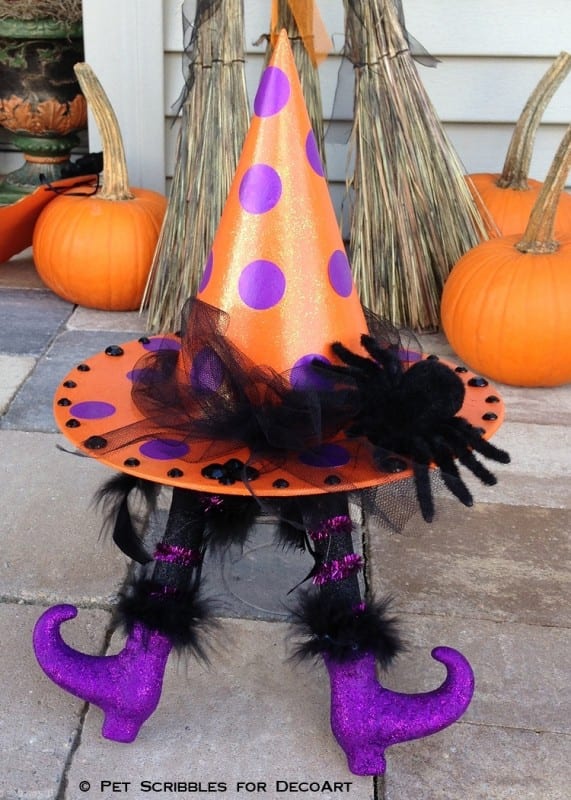
Witch Hat with Wicked Witch Legs (from a headband!)
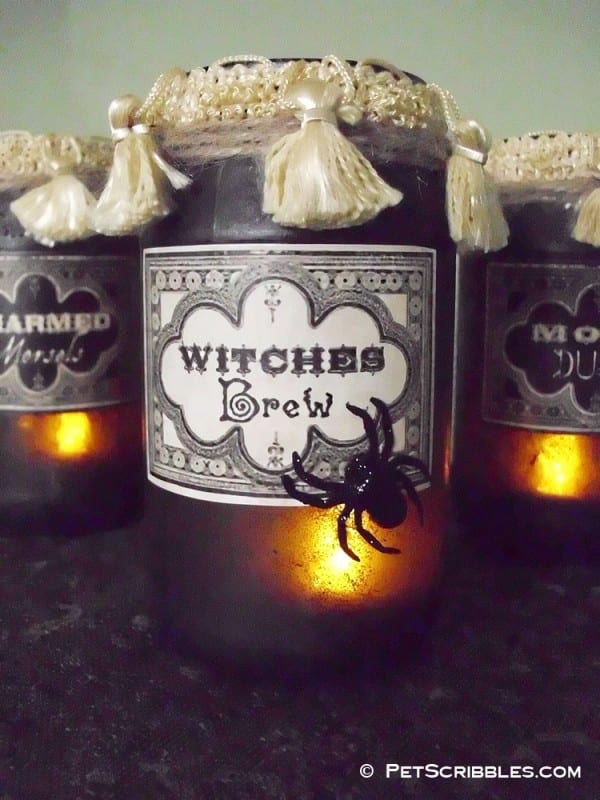
Vintage Spell and Potion Jars (using paint and Mod Podge!)
Happy crafting!
Adorable! Perfect for giving treats to special friends or children on Halloween.
These bag turned out so cute!!