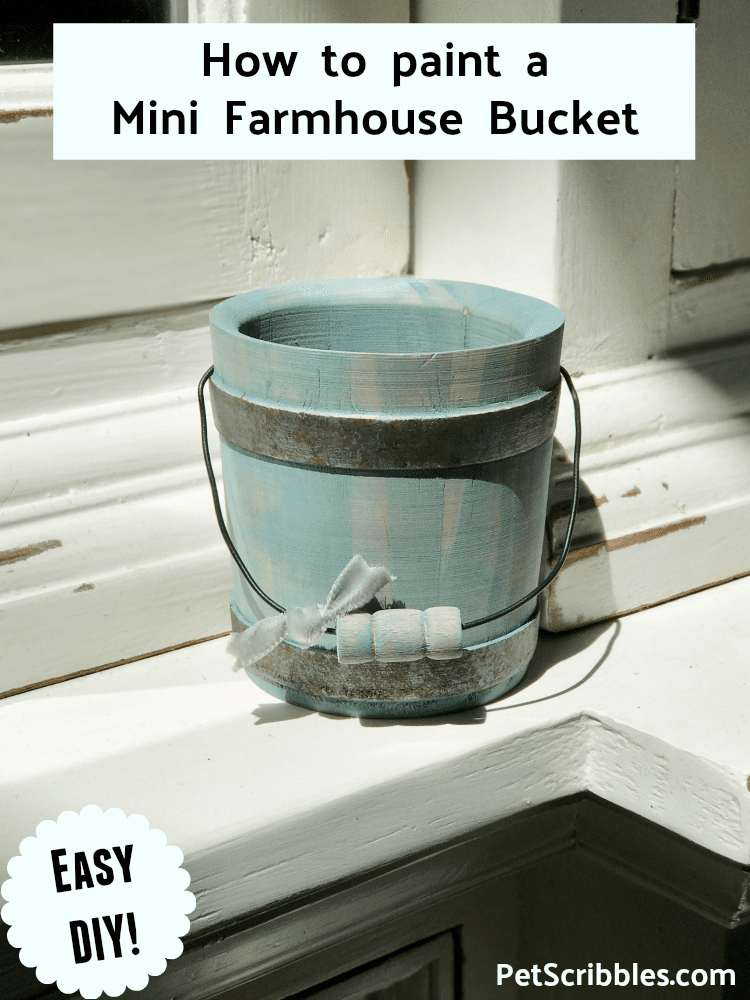
Learn how to paint a beautiful mini farmhouse wooden bucket with my easy tutorial for a sweet dose of vintage style! Great for rustic weddings too!
Have you seen these unfinished wooden buckets at the craft stores? These buckets are the perfect inexpensive project to turn into beautiful farmhouse decor!
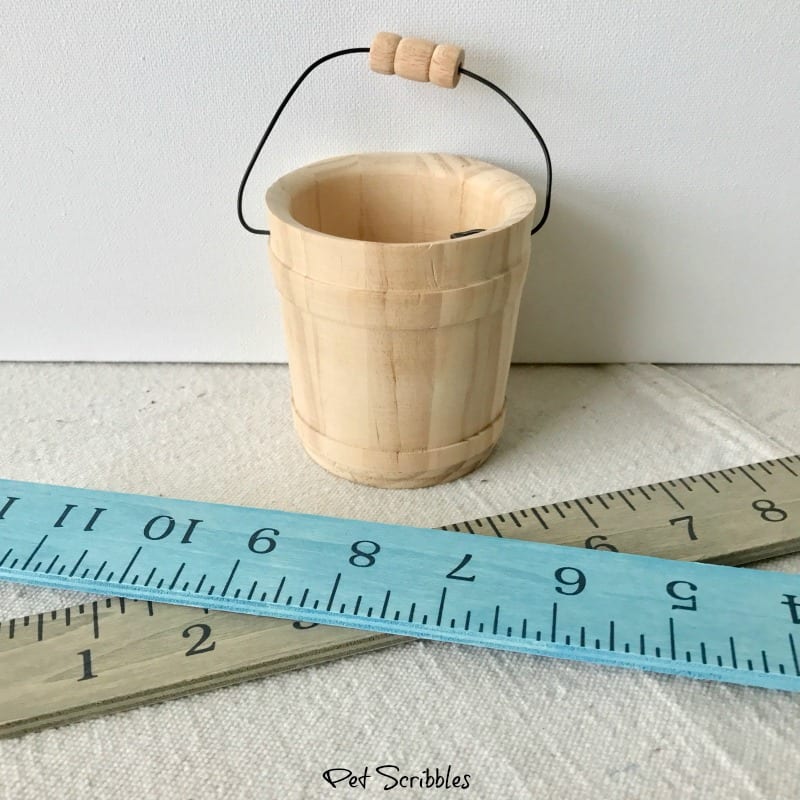
See the colored rulers above?
I “painted” them with FolkArt Pickling Wash, in every color that the pickling wash comes in, so that at a moment’s notice I can see how the colors will look on a new unfinished wood project.
It makes choosing colors super simple!
(You can see my Colorful Stained Rulers tutorial here.)
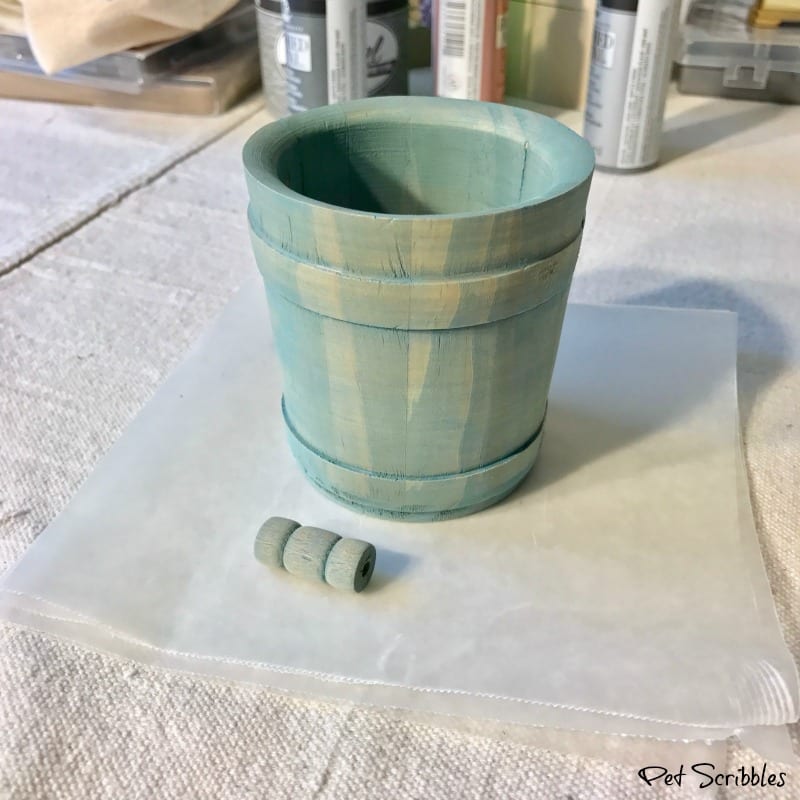
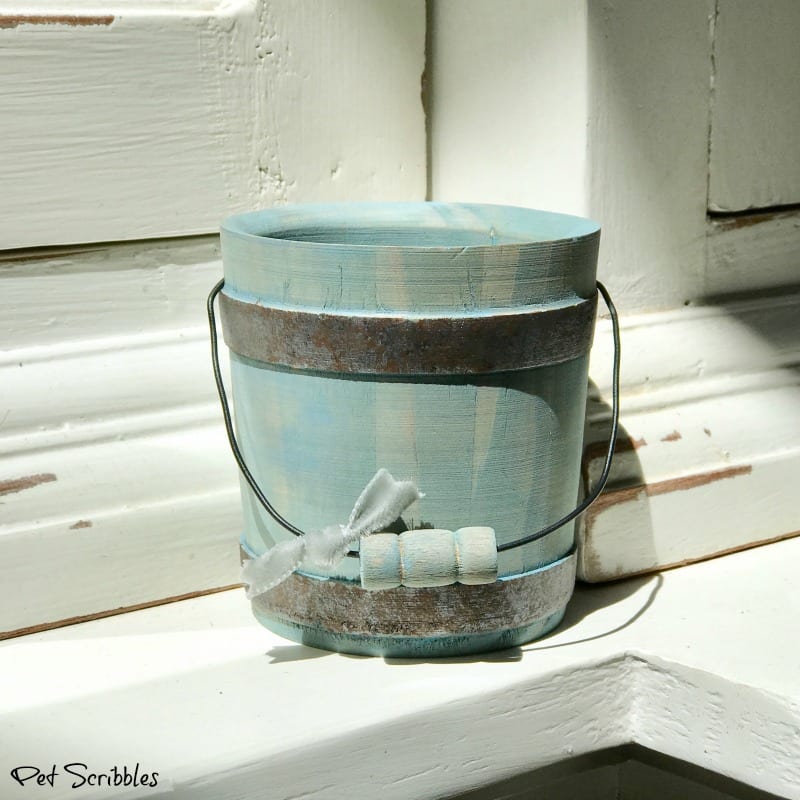
Because I wanted this to be a mini farmhouse wooden bucket, I decided to use two colors of the pickling wash: Driftwood (as the base layer) and then Papillon (blue) on top.
As a result of layering the colors in this way, the bucket has an antique-looking finish.
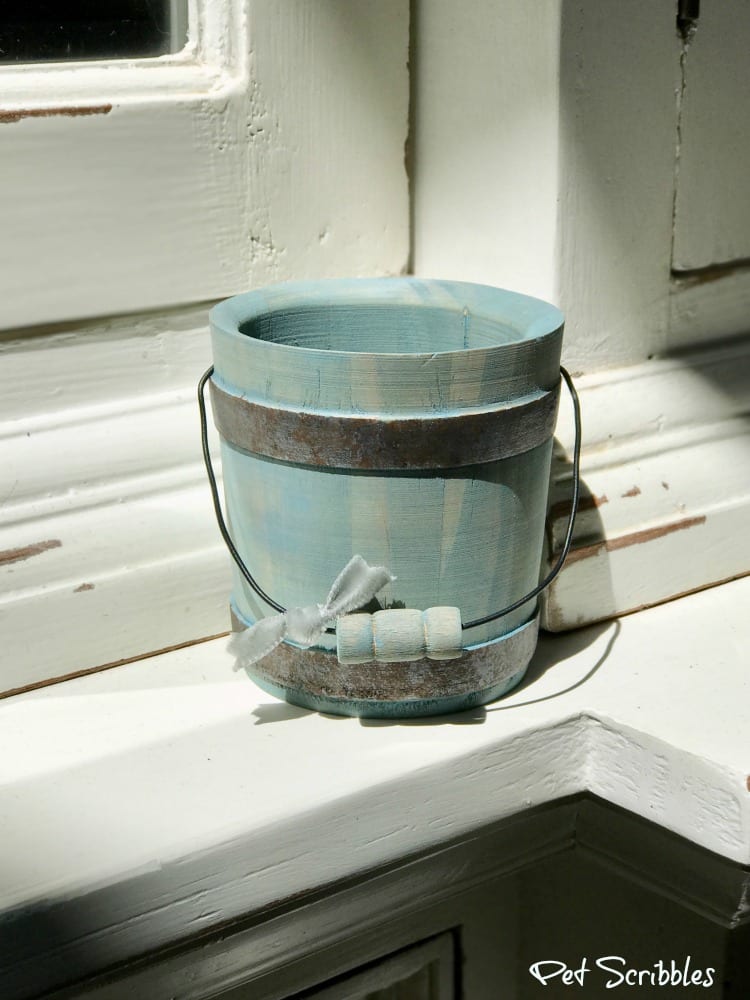
This is a super-fast craft, therefore I can see making many of these for display on a ledge, or even to use as rustic farmhouse wedding favors!
Let’s get started!
How to Paint a Beautiful Mini Farmhouse Wooden Bucket
FTC Disclaimer: I’ve received products to try out in my role as a Plaid Crafts Ambassador. This mini farmhouse wooden bucket, however, is 100% my own project! Some of the links in this post are affiliate links. I explain more here.
Supplies:
- Miniature unfinished wooden bucket — craft store
- FolkArt Pickling Wash in Driftwood and Papillon — Plaid Crafts
- FolkArt Brushed Metal Paint in Brushed Dark Gray — Plaid Crafts
- FolkArt Multi-Surface Paint in Licorice (black) and Cinnamon (brown) — Plaid Crafts
- White rag or lint-free cloth
- Small paint brushes
- Small stencil brush
- Velvet ribbon scrap
- Pinking shears
- Small craft pliers
Tutorial:
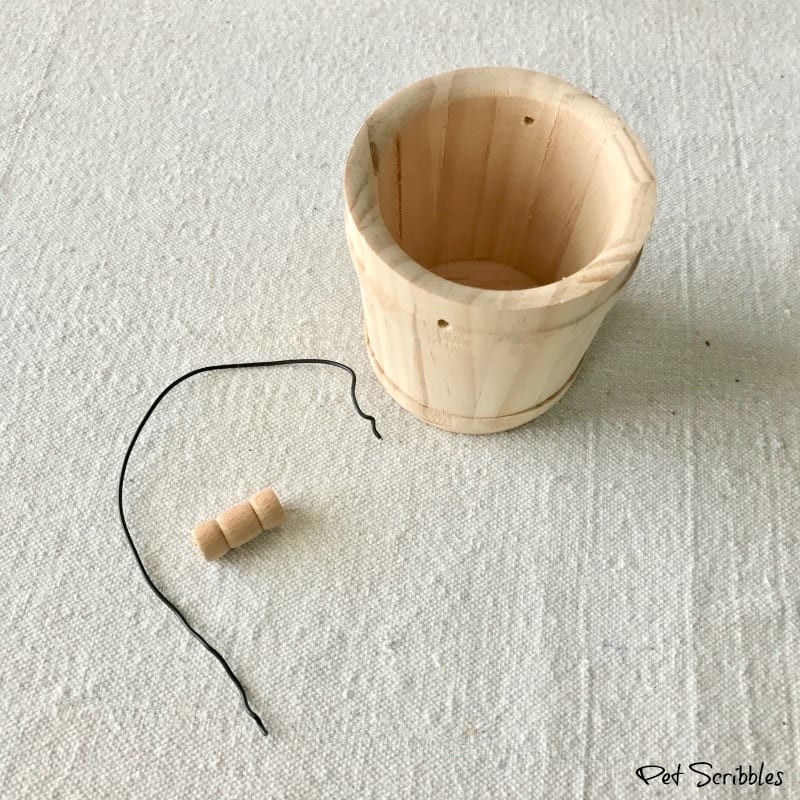
Step One: First, remove the wire handle from the bucket using small round-nose pliers.
Step Two: Next, apply one coat of Driftwood pickling wash to the inside and outside of the wooden bucket, as well as to the wooden handle.
Super easy to do:
- paint a small section at a time using a small paintbrush
- immediately wipe it back with a lint-free cloth
This simple process results in a beautifully aged-looking, weathered finish. Let dry.
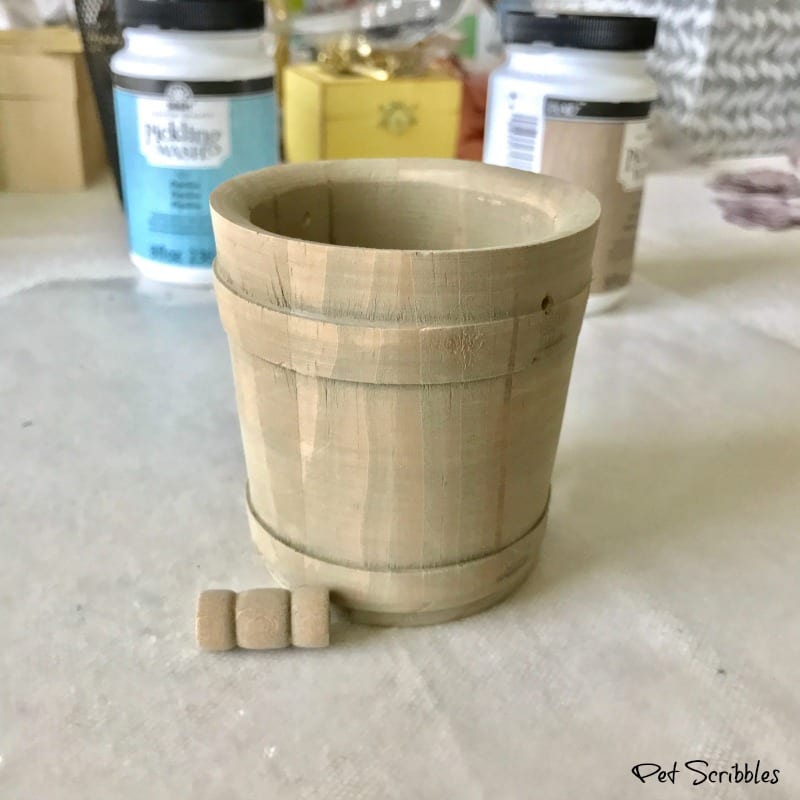
(Pickling wash gets absorbed into unfinished wood quickly, which means you can proceed to the next step without a long period of waiting.)
Step Three: Apply one coat of Papillon pickling wash over the Driftwood color, to the inside and outside of the wooden bucket, as well as to the handle, wiping back with a cloth as in the previous step.
Let dry.
Step Four: Using a small paintbrush, apply one coat of the Brushed Dark Gray metal paint onto the “rims” on the outside of the bucket, as shown.
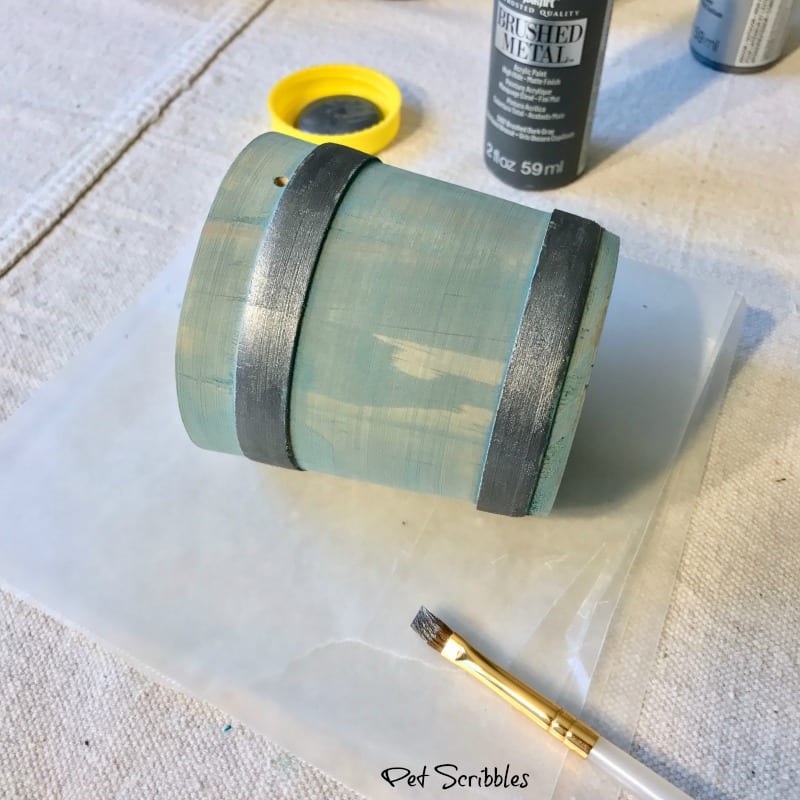
Let dry.
Step Five: To create a rust effect, apply just a bit of brown and black craft paint, dabbing the colors on with a small stencil brush.
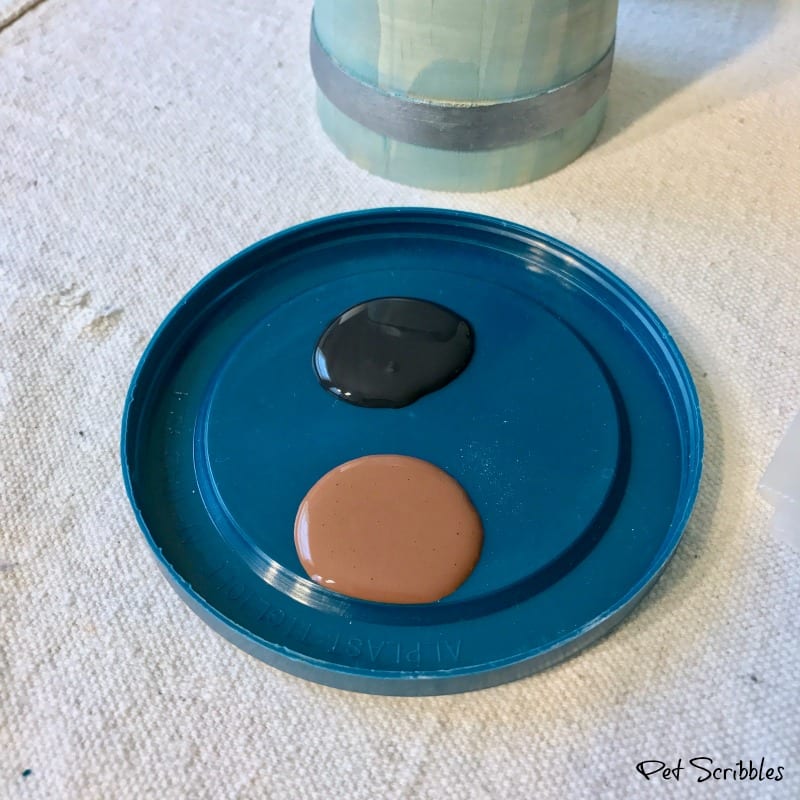
Start with just a little bit of each color, then build up the color depending on how rusty you want it to look. (There’s no right or wrong way to do this!)
Let dry.
Step Six: Finally, reattach the bucket handle using the same pliers as in Step One.
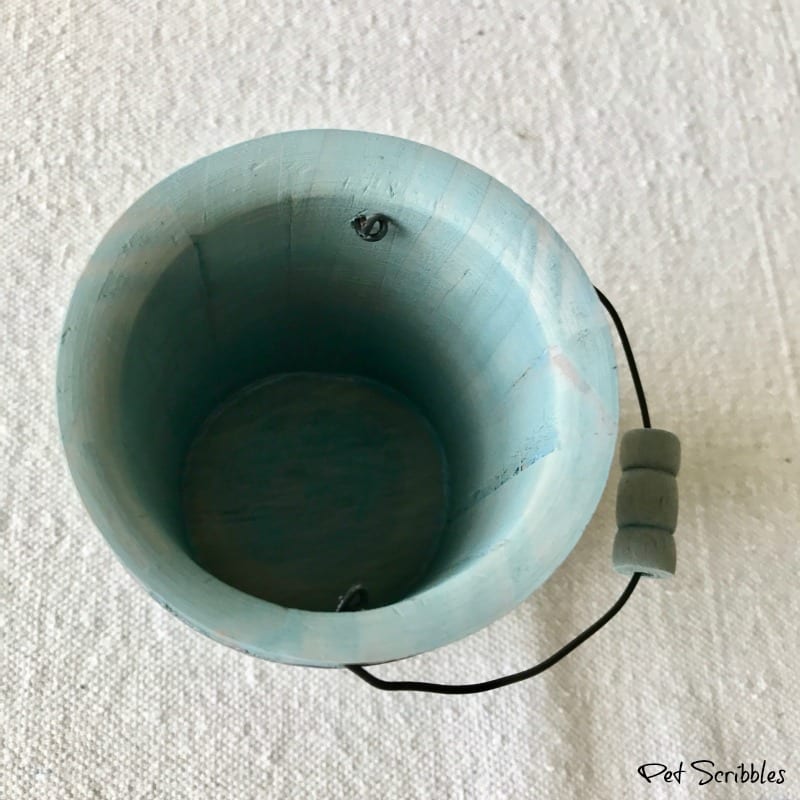
In addition, I added a velvet ribbon scrap to the handle, and cut the ends with pinking shears.
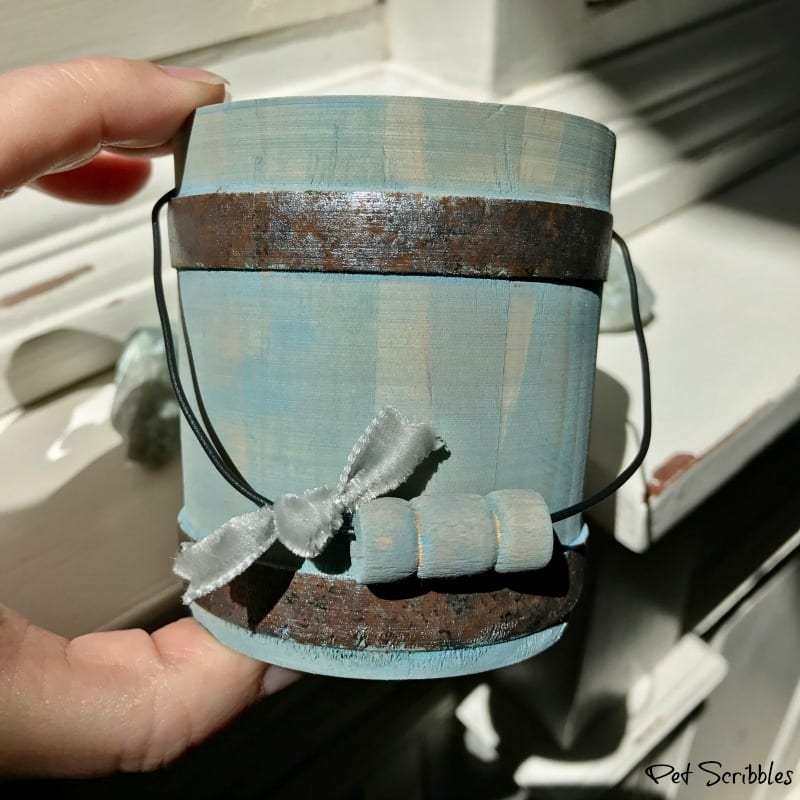
Here’s my beautiful mini farmhouse wooden bucket!
You will find quite a few pickling wash projects here on Pet Scribbles, as I love using this medium on unfinished wood.
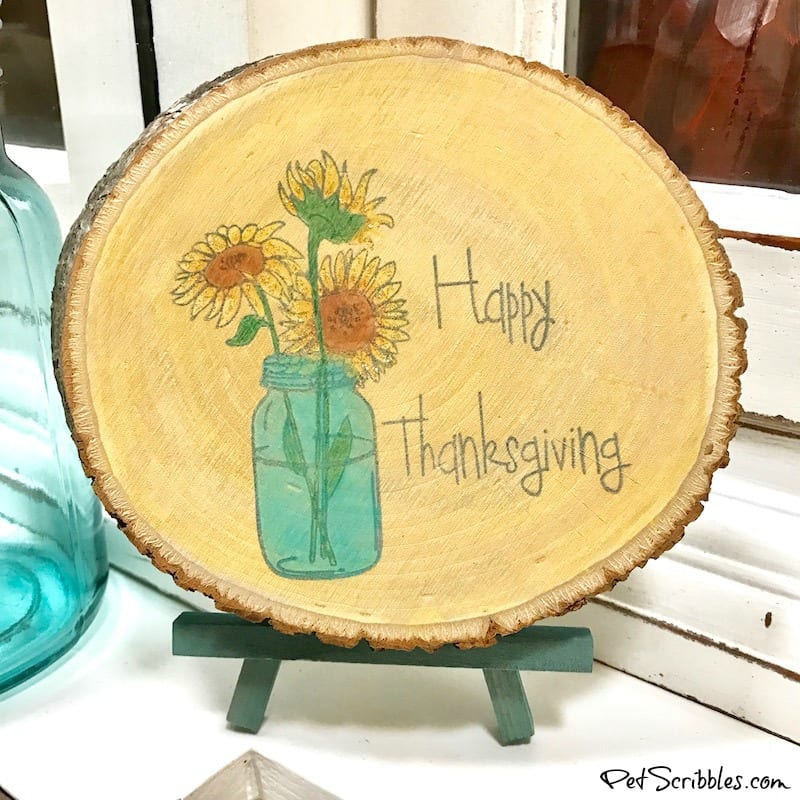
For example, I used two different pickling wash colors on this Thanksgiving wood slice sign I made last Fall:
Click on any of the “Related Posts” below in order to see more projects and tutorials with pickling wash.
In conclusion, if you haven’t tried pickling wash yet — do it! You will love how easy it is!
Happy crafting!
Wooden bucket looks so cute. Great directions with good photos. This looks so simple. makes me want to try it. I enjoy your blog. Thanks for sharing this post with us.