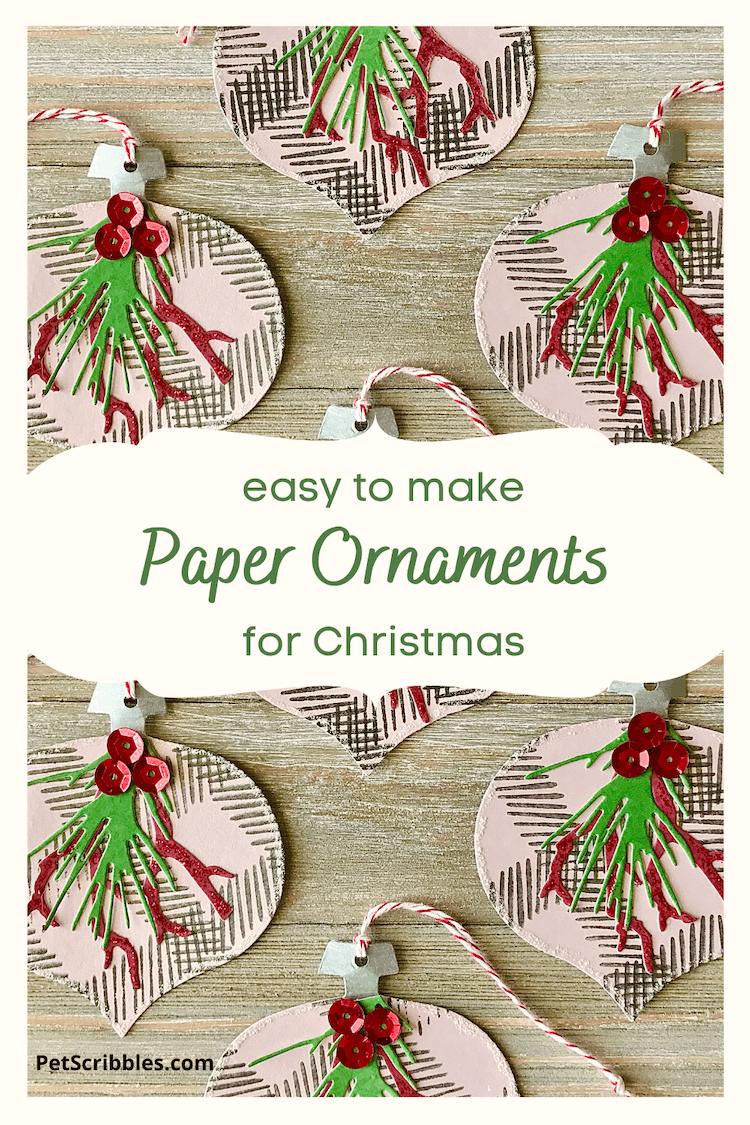
How to make easy paper Christmas ornaments for your Christmas tree or to use as a pretty Christmas garland. Mix decorative papers to match with your holiday decor!
Tip: Use a cutting machine that isn’t super-expensive
Making paper Christmas ornaments is easy when you use a cutting machine. You don’t need anything fancy or electric either.
I use a Sizzix Big Shot to easily cut out shapes from decorative paper. And I purchase die cuts of the shapes I need.
The Big Shot isn’t cheap, but it costs much less than other popular electric cutting machines.
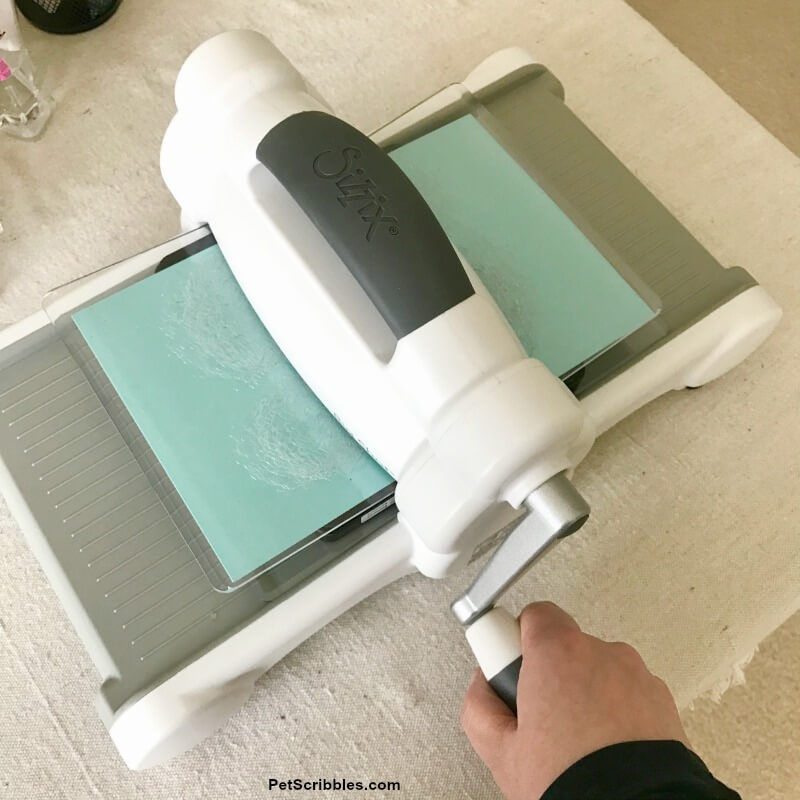
This cutting machine is manual. Turning the handle is easy. The amount of dies available in just about any shape you can imagine is always growing.
For today’s project, I used die cuts of ornament shapes and foliage shapes. The “foliage” shapes are actually from a set of Fall-themed die cuts by Tim Holtz. By using red and green paper, I turned them into Christmas greenery and red twigs!
Tip: Use heavier paper like cardstock versus thin paper
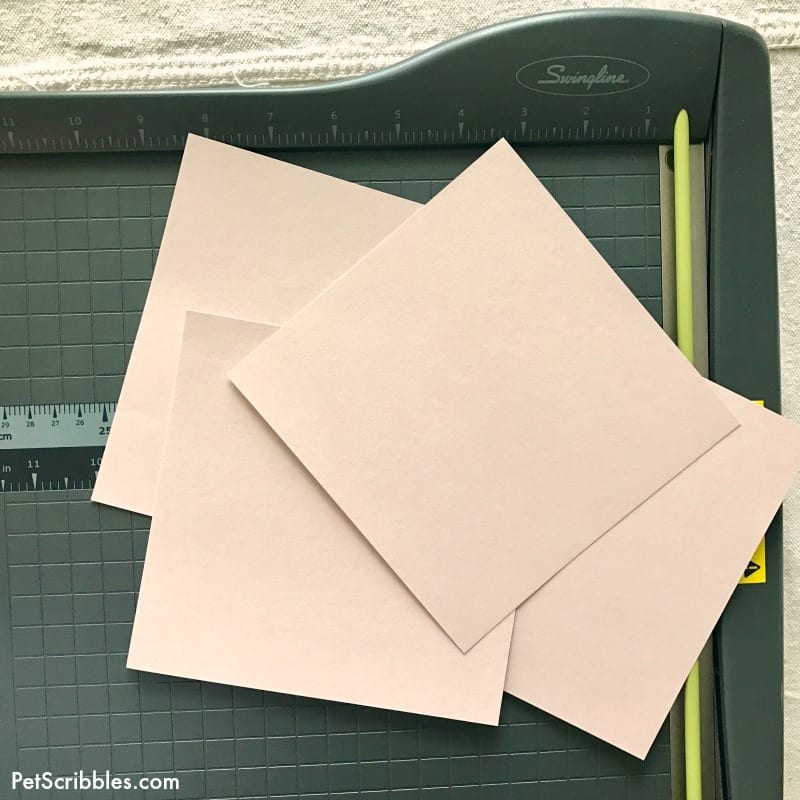
For this paper ornament tutorial, you can use any decorative paper you would like. Make sure it is cardstock as thin paper may not hold up over time.
Helpful tip: Shop for decorative scrapbook paper pads that match your home decor or your holiday-themed decor. There are many styles and colors available at craft stores and online.
Make your own decorative paper Christmas ornaments design
Instead of using holiday-themed cardstock for this project, I created my own plaid design using stamps.
This fun set of stamps can make multiple plaid patterns:
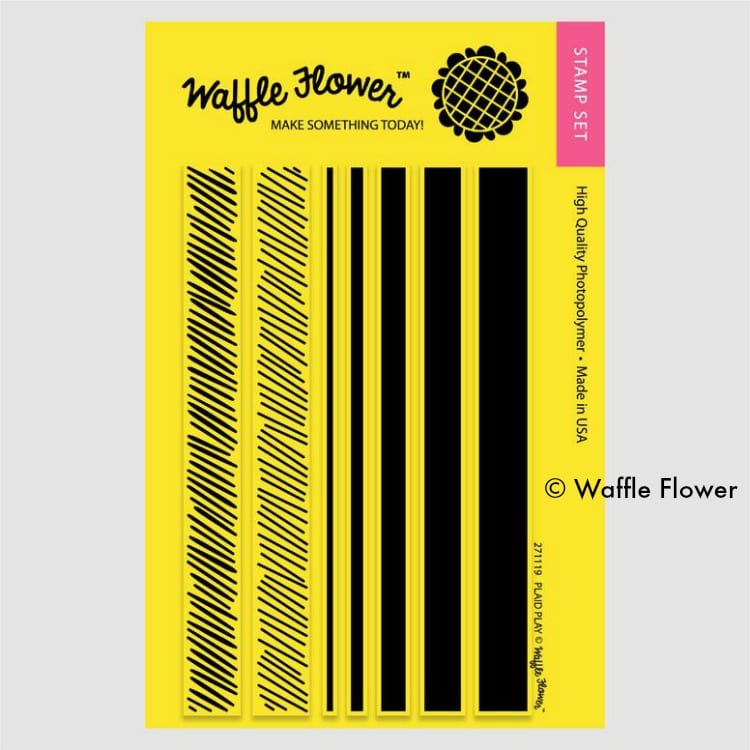
Each line (that you see above) is an individual stamp, so you can mix and match to create exactly what you need for your projects.
So fun!
However . . .
I see they carry an even easier stamp set to use of “ready-made” plaid designs on Amazon:
I decided to make plaid paper ornaments for our Christmas tree.
Let’s get started!
Paper Christmas Ornament Supplies:
- Waffle Flower “Plaid Play” Stamps
- Xyron® Tape Runner
- Swingline Paper Trimmer, Classic Cut Lite
- Pink metallic cardstock
- Red and green cardstock
- Large acrylic stamping block
- StazOn Multi-Surface Ink Pad in Stone Gray — Tsukineko
- Scissors
- Metallic silver marker — Sharpie
- Die cutting machine (I use a Sizzix Big Shot)
- Ornament dies by Tim Holtz/Sizzix
- Fall Foliage dies by Tim Holtz/Sizzix
- Scrap paper
- Stickles Glitter Glue in Red and Frosted Lace
- Red Sequins
- Hole Punch — Fiskars
- Baker’s twine
How to Make Easy Paper Christmas Ornaments
Step One: Practice with your chosen plaid design stamps on scrap paper to determine what pattern you want to make.
I decided to use two of the stamps to make a “buffalo check” pattern.
Step Two: Cut your chosen cardstock to 6″ x 6″ squares.
The Swingline paper trimmer is perfect for this — as it cuts through multiple sheets like butter!
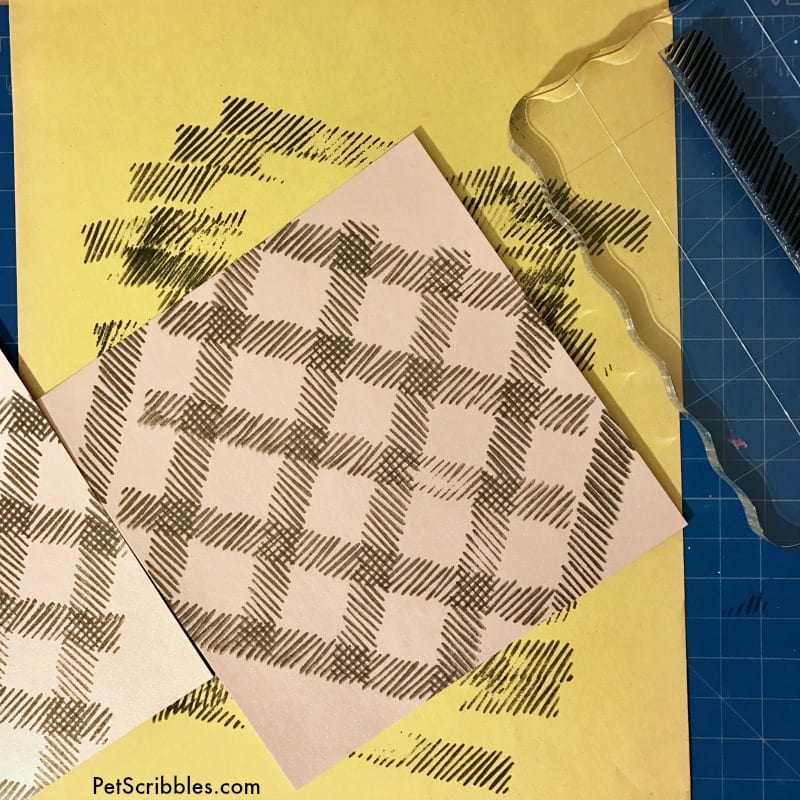
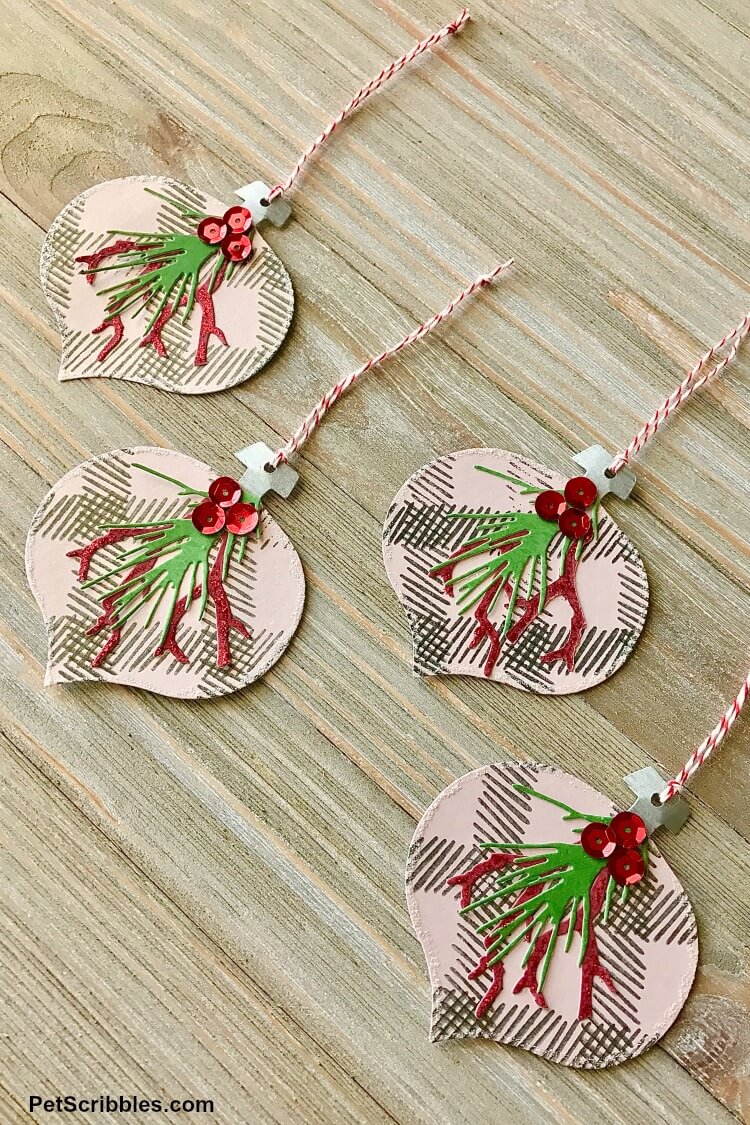
Step Three: Stamp a buffalo check pattern onto the 6″ x 6″ pink metallic cardstock sheets.
First, I stamped at an angle and kept my rows as even as possible just eye-balling it.
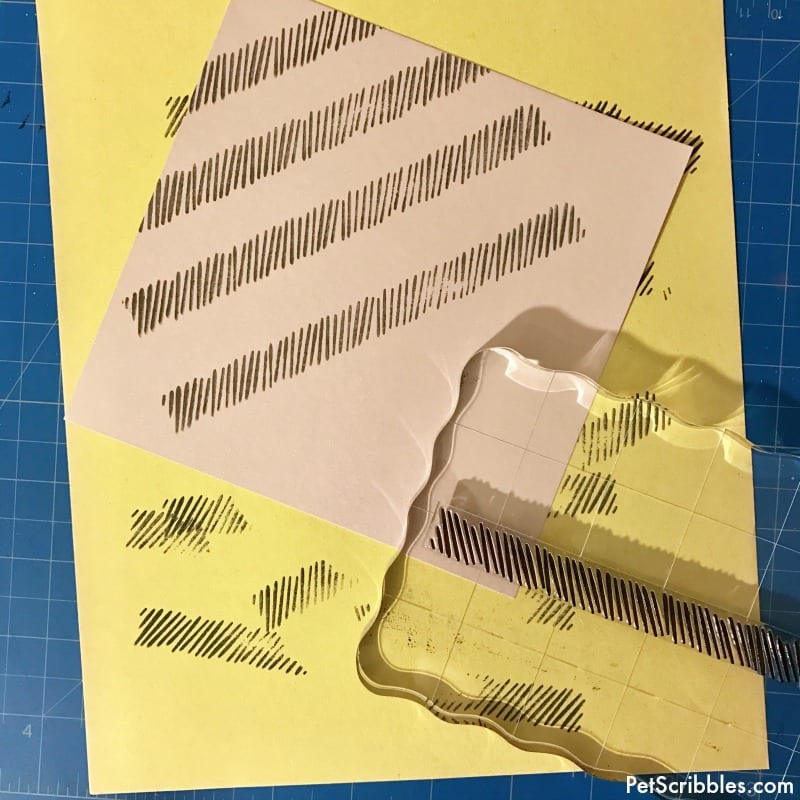
Keep scrap paper underneath each sheet while you’re stamping, to catch any parts of the stamp that go off the cardstock as you stamp towards the corners.
Next, I used the “other” similar stamp to finish the buffalo check pattern by stamping at an angle in the opposite direction:
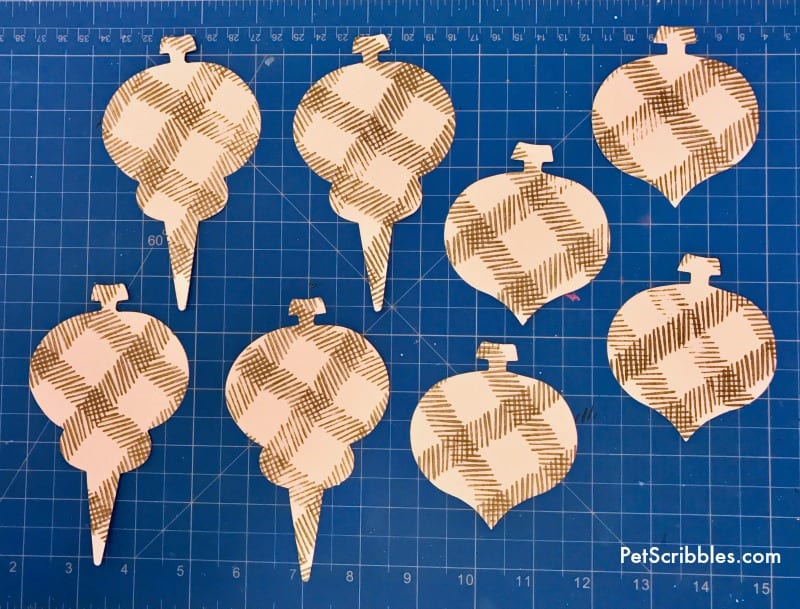
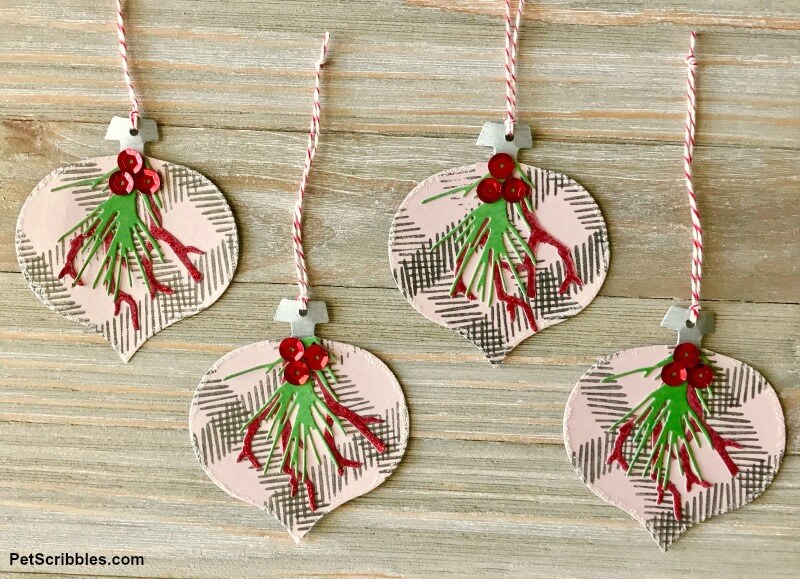
Step Four: Run the cardstock through a die cutting machine using Christmas ornament dies.
I used these ornament dies from Tim Holtz/Sizzix.
Here’s what they look like with the pretty buffalo check pattern:
Create holiday greenery for your paper Christmas ornaments
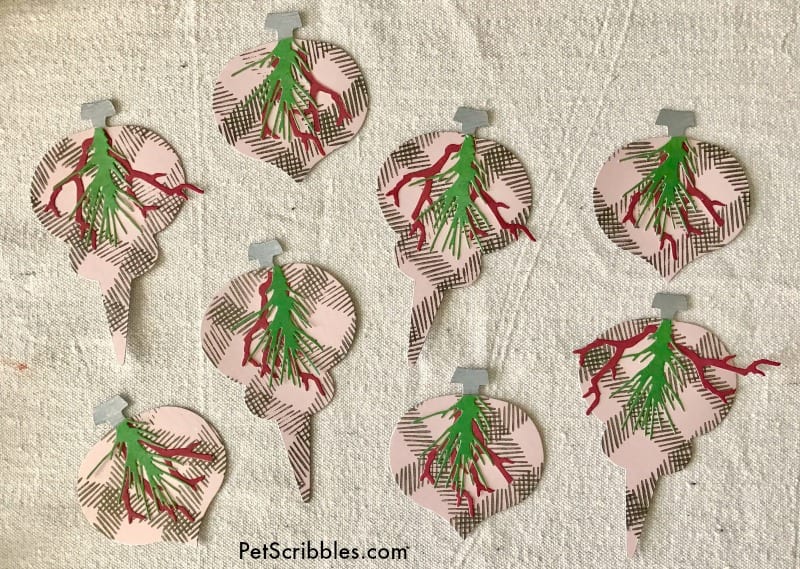
Step Five: Run red and green cardstock through a die cutting machine with small dies to create sprigs of Winter greenery and red twigs.
I used two dies from the Fall Foliage by Tim Holtz die set.
Next, using a Xyron Tape Runner, apply adhesive to the backs of the Winter greenery and red twigs, and adhere each to an ornament.

And finally, embellish your paper Christmas ornaments!
Step Seven: Color the top of each ornament with a metallic silver Sharpie, as seen above and below.
Step Eight: Add red glitter glue to the red twigs, and frosted lace glitter glue around the perimeter of each ornament. Let dry.
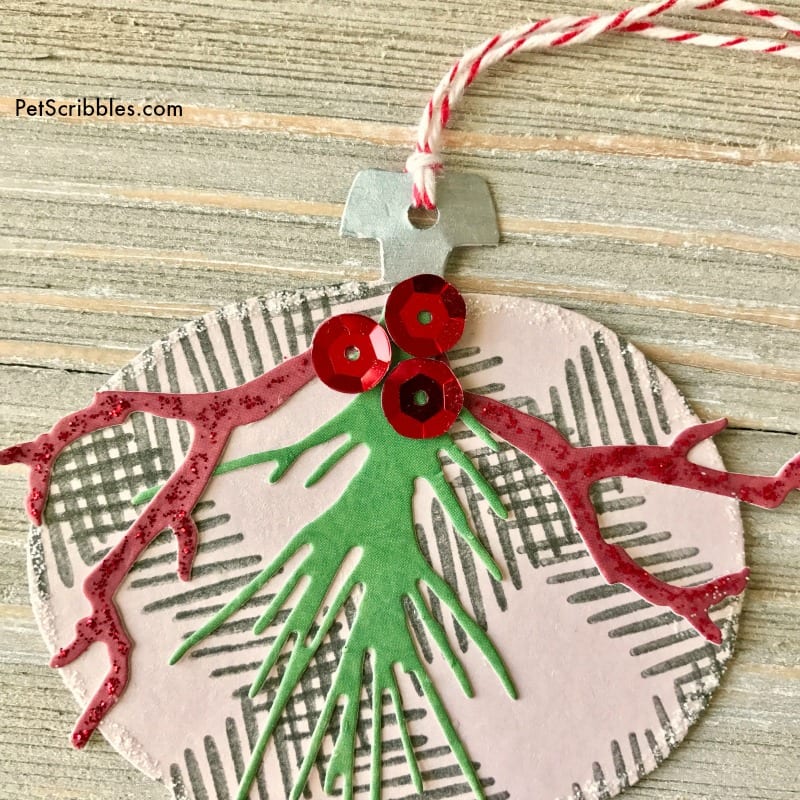
Step Nine: Put a tiny bit of adhesive down with your Xyron Tape Runner, then attach the sequins to each ornament.
Step Ten: Punch a hole in the top of each ornament and run a small piece of baker’s twine through the hole to hang.
And that’s it!
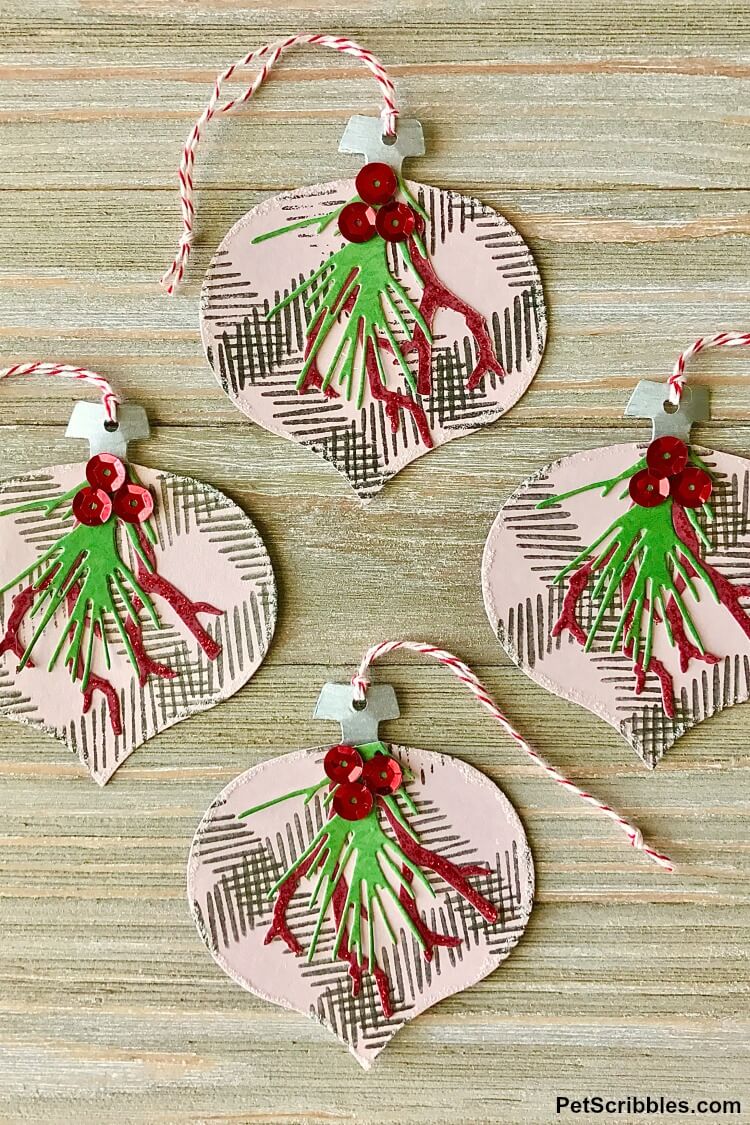
I can’t wait to hang these on our tree this year!
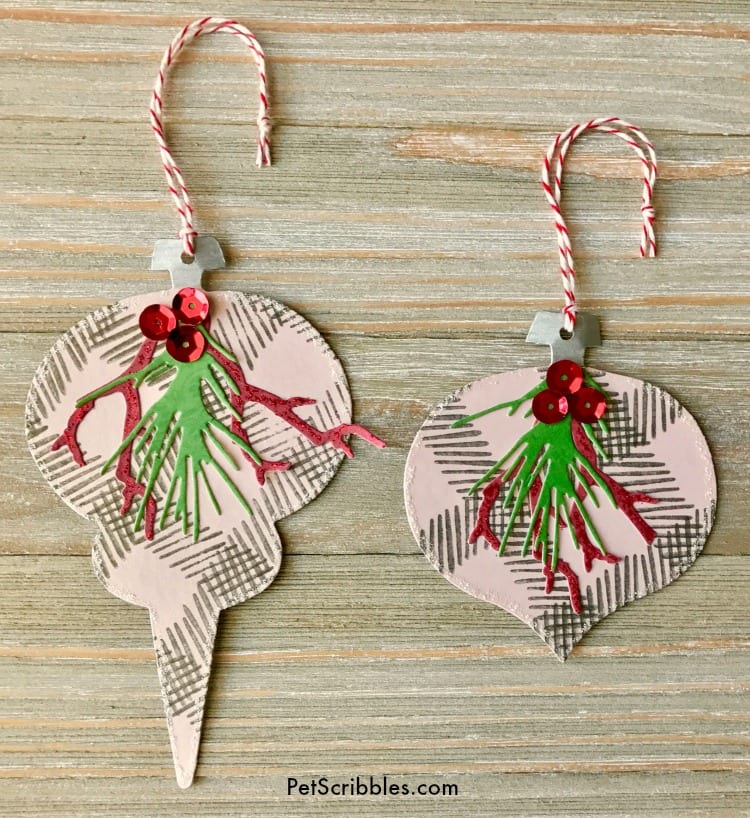
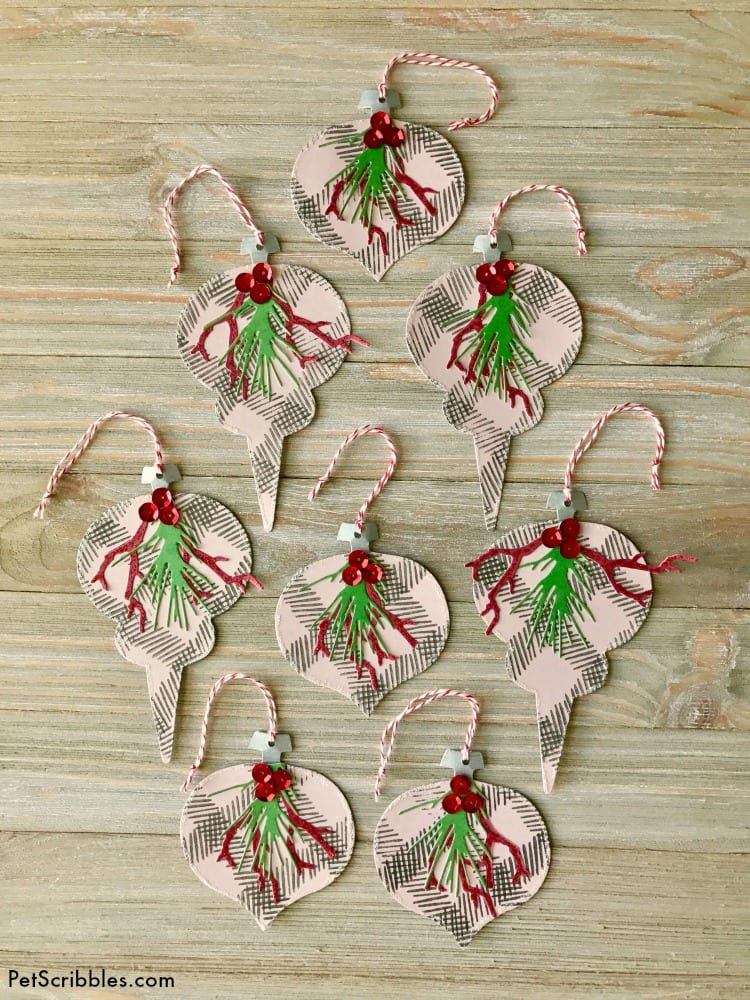
The pink color will be a nice soft color to counterbalance to some of the more vibrant ornaments.
I think they would look great as a Christmas garland or even attached to wrapped Christmas gifts as decoration or gift tags!
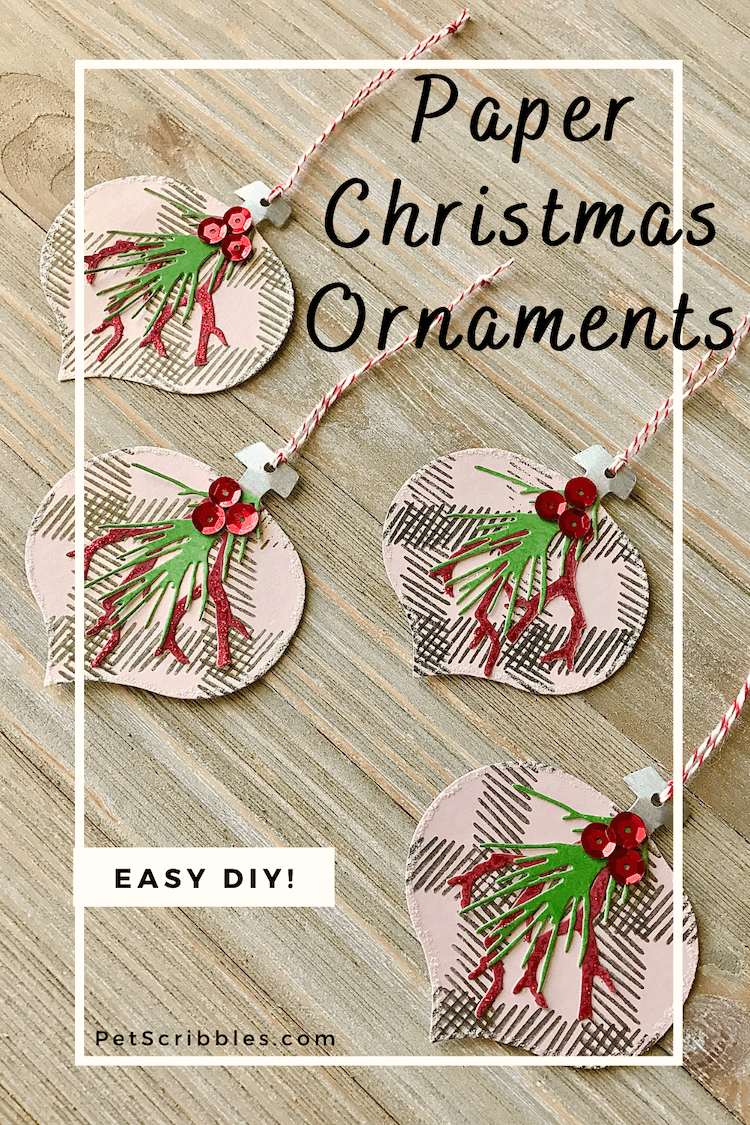
Pin for later:
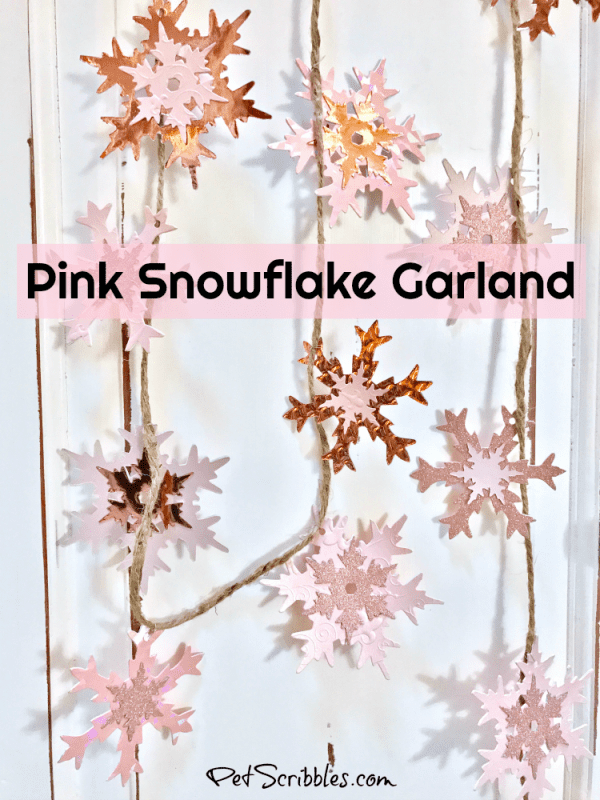
One more easy paper Christmas ornament tutorial!
To create the snowflake garland seen below, I used a set of snowflake dies and my Sizzix Big Shot machine. Punch a hole and hang them on some jute twine. You can see the full tutorial here: Pink Snowflake Garland
Happy holiday crafting!
Leave a Reply