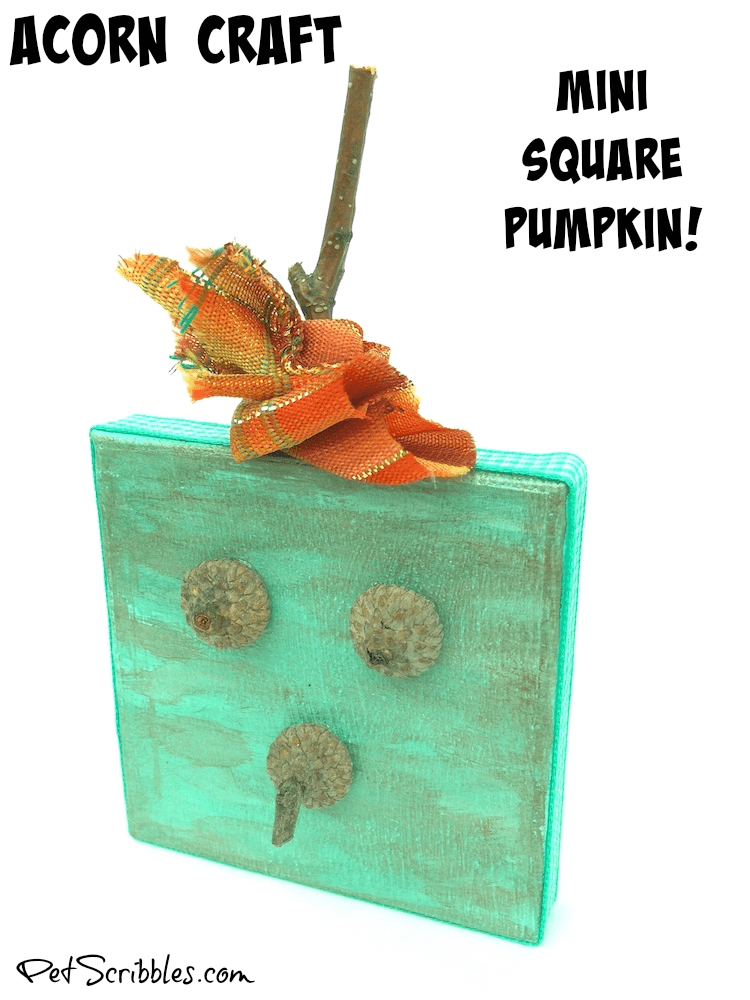
Using acorns and twigs, I’ll show you how to make a mini square pumpkin with help from nature. This miniature craft is perfect for the Fall season!
This is a fun project that doesn’t take much time to create. I can imagine a bunch of these mini square pumpkins on a shelf — each one a bit different from the others.
Hmmm….there’s an idea for next year!
Just how miniature do I mean?
My square pumpkin is made with a tiny artist canvas that only measures 3″ square! You can find these at larger craft stores in packs of at least two or four together.
FTC Disclaimer: Some of the links in this post are affiliate links. I explain more here.
How to make a mini square pumpkin with help from nature!
Supplies:
- Mini artist canvas, 3″ square
- Acorn caps — from the backyard, or buy some here
- Small twig — from the backyard
- Glue Dots
- Mini Glue Dots
- American Crafts Ribbon
- Scissors
- Craft paint in aqua and brown shades
- Paintbrush
- Paper towels
- Ribbon scrap (with wired edges is a plus)
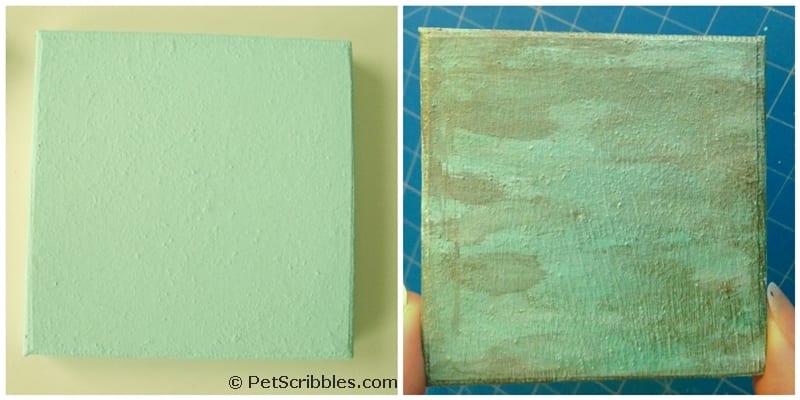
Step 1: Paint the canvas.
Because I love adding aqua and teal touches to our Fall decorations — to match the accent color in our home decor — I painted my miniature square canvas in an aqua shade with regular craft paint.
Once dry, I watered down some brown craft paint and lightly painted over the canvas here and there, then took a paper towel and wiped off any excess water/paint. Let that dry.
You can make this craft even easier by painting the miniature canvas in one solid color – orange, for example – and then glue on the acorn caps.
Step 2: Make an acorn face.
Gather some acorn caps from the yard.
OR
You can purchase these online — I found some available on Amazon here.
Rinse the acorn caps, then dry on a paper towel.

I picked out two caps that had small stubs, and used those for the eyes.
An acorn cap that had a wonderful hooked stem attached — which resembled a beak to me — became the mouth.
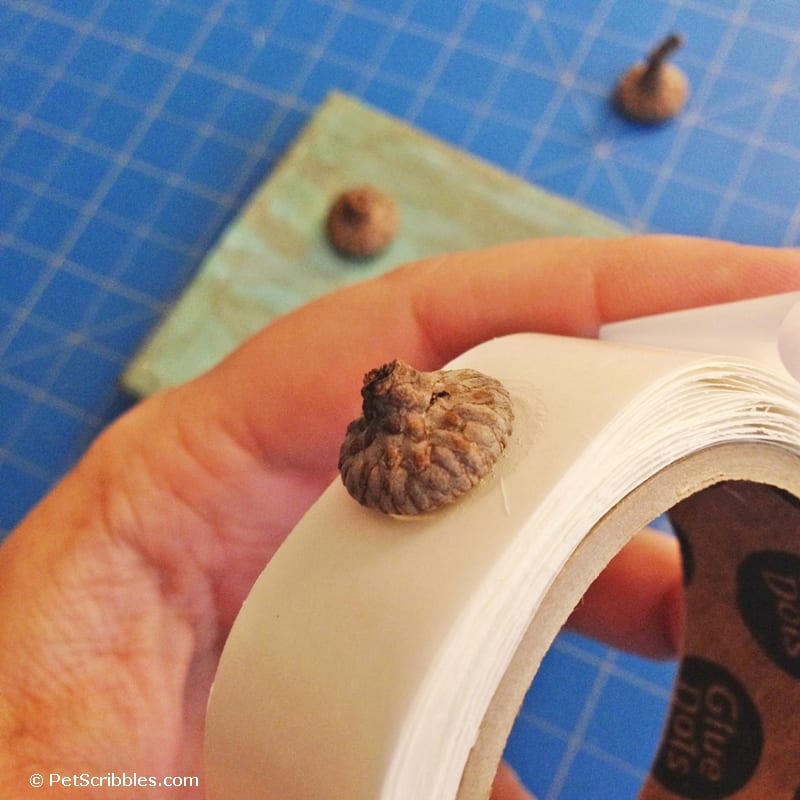
I used large Glue Dots to easily attach them to the painted canvas, as they were about the same size.
I pressed each acorn cap onto a Glue Dot, then gently pulled to get the glue dot to come off and stick to the acorn.
We interrupt this craft tutorial to issue an apology about the next photo . . .
Please forgive my extreme close-up of my thumb with black and silver paint on the nail! I had no idea it would look so lovely in these photos. Sorry!
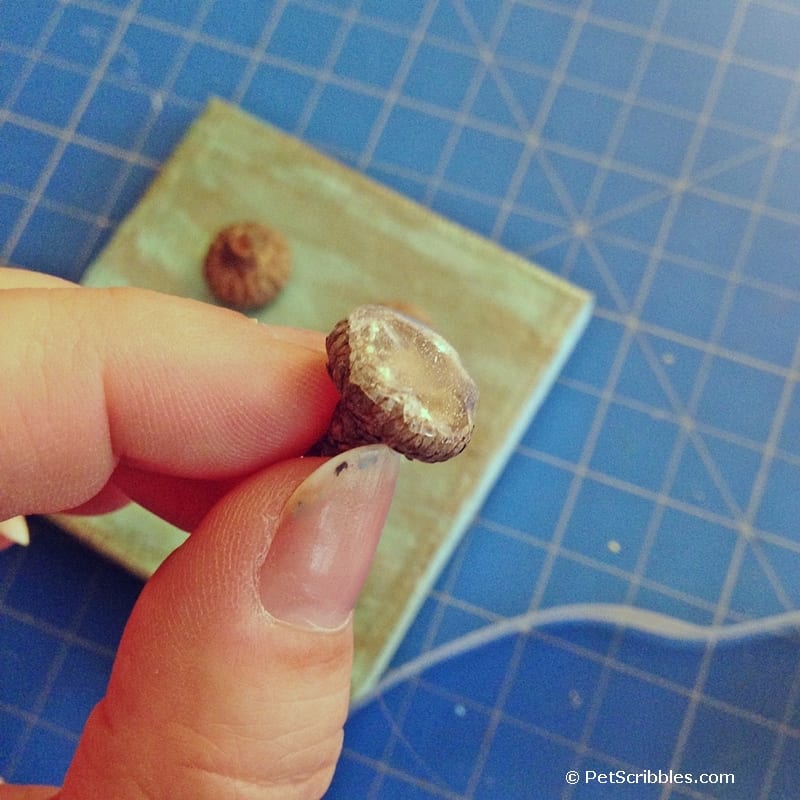
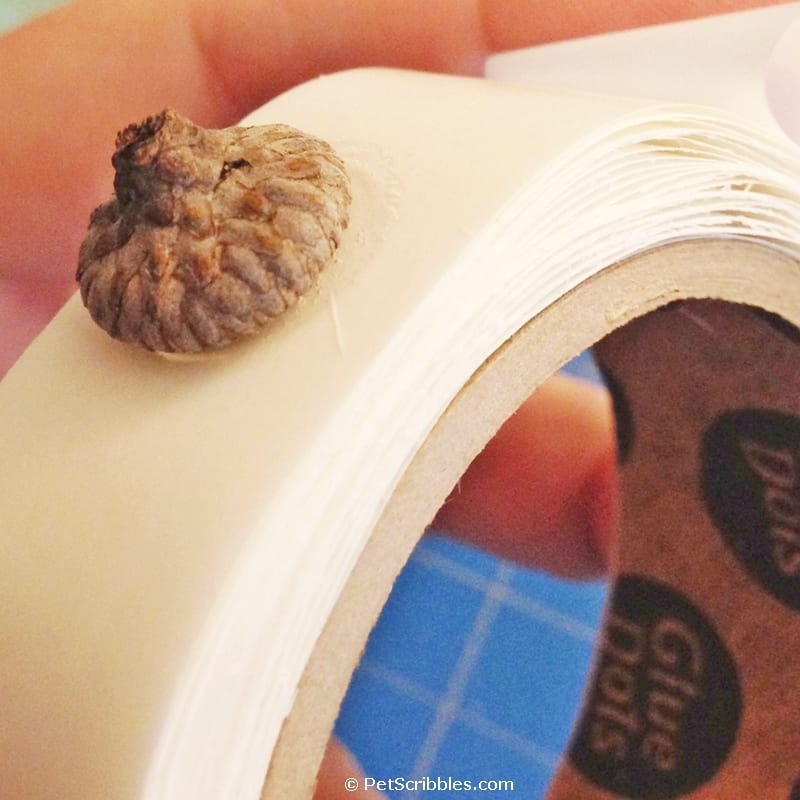
I used my fingers to tap the edges of the Glue Dot into the acorn cap edges so that no adhesive would be visible once I stuck the caps onto the miniature canvas.
Helpful tip: The Glue Dots can stick to your fingers, so gently push the Glue Dot edges and try to keep them stuck to the acorn caps and not stuck to your fingers!
Step 3: Attach matching ribbon to the canvas edges.
First, cut a section of the American Crafts ribbon that will fit around the edges of the square canvas. This ribbon is a 3/8″ width, which fits perfectly on the edges of this size canvas.
Next, I attached Mini Glue Dots all around the edges of the square canvas.
I adhered the ribbon starting at the top.
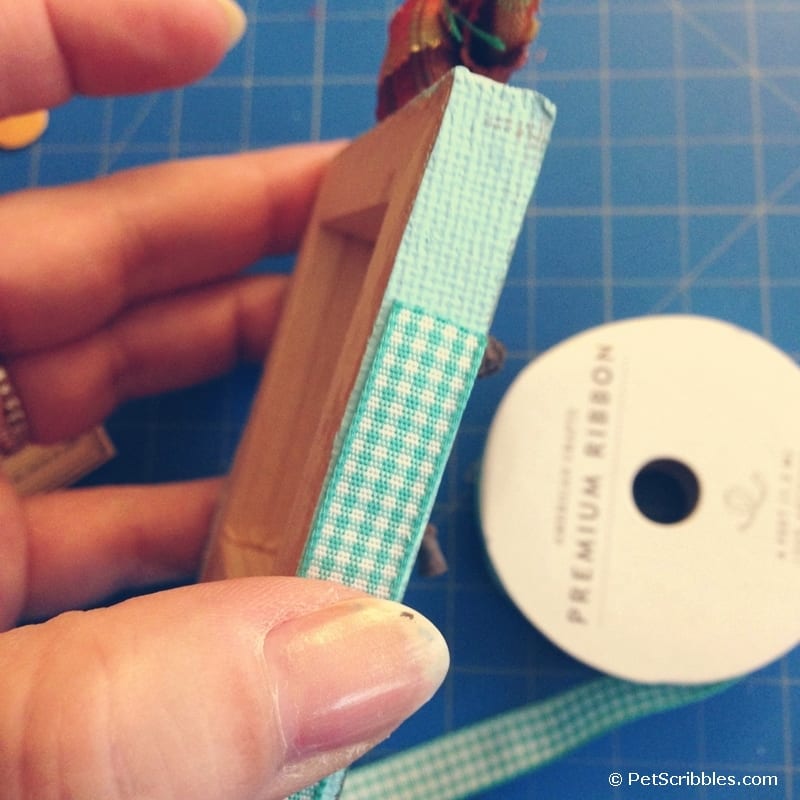
Pull the ribbon very tightly as you press it onto the Mini Glue Dots one by one, until you wind up at the other end.
Don’t worry about the two ends showing — as we will cover them up in the next steps!
Egads my thumb is gross!
I promise, no more pictures of the thumb. No more!
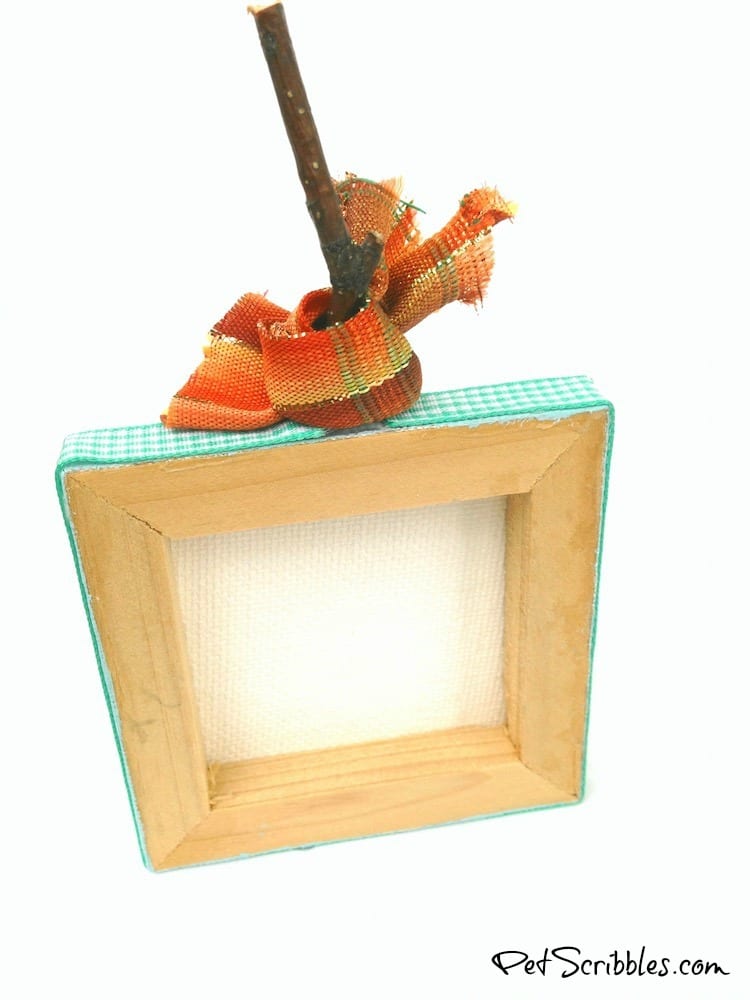
Step 4: Add a pumpkin stem.
To make a pumpkin stem, break off a tiny twig and – using more of the large Glue Dots placed around its base – attach the stem to the top of the square pumpkin.
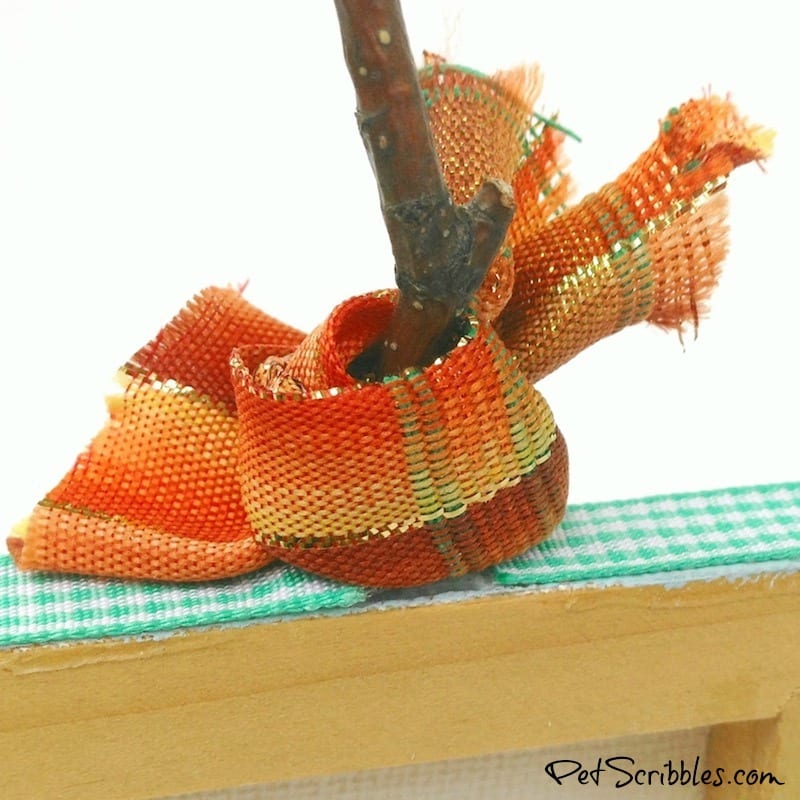
Step 5: Add some ribbon to the stem.
I wrapped a small ribbon scrap in Fall colors around the base of the stem. Because this scrap had wire edges, it made twisting it around the stem (and getting it to stay there) super easy.
This ribbon scrap will cover up the Glue Dots and the ribbon edges so everything looks nice and neat!
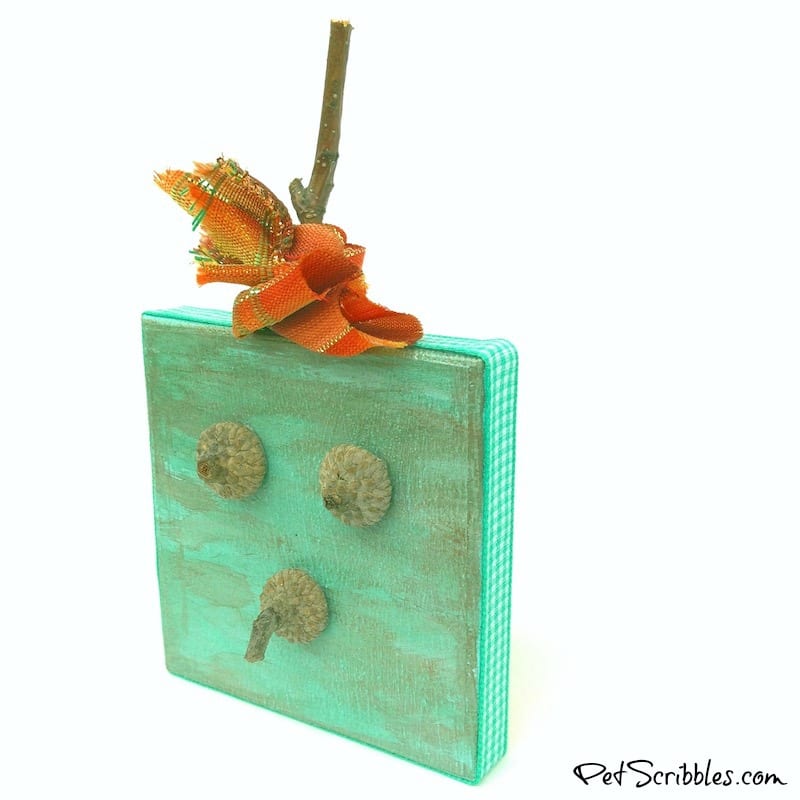
And now you have an adorable mini square pumpkin with help from nature!
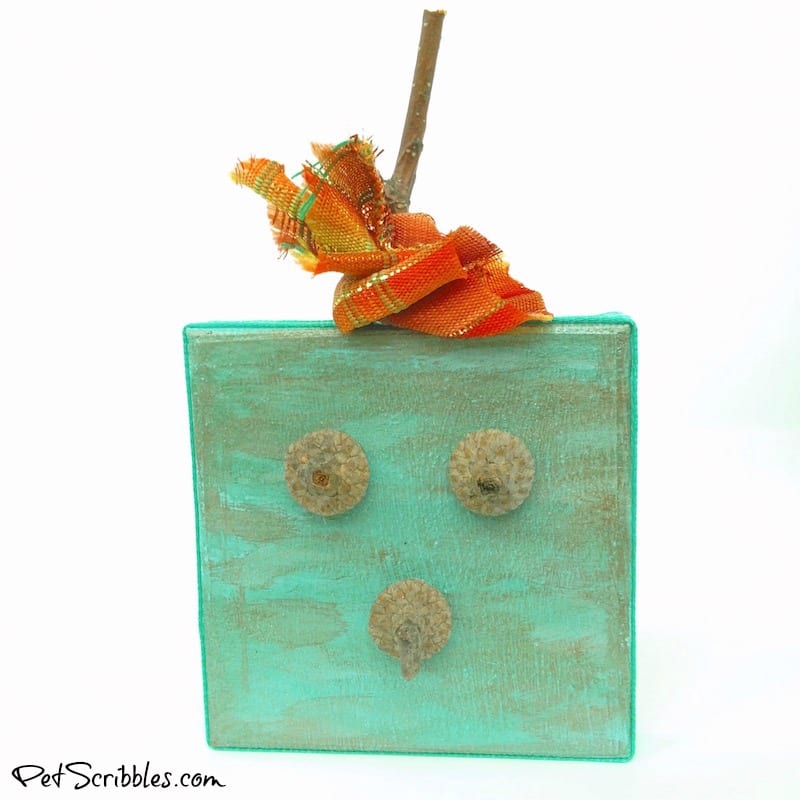
The back . . .
I love it!
There are a lot of variations you can do with this, so have fun!
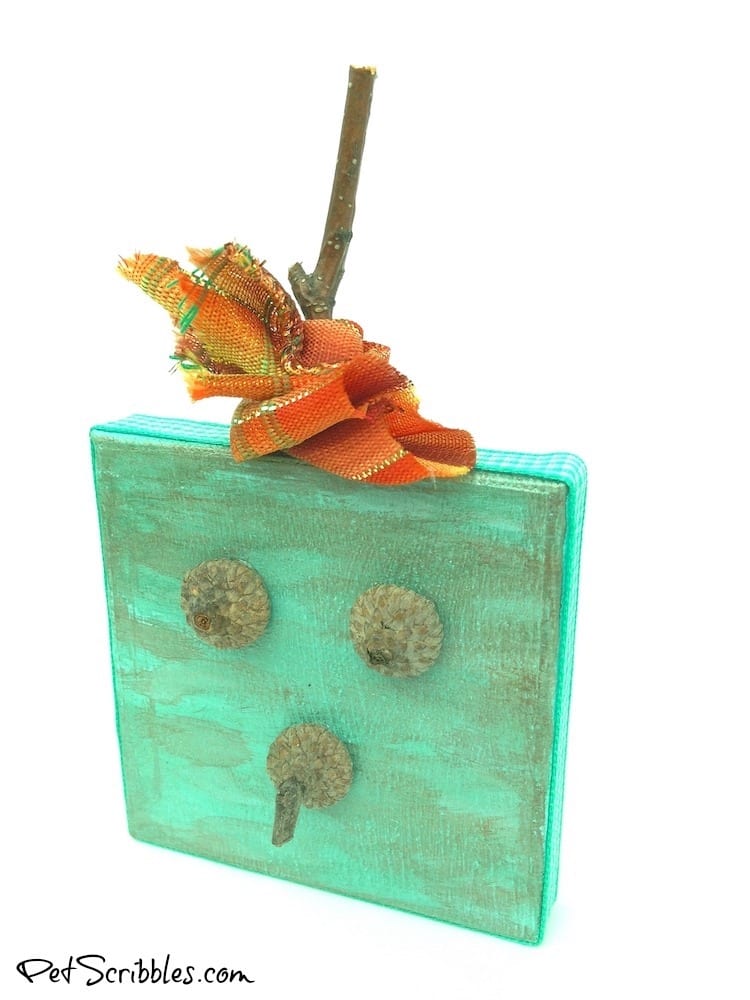
Happy crafting!
An older version of this tutorial first appeared on Deja Vue Designs, when I was a craft contributor there. This post has been completely updated for you here!