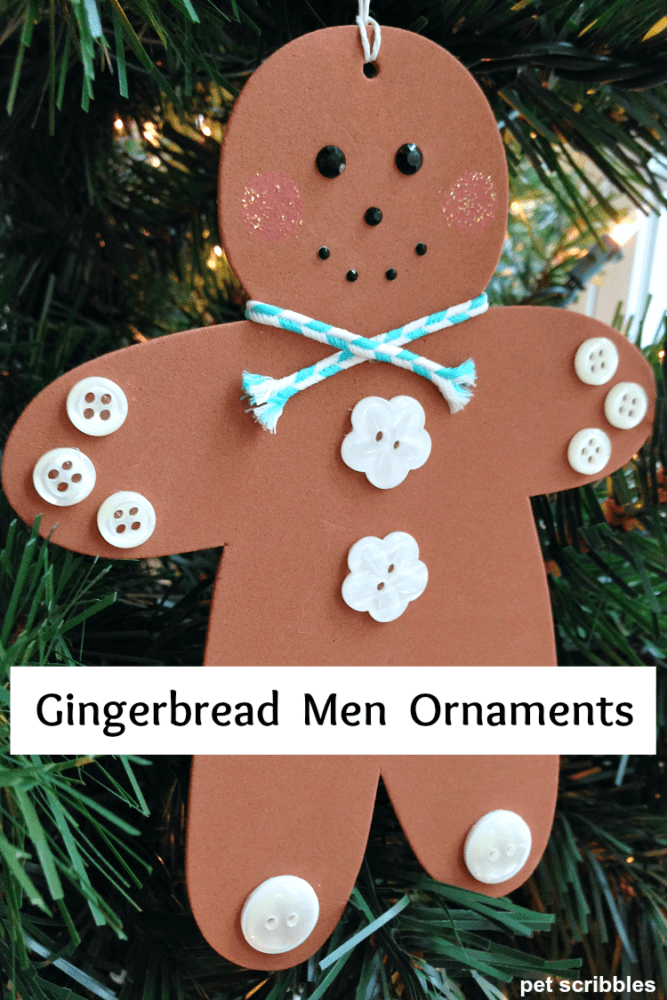
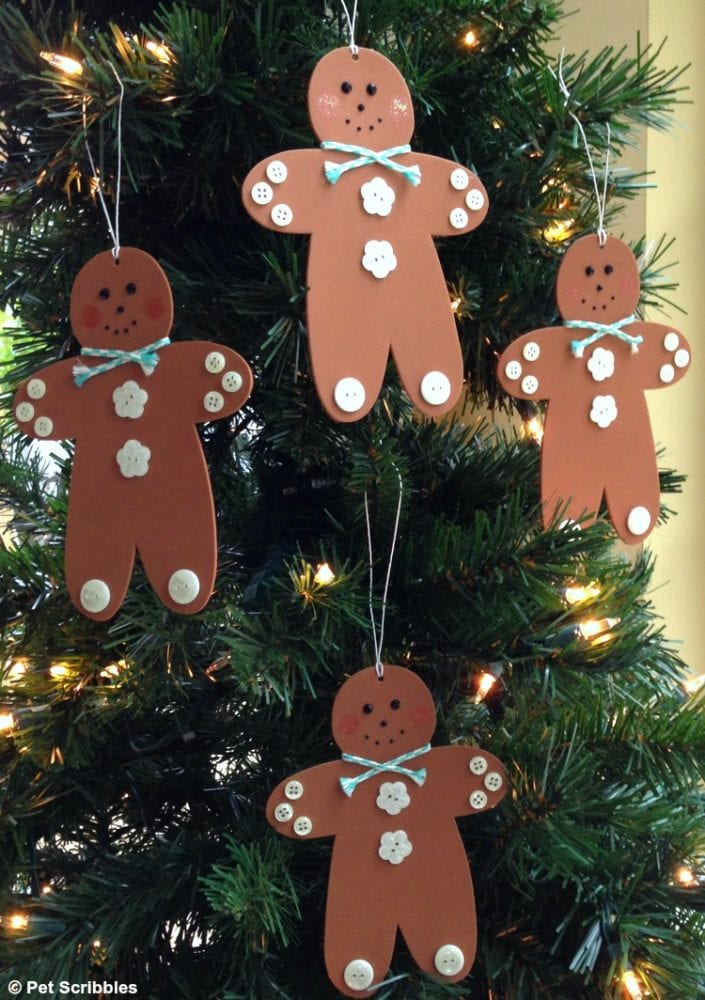
These DIY Gingerbread Men Ornaments are quick to put together, and because the base shapes are foam, these are very lightweight for your tree, too!
Need a fun ornament idea for the holidays? How about an easy DIY ornament that your kids can enjoy creating?
I’ve got you covered today with these fun gingerbread men ornaments!
DIY Gingerbread Men Ornaments!
Supplies:
Gingerbread Foam Ornaments
Ivory/Pearl Buttons – Buttons Galore & More
Baker’s twine
Black adhesive gems
Pink glitter paint
Glue Dots – both mini and regular sizes
Tutorial:
Step 1. Use a small hole punch to make an ornament hanger hole at the top of each gingerbread man.
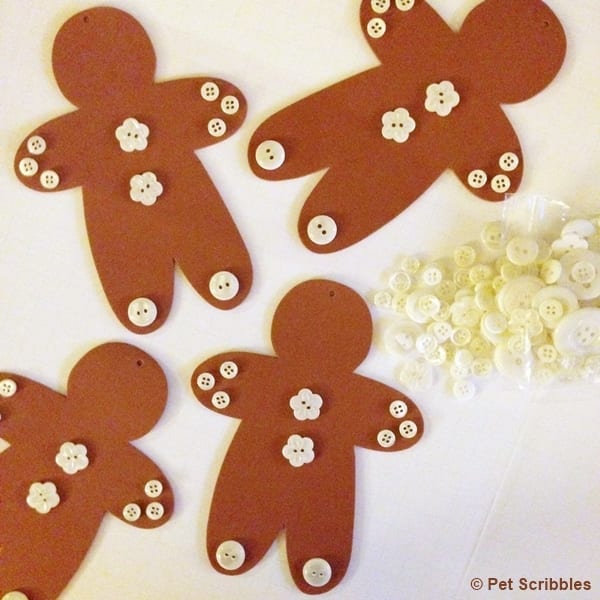
Step 2. Decide on placement of buttons to decorate each gingerbread ornament.
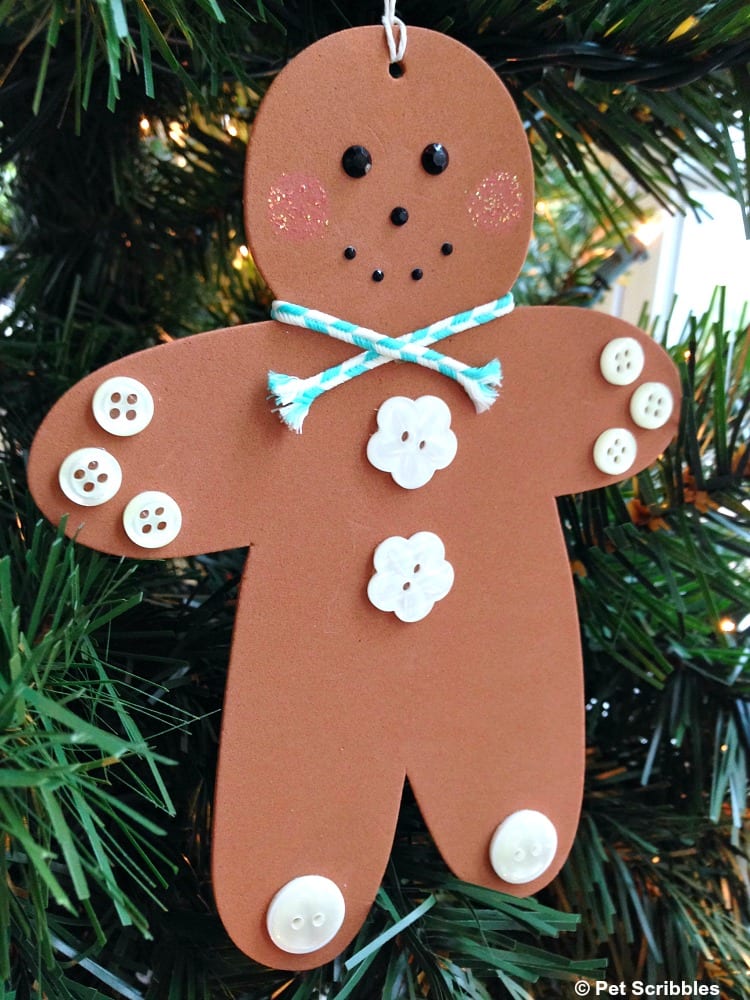
This was the hardest part of putting these ornaments together: having to decide which of the gorgeous buttons to use to dress up my gingerbread folks. I like these ivory pearl buttons, as they remind me of decorative icing you’d find on a gingerbread man cookie!

Step 3. Attach the buttons with adhesive of your choice. I find using Glue Dots makes quick work of attaching buttons to foam material.
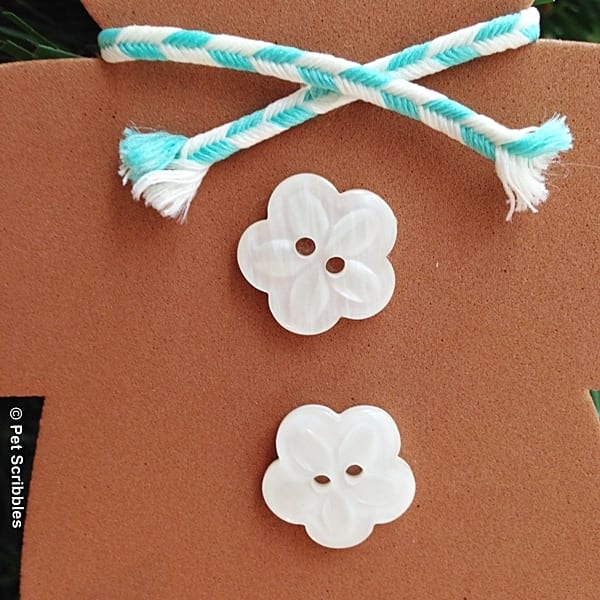
Step 4. Decide what kind of scarves your gingerbread folks will wear. I like the baker’s twine I used because it’s bright and includes aqua, which is an accent color in our home. It was easy to get the edges to fringe out just by rubbing them between my fingers.
Step 5. Attach the eyes, nose and smiling mouth to each ornament. I used tiny adhesive-backed gems for this purpose, which conveniently came in three different sizes within one package. I used the largest ones for the eyes, smaller ones for the noses, and then the tiniest size to make the smiling mouths.
Tip: use tweezers to help you grab and position small gems, if you find your fingers are getting in the way like mine were!
Press gently on the gems to make sure they’re attached well.
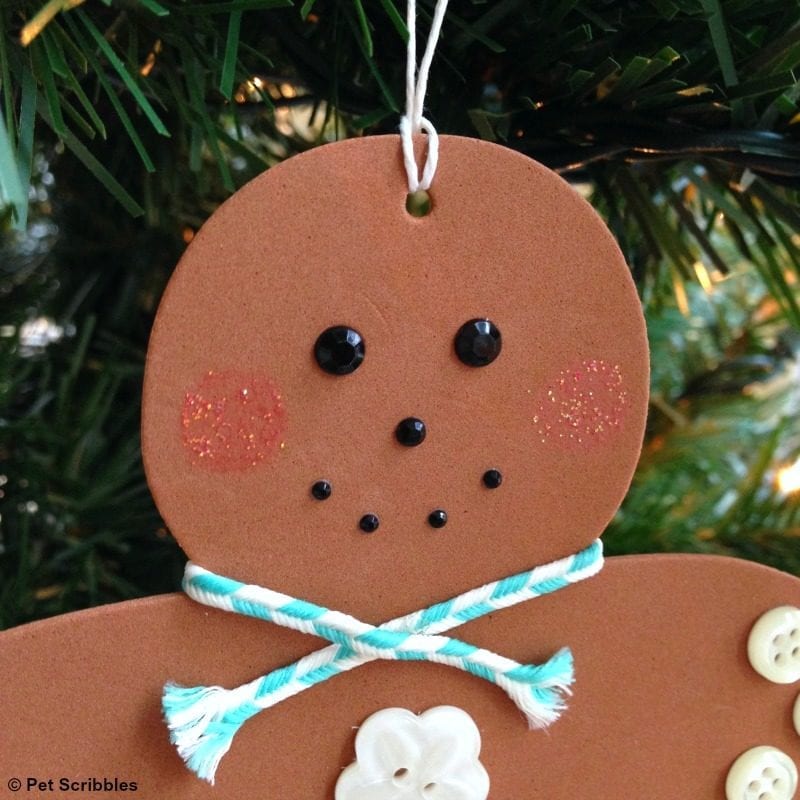
Step 6. Add blush to the gingerbread folks by dipping a small foam stencil brush into some pink glitter paint, pouncing it first on a scrap piece of paper, then pouncing once on each side of the faces. Go over them again if you want a bit more blush. I did mine very lightly, three times. It’s easier to build up color slowly than to glop it all on at once! Let dry.
Step 7. Add an ornament hanger. I used some off-white hemp twine to match the buttons. You could also use ribbon, baker’s twine, string, twine or wire.
Step 8. Hang on your tree and enjoy!
This is a fun holiday project to do as a family, as kids love crafting with foamie shapes.
More easy Christmas crafts!
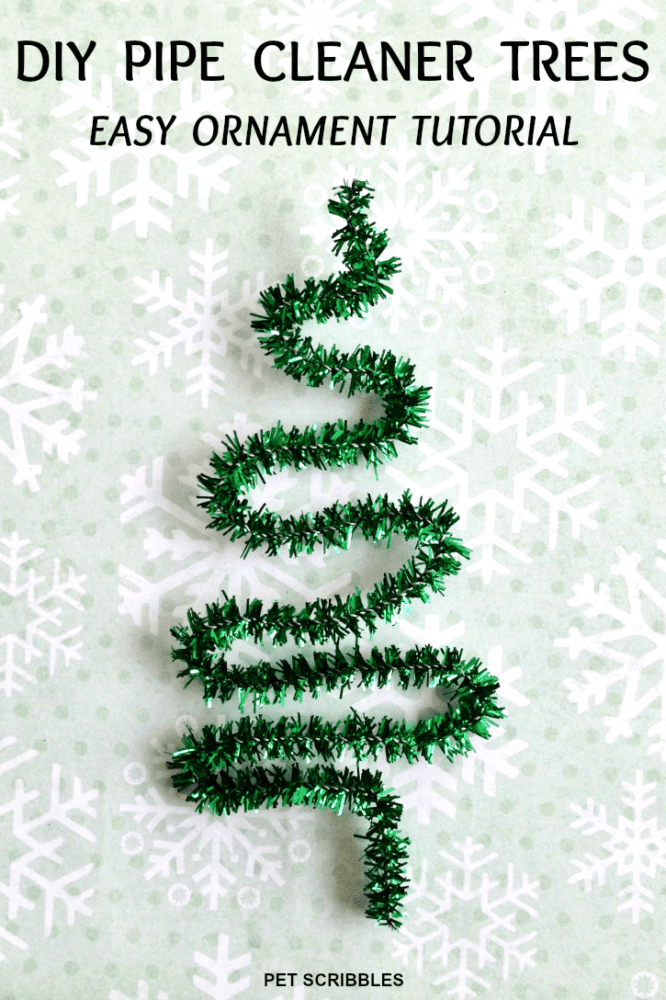
Pipe Cleaner Christmas Tree Ornaments
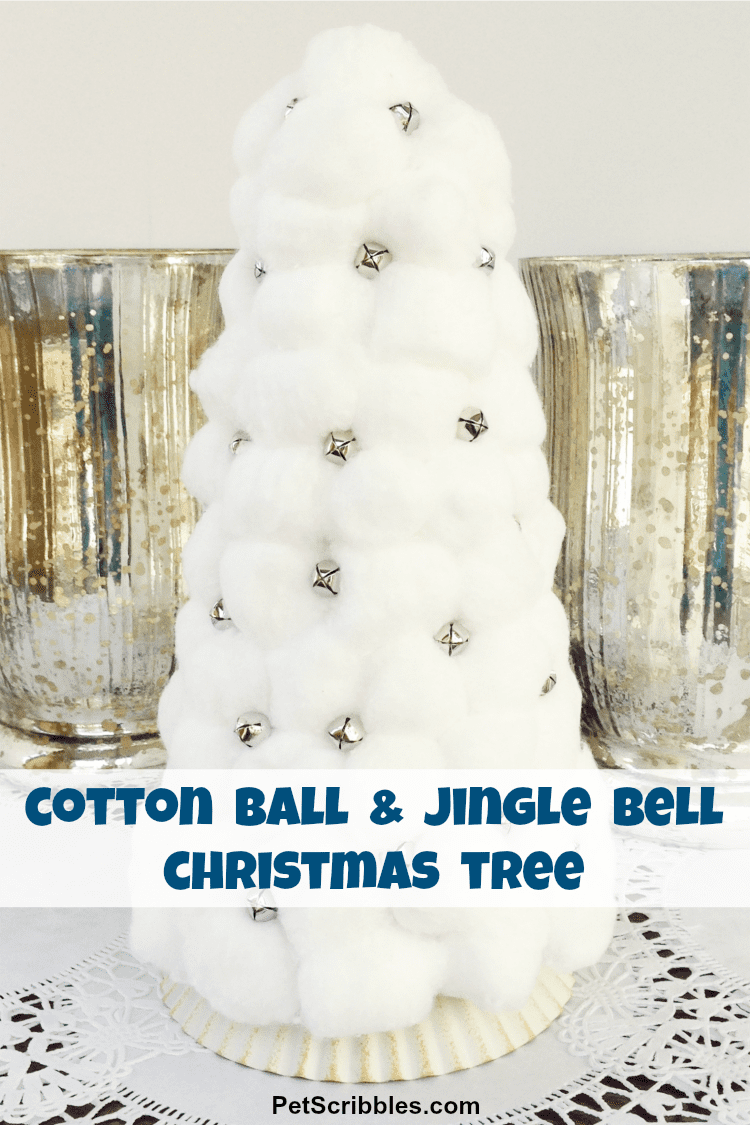
Cotton Ball and Jingle Bell Christmas Tree Cone
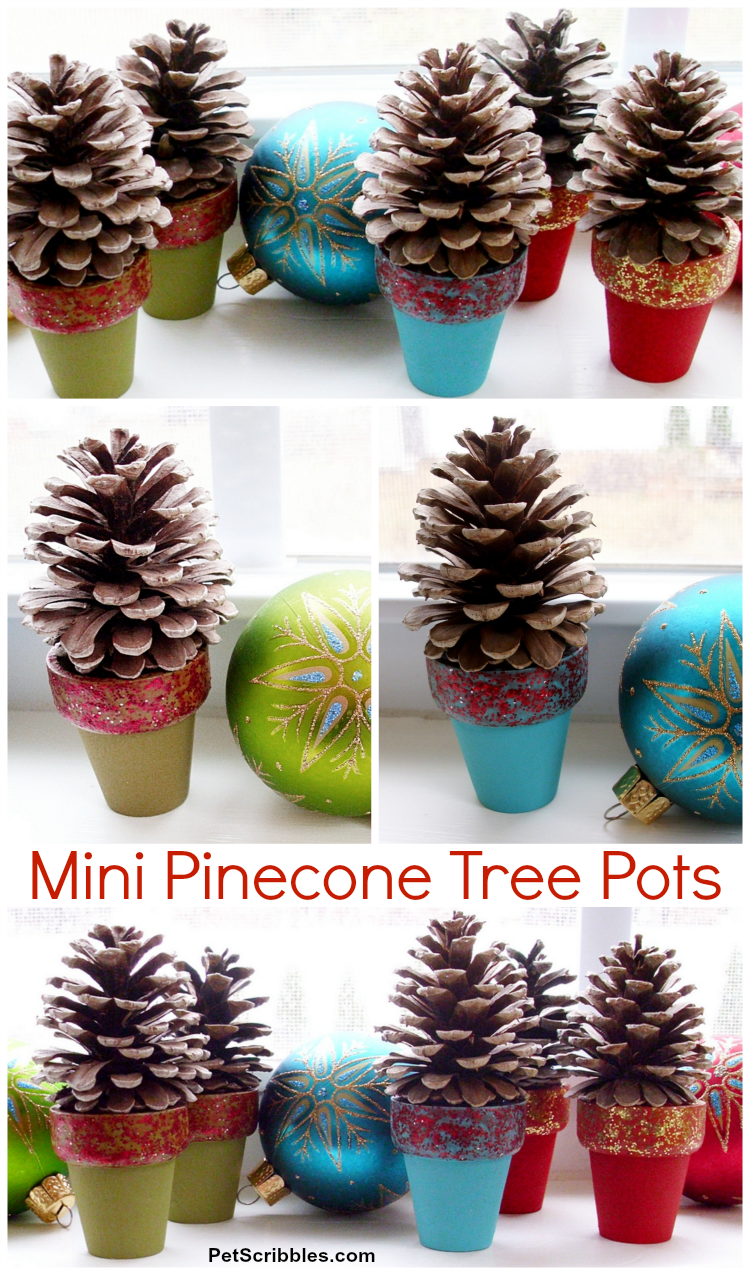
Mini Pinecone Tree Pots
Happy holiday crafting!
Cute! He looks almost good enough to eat!
Paula@SweetPea
http://www.virginiasweetpea.com
Thank you Paula! That’s what I was going for: trying to make them look real! So I appreciate your compliment! 🙂
So cute! The buttons are the perfect added touch!
Thanks Tara! Glad you love the buttons! I had fun deciding which pretty ones to use!
I love these handsome little men you created! They’re so incredibly cute!
Why thank you Bethany! And the handsome little men thank you too!
What adorable little men! I love all of your embellishments! xoxo
Me and those adorable little men thank you very much, Pat! 🙂 I think adding embellishments is my favorite part of crafting!
What a cute little gingerbread man! I love all of his little buttons!