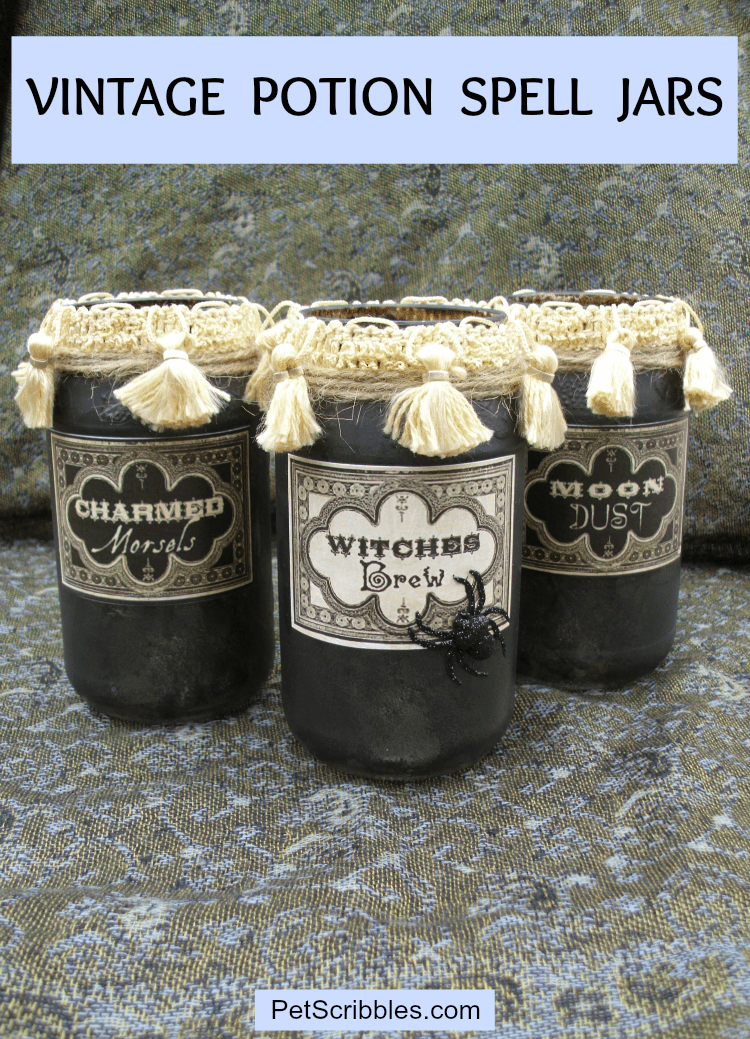
Vintage Potion and Spell Jars for Halloween! Excellent tutorial on how to make your own Halloween apothecary jars in an elegant vintage style.
This post — originally published in 2012 — has been completely expanded and updated on October 20, 2019.
Today’s project got its start when I first saw these gorgeous Halloween printable labels created by The Graphics Fairy. I’ll wait while you click over to see the labels. . .
Gorgeous, right? I love the ivory and black combination. A little bit gothic, a little bit dark Victorian, a little bit elegant too. I knew I wanted to make a set of apothecary jars, which I’ve seen examples of all over Pinterest. All I needed to do was carve out a small bit of time to make them. Sometimes that’s easier said than done, right?
Supplies for Vintage Potion and Spell Jars
FTC Disclaimer: Some of the links in this post are affiliate links. I explain more here.
I’ve been collecting jars for quite some time to use for craft and decor projects. Each time we empty a jar of something, the label comes off, the jar is washed, and I add it to my ever-growing stash. No, they aren’t all “mason” jars, but they work just fine for mason jar crafts, especially if their sides are smooth — which makes adding stickers or labels to these jars easy.
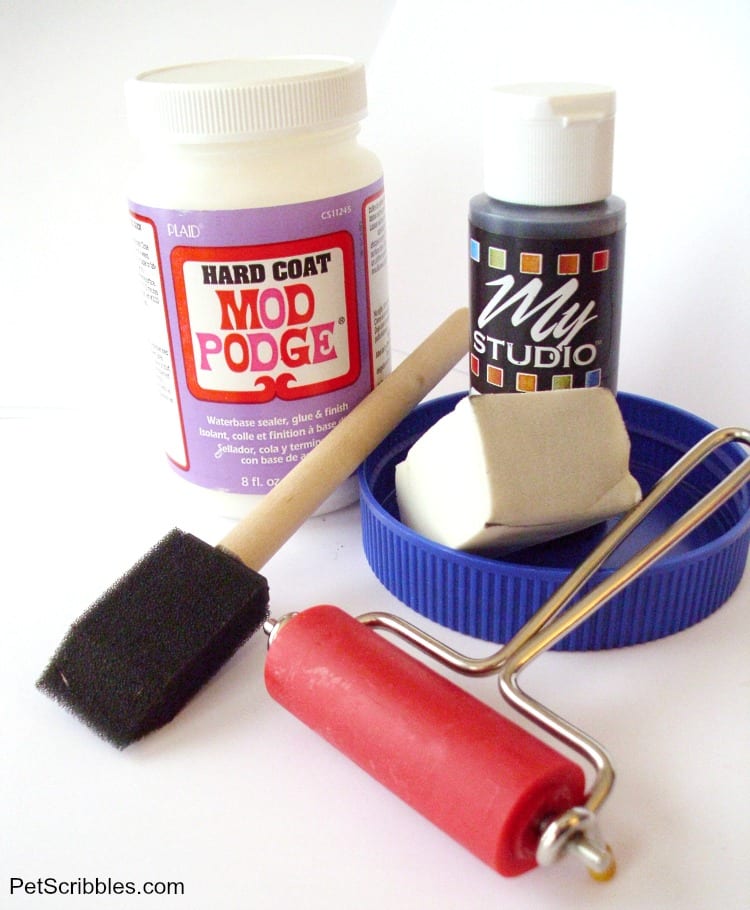
The supplies needed for this project are pretty simple:
- Clear glass recycled jars or mason jars
- Mod Podge
- Foam paint brush
- Black acrylic craft paint
- Foam makeup sponge
- Brayer
- Tacky glue or strong adhesive
- Acrylic sealer
- Halloween printable vintage labels, printed and cut to size you need
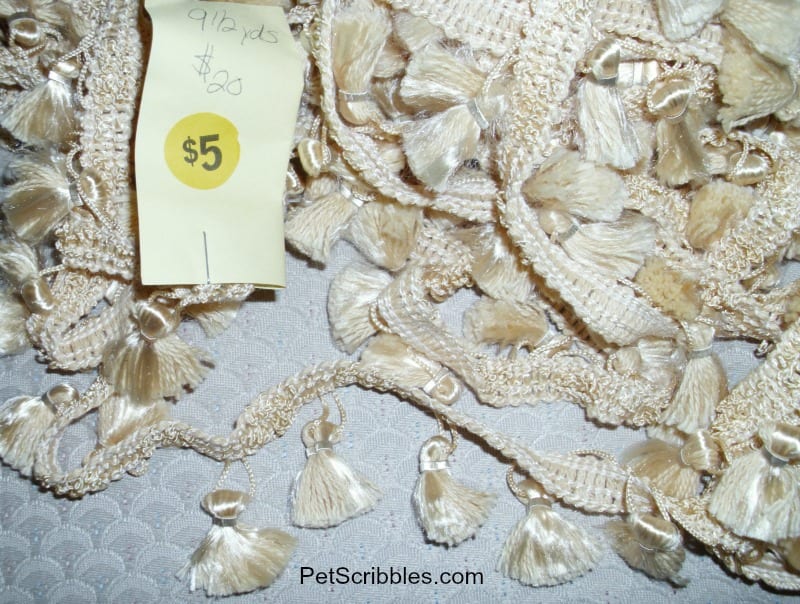
- Vintage-style trim for embellishments
- glitter spider embellishments
- twine
- battery-operated tea lights
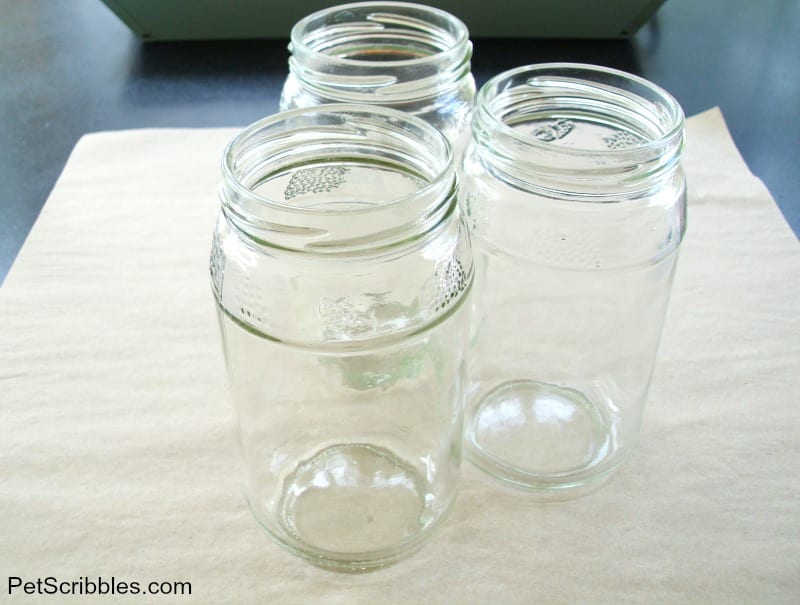
Start with clean jars.
I didn’t do anything special to clean these, other than running them through the dishwasher.
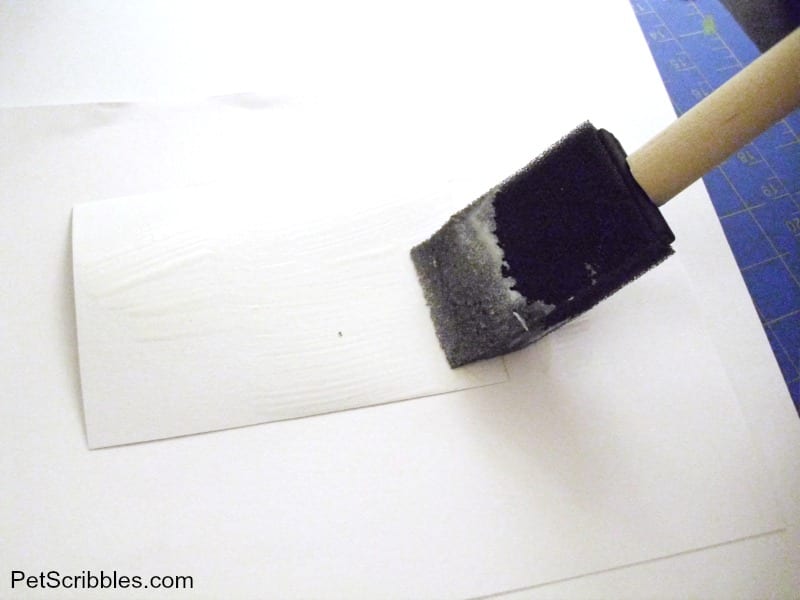
Sponge on black paint.
Using a makeup sponge – those foamy triangle-shaped sponges you can buy in large quantities at the drugstore – I sponged black acrylic paint all over the jars in a random pattern, making sure to cover the entire jar.
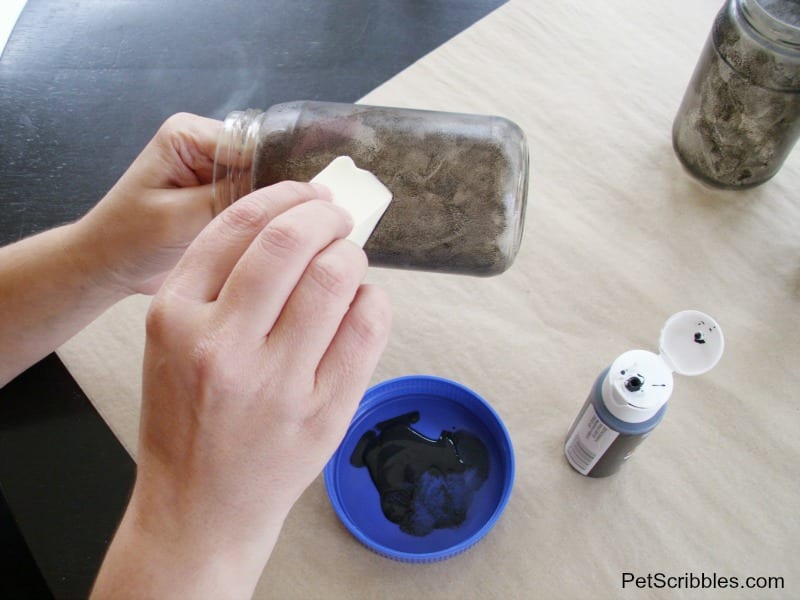
I wanted each jar to look like it was covered in black soot, so I varied how heavy and light I applied the paint. I gave each jar three light coats in this manner, letting them dry for about 20 minutes in between each coat. After the third coat, let the jars thoroughly dry. (I let mine dry overnight.)
Spray each jar with a coat of acrylic sealer. Let dry.
Adhere the labels to the jars with Mod Podge.
Apply a coat of Mod Podge to the back of each label, as well as to the part of the jar where each label will go. Place the label carefully onto the jar, smoothing out from the center. Wipe any bits of glue that seep out from the edges. (I just used my fingers in this instance, because the look of the jars is a bit messy to begin with.)
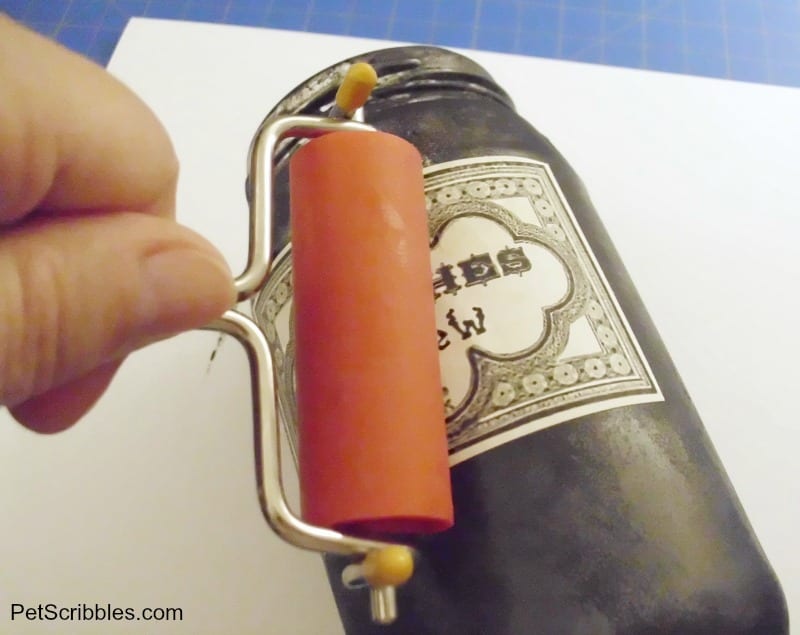
Use a brayer to smooth out the labels.
I use a brayer when I Mod Podge to make sure every part of the paper is smoothed down and adhered all the way. Again, you’ll get bits of glue that might seep out, just wipe those away with your fingers. (Or you can use a damp paper towel to wipe the glue away too.)
Roll the jar around.
Huh?
Yes, that’s what I said.
Take your jar and roll it back and forth over some scrap paper or cardstock, as shown in the image below.
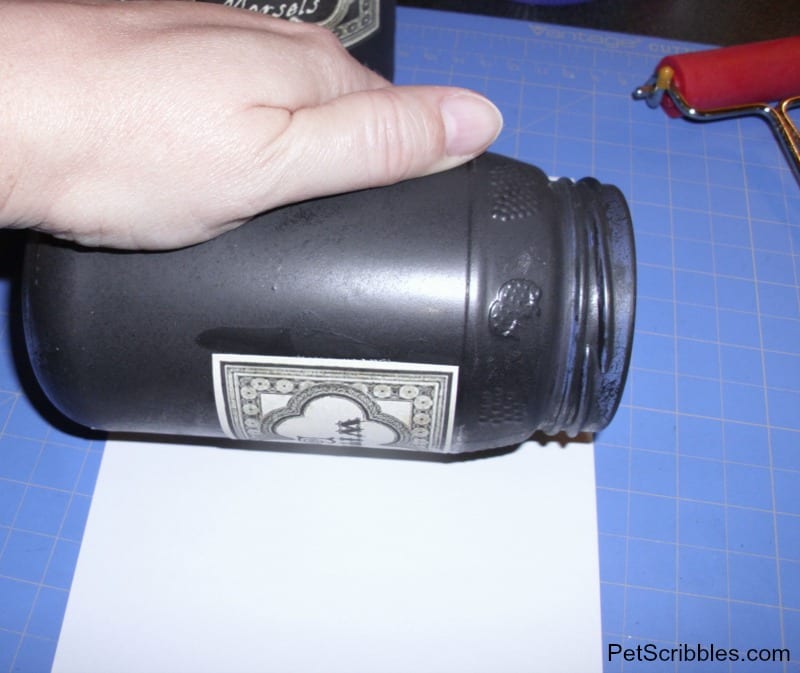
Even after using my brayer, I will do this extra step when Mod Podging onto jars because it gets any remaining Mod Podge out, plus the slight pressure applied when rolling the jars gets those labels super smooth.
Repeat the above steps for each jar.
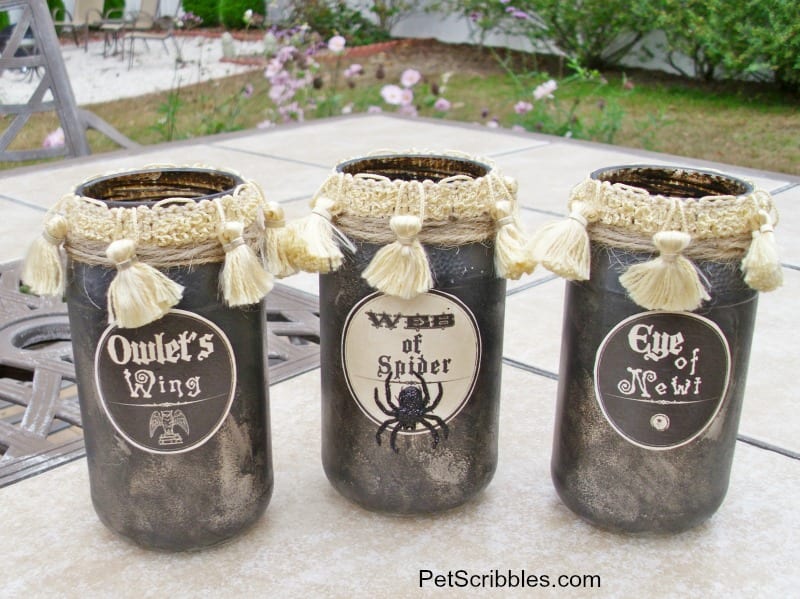
Add labels to the back of each jar.
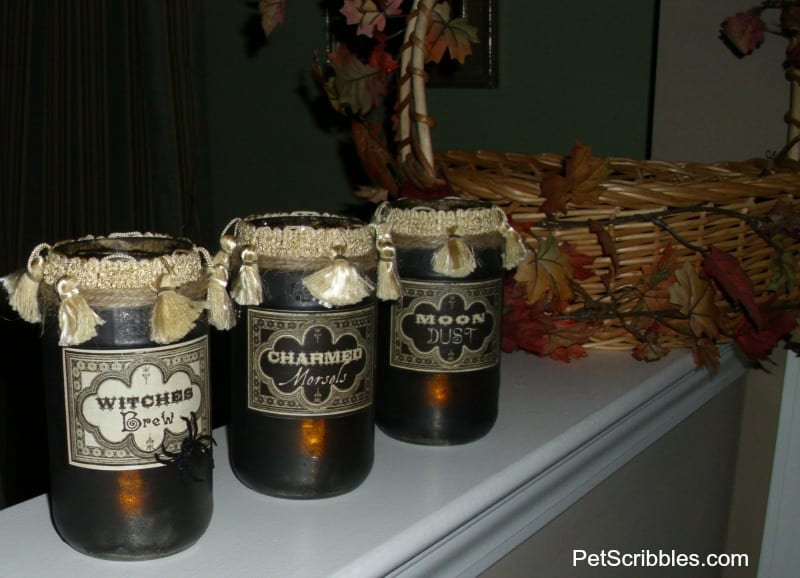
As these jars will be placed on a half-wall in our home, I want them to be decorated on both the front and the back. So I chose 3 more labels to adhere to the back of each jar, as seen below.
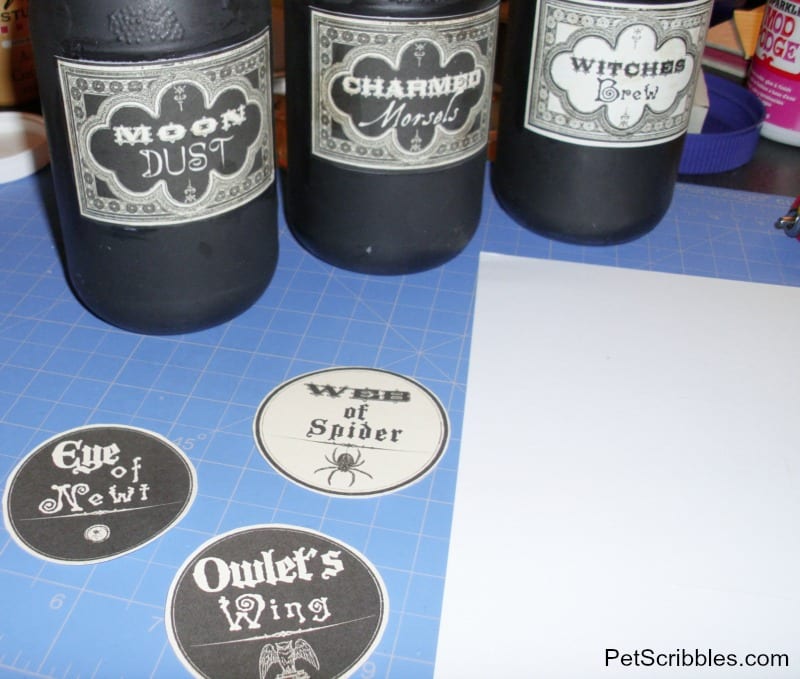
Repeat the same steps above to adhere each of these labels to the jars. Once dry, I applied some Mod Podge to the front of each label all the way just past each edge so that the glue goes ever so slightly onto the glass surface. Wipe away any excess. You want to make sure each label will be completely glued down.
Embellish and decorate the jars.
Now comes the fun part . . .
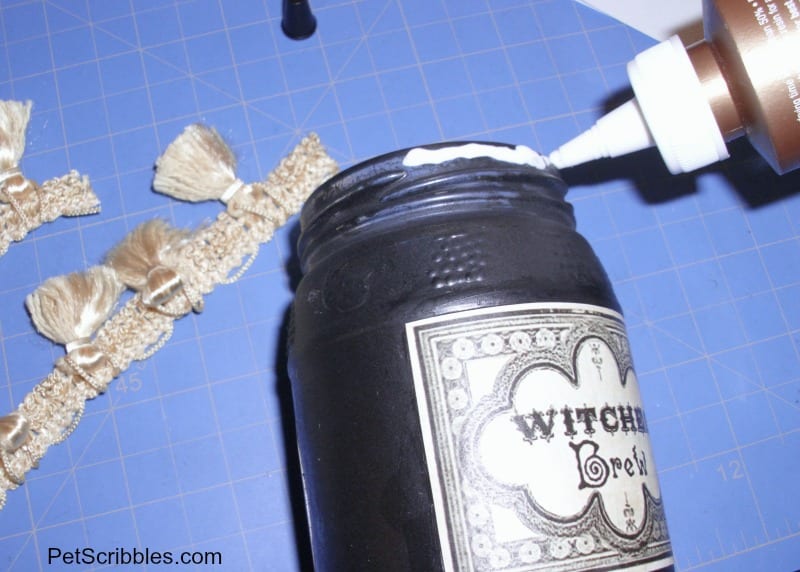
First, I measured out the trim needed to go around the top of each jar.
I applied a line of strong tacky glue around the upper rim of each jar, and pressed the trim into place.
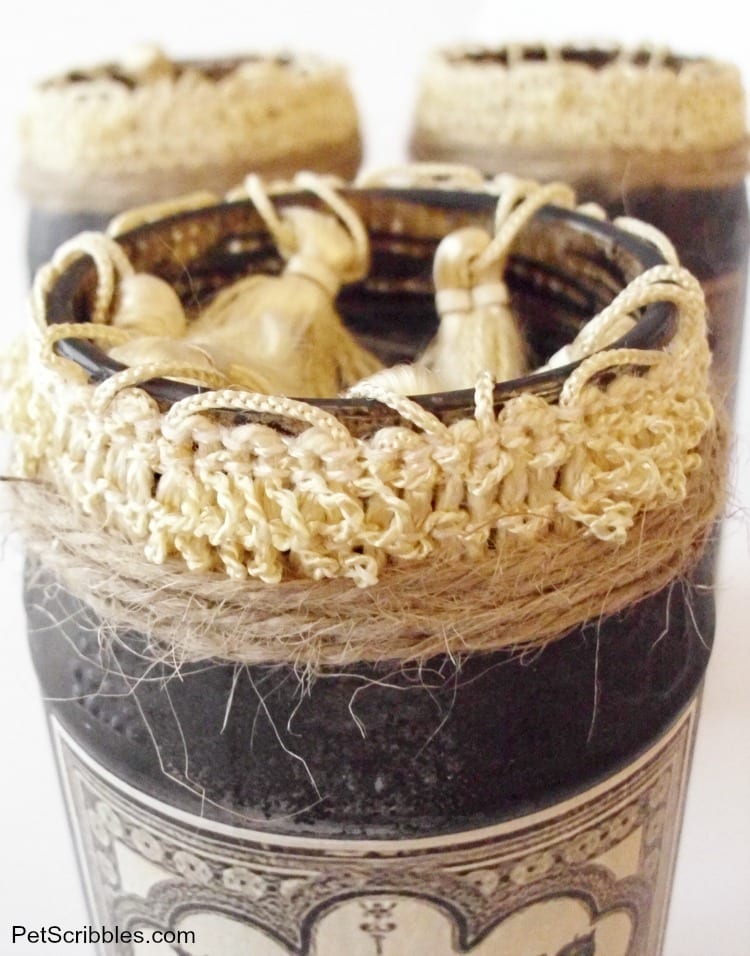
Next I added some jute twine just below the trim, where my finger is pointing in the image below.
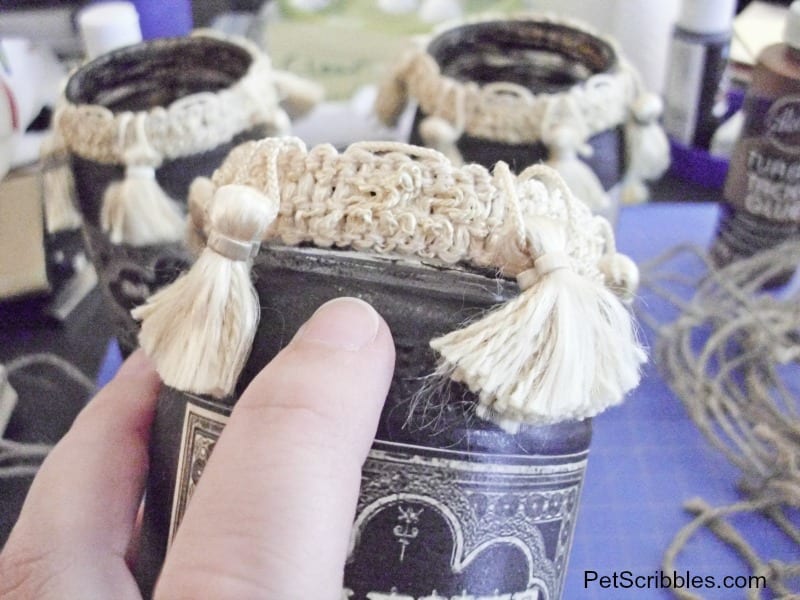
Again, I measured out a long length of twine for each of the jars. All that was needed was a tiny bit of strong tacky glue to hold the “start” of the length of twine, and then another small amount to adhere the other end of the twine once I was done wrapping it around the jar several times. (Long sentence!)
Here’s what the jute twine looks like close up. (As it was drying, I stuck those little hanging bits of the trim inside each jar, otherwise with my luck those darn things would have somehow become attached to the glue that was drying in the various crevices of the trim. Know what I mean?)
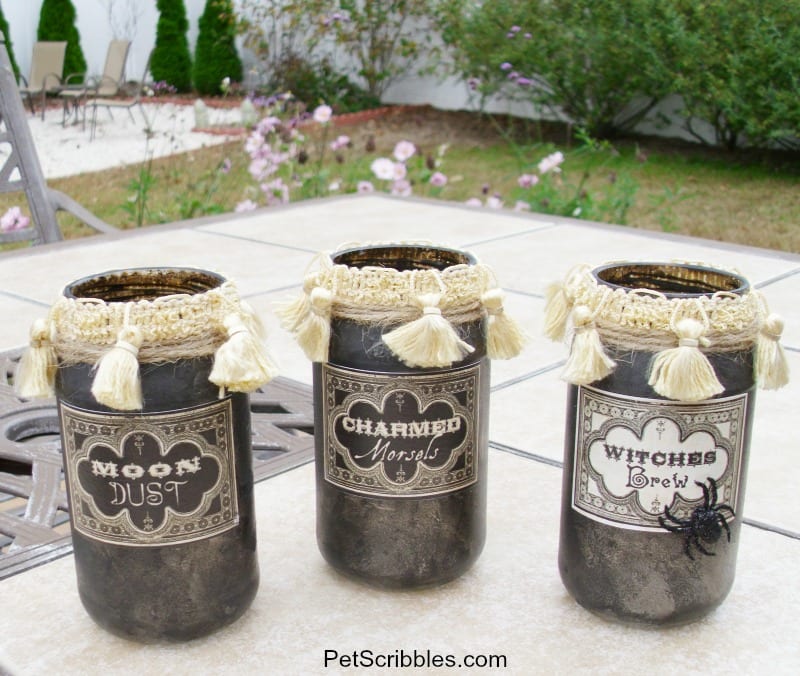
Vintage Potion and Spell Jars for Halloween!
Once everything was dry, it was time for pictures!
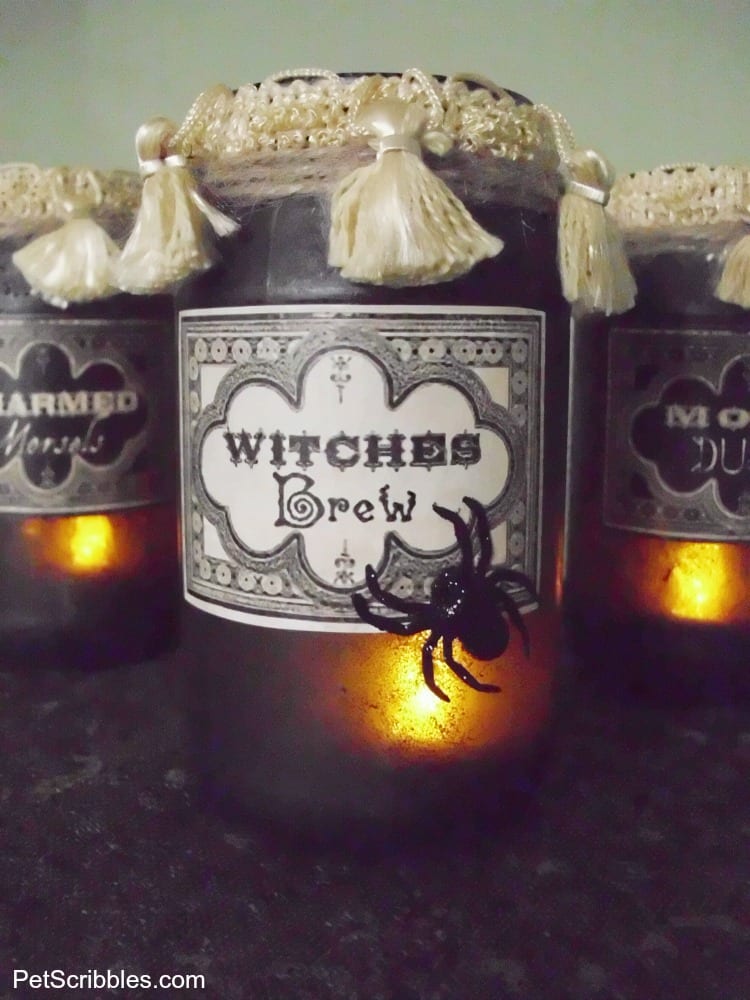
I added battery-operated flickering tealights, which I found in the Christmas section at the local dollar store. (And right there is a good reason to be happy that stores put out their Christmas merchandise so early. The fake tealights came in a set of four, with the packaging specifically mentioning Christmas. Score!)
These aren’t great photos of the flickering lights in the darkness, but you get the idea. (Hopefully!)
Since the mood lighting wasn’t doing it for me, I took everything outside.
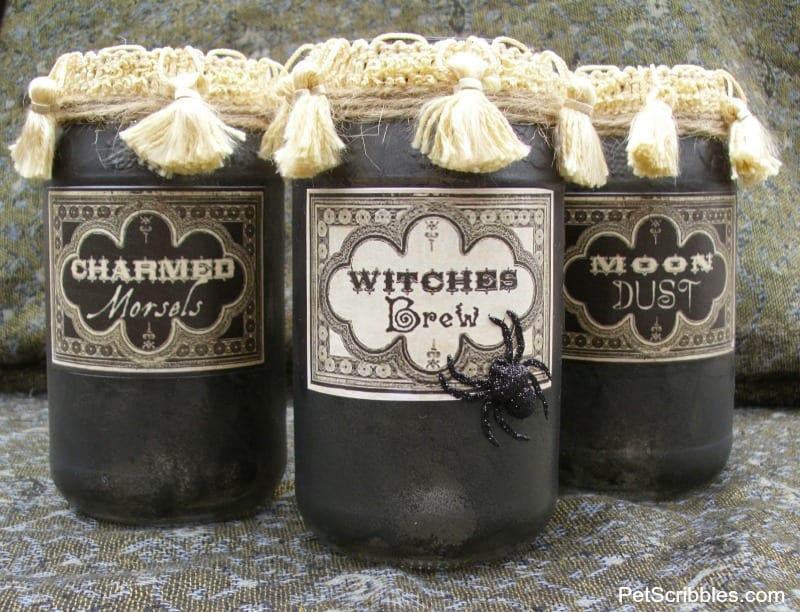
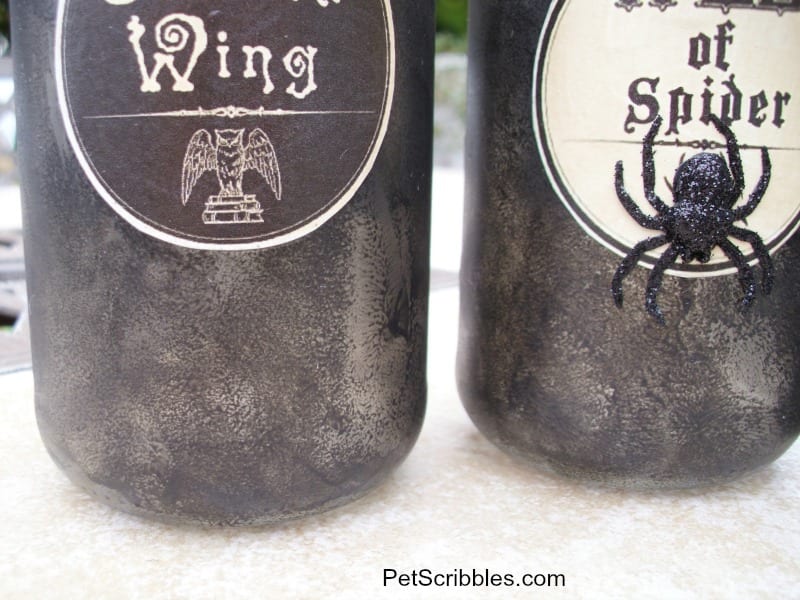
I couldn’t resist adding two black glitter spiders to the jars. You can see one of them on the center jar above. And you can see the other glitter spider on the left jar below. (The Graphics Fairy had an image of a spider hanging down just below the word “spider” so I thought it was the perfect spot to put the glittered version!)

Here’s a close-up shot so you can see the paint effect I created just by randomly sponging on the paint. I really love the way it looks – like the black soot I was imagining.
Here’s another angle so you can see more of the black soot “look” to the jars.
I love the way these jars turned out! And now I’m (finally) ready for Halloween!
How about you?
More Halloween DIYs!
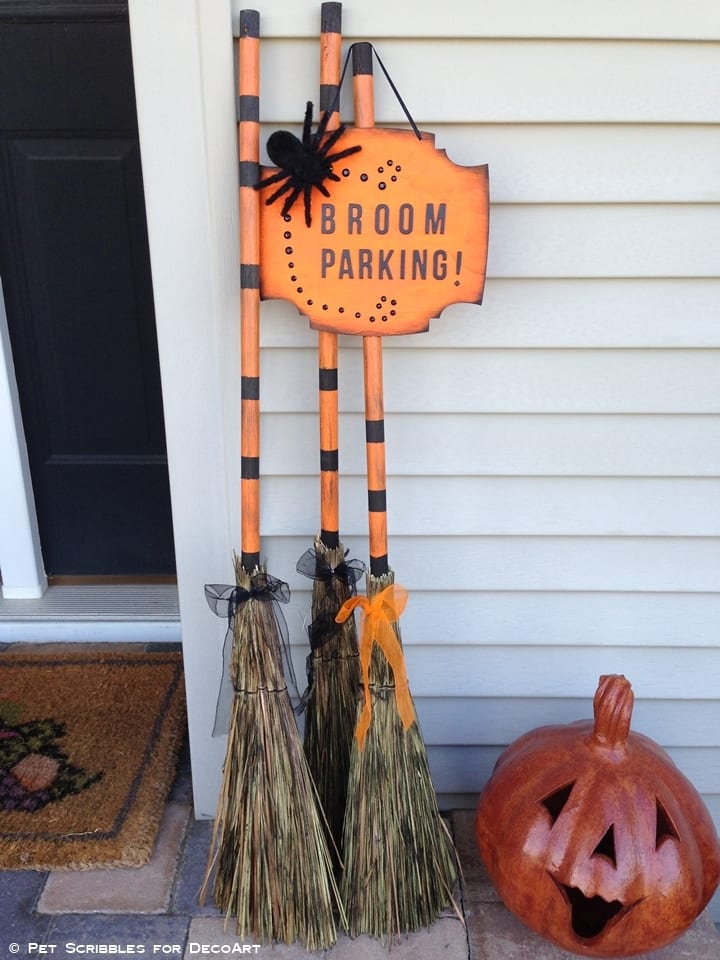
Broom Parking Halloween Display
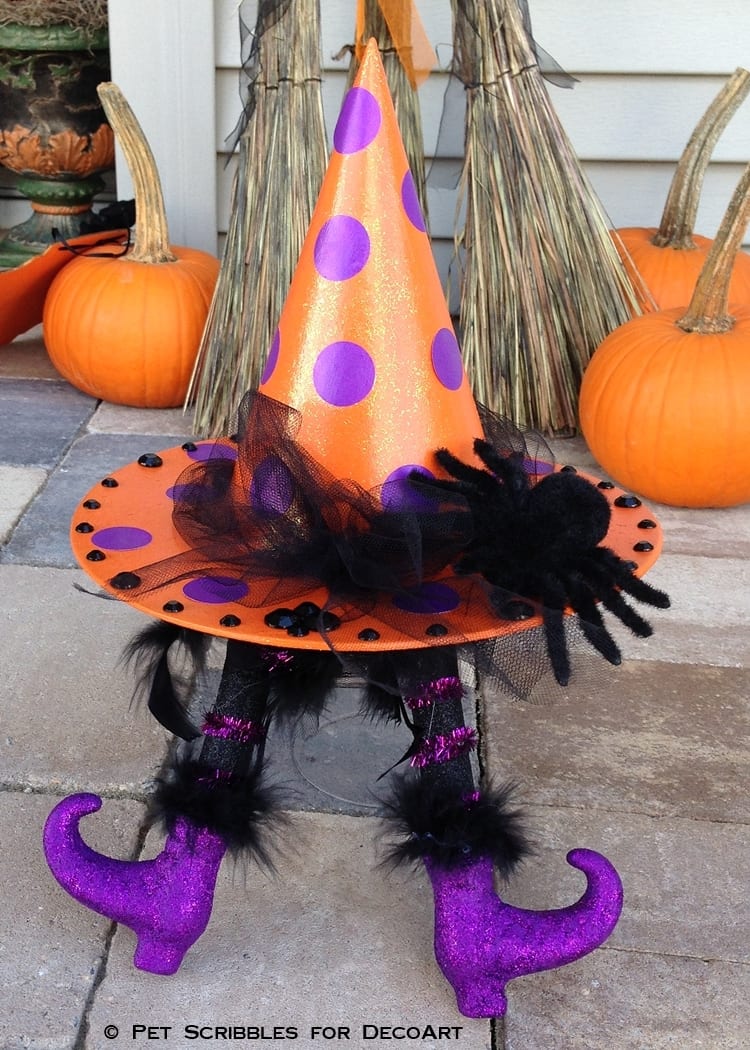
Halloween Witch Hat with Wicked Witch Legs
Happy Halloween crafting!
Going in my mason jar and Halloween roundups! Great job Laura.
Oh WOW Johnnie! Did you see that I talked about your mason jar roundup above? I LOVE that roundup, so to be included in that AND your Halloween one? This is like Christmas Day to me! Thank you so much!
Pinned to a group Halloween board and forwarding to my daughter-in-law!
Thanks MCatherine! I really appreciate it! 🙂
How fun and creative! Perfect for the season. Stopping by from Serenity Now’s weekend party 🙂
Thanks so much for stopping by Michaela! Serenity Now’s weekend party is so much fun, isn’t it? 🙂
Me likey! Great tutorial too!
Thanks Marisa! And I love YOUR “specimen jars” that you made for Halloween – just checked out your blog and those jars are completely awesome!
Your hoarding – I mean collecting – has really paid off! Creepy fun!
Kelly
Hah! Definitely “collecting” is the right word! (Amazed I hadn’t replied to this last year, but it was exactly when we were hit by Hurricane Sandy.)
I love these! So much so they’re part of my link party wrap up and features tomorrow!
I remember your email letting me know, as it was during our town getting hit by Hurricane Sandy. Nonetheless, I didn’t want to leave this comment without a reply, as I was so happy to be featured by you!
Laura, I love this idea! Thanks for the tutorial!
You’re very welcome, Patty! So glad you stopped by!
Laura!! How stinking cute. You are amazing girl. Thanks for sharing at Throwback Thursday.
xoxo
Denyse
Thanks Denyse! You’re pretty darn amazing yourself!
These are gorgeous! Your post sucked me in and made me click on over for the labels. I really love it!
Awesome, Amanda! Aren’t those labels the best? The Graphics Fairy rocks!
These are so cute and just perfect for Halloween! Thanks for sharing at this week’s Throwback Thursday party.
Thanks Paula! And thank YOU for the awesome link party too!
Love these. So cute for Halloween. Have a great day.
Thanks so much Judy!