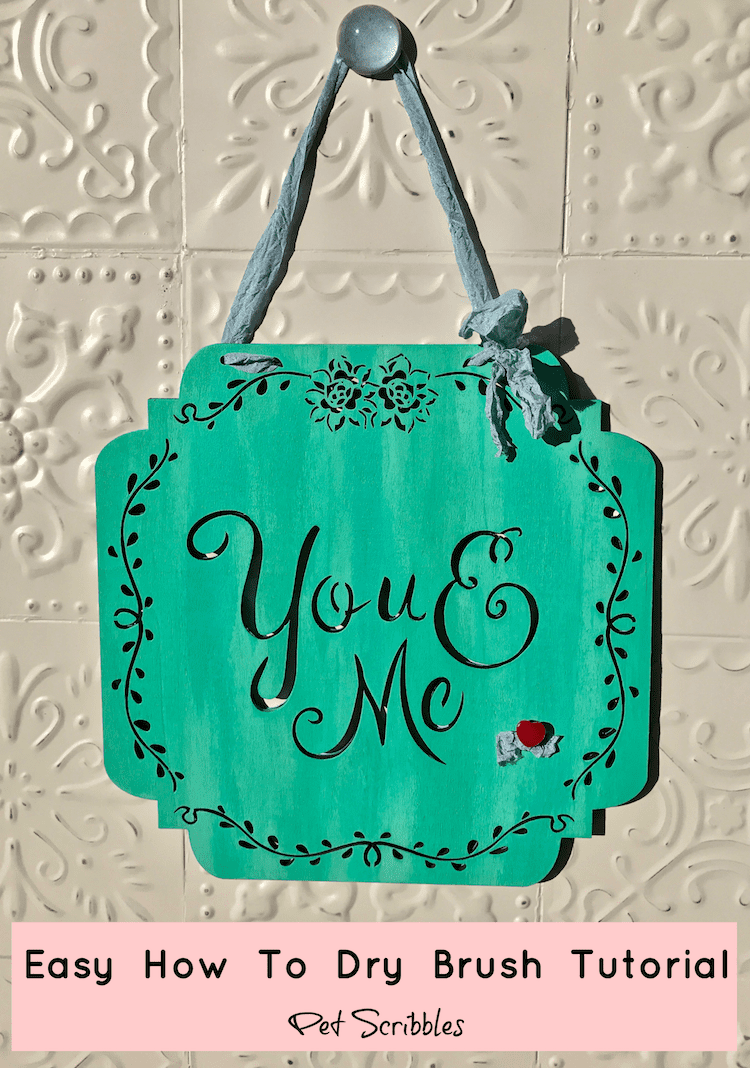
This article shows you step by step my easy how to dry brush tutorial. Using a wood laser cut You and Me sign, you will learn exactly how to get a weathered look with craft paints.
Dry brushing paint onto a surface is an easy way to blend paint and get a weathered look.
I’ve shared project tutorials here on Pet Scribbles using this technique with chalky finish paints, including my Rustic Farmhouse Pineapple Art . . .

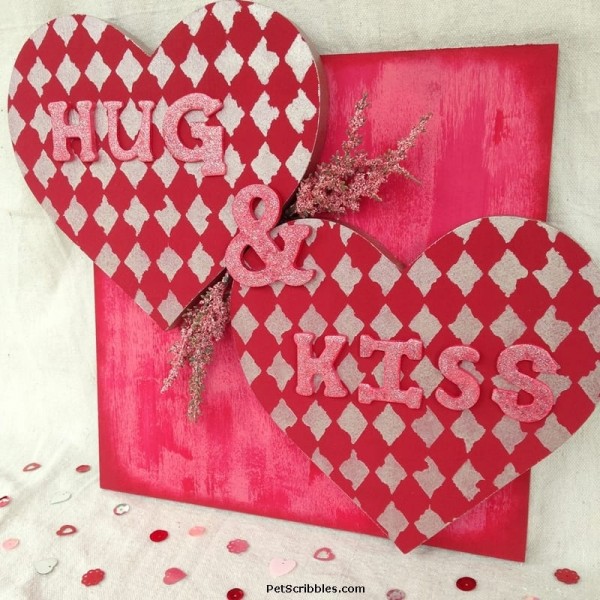
. . . as well as last year’s Valentine’s Day Hug & Kiss Wall Art!
Today I’m going to show you how you can dry brush on wood with regular acrylic craft paints that come in those wonderful little bottles you see at the craft store.
Before we get started with painting the unfinished wood sign, I’ll show you my easy dry brush technique, which is a perfect way to learn how to do this.
Once you try it, I hope you’ll enjoy this technique as a fun — and easy — way to paint decorative items!
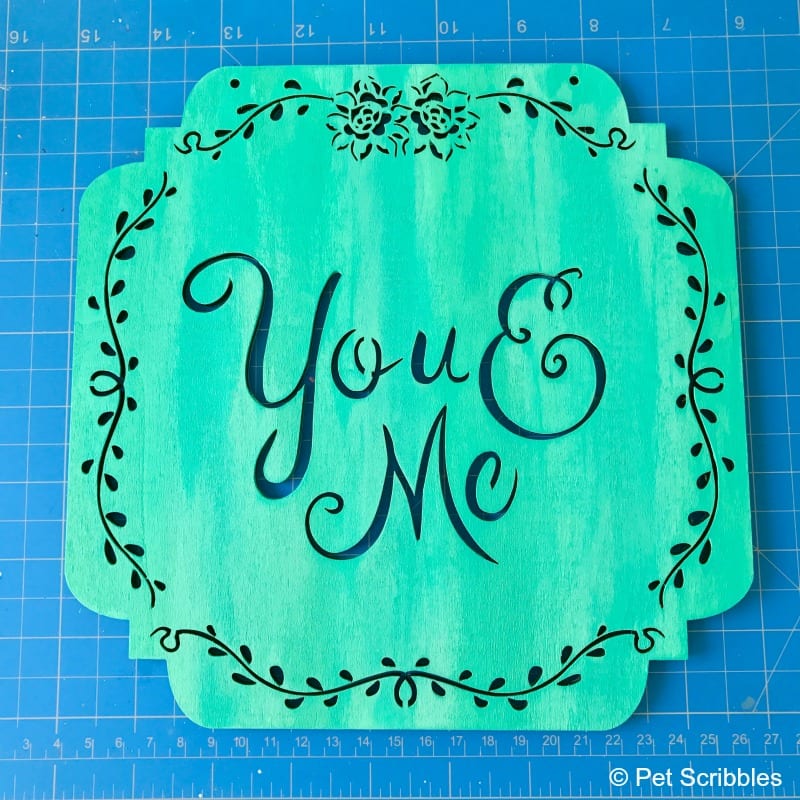
Here’s the unfinished wood laser cut sign I bought at the craft store:
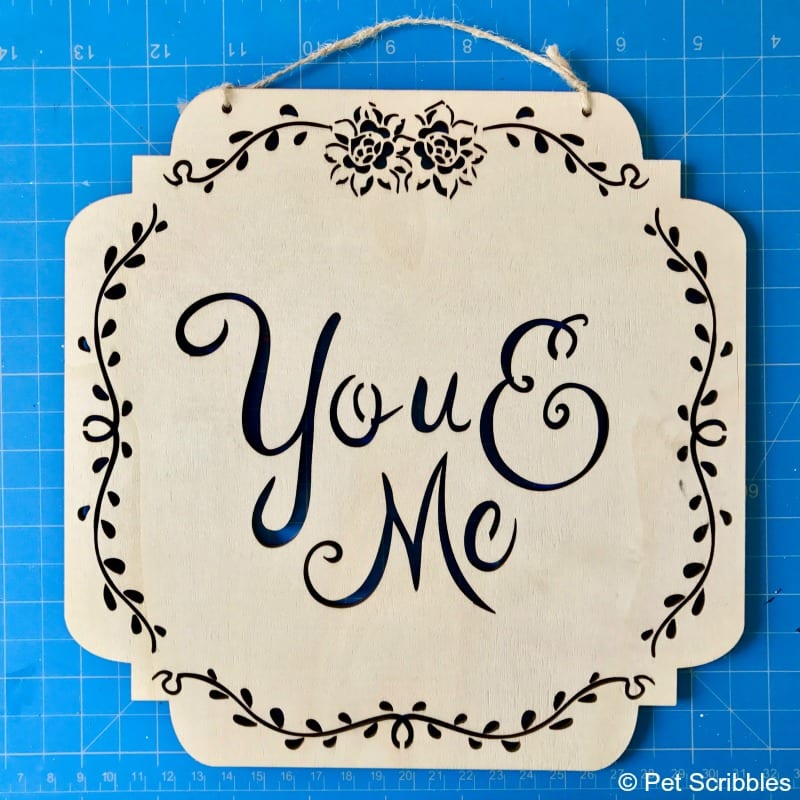
You can find similar signs here on Amazon.
Although this sign can be used for Valentine’s Day, I decided to paint this in colors that can work year-round so that I can display this in our master bedroom.
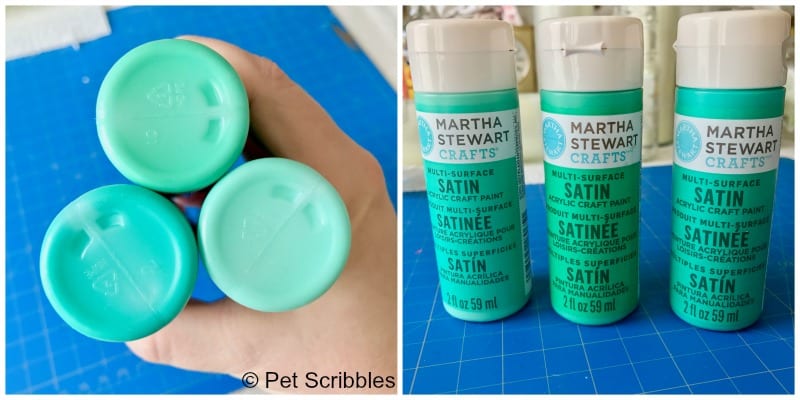
Here’s the pretty color palette I chose:
FTC Disclaimer: Some of the links in this post are affiliate links. I explain more here.
You and Me Sign: Easy How To Dry Brush Tutorial
Supplies:
- Unfinished wood laser-cut sign — craft store
- Martha Stewart Multi-Surface Satin Craft Paint — Plaid Crafts
Colors used: Celadon, Spearmint Green, Emerald City - Paintbrush (I love these brushes from Martha Stewart)
- Paper towels
- Scissors
- Wax paper
- Plastic lids to hold paints
- Seam binding
- Miniature heart button
- Mini Glue Dots
Dry Brush Technique
Helpful tip: I practiced first on the backside of my chosen piece, which I suggest you do too, in order to get the feel of how to do this if it’s your first time.
In order to paint anything with a dry brush technique or style, do the following:
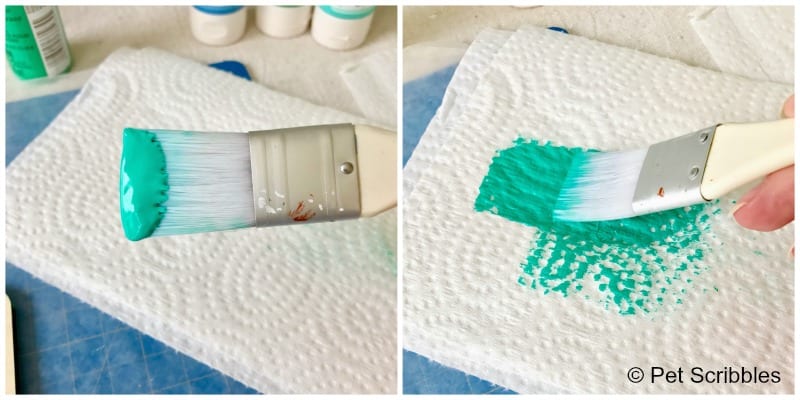 (Above left) Load up your paint brush with paint as you would normally do to paint something.
(Above right) Wipe (or “paint”) most of it onto a paper towel, as shown.
(Below left) This is what your paintbrush should look like now:
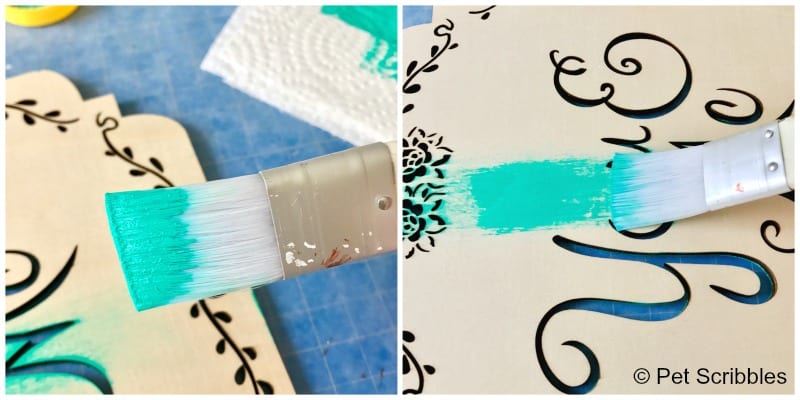
(Above right) Gently drag your paintbrush lightly over the surface of the sign in one direction, then immediately use your brush to pull out the paint from the edges of your brush stroke.
(Below left) Here’s how my first stroke of dry brushing looks:
Notice that my paint didn’t go all the way down the sign. This is partly because when I begin, I always err on the side of less paint, until I get the feel of how the paint goes onto the surface I’m painting.
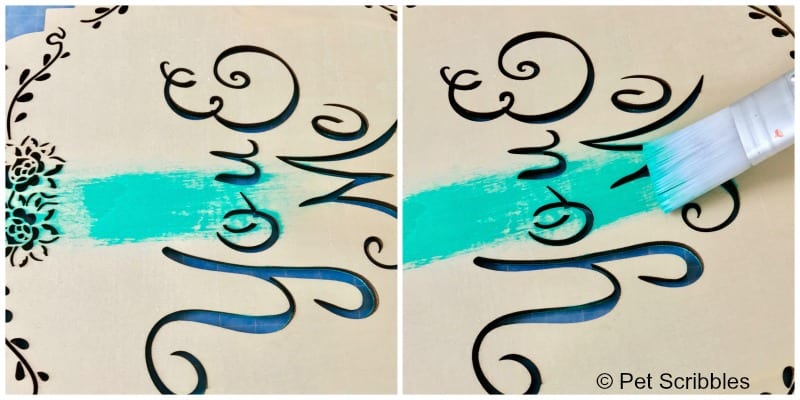
(Above right) Grab some paint from the paper towel and continue where you left off with another dry-brush stroke of paint.
For purposes of this project, you will be making a series of rough stripes of color with each shade of paint.
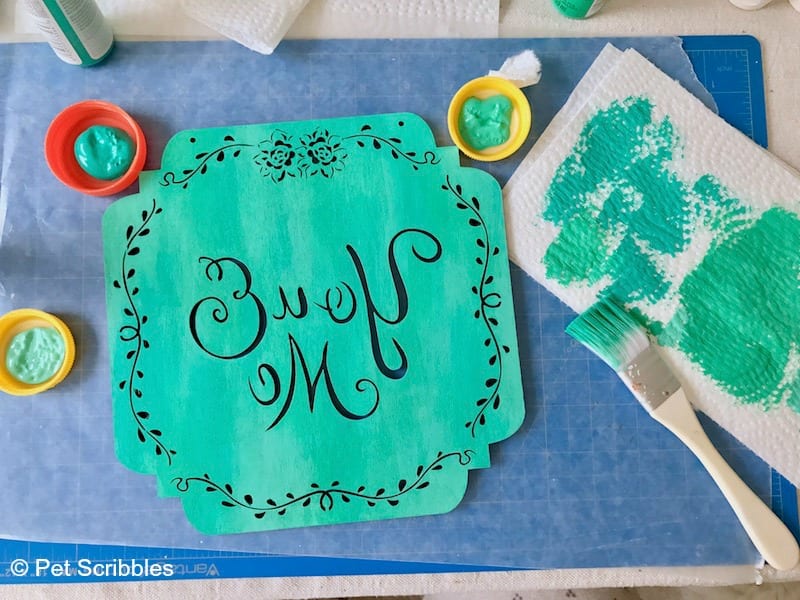
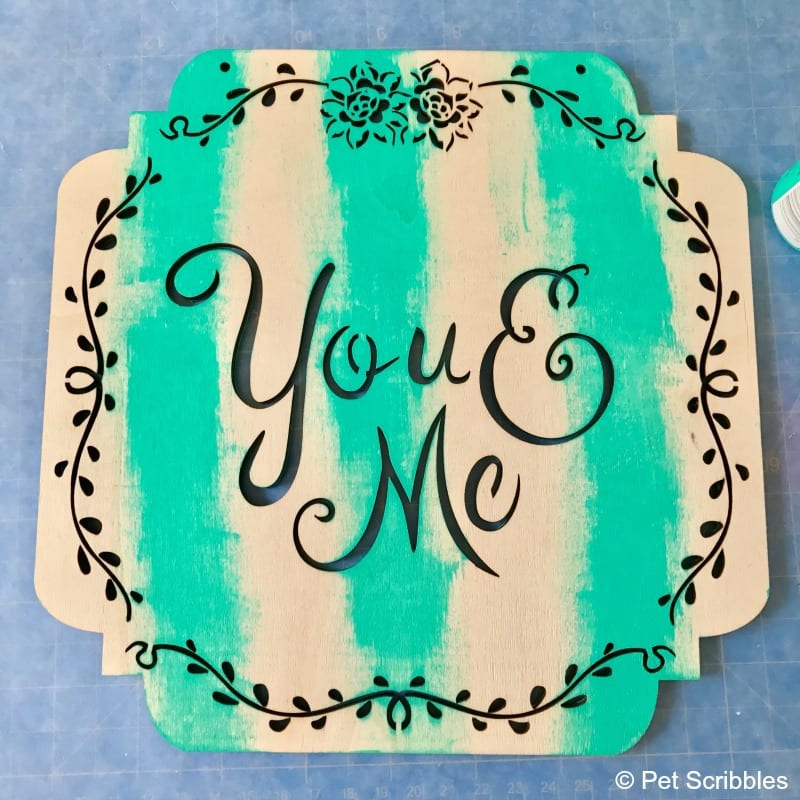
Here’s my sign after applying the first color:
Remember: There’s honestly no wrong way to dry brush, so please use my steps above as a guide for you to practice and play and develop your own technique.
The key element of dry brushing is to use very little paint, especially at first, in order to build up the colors so they blend well.
What’s nice about this technique, is because so little paint is being used, and this surface is unfinished wood, the paint colors dry very quickly!
You and Me Sign Tutorial:
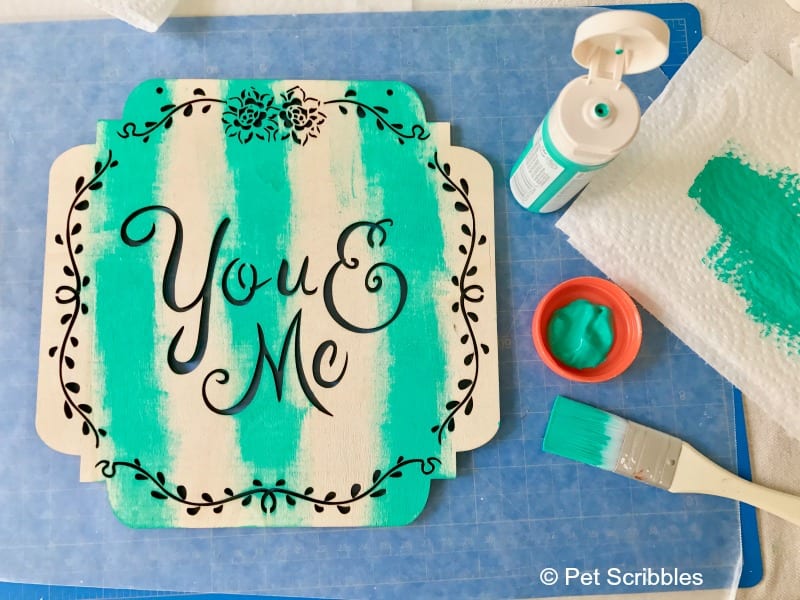
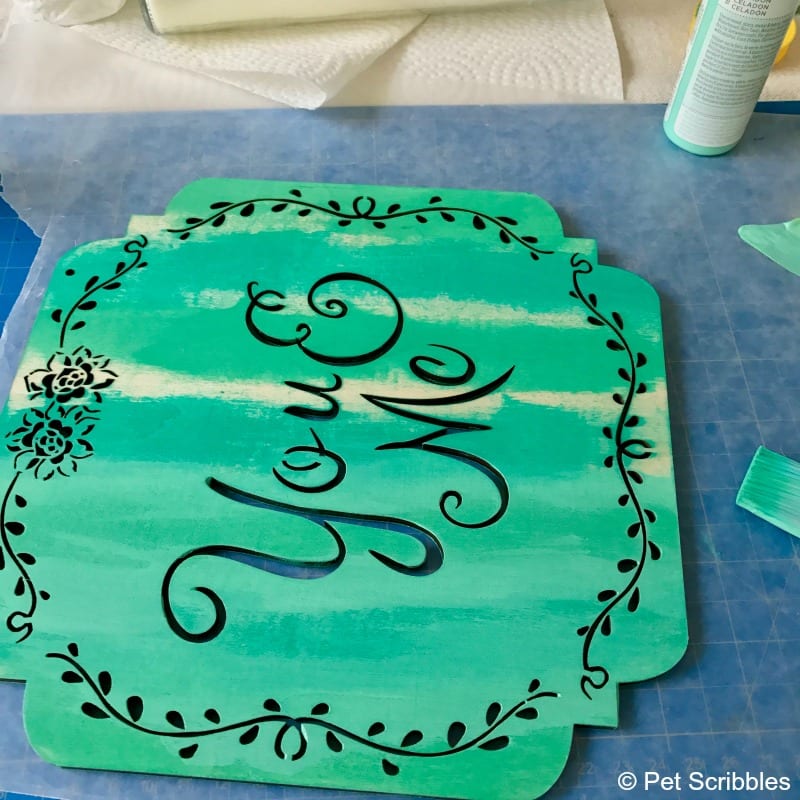
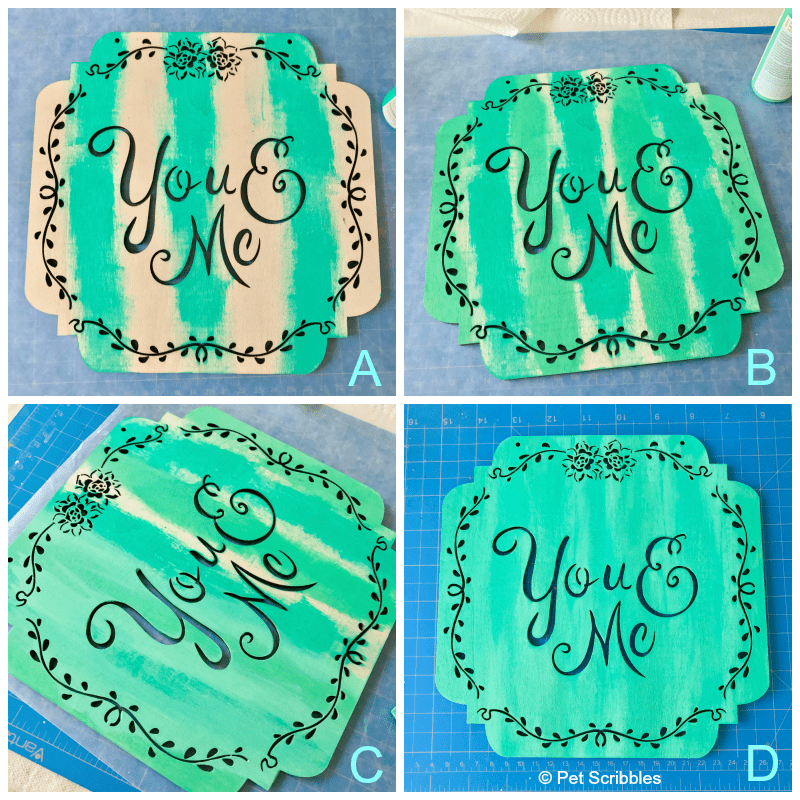
Step One: Dry brush your first chosen paint color onto the unfinished wood sign, starting near the top of the sign, following the steps outlined above.
You’ll make several lines — what will look like roughly-painted stripes — onto the surface of your sign, as shown above.
Step Two: Dry brush your second chosen color onto the unfinished wood sign next to the first color, making more rough stripes in the same way you applied the first color in Step One.

Essentially, you’re making more rough stripes, going slowly and building up the paint, and dragging the brush lightly over the surface as you go, occasionally overlapping the first color, while also leaving space for your third color.
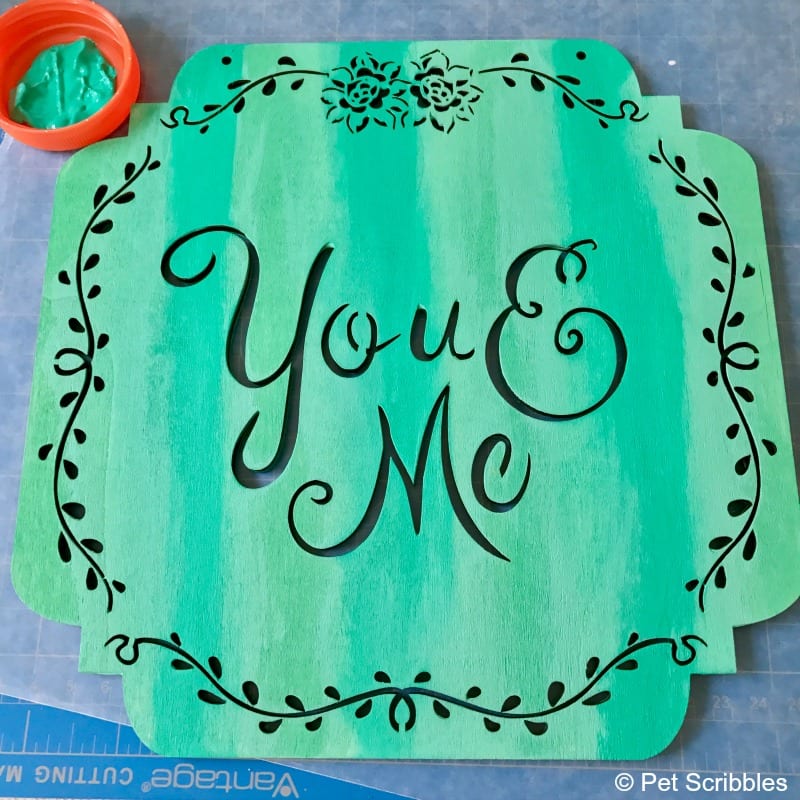
Here’s what the sign looks like so far, with two colors applied:
And here’s what my paper towels are looking like so far, just in case this helps:
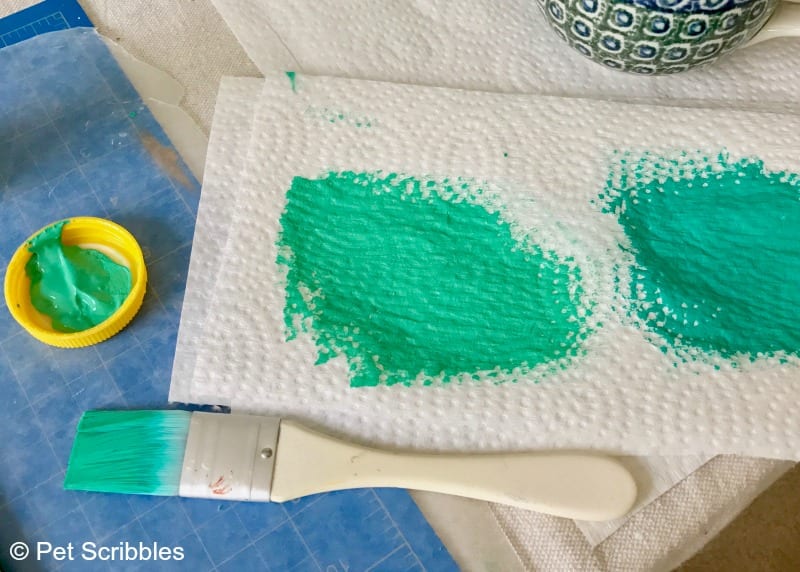
(I show you everything! Hah!)
Step Three: Dry brush your third color onto the unfinished wood sign, just as you did for the first two colors.
You’ll have some areas where the paints look like they blend nicely because of the dry brushing, and other areas you might think look too much like individual stripes of color.
No worries, as we are about to blend these three colors together in the next step!
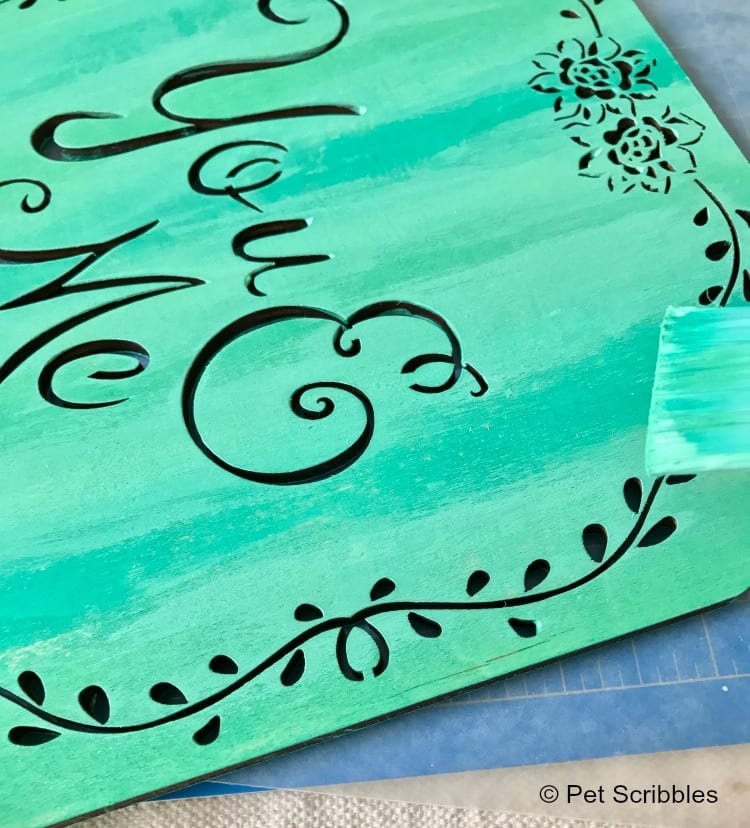
Step Four: Repeat the dry brushing with your first chosen color, but only in select areas where you want to add more of this color back in.
You’ll repeat this process for your second color and your third color, making sure to fill in any areas that still might have the unfinished wood showing through.
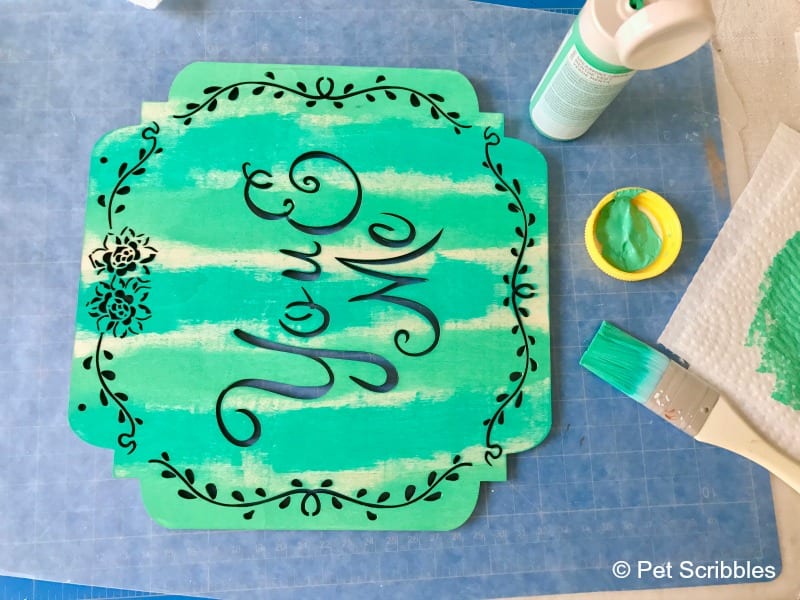
In the image above, I applied more of my first color (the darkest shade) onto the sign, then didn’t like how solid the color ended up being.
What do you do if this happens?
In the image below, I’ve taken the lightest shade (my third color), and applied a thin strip of paint very lightly on the edge of that darkest color . . .
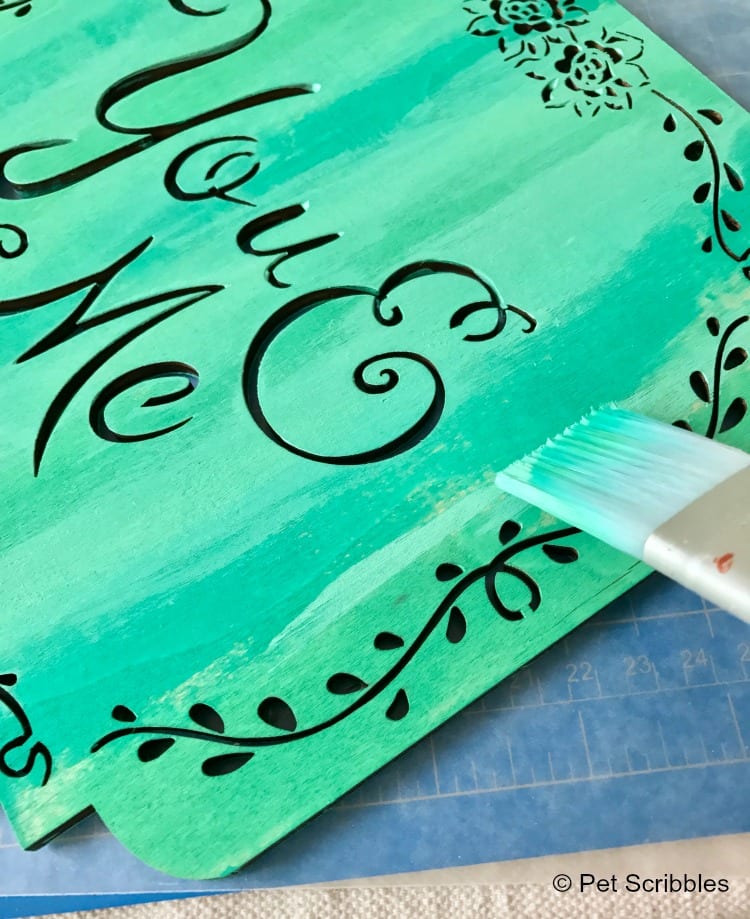
. . . then I used the brush to “pull” the paint across the surface, blending as I went:
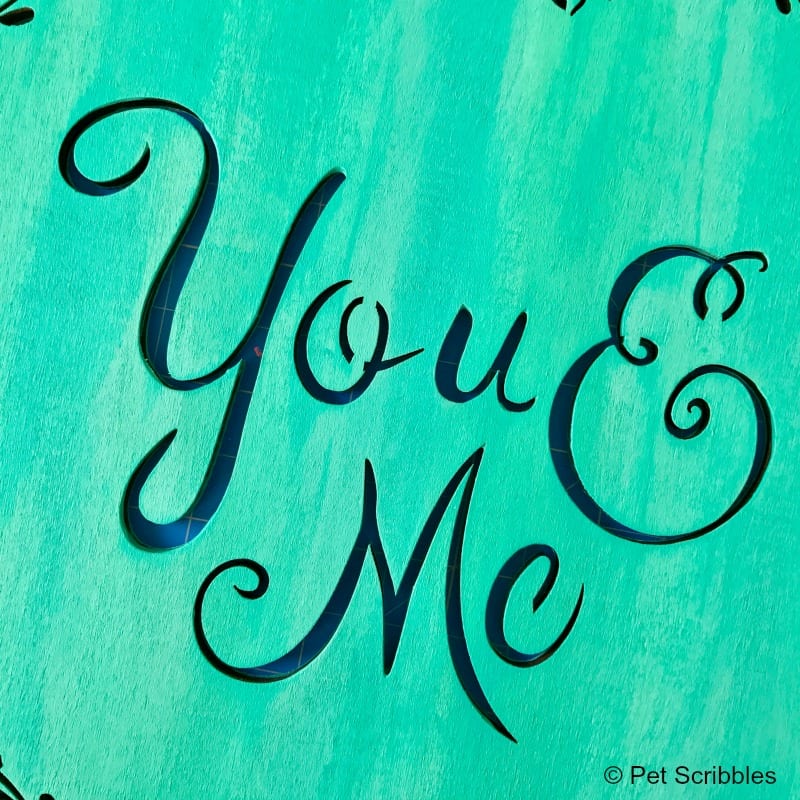
I continued to blend all three colors until I loved how it looked:
Important to remember: You are always the best judge of how something looks. If you like the stripes more defined, keep them. If you want to blend even further, keep going. You paint until you love the end result!
More important to remember: It’s paint. So if you feel like you made a boo-boo, you can fix it with paint. And I’m purposely saying “boo-boo” instead of “mistake” because there are no mistakes in crafting and creating!
So I left the sign to dry, had some lunch, then came back to finish it up.
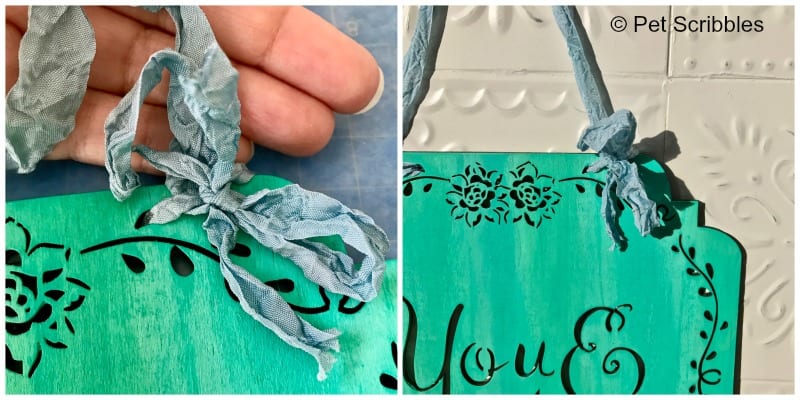
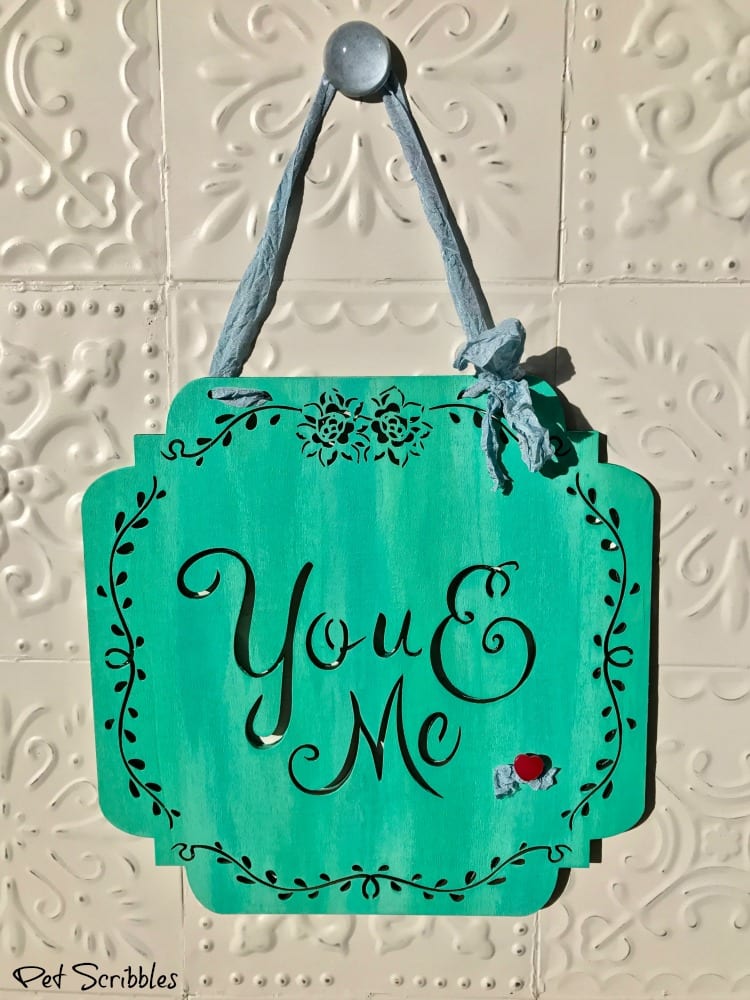
Step Five: Add ribbon or seam binding to hang your sign.
Yes, the sign did come with twine already attached, but I always remove those bits to make it super easy to paint, versus trying to paint around them.
I used a different, softer shade of blue seam binding to hang the sign.
I tied a bow more towards one end of the sign, rather than in the middle. Just my preference.
Want to know how I crinkled this seam binding? Click on this tutorial, as it works for all types of seam binding:
How to: Crinkled Vintage Lace Seam Binding
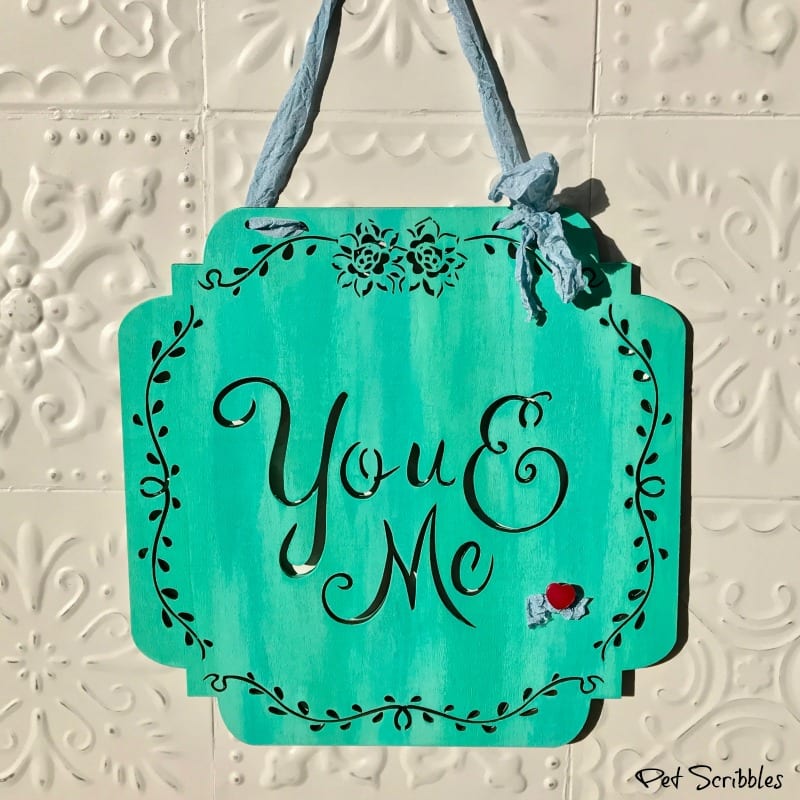
Step Six: Add any embellishments.
I wanted some type of small heart on this sign. I hunted around for ideas in my craft stash, and found heart-shaped sequins in different colors but didn’t quite like them.
Then I found this miniature heart button in my red buttons stash — below left — which I think needs to have a little “scarf” of seam binding with it:
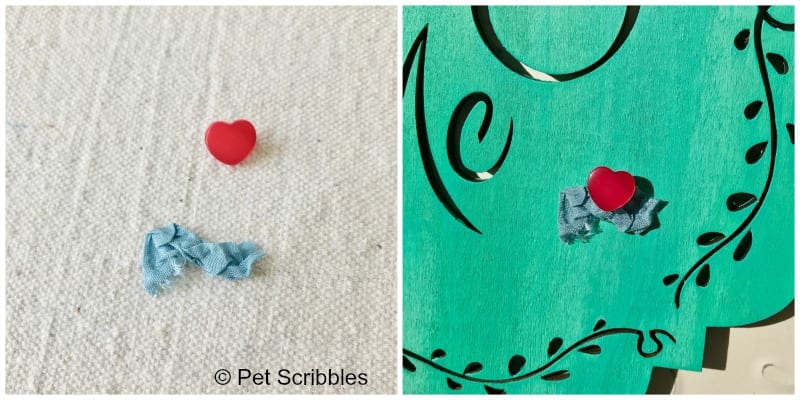
I simply attached them to the sign using Mini Glue Dots. (Above right)
Easy peasy.
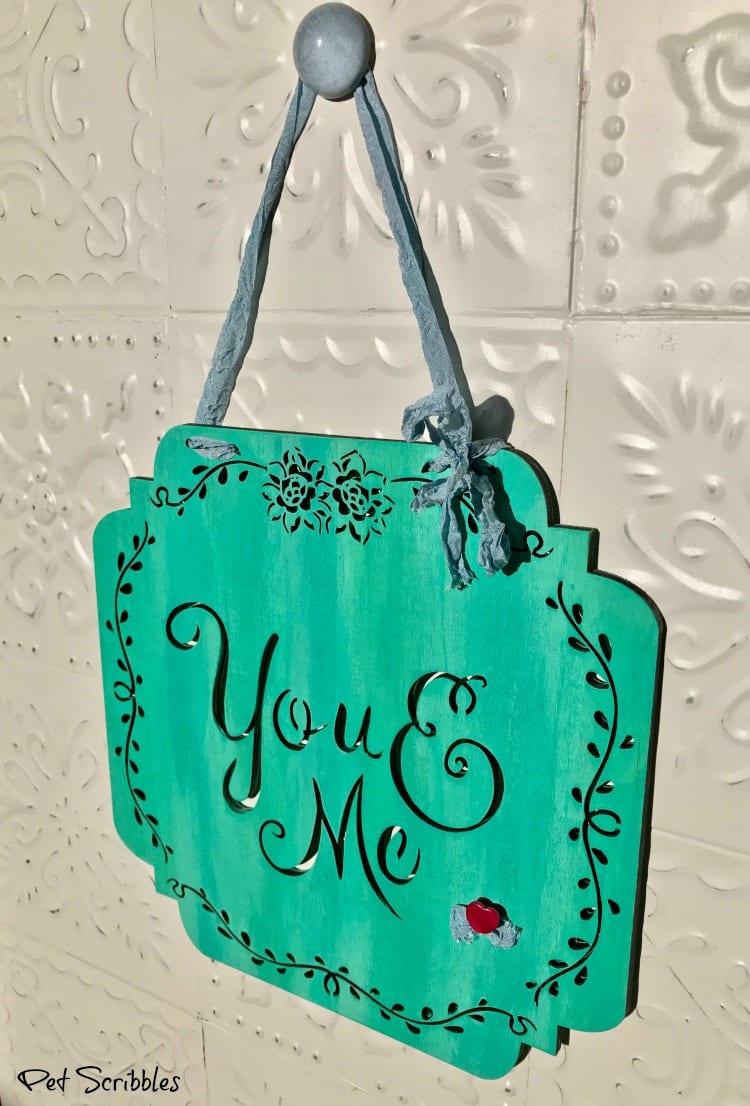
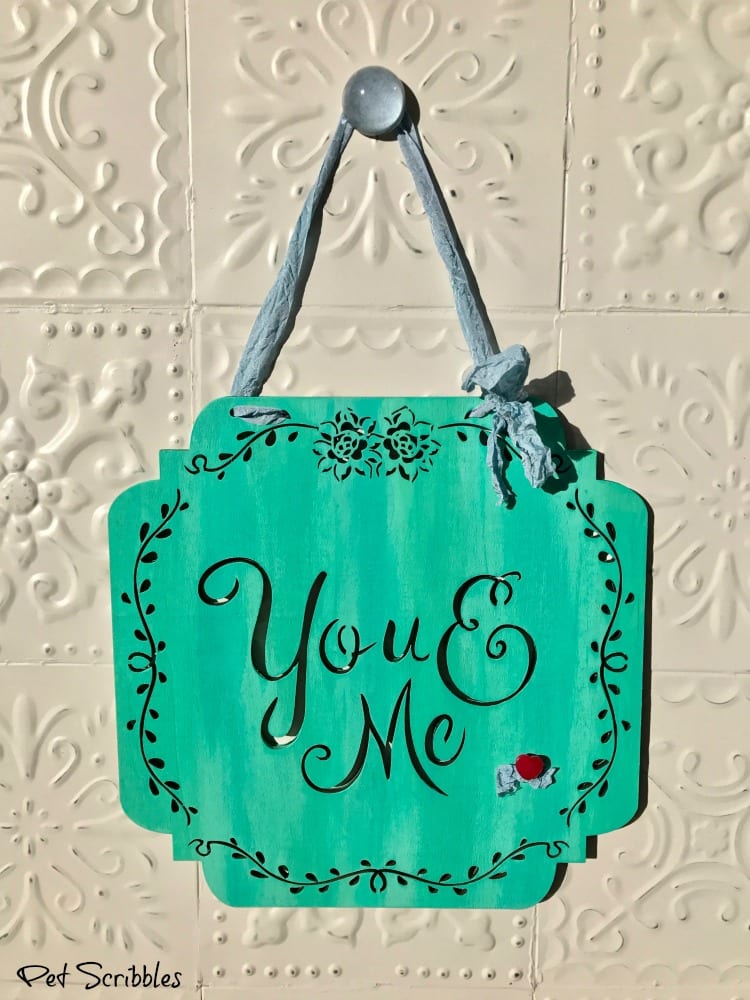
And now I have a sign that not only works for Valentine’s Day, but every day of the year!
This sign is a great idea for DIY weddings too — paint the sign to match your wedding colors!
I plan on hanging this in our master bedroom, maybe the start of a gallery wall.
We’ll see how ambitious I am with the gallery wall idea!
I hope I’ve inspired you to try this dry brushing technique and have some fun!
Pin for later:

Happy crafting!
Leave a Reply