Last week I shared a wood burned adult coloring page with you, and now I’m back with another wood burning for beginners project: a wood burned tea box! With the holidays sneaking up on us, it’s time to think of gifts to share with the special people in our lives.
This project is sponsored by Walnut Hollow. I love being part of their Blogger & Influencer program, as it enables me to bring you fun craft and DIY ideas using their unfinished wood surfaces – which are made here in the USA!
Last week I shared how to transfer and wood burn an adult coloring page onto wood, then color it in just like you color in your favorite adult coloring books.
Today I’m sharing a wood burned tea box tutorial over on the Walnut Hollow blog.
This tea box is a wonderful handmade gift idea, and a great wood burning for beginners project!
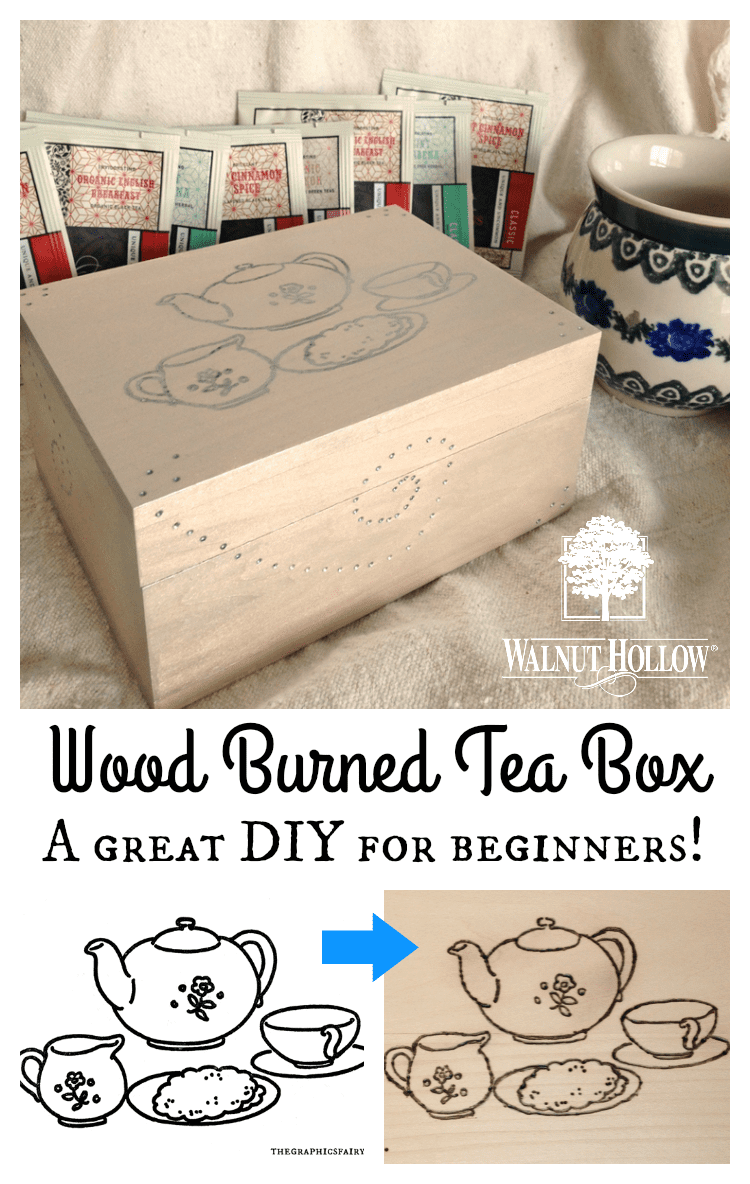
Wood Burned Tea Box
The first step, if you want to wood burn a particular image onto a wood surface, is to transfer that image to the surface, like I showed you last week in my Wood Burning and Adult Coloring Pages post.
Here’s a vintage tea graphic transferred onto a beautiful basswood box from Walnut Hollow. (These boxes aren’t just for wood burning. The quality is top-notch. The smoothness of the sanded wood is like butter!)

Once you have the image transferred, then you can wood burn the image by tracing over it with your wood burning tool.
After that, you can either leave it as is, or paint, stain, color or embellish!
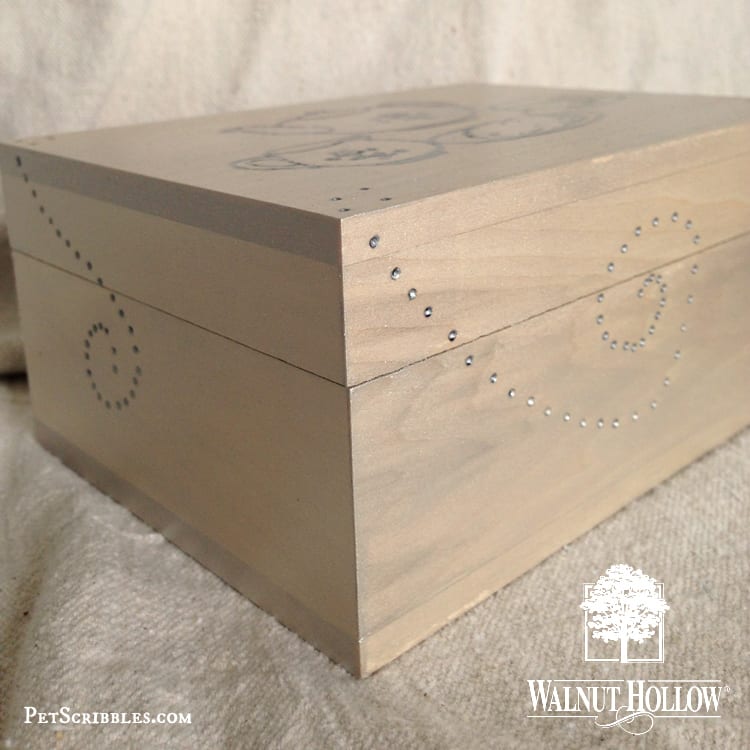
I applied a transparent silver paint over the box. The paint seeped into the wood burned images and gave a nice overall sheen to the tea box.
My tutorial is a lengthy one, but it’s filled with:
- step-by-step instructions
- helpful tips
- lots of pictures
- complete list of supplies used
Click here: Wood Burned Tea Box Handmade Gift
A perfect tutorial for those new to wood burning!
Happy crafting!
~Laura
These would be such a pretty gift. Heading over to see your tutorial. Feel free to share your projects at my weekly party!
Thanks so much Theresa! (And I’ll definitely hop over to your weekly project party too!)