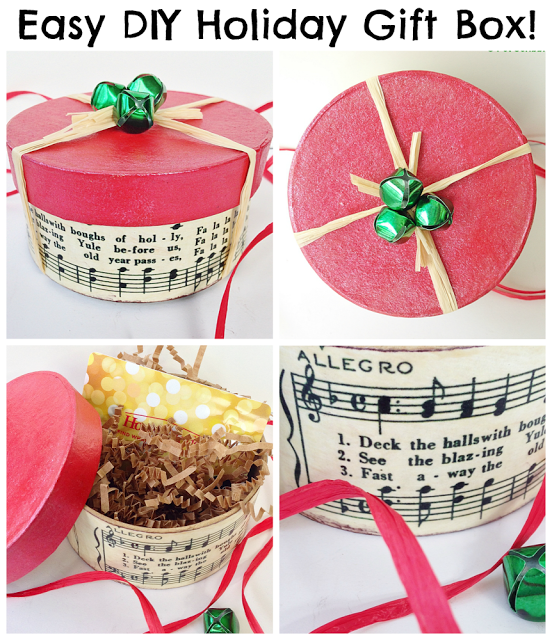
Crafting for the holidays need not take up large chunks of your time. Here’s a simple gift box craft that only takes 15 minutes to make!
Holiday Gift Box DIY!
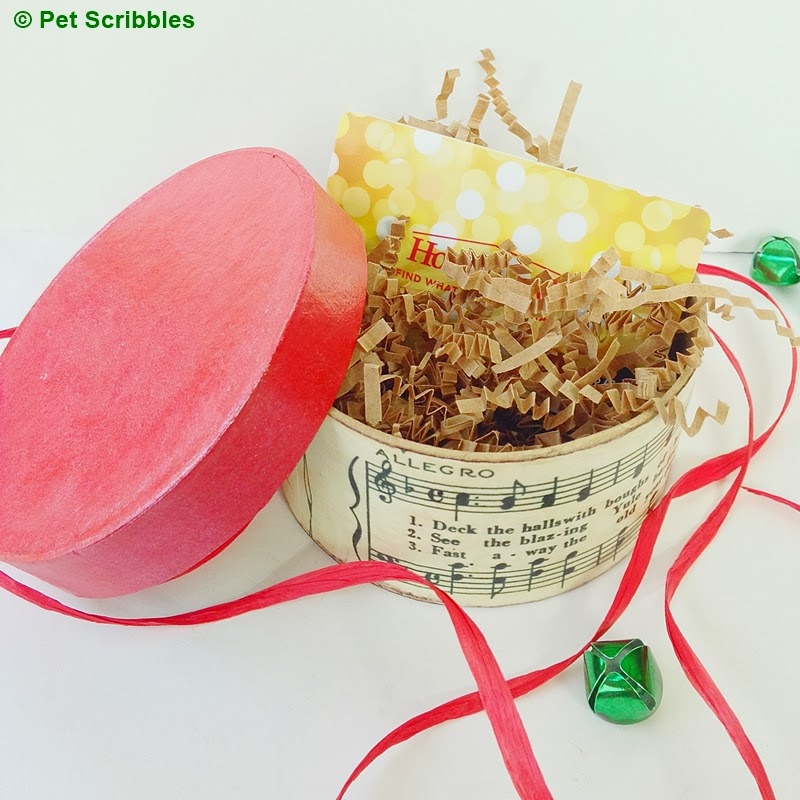
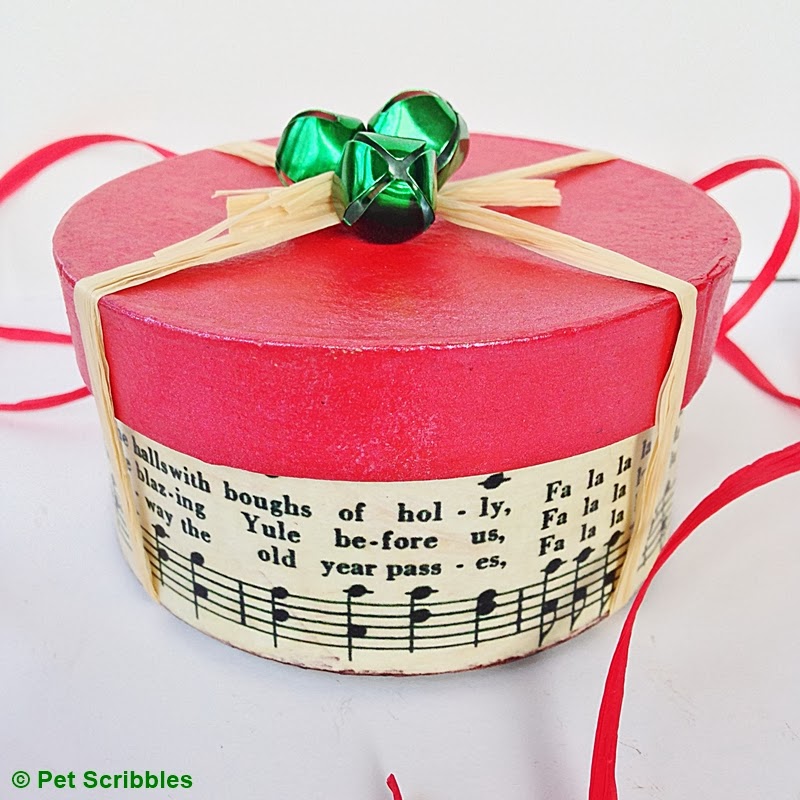
You can use this box as part of your Christmas decorations, or as a gift box to hold a small present like jewelry, candy or a gift card!
Presenting a gift card in a box like this takes your gift up a level or two, and gives the recipient a keepsake box they can enjoy for years to come!
Let’s get started!
Just a note before we begin: While these may seem like a lot of steps, you’re moving from one step to the next while something is drying. And you can always speed up drying with a heat gun, which I often do!
Supplies:
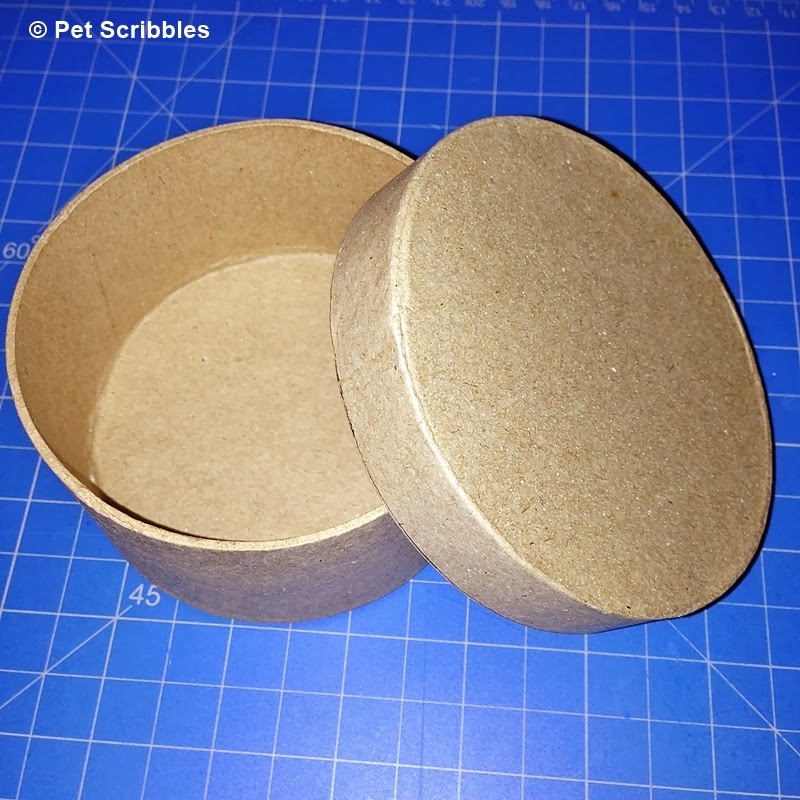
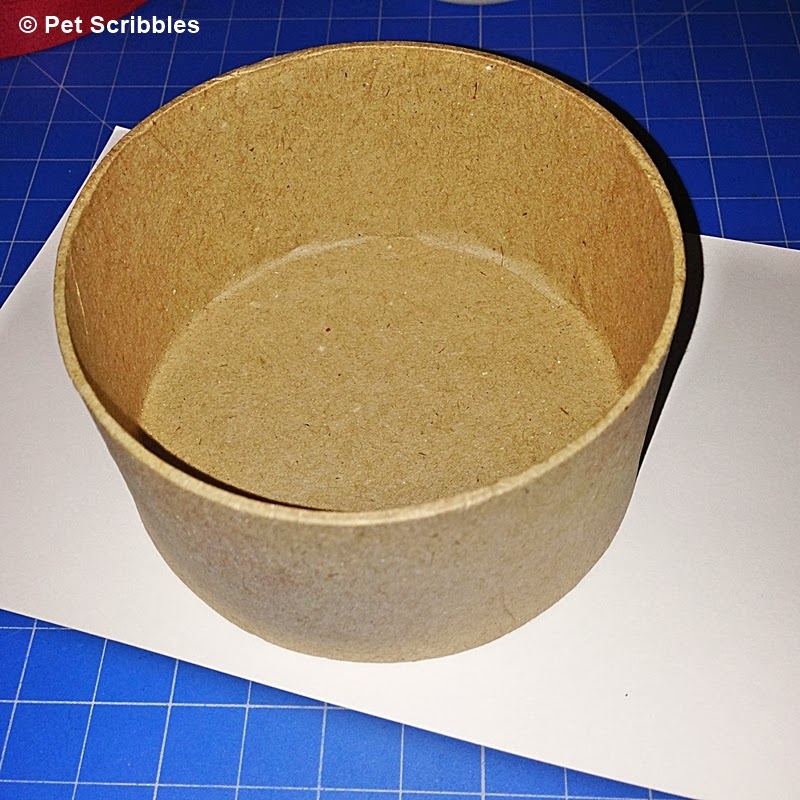
Paper maché round box, 4″ diameter
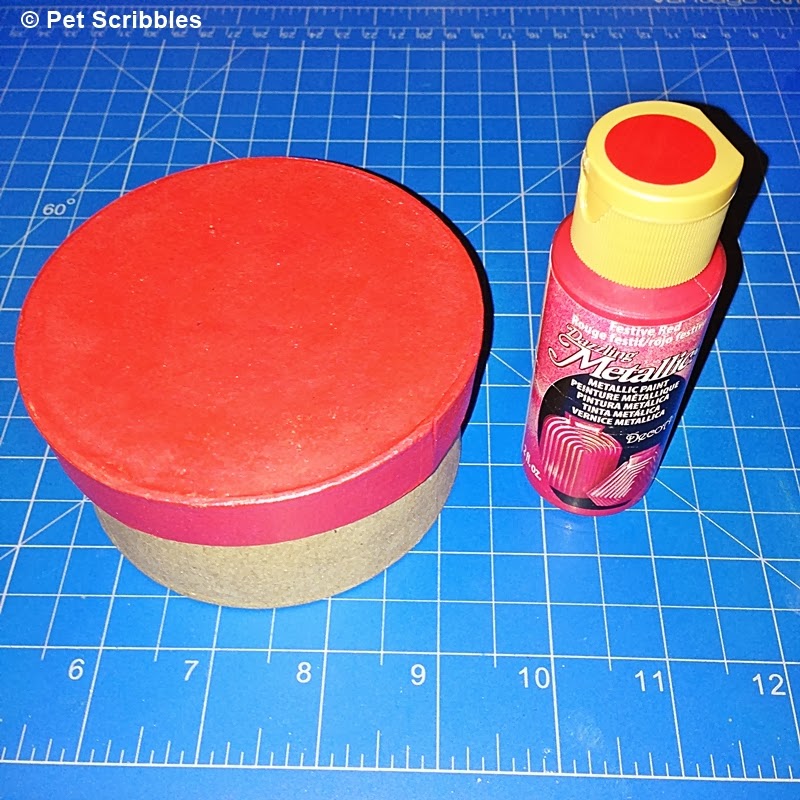
DecoArt Dazzling Metallics Elegant Finish Paint in Festive Red
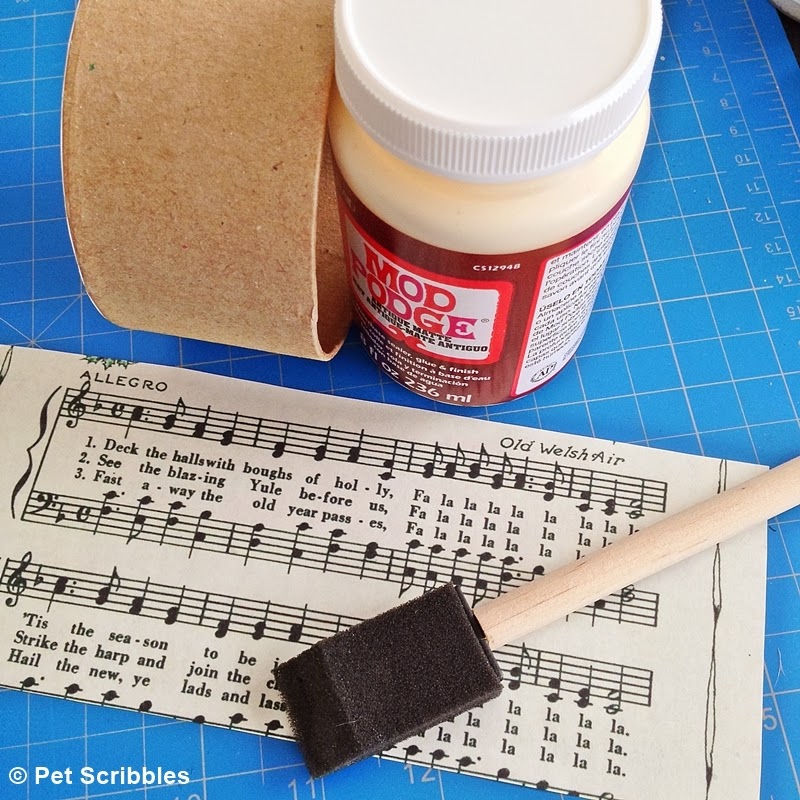
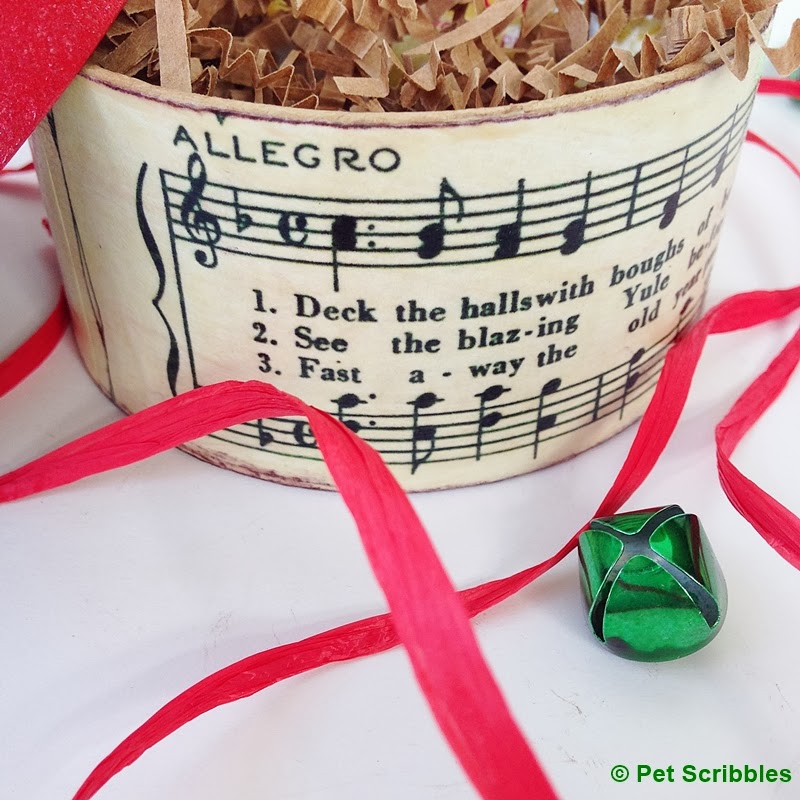
Vintage holiday sheet music printed out on copy paper
Mod Podge, Antique Matte finish
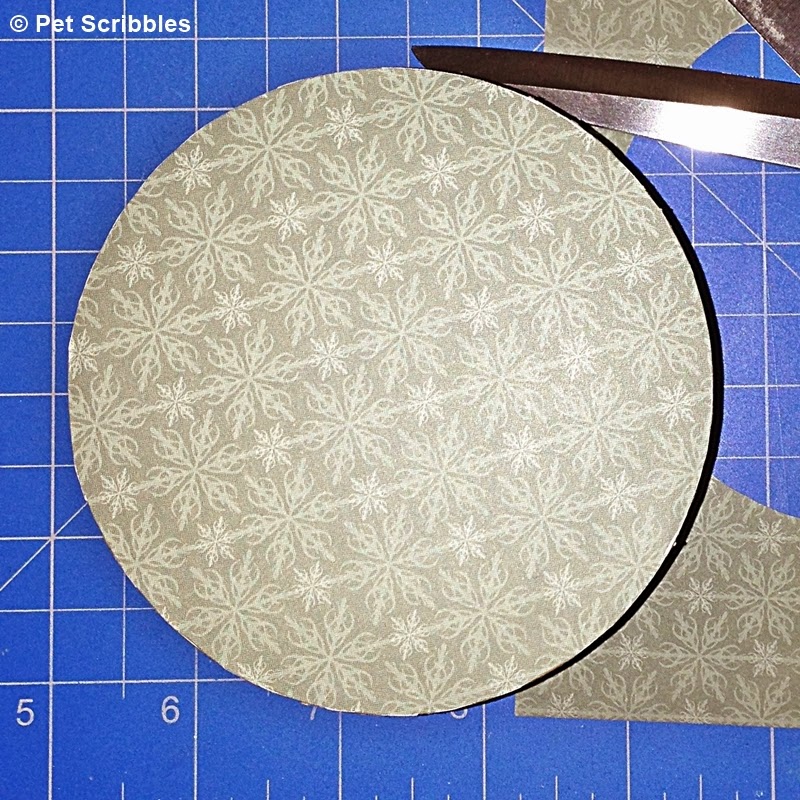
Decorative scrap paper (enough to make a 4-inch circle)
Foam brush (for Mod Podge)
Paint brush (small) for metallic paint
Acrylic Sealer (matte or glossy – your choice)
Step One: Paint the box lid with one coat of the Festive Red metallic paint. (This is a water-based metallic paint that covers paper maché boxes beautifully and has a pretty sheen!) Let dry.
Step Two: Print a free graphic image of vintage holiday sheet music onto an 8.5″ x 11″ sheet of copy paper. (I used a free graphic found here. Spray lightly with acrylic sealer on both sides. Let dry.
About the vintage sheet music graphic: If you don’t like the one I used, simply search for “deck the halls sheet music free” and you’ll have a wealth of possibilities to choose from. Just make sure the graphic is free for personal use, and not someone’s copyrighted artwork. My rule of thumb? When in doubt, don’t use it!)
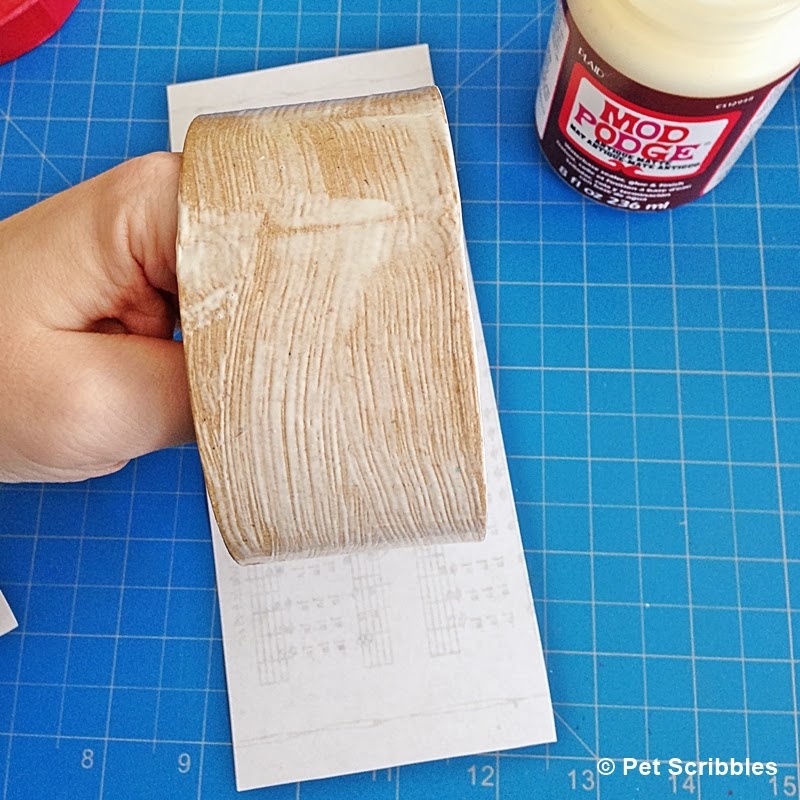
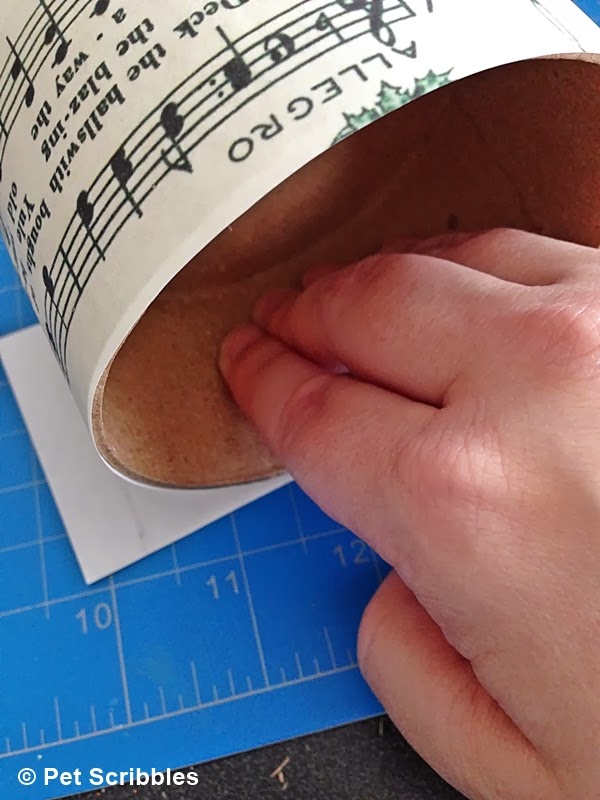
Step Three: Apply Mod Podge to the bottom of the box and place the box (Mod Podged-side down) onto the back of the decorative scrap paper, as shown:
Turn the box and paper over, smooth out with your fingers, and set aside to begin drying. Cut around the box to remove the extra paper.
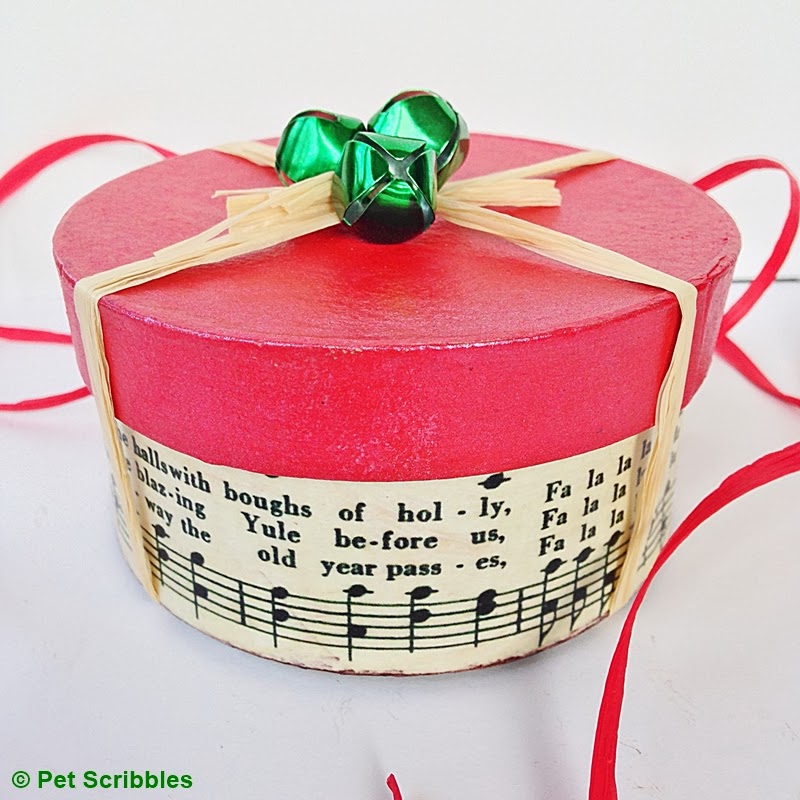
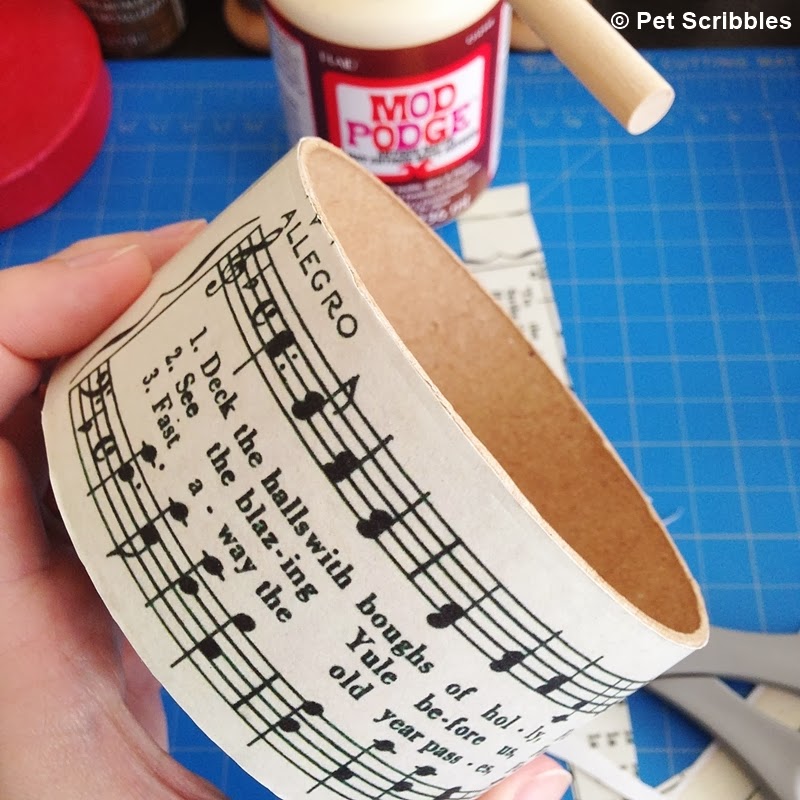
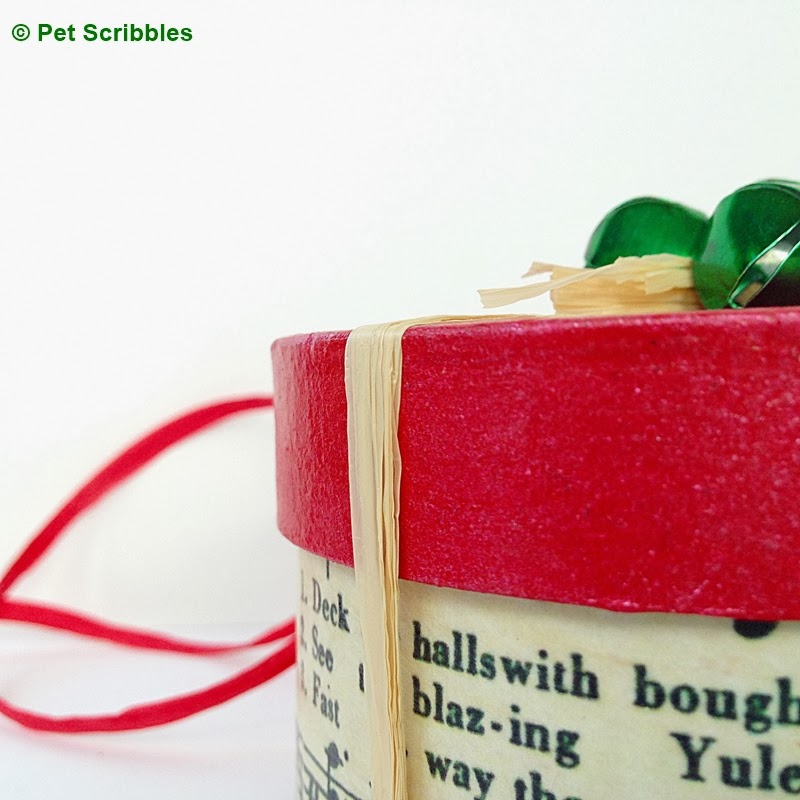
Step Four: Cut out a section of the sheet music (larger than you need) and decoupage onto the side of the box.
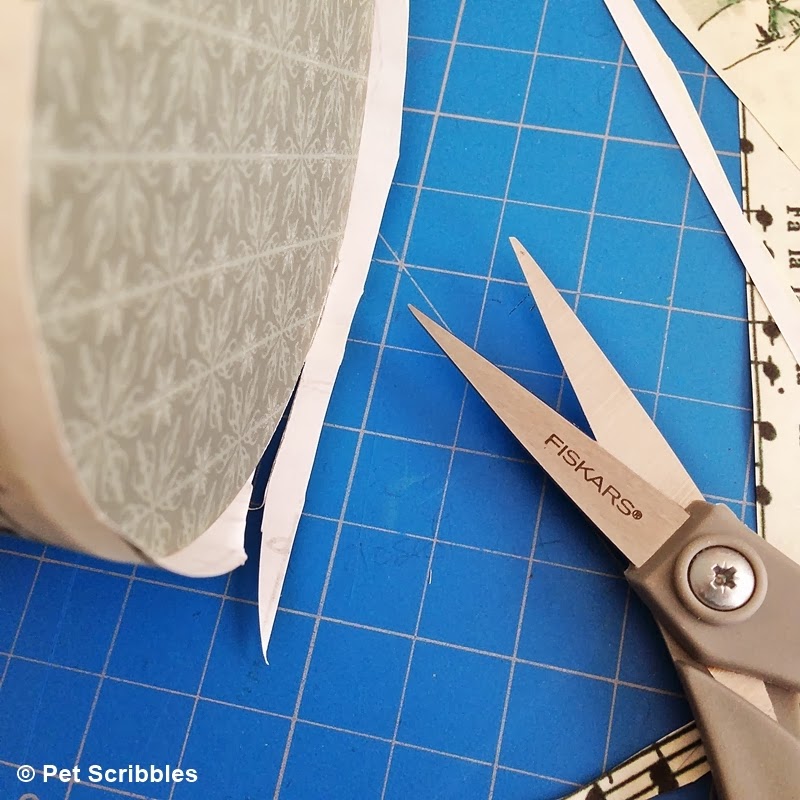
Step Five: Cut around the outside edges of the box to remove the excess paper.
Step Six: Sand the top and bottom edges of the box where box and paper(s) meet, which will smooth out the edges. (I use a basic emory board when sanding paper maché box edges.) Wipe dust away with a tissue.
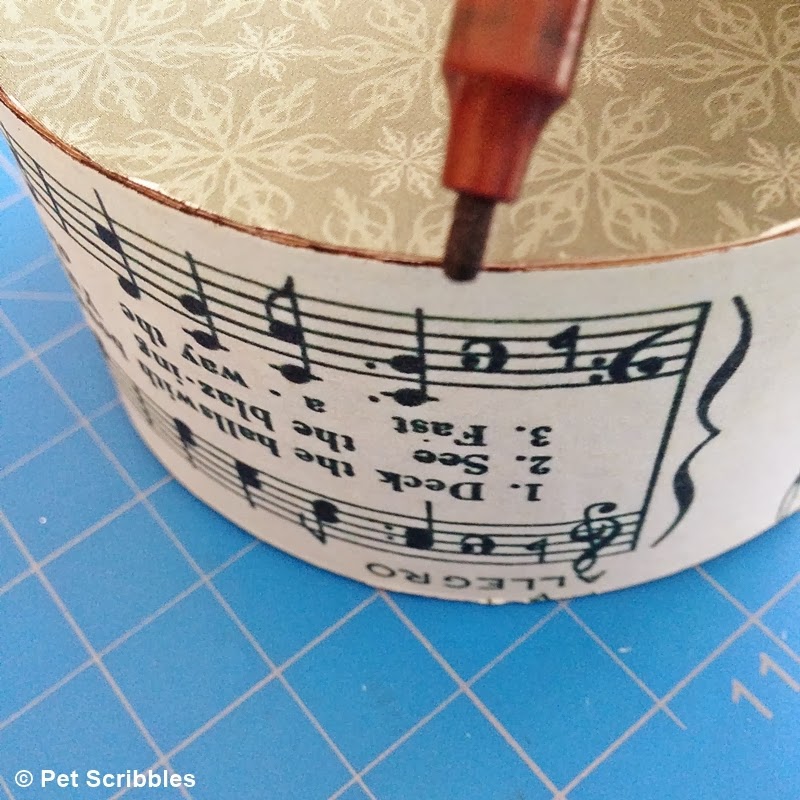
Step Seven: Using the side of a brown marker tip (see photo), rub along the top and bottom edges of the box, over what was just sanded.
Step Eight: Fill the inside of the box with decorative shredded paper and a small present!
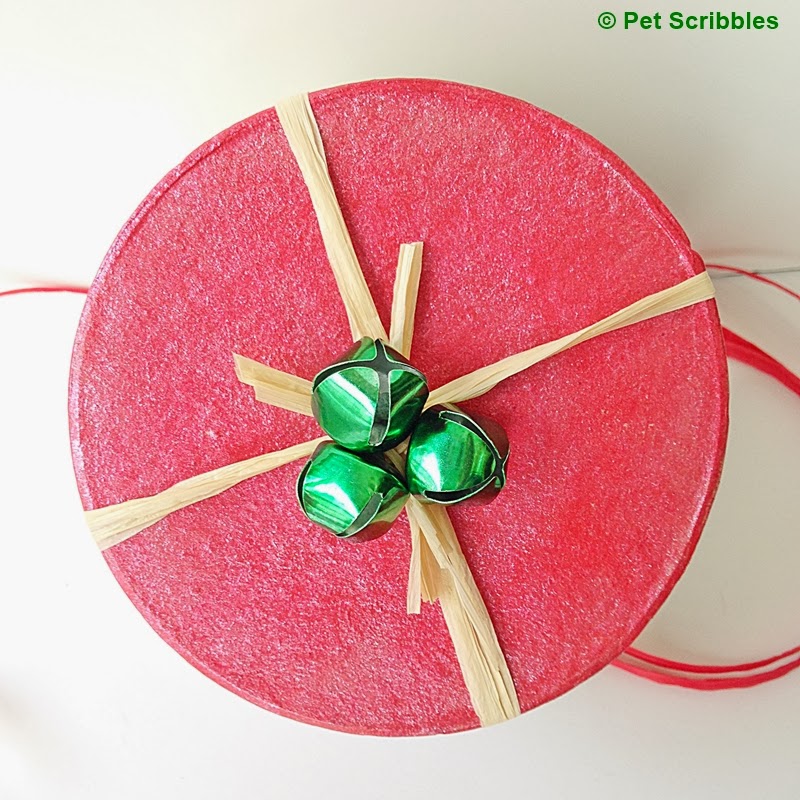
Step Nine: Embellish the top of your gift box with seasonal embellishments. I used natural-colored raffia ribbon wrapped around the box, with green jingle bells.
And that’s it! A lovely handmade gift box in 15 minutes, minus the drying time!
If you have a little more time, you can do the following . . .
Optional Steps:
A. Paint the inside with one coat of the same metallic paint. Let dry.
B. Apply Mod Podge (antique) to the side and bottom of the box. Let dry.
I hope I’ve inspired you to try some quick crafting this holiday season!
Want to see more quick crafting projects? Sure you do!
Check out the Craft Lightning Holiday Edition! All week, my craft blogger friends have been sharing their own quick crafts, and you can see them all by clicking on this button:
And you’ve got to visit the two crafty gals who organize these Craft Lightning sessions, as they are experts when it comes to creating wonderful crafts in a limited amount of time: Angie of The Country Chic Cottage and Carolina of 30 Minute Crafts!
Happy (quick) holiday crafting!


Adorable as always Laura! Thanks for participating!
Thanks Angie! I love the challenge – and the satisfaction – of crafting quickly! 🙂
Beyooteeful!
Thank yoooooo! 😉
Laura, this box is just beautiful! What a great idea and so thrifty!
I bought some old hymnals and music books at an estate sale awhile back to use as ephemera in arts and crafts projects and this would be a perfect way to utilize those. Thanks so much for the inspiration, going to pin this one!
What a great idea to use some music from old hymnals! Definitely let me know if you make some of these – I’d love to see them! And thanks for sharing this too!