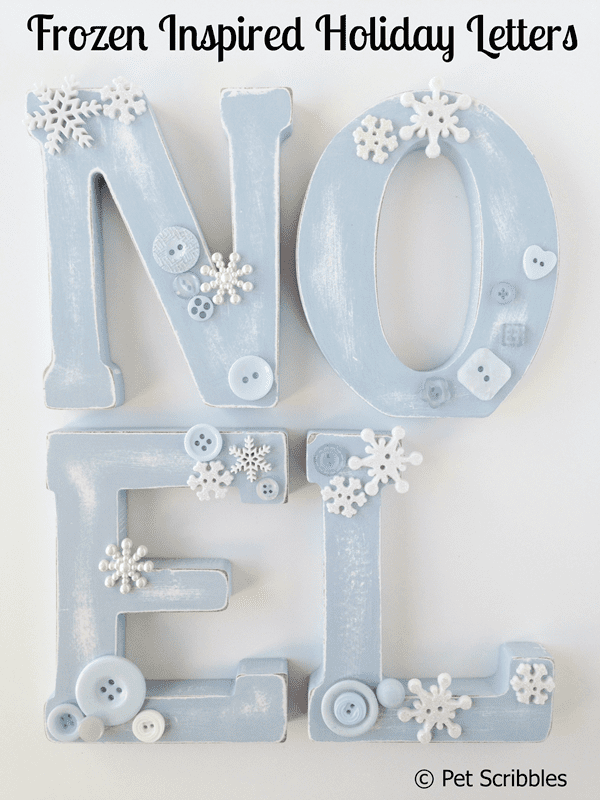
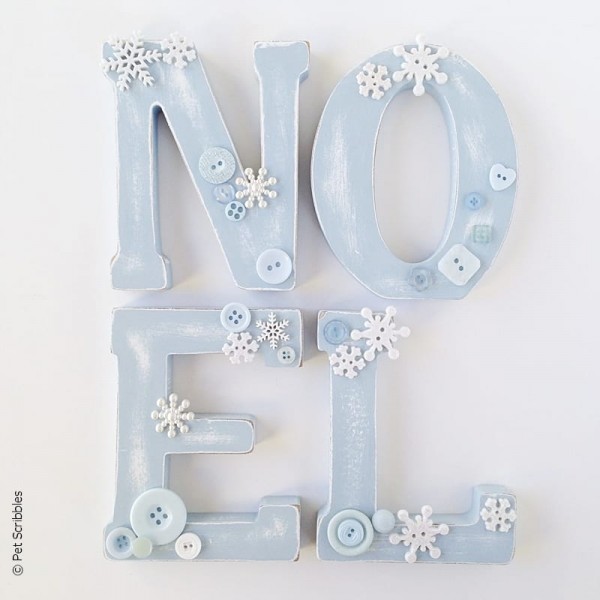
Yes, I’m calling these NOEL letters that I created Frozen Inspired Holiday Letters!
Why? I was inspired by a gorgeous button collection which reminded me of the movie.
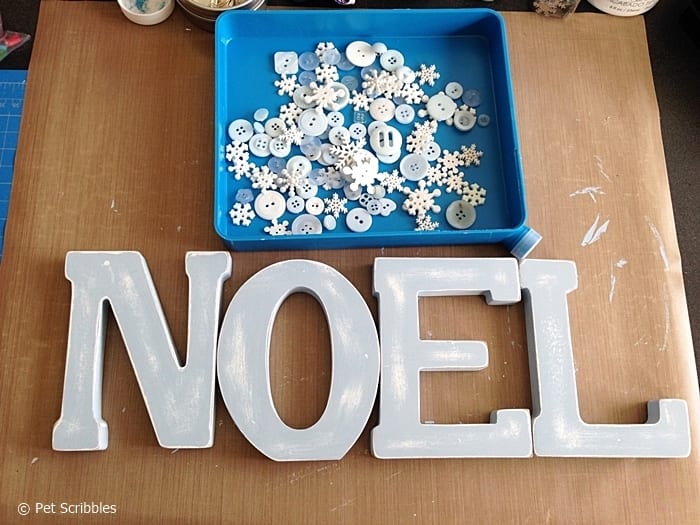
I started with some basic wood letters (already painted white) from Michaels, and a package of gorgeous buttons from Buttons Galore & More. The collection is the Snowflakes Value Pack and is perfect for holiday and Winter crafts, and also for your Frozen-inspired creations too!

Here’s a zoomed in look at the pretty buttons in the Snowflakes collection:
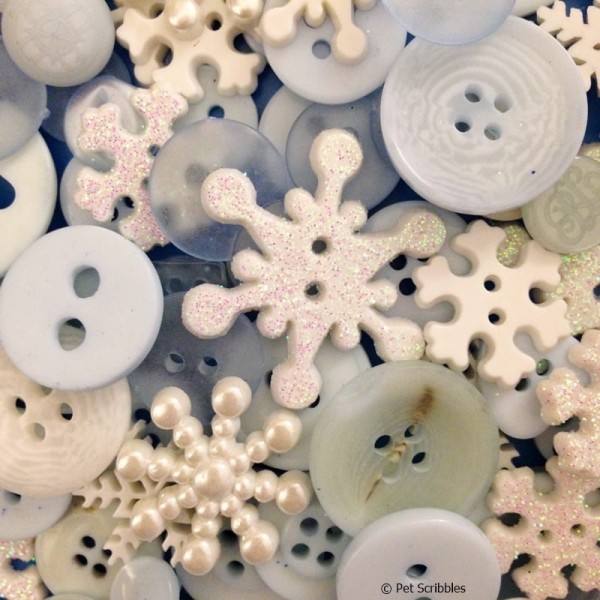
As you can see, there are buttons that include pearls, glitter, texture, shine and flat (no shine). The buttons come in all shapes and sizes, with various snowflakes included, in a beautiful color palette of ice blues, whites, and pale aquas. Just stunning!
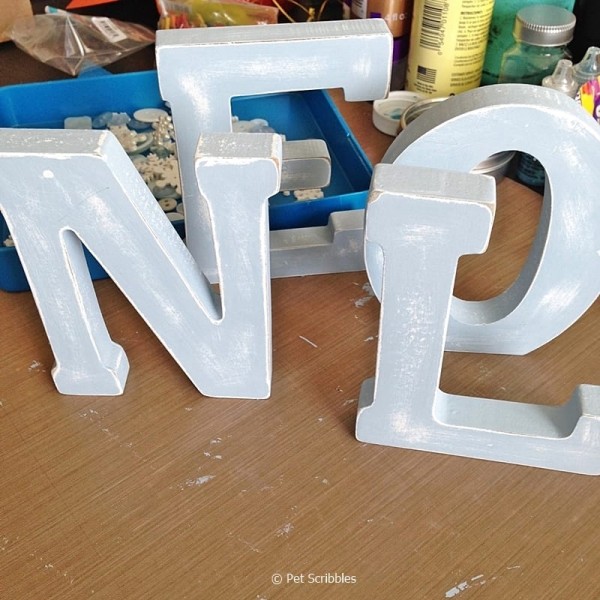
Step One: Paint the letters. I painted the letters with two coats of DecoArt’s Chalky Finish Paint in the color Serene, which is a pretty pale blue shade, matching the buttons perfectly.

Step Two: Sand the letters to distress them. I used medium-grit sandpaper – nothing fancy – and sanded the edges as well as the fronts, sides, and backs of each letter. Chalky Paint is great for sanding, by the way, making this step easy. Wipe away any dust with a rag or paper towels.
What’s nice is that the white color showing through (after sanding) was there from the start! I didn’t have to paint the white layer first, let it dry, then paint the blue layer, etc. A nice timesaver!
You could stop here if you wanted to. They already look so pretty!
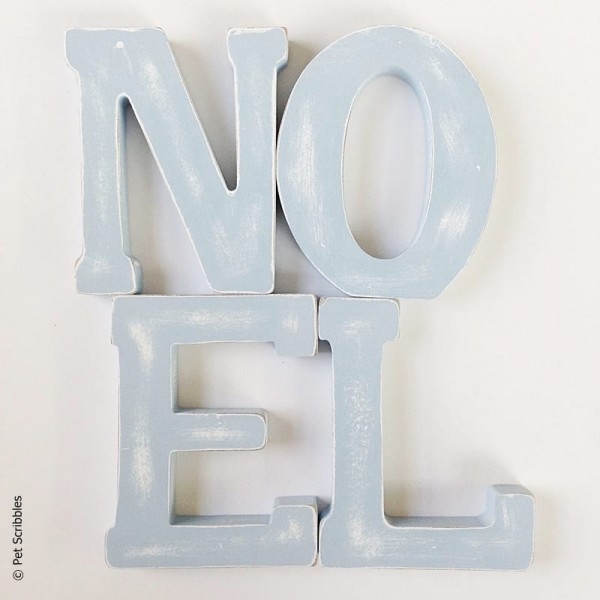
Step Three: Play with the placement of the buttons first, to get a feel for how you want the letters to look. This step is completely up to you, of course. You could cover the letters completely, half-way, or sprinkle buttons here and there.
I had fun deciding where to put the snowflakes, and which snowflake patterns to use.
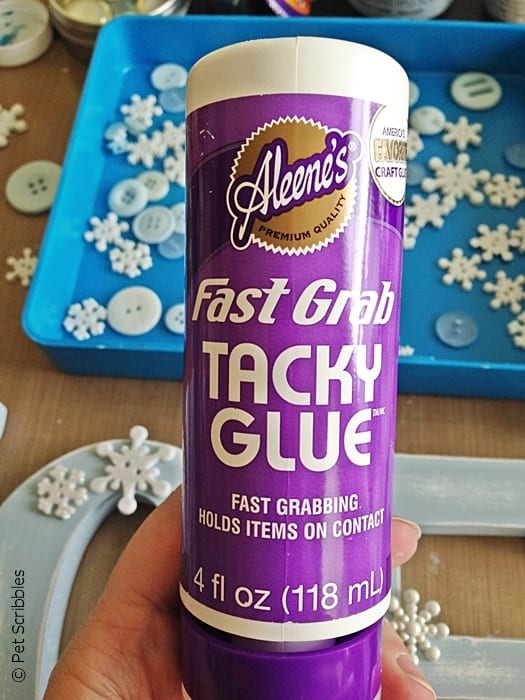
Step Four: Glue the buttons onto the letters. I made quick work of this step using Aleene’s Fast Grab Tacky Glue. Just apply some glue onto the back of each button, press into place, hold for a few seconds, and repeat with the next button. I let everything dry thoroughly overnight.
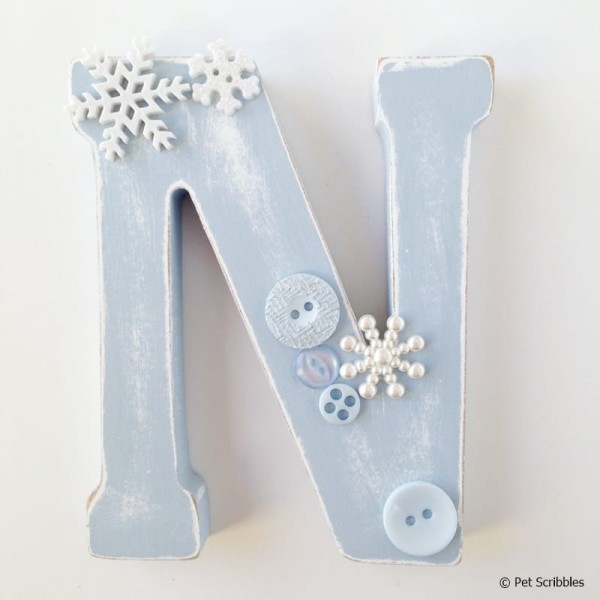
On the letter N, I used a white shiny snowflake, a smaller glitter snowflake, and a pearl snowflake. I added buttons near the pearl snowflake, purposely choosing different textures of glitter, pearlescent and flat color. One extra button at the bottom of the N provides balance to the snowflakes at the top.
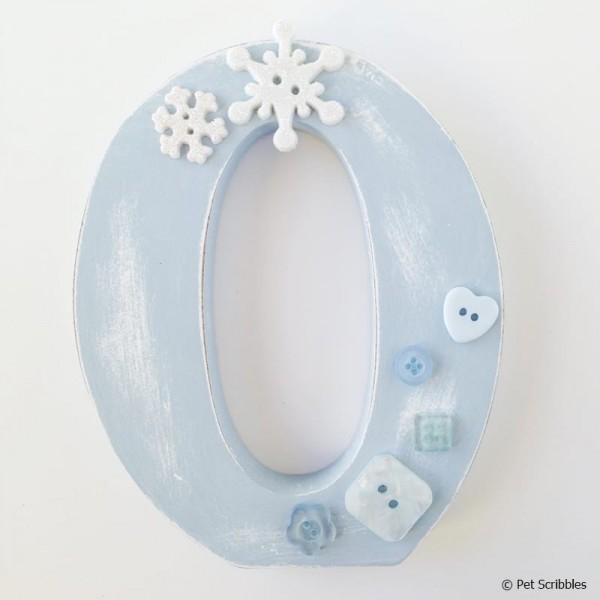
On the letter O, I used two glitter snowflakes at the top, and then five small buttons climbing up the front. The buttons were different shapes and textures again. I also made sure to use both blues and aquas together on each of the letters.
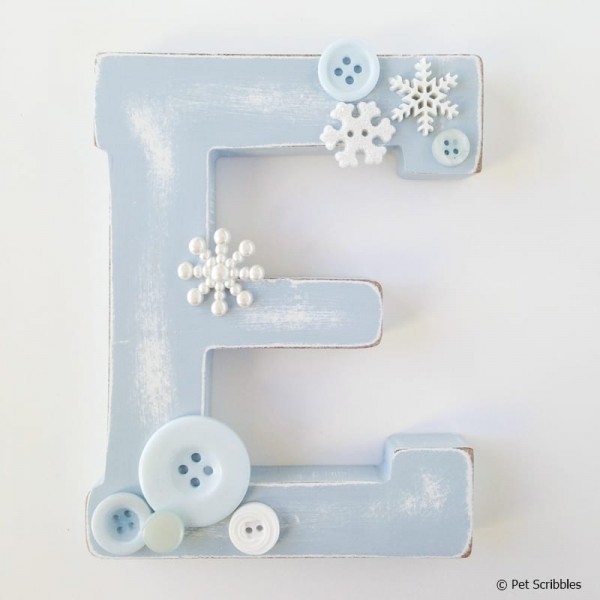
On the letter E, I used smaller snowflakes in glitter, shiny and pearl, and clustered the buttons at the top and bottom. I added a white button on the bottom just to balance out the colors.
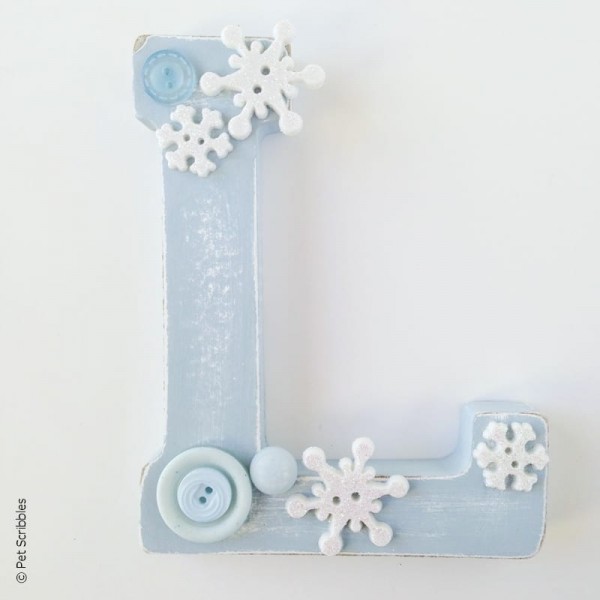
On the letter L, I used four glitter snowflakes – 2 large and 2 small – and a few more buttons. I layered two of the buttons at the bottom and love how the pale blue and pale aqua look together.
Some button tips:
- Place buttons so that parts of them extend off of the letters for interest.
- Place buttons “in” the letters. This is easy to do when you use a button that has a shank on the back of it, for example the pearl snowflake buttons that I used on the N and the E. Both of those buttons are actually glued to the inside of the letters.
- Layer buttons together, especially different colors and textures.
- Work on all of your letters at the same time. This way, you can keep looking at the overall word – in this case NOEL – to see if everything looks balanced.
- Repeat certain textures and styles on each letter. For example, the white button on the E is the same texture style as the pale blue button on the L (layered at the bottom).
- When possible, use a button collection. This makes it foolproof to mix and match the colors and textures as the work has already been done for you!
Supplies used:
Wood letters (Michaels)
Chalky Finish Paint in Serene (DecoArt)
Snowflake Value Pack collection buttons (Buttons Galore & More)
Aleene’s Fast Grab Tacky Glue (ILoveToCreate)
Sandpaper – medium-grit
Paper towels or soft white rag for dust
Very special thanks to Buttons Galore & More for supplying the beautiful buttons!
Happy holiday crafting!
~Laura
These look AMAZING Laura! They would be awesome at a Frozen themed birthday party. Stumbled and pinning!
Thanks SO much Kelly! I appreciate it – and you – big-time!
I don’t know how I missed this project… it’s gorgeous! And for the “traditionalists” among us, red chalky paint–with the white peeking through after sanding–would be stunning, too. Don’t you just love the unique button choices at Buttons Galore?! Thank you, Laura, for a festive idea that I’ll be saving in a folder for *next* Christmas! xoxo
Thanks Pat! My husband definitely loves traditional Christmas colors, so I think I’ll be doing more of those next Christmas. Love your idea of the red chalky paint with white peeking through – I can picture it quite nicely! (And yes – I love the amazing selection at Buttons Galore too!)