This project is sponsored by Plaid Crafts and Blueprint Social. I received materials for this project and compensation for my time. This project and tutorial, and all opinions, are most definitely my own!
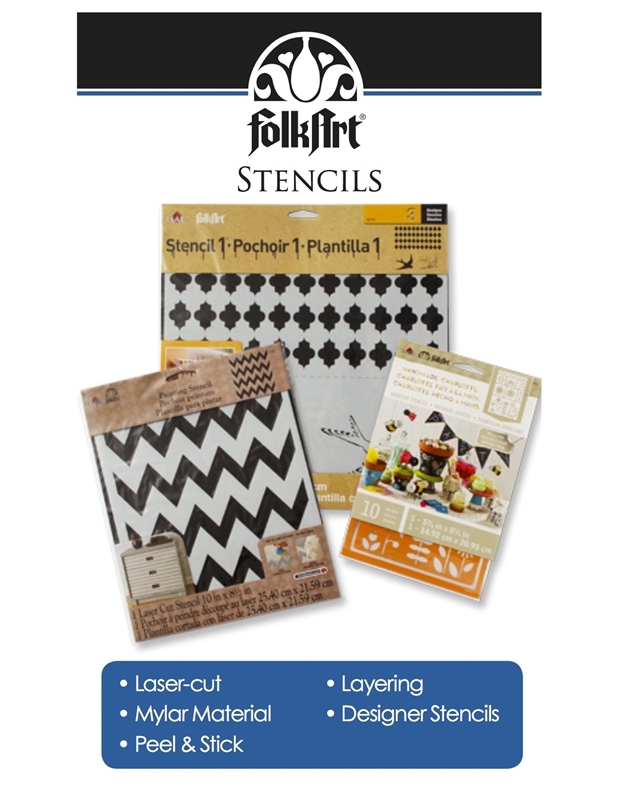
There are so many stencils in the craft stores, that after awhile it isn’t surprising if you start to feel like they all look alike. But the FolkArt Stencil1 line — part of FolkArt Stencils & Paints — is different. And oh how I love different!
The FolkArt Stencil1 line was designed by artist Ed Roth and is unique in that there are themed stencils (such as nautical or British) that have an edge to them. Don’t let that word scare you, it’s the word that I think best sums up this line. Edgy as in the opposite of cutesy and stuffy. FolkArt Stencil1 designs are modern, playful and fun, and really versatile to use.
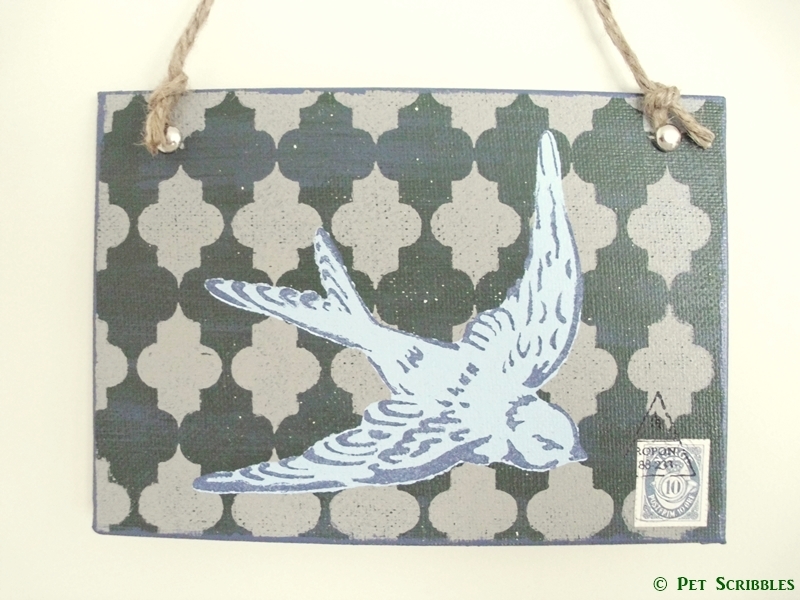
I first introduced you to this line back in March, when I showed you how to use layered stencils in my Put a bird on it! Layered Stencil Art Wall Decor tutorial.
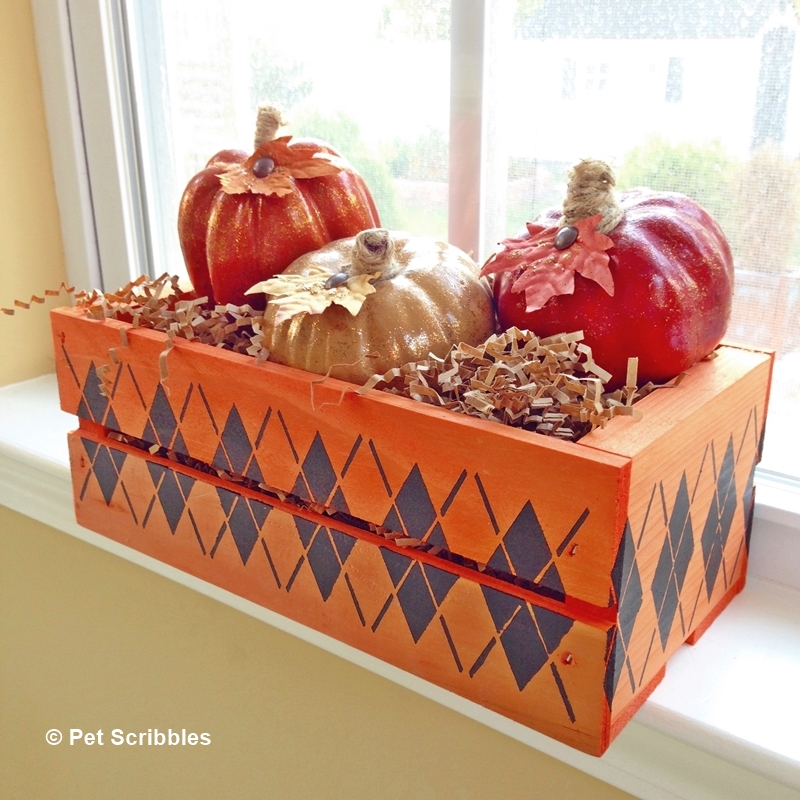
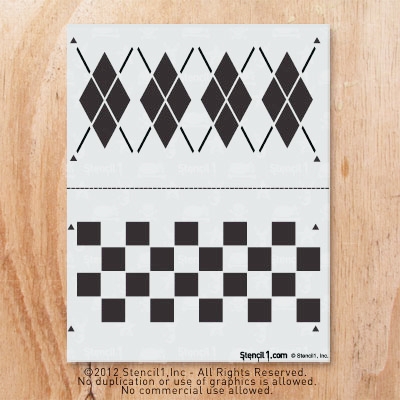
For today’s project, I’m using the Argyle stencil, from the Argyle and Checker pattern 2-Pack. Both stencils work great as background patterns in your mixed media art pieces. The stencils are wonderful as the design element on a piece too, and that’s how I’m using the argyle pattern today.
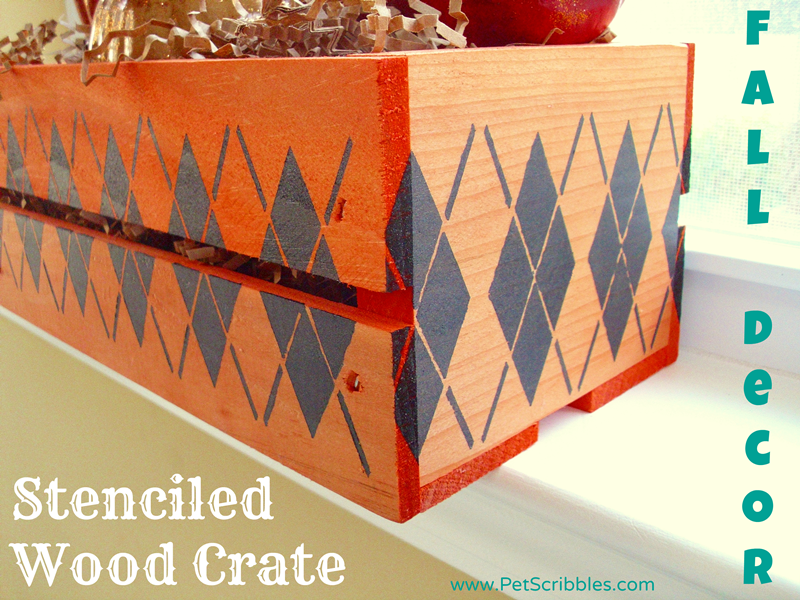
DIY Fall Decor: Stenciled Wood Crate
I dyed this unfinished wood crate in a vibrant orange color last year. Yes, last year! I had intended to use it as Fall decor last season, but the crate needed something more, and I never figured out what “it” was.
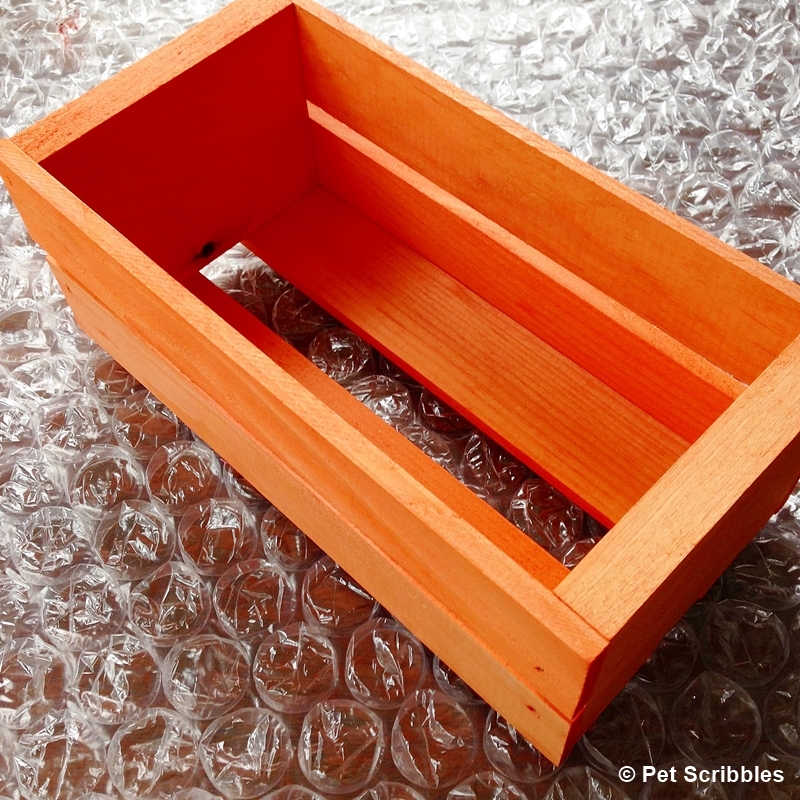
I instantly thought of this orange crate when I saw the argyle design from Stencil1. A perfect match!
Supplies:
- Unfinished wood crate (You could paint, dye or stain your crate before stenciling. Match your decor!)
- FolkArt Stencil1 stencils (I used the argyle pattern)
- FolkArt Stencil Adhesive
- FolkArt Multisurface Paint (I used metallic charcoal black)
- Rubber gloves (optional)
- Stencil brush
- Large plastic recycled lid (use to hold paint)
Step 1. Cut your stencil out along the grid lines provided. Decide on its placement on your project. Spend some time playing with ideas. I knew I’d want the argyle design to be centered in between the upper and lower wood slats of my crate, but it wasn’t until I positioned it that I realized I’d want the same pattern on the ends too. You can either lightly mark where your stencil should line up, using the guide marks provided, or you can simply eyeball it like I did.
Step 2. Apply FolkArt Stencil Adhesive to the back of your stencil. This adhesive solves the problem of trying to keep your stencils in place. The adhesive is repositionable, so you can get the perfect placement for your stencils every time.
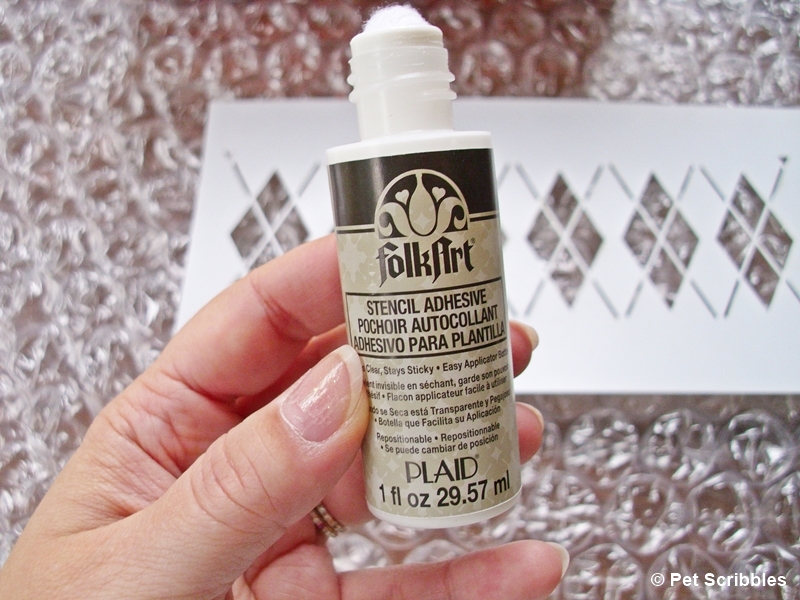
You simply press the applicator down onto the back of your stencil until the liquid starts to flow.
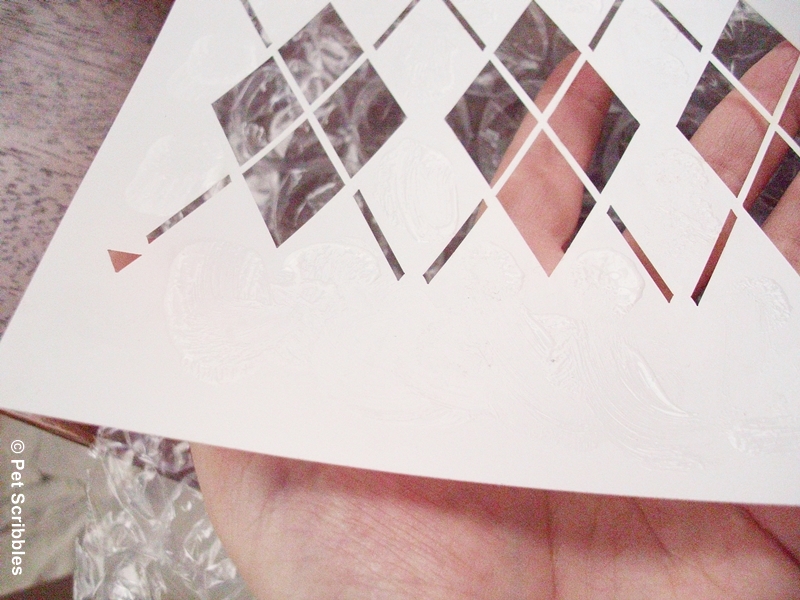 |
| See the globs of milky adhesive? Rub those all over the stencil back, then wait until it turns clear. Easy! |
Rub the liquid all over the stencil where you’ll want it to stick to your surface. Wait about 10 minutes (until the milky solution turns clear), and you’re good to go. The adhesive will be sticky to the touch, and that’s exactly what you want.
Step 3. Apply the stencil to your chosen surface, smoothing it out so there aren’t any gaps where paint could seep underneath.
Step 4. Squirt some paint into your recycled plastic lid. I like to use a large-sized lid for stenciling, as it can hold the paint plus leave me room to blot off the excess paint on my stencil brush. The paint easily washes away with soap and water, so you can reuse one lid many times.
Step 5. Stencil away!
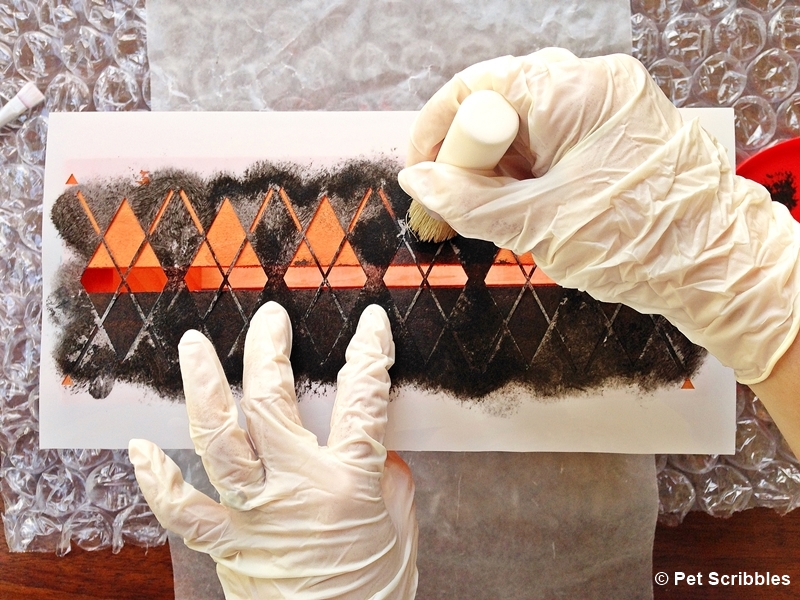
The FolkArt Multi-Surface Paint dries quickly, so I was able to stencil all the way around the crate without worrying about smearing the design. But just in case, I put a piece of wax paper underneath as I worked.
Once the stenciling was complete, I simply let it dry for about an hour.
And that’s it!
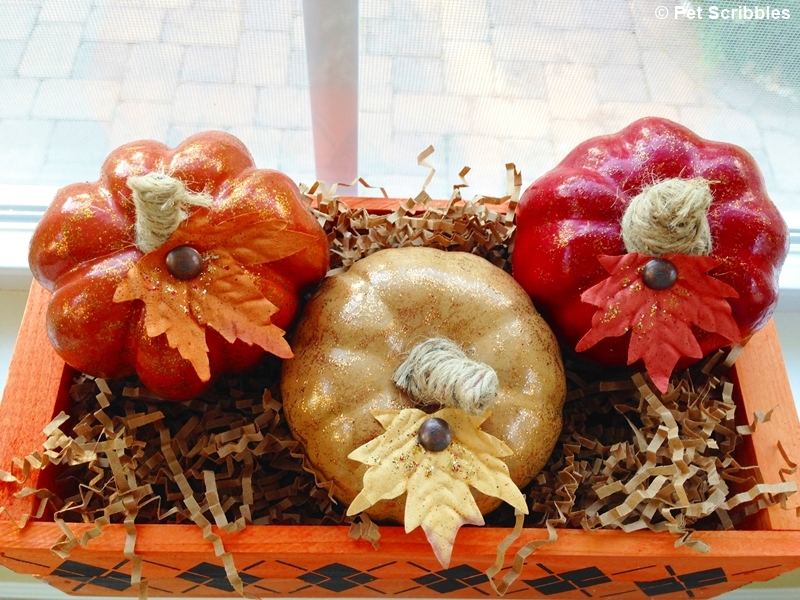
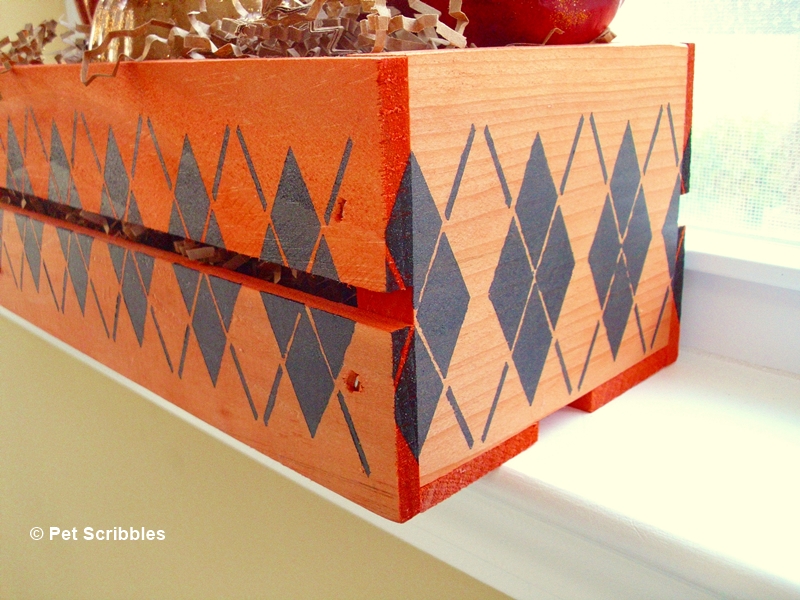
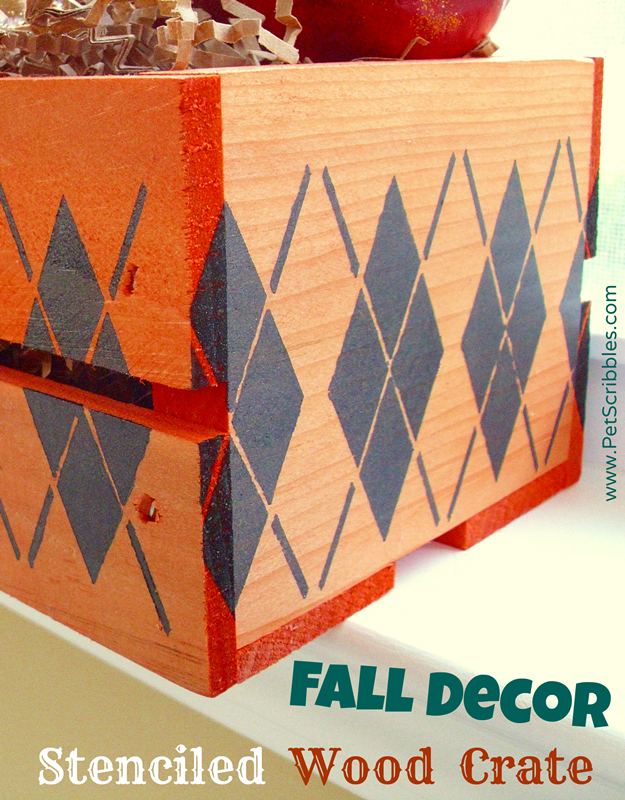
The FolkArt Multi-Surface paint I used was metallic, and has a lovely sheen to it when dry. Here’s a couple of close-up shots for you:
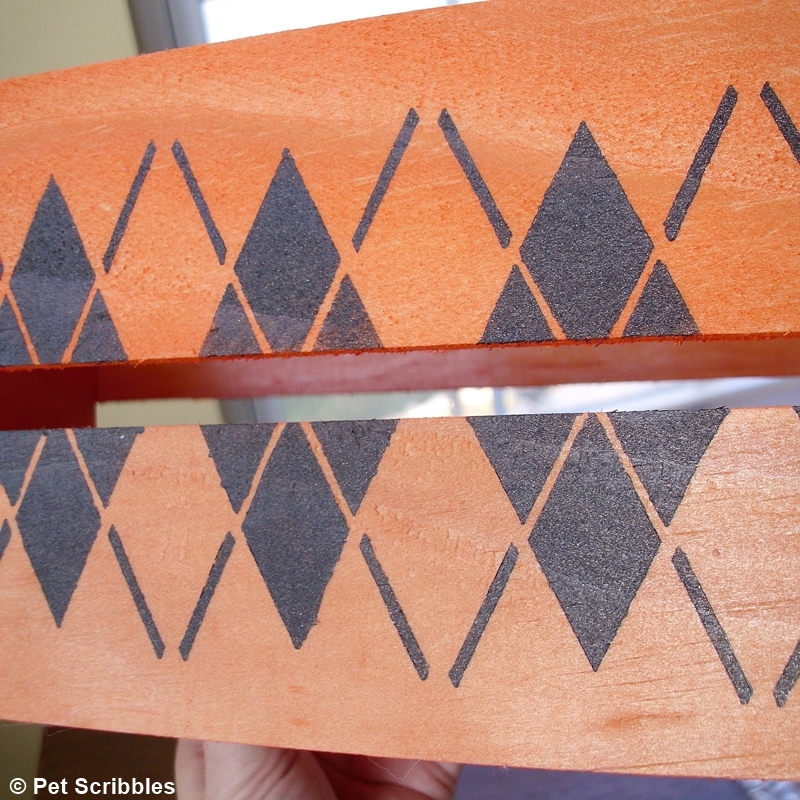
I love the way it shimmers when the light hits it just right.
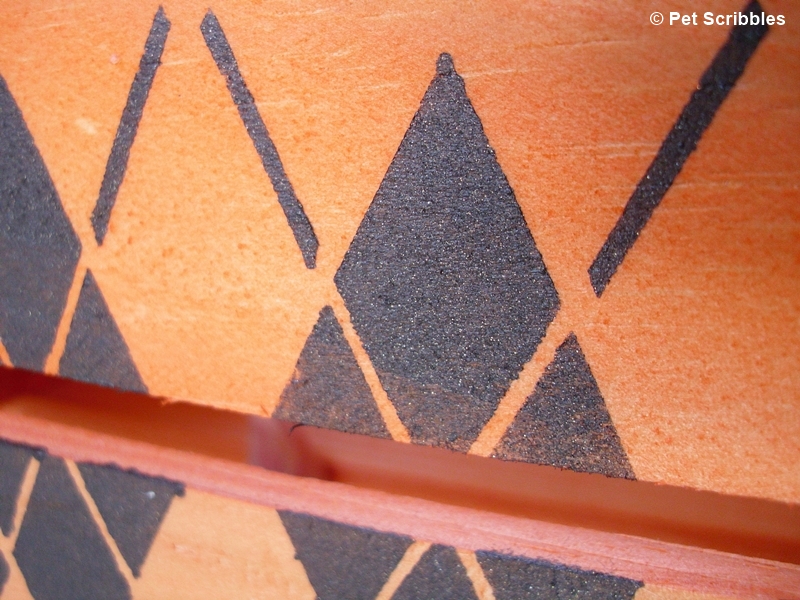
Now I have the perfect piece to hold some of my DIY glitter pumpkins I made last year.
I added brown paper shred to the crate and put my three glitter pumpkins on top for a cute display!
I like how the crate is in Halloween colors, yet doesn’t scream Halloween, so it can be kept out the entire Fall season too. Know what I mean?
~Laura

