Pet Scribbles

A crafty blog with a vintage vibe. And cats.

  • Home
  • About
    • About Me
    • Why “Pet Scribbles”
    • Featured On
    • Work with Me! Hire Me!
    • Contact
    • Copyright
    • Privacy Policy
  • Gardening
    • All
    • My Favorite Plants
    • Easy Pruning Tips
  • Crafts & DIY
    • All
    • Winter
    • Spring
    • Summer
    • Fall
  • Holidays
    • Valentine’s Day
    • St. Patrick’s Day
    • Easter
    • Mother’s Day
    • Father’s Day
    • Patriotic
    • Halloween
    • Thanksgiving
    • Christmas and New Year’s Eve
  • Life
    • Cats
    • Personal
    • Books
    • Blogging
    • Food

Christmas Craft: Miniature Christmas Presents

December 10, 2013 By Laura

Pin
Share
Tweet
31Shares

This post and photos may contain Amazon or other affiliate links. If you purchase something through any link, I may receive a small commission at no extra charge to you. Any supplies used may be given to me free of charge, however, all projects and opinions are my own.


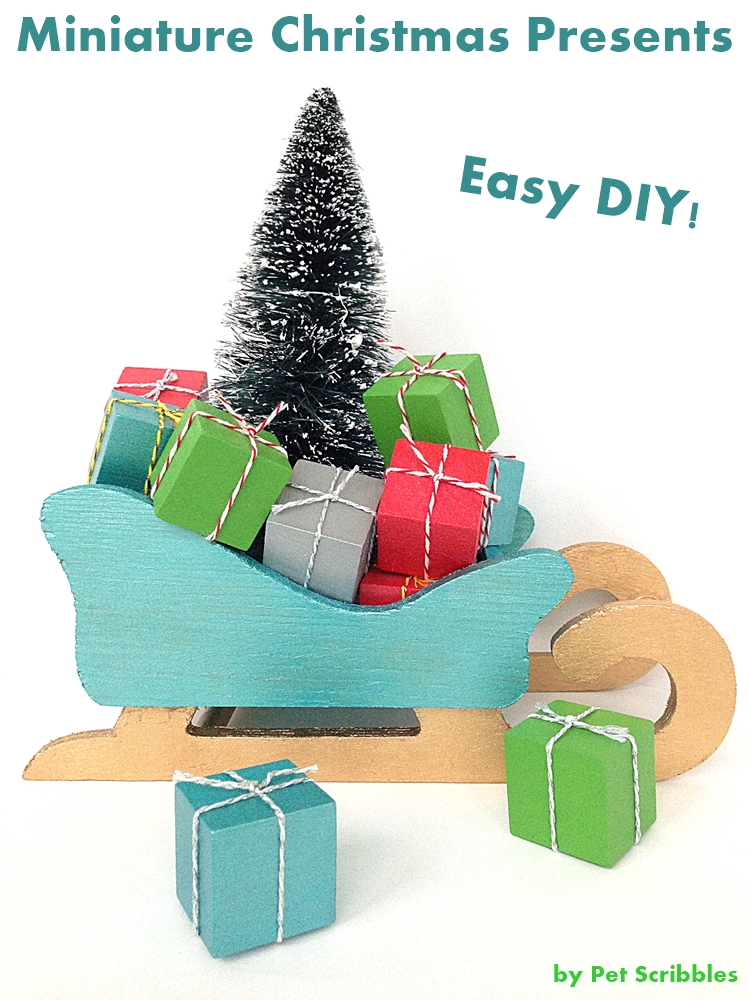
These miniature Christmas presents are super-easy to make, and a bunch of them grouped together have a nice impact!
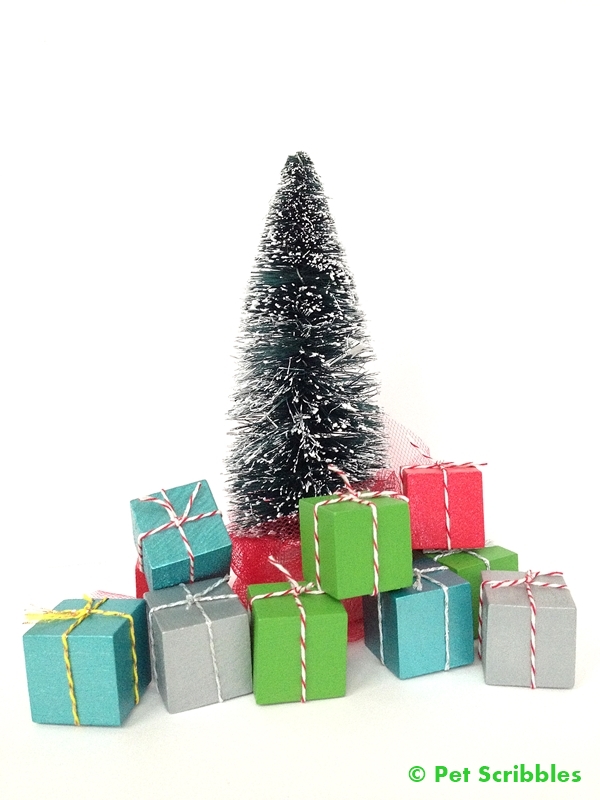
Miniature Christmas Presents: An easy DIY! Perfect for bottle brush trees, decorative sleighs and fairy gardens!


Miniature Christmas Presents – tutorial

This year I purchased a set of bottle brush trees and felt like they needed some miniature Christmas presents, so that’s how this craft came to be!

Supplies:

  • Tiny unfinished wood blocks, 1 inch
  • Craft paints in assorted colors
  • Small paint brushes
  • Small plastic lids (to hold paint)
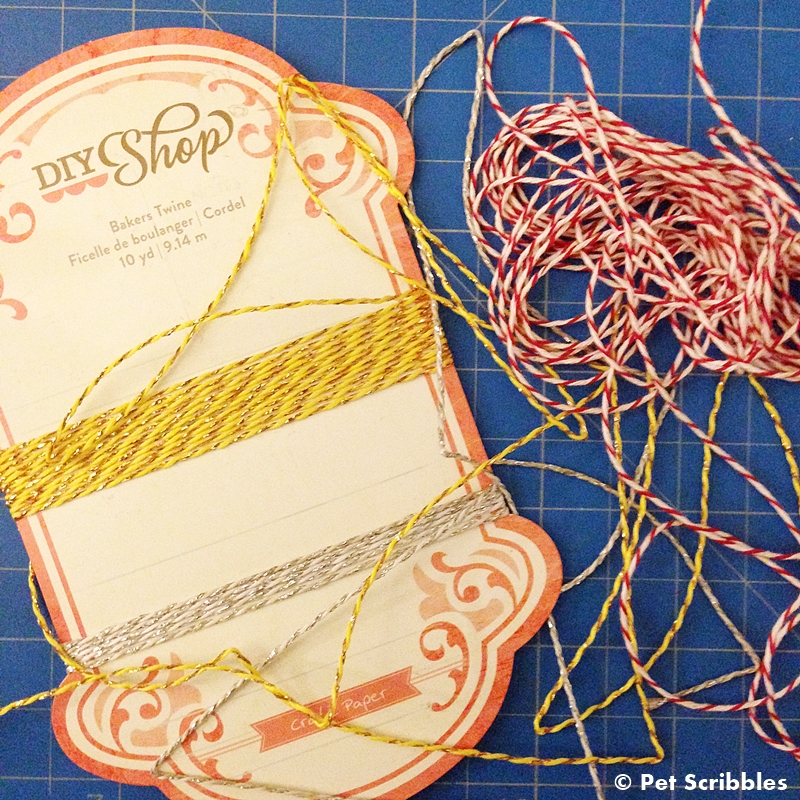
  • Baker’s twine in assorted colors
  • Scissors
  • Wax paper

Notes about the supplies:

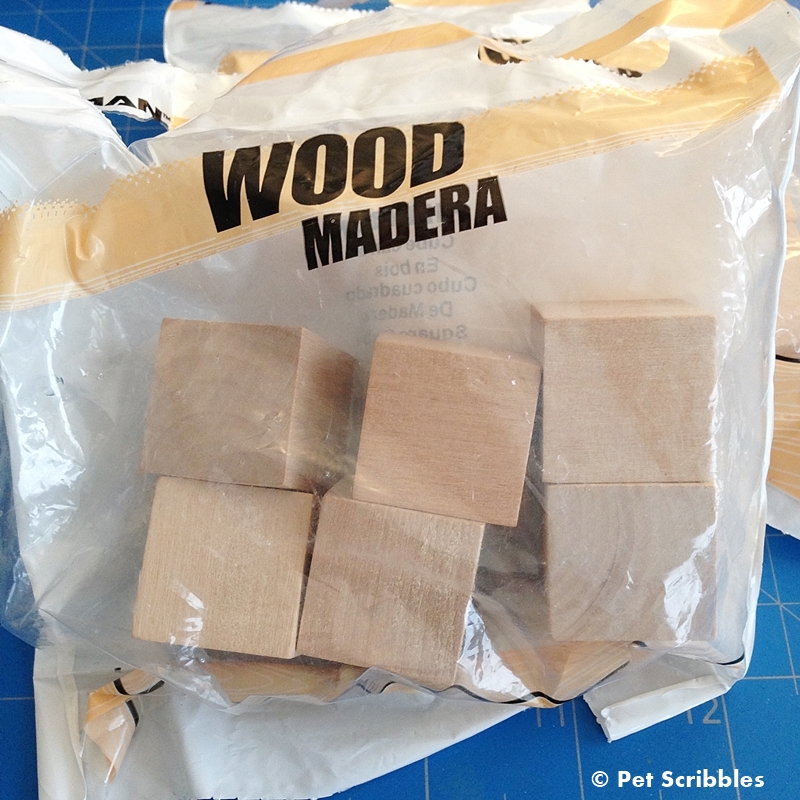
I found the 1-inch blocks at the home improvement store, in a section containing various tiny pieces for craft and hobby projects! Score! They had all kinds of tiny spools, blocks, knobs, bits and bobs!
unfinished wood blocks, 1 inch, found at the home improvement store
The small plastic lids I suggest to hold paint are so much easier than paper plates. I actually wrote a blog post about it which you can read here: Don’t Flip Your Lid: A Quick Tip for Craft Paints

Let’s begin!

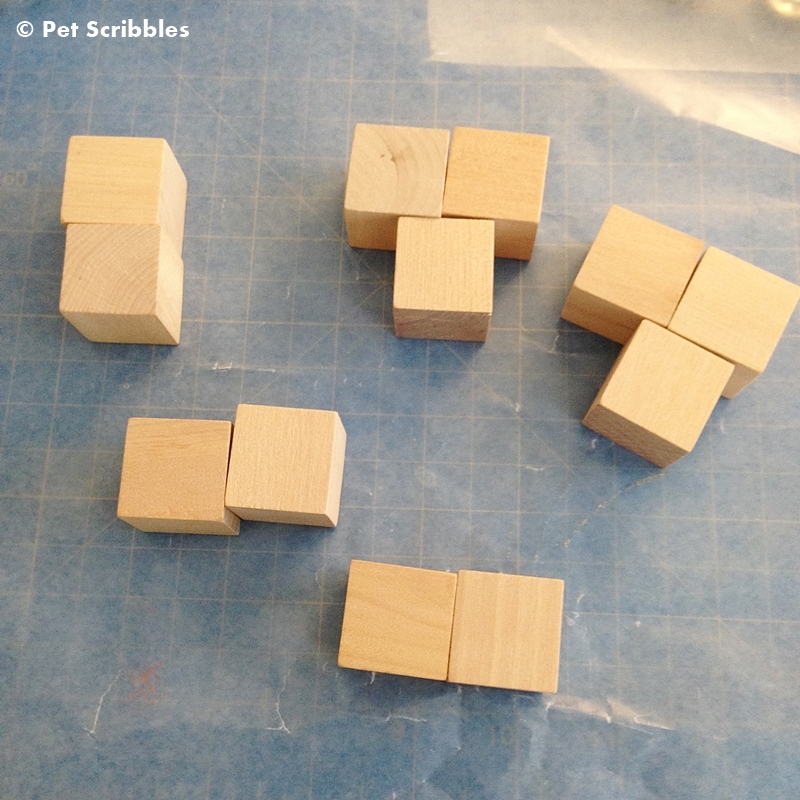
Step One: Look over the wood blocks, and sand any rough parts. 

I only had to do this for two blocks, so this is more of a preparation step.

Check your unfinished wood blocks for any rough edges and sand those down.

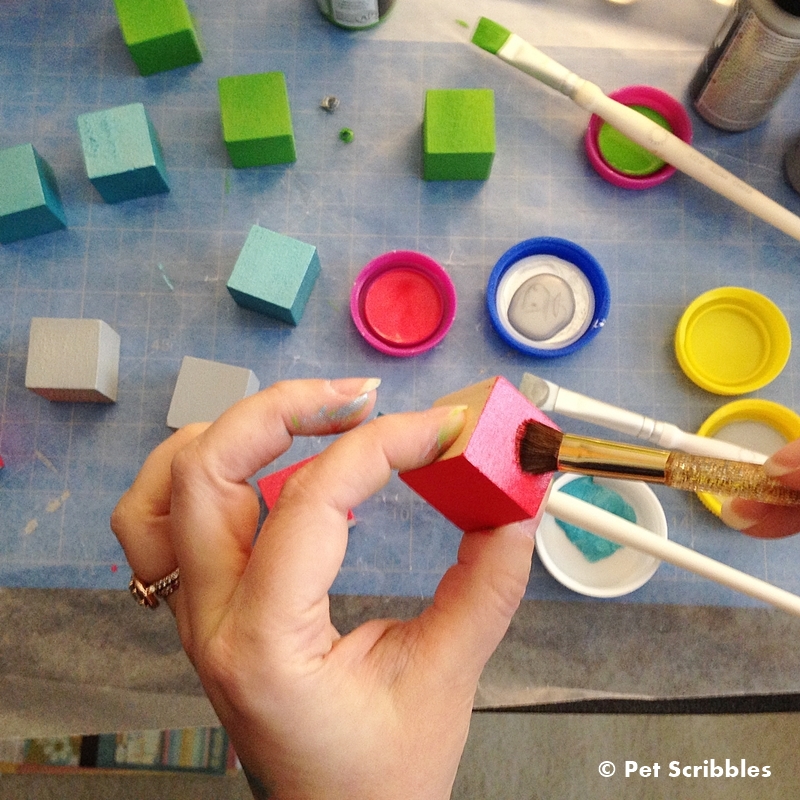
Step Two: Paint the wood blocks in colors of your choosing. Do two coats. Let dry.

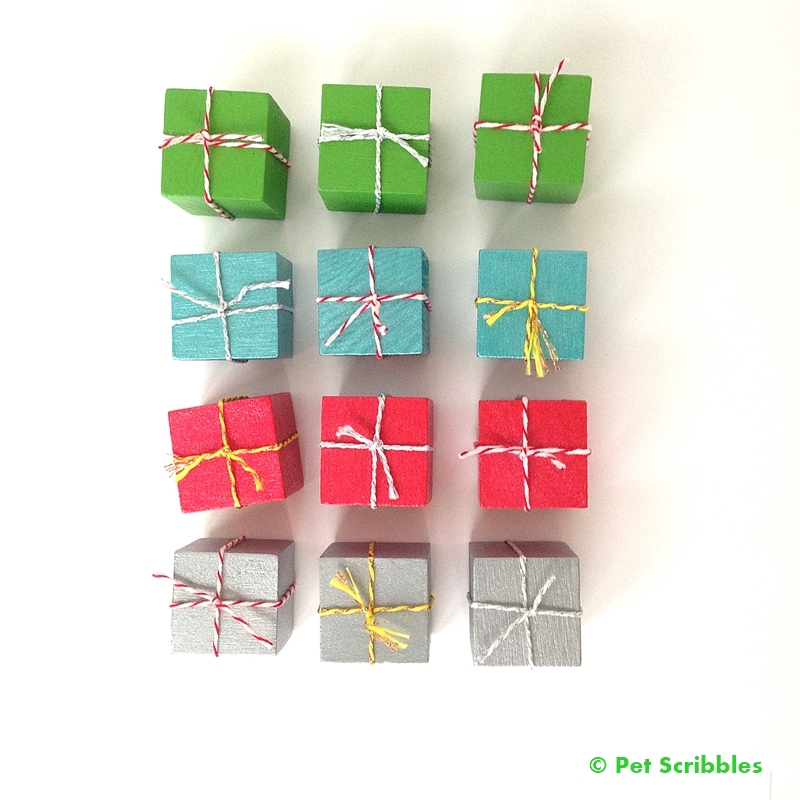
I chose bright green, metallic silver, metallic turquoise and metallic red. My paints are all from DecoArt.
(This isn’t a sponsored post, but for full disclosure I am on DecoArt’s blogging team, in part because I absolutely love how well their paints work and their variety of finishes. Each of these paints dried within minutes, making this step very quick.)
Christmas Craft: Miniature Christmas Presents DIY

A: Paint three sides in a row, then place down onto your wax paper to dry while you move onto the next block. Repeat until all blocks have three painted sides.

B: Next, repeat the entire process on the same just-painted three sides of each block.

C: Paint the remaining three sides of each block, in the same manner outlined above.

Doing it this way helps you have some unpainted sides to hold onto, and also helps you see which sides have two coats versus which sides need a second coat.

I let these blocks dry overnight, but you could easily begin the next step after a few hours.

Step Three: Tie up your “Christmas packages” with decorative baker’s twine. 

Tie up miniature Christmas presents with baker's twine!

I used a metallic gold twine, metallic silver twine, and a traditional red-and-white twine. The gold and silver twines are from American Crafts, and the red-and-white twine is from a tasty pie my Mother-in-law brought us from her local bakery on a recent visit. “I save everything. I am not a hoarder!” is what I may or may not have said to my quizzical husband. 

And that’s it! You have an assortment of pretty miniature Christmas packages!

Christmas Craft: Miniature Christmas Presents DIY

Suggested ways to display:

  • Place in your miniature fairy gardens
  • Put a few boxes among your Christmas village scenes
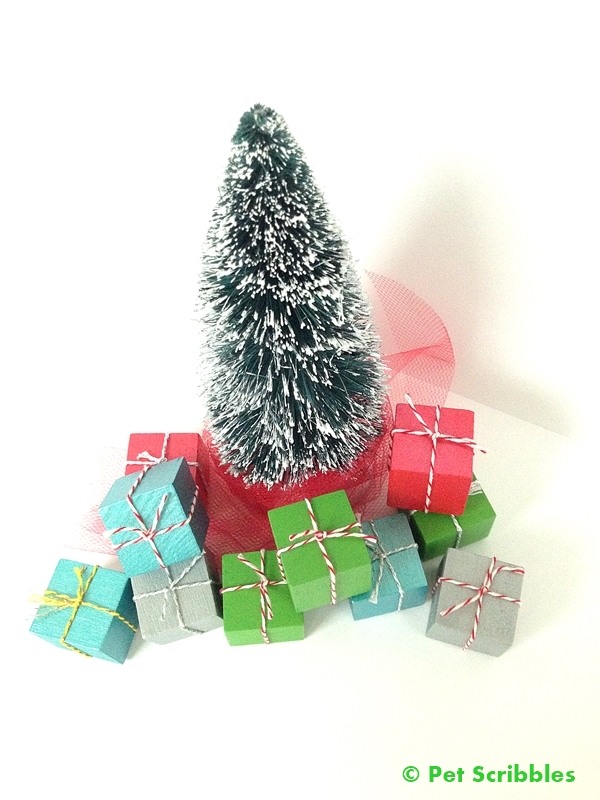
  • Stick a few around your bottle brush tree displays
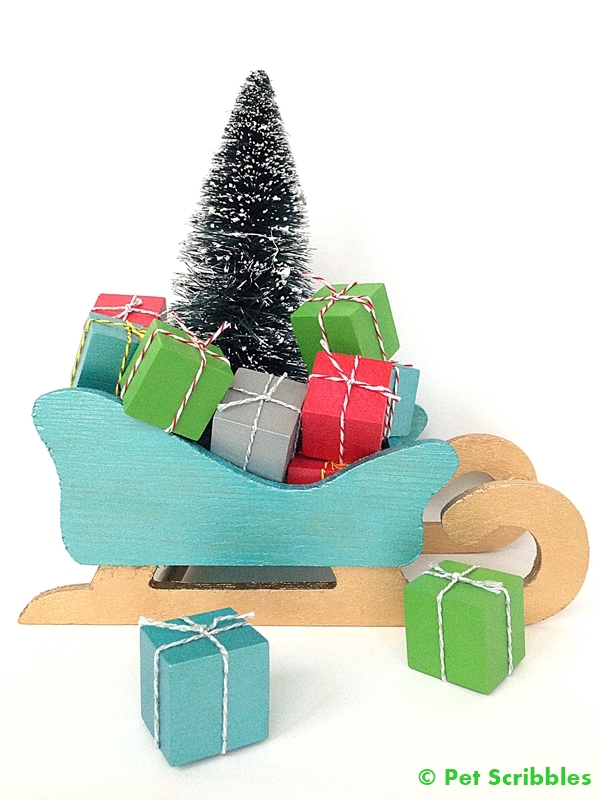
  • Top off a small decorative sleigh
  • Place on your mantel, tucked among Christmas greens
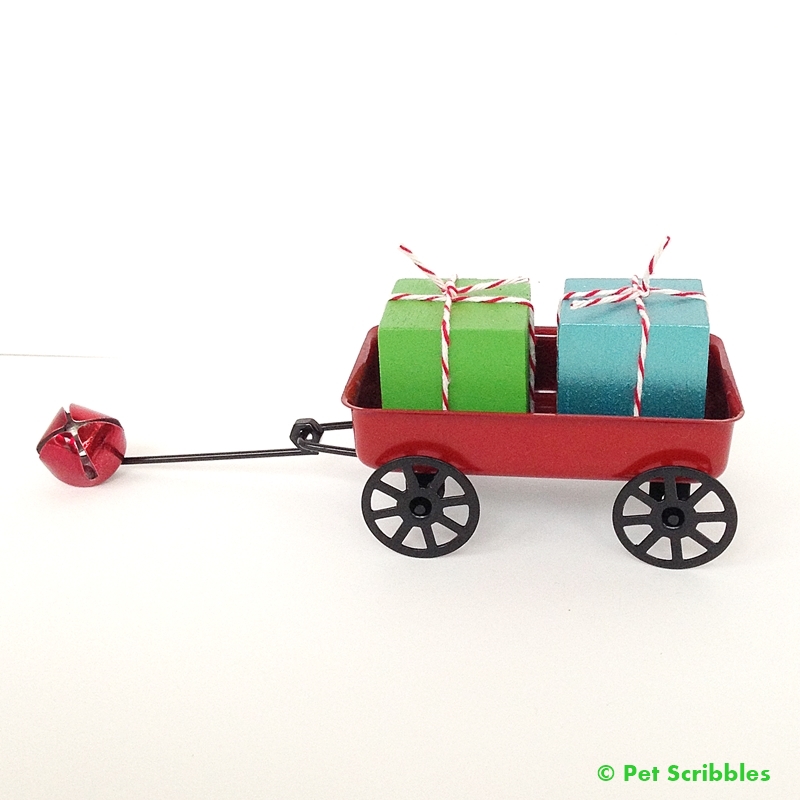
  • Stack them up in the back of a vintage toy pickup truck
  • Fill up a clear glass jar
  • Use as little placecard favors for your holiday gathering
  • Place on a windowsill
  • Attach a loop – made of the same baker’s twine – and hang on your tree

I fell in love with these miniature Christmas gifts, and ended up making another set!

Here’s a few ways that I’m displaying these this year . . .

Make Your Own Miniature Christmas Presents with this easy DIY!
DIY Miniature Christmas Presents to go with your bottle brush trees!
DIY Miniature Christmas Presents to fill up a decorative sleigh!
Happy holiday crafting!

~Laura

More from my site

  • Easy Paper Christmas Ornaments for a tree or garlandEasy Paper Christmas Ornaments for a tree or garland
  • DIY Sparkling Stamped Snowflake BannerDIY Sparkling Stamped Snowflake Banner
  • Cotton Ball and Jingle Bell Christmas TreeCotton Ball and Jingle Bell Christmas Tree
  • How to make a beautiful bottle brush tree ornament!How to make a beautiful bottle brush tree ornament!
  • Glitter Cardboard Star Ornaments for ChristmasGlitter Cardboard Star Ornaments for Christmas
  • Rustic Bottle Brush Trees on SpoolRustic Bottle Brush Trees on Spool
Pin
Share
Tweet
31Shares

Comments

  1. Petticoat Junktion says

    December 10, 2013 at 2:25 pm

    Laura, these are so darn cute!! I love how they look around the mini Christmas tree. How did you get your photos to look like that…with just the white background?? too cool

    • Laura Kuhlmann says

      December 10, 2013 at 2:36 pm

      Thanks Kathy! 🙂 I use a really primitive (pun intended) backdrop setup to take my photos: a white foam board I picked up from the craft store and white copy paper as the “floor” that the projects sit on. Mother Nature provides the awesome natural light in our breakfast room where I take my project shots! 🙂

  2. Tammy Killoough says

    December 10, 2013 at 3:24 pm

    Oh MY Laura…SHUT UP! I love miniatures…these are too cute! You never fail to have a creative and awesome project! Have an amazing week! ~Tammy

    • Laura Kuhlmann says

      December 10, 2013 at 9:27 pm

      LOL I almost spit out my tea from laughing, Tammy! 🙂 Thanks and hope you’re week is amazing as well!

  3. Kristin @ Yellow Bliss Road says

    December 10, 2013 at 3:28 pm

    These are so adorable, Laura! My girls and I are going to make these for their American girl dolls! Which home improvement store had the blocks?

    Take care,

    Trish

    • Laura Kuhlmann says

      December 10, 2013 at 9:31 pm

      What a fantastic idea, Kristin! Love, love, love it! I found the blocks at Lowe’s — our store has an incredible “Specialty Hard to Find” section in the Hardware aisle – lots of drawers filled with bits and bobs of all types! (Hoping all Lowe’s stores have this!) Can’t wait to see what you and your girls create!

  4. [email protected] says

    December 10, 2013 at 5:02 pm

    These are so cute and I can think of many ways that I could use them around my house for decorating. I will have to save wood scraps to make a few for next year.

    • Laura Kuhlmann says

      December 10, 2013 at 9:34 pm

      Ooooh, I bet you will come up with awesome ways to use these, Paula! Can’t wait to see, as I love your projects!

  5. Leslie Stewart says

    December 11, 2013 at 12:36 am

    These are so cute!! I love how you’ve used them in your displays too! Thanks for sharing at the Twirl & Take a Bow party and it’s been a pleasure to be a part of this Craft showcase with you!
    Leslie
    House on the Way

    • Laura Kuhlmann says

      December 12, 2013 at 4:09 am

      Thanks Leslie! Love your weekly link party, and the Craft showcase has been so much fun!

  6. Jen @ Girl in the Garage says

    December 11, 2013 at 12:48 am

    These are such cute little presents… I could see using them in so many different ways! Thanks for sharing Laura!

    • Laura Kuhlmann says

      December 12, 2013 at 4:09 am

      You’re welcome, Jen! And thanks! 🙂

  7. SheilaG @ Plum Doodles says

    December 11, 2013 at 3:03 am

    Your little presents are adorable, such a cute idea. I wrapped some blocks in Christmas wrap, but I’m such a terrible wrapper, I had to turn the blocks to hide the gaps- this would have been so much better!!!

    • Laura Kuhlmann says

      December 12, 2013 at 4:10 am

      I bet your Christmas-wrapped blocks are adorable, Sheila! But yes, keeping the painted blocks plain is very easy! 🙂

  8. Amy* says

    December 11, 2013 at 6:45 pm

    Sooo Cute! I need to get some of these cuz that darned Elf on the Shelf is coming back today and I need something for him to do 🙂

    Amy*

    • Laura Kuhlmann says

      December 12, 2013 at 4:11 am

      That’s another fantastic idea Amy: have that crafty Elf hold a present that will become “full size” on Christmas Day! 🙂

  9. Marty Walden says

    December 12, 2013 at 4:28 am

    These are so adorable, Laura! Thank you so much for sharing it in our Craft Showcase!

    • Laura Kuhlmann says

      December 12, 2013 at 6:26 pm

      Thanks Marty! I have enjoyed everyone’s craft projects so much – this Craft Showcase has been amazing!

  10. Samantha Conner says

    December 12, 2013 at 1:39 pm

    Super cute idea! My girls would LOVE this– going to have to try it this weekend. Happy to be on the Craft Tour with you.
    🙂 Samantha

    • Laura Kuhlmann says

      December 12, 2013 at 6:27 pm

      Thanks Samantha – definitely let me know how yours turn out! There’s so many neat ideas to customize them, I bet your daughters will create some fun little gifts!

  11. Laura Strack says

    December 12, 2013 at 4:26 pm

    Love these tiny little gift boxes. Your idea of putting them in a Fairy Garden. I have a Fairy Garden and these are going to be perfect touch! Thanks, Laura!

    • Laura Kuhlmann says

      December 12, 2013 at 6:28 pm

      Ooooh…. Laura, I’m so jealous! Making a fairy garden has been on my list for quite some time now, and I bet these miniature presents will look darling in yours! 🙂

  12. malia says

    December 14, 2013 at 1:27 pm

    This combines all my favorite things: little tiny items, Christmas, bright colors and cuteness! Love this Laura!

    • Laura Kuhlmann says

      December 16, 2013 at 1:22 am

      Thanks Malia! I guess I love your favorite things too! 🙂

  13. A Few Miner Adjustments says

    December 15, 2013 at 2:57 am

    How cute are those! I wish I had thought of that! Thanks for linking up to Twirl and Take a Bow! Hope to see you again next week!

    • Laura Kuhlmann says

      December 16, 2013 at 1:24 am

      Thanks Trina! I’ll definitely be back – I enjoy your party very much!

  14. pat k says

    December 8, 2014 at 8:45 pm

    These packages are adorable, thanks for the great giveaway!

Trackbacks

  1. Christmastime with Kids: crafting plus a giveaway! says:
    December 2, 2014 at 11:27 am

    […] sharing my popular craft from last year: Miniature Christmas Presents made out of 1-inch wood blocks, which you can find at most craft or home improvement […]

Pet Scribbles is where I share my craft tutorials, home and garden projects, and occasional stories about my cats. I can never have enough pretty craft paints to work with, and I love to make things look time-worn with distressing and aging. Gardening is my therapy!

  • Email
  • Facebook
  • Instagram
  • Pinterest
  • RSS
  • Twitter
  • YouTube

Subscribe to our Newsletter

Pet Scribbles is a participant in the Amazon Services LLC Associates Program, an affiliate advertising program designed to provide a means for sites to earn advertising fees by advertising and linking to Amazon.com. As an Amazon Associate, I earn from qualifying purchases.

Archives

Looking for Something?

Categories

COPYRIGHT © PET SCRIBBLES LLC • PRIVACY POLICY