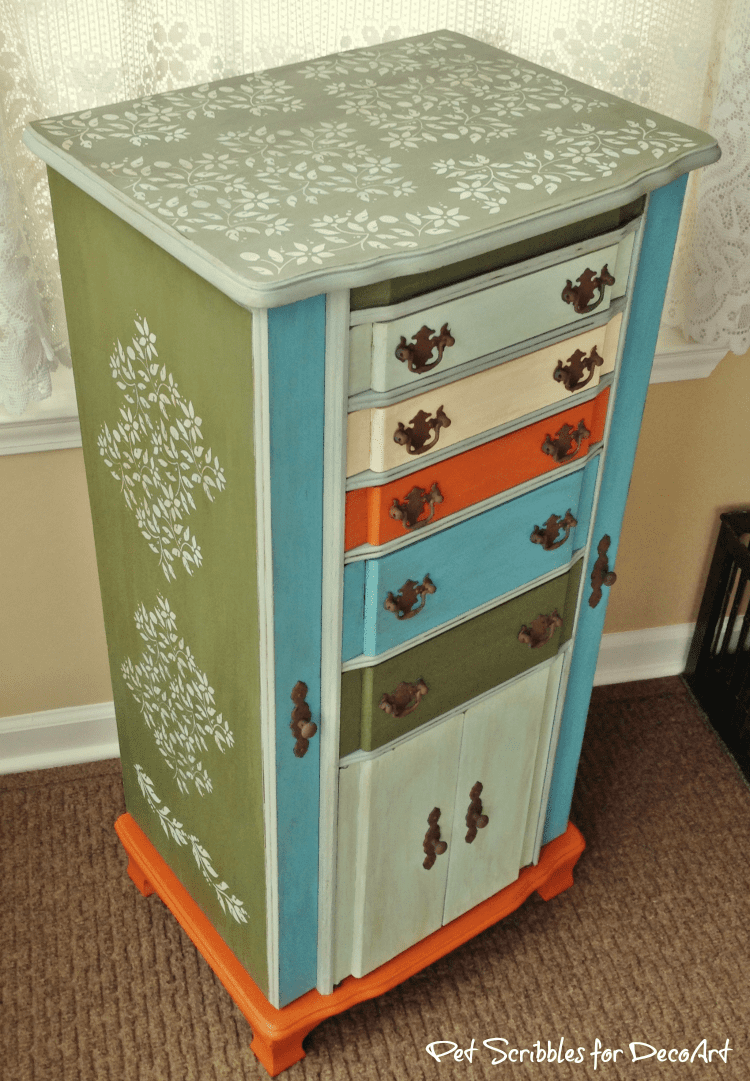
I’m excited to share my vintage jewelry armoire makeover with paint and stencils! I’ve always admired large jewelry cabinets, but not their expensive prices. Never fear, a vintage furniture makeover is here!
Special thanks to DecoArt for sponsoring this furniture makeover and tutorial!
Here’s the original vintage cabinet — below — in all of its oak wood glory!
I wanted to paint each drawer a different color, and since this piece of furniture has side cabinets I had even more options of choosing which colors to paint where!
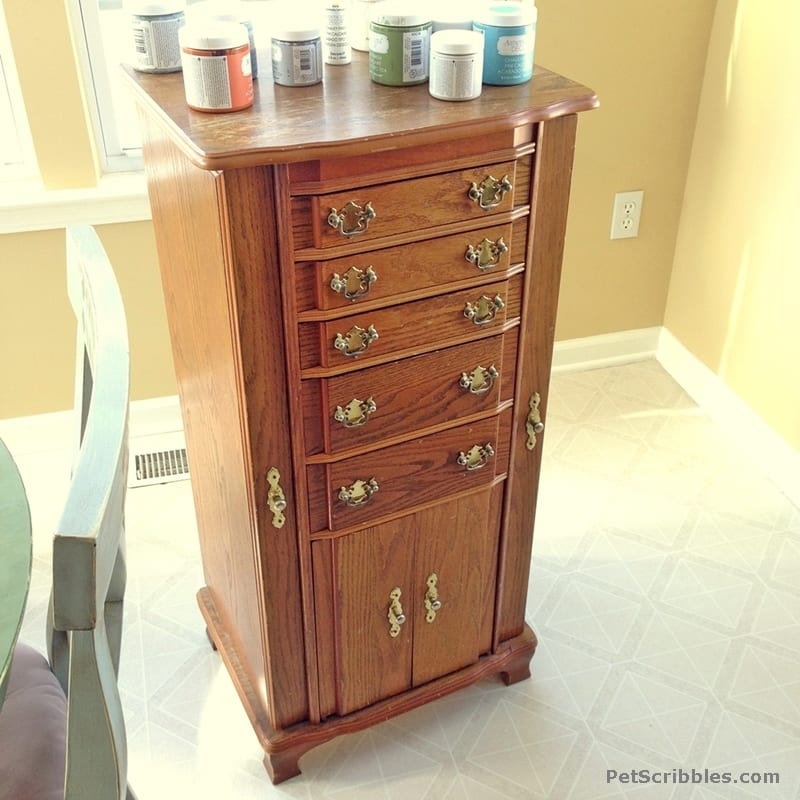
As you can see above, I had several chalky finish paint colors out, trying to see which ones I wanted to use.
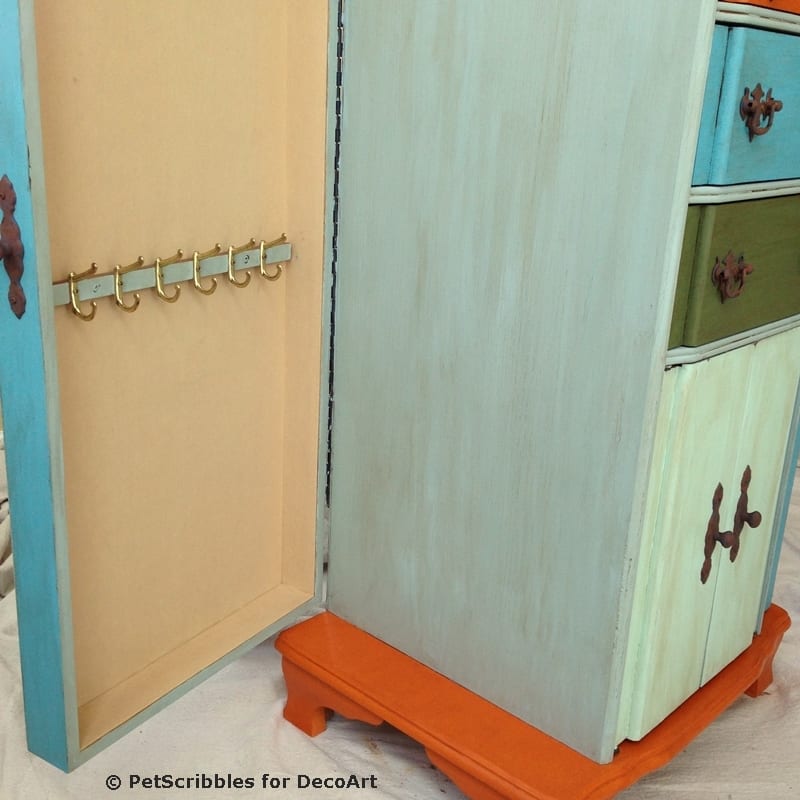
I used my favorite Vintage chalky finish color for the trim, inside cabinet walls, inside front cabinet doors, as well as the inside strip where the jewelry hooks are. The Vintage shade is such a pretty blue with a hint of gray and maybe a teeny tiny bit of green to it. It’s such a gorgeous hue!
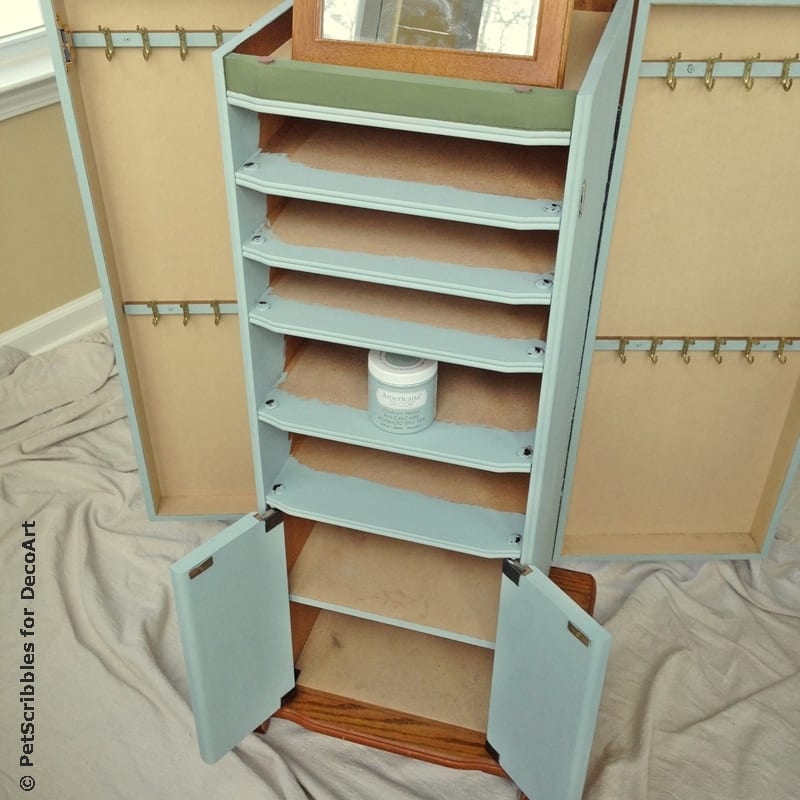
You can see in the image above that the velvet lining — which also lines the individual drawers — was in need of some cleaning love. I’m happy to report that I used basic clear packaging tape to easily lift up the dirt and any other loose things from the velvet. It looks much better now!
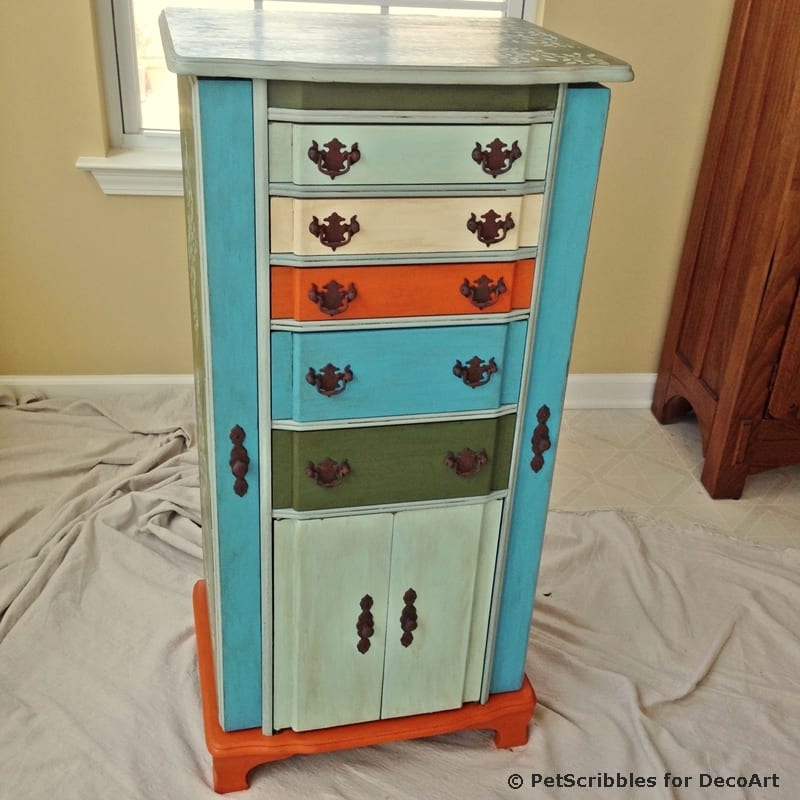
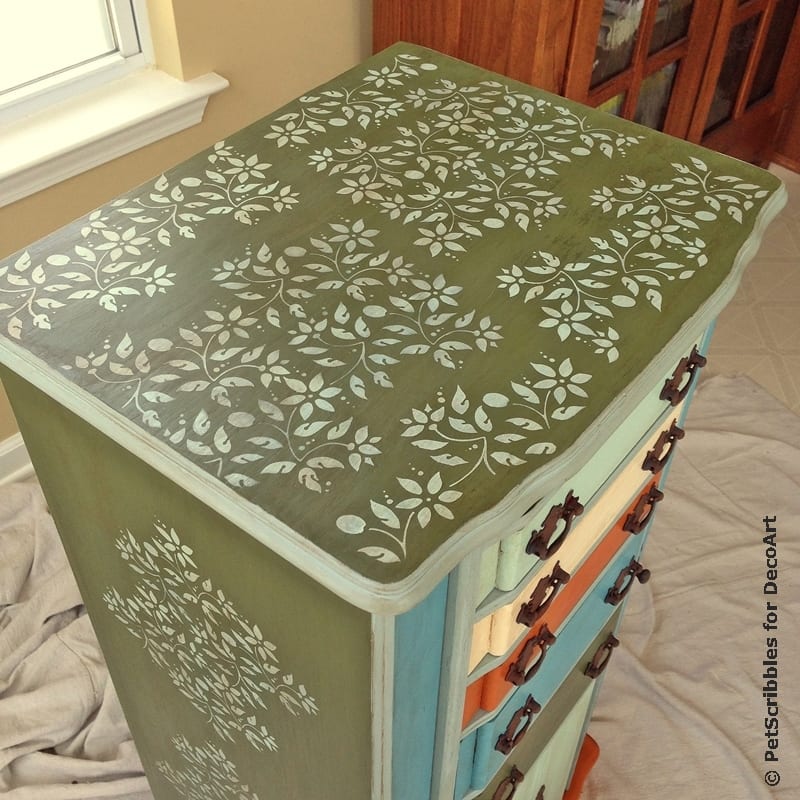
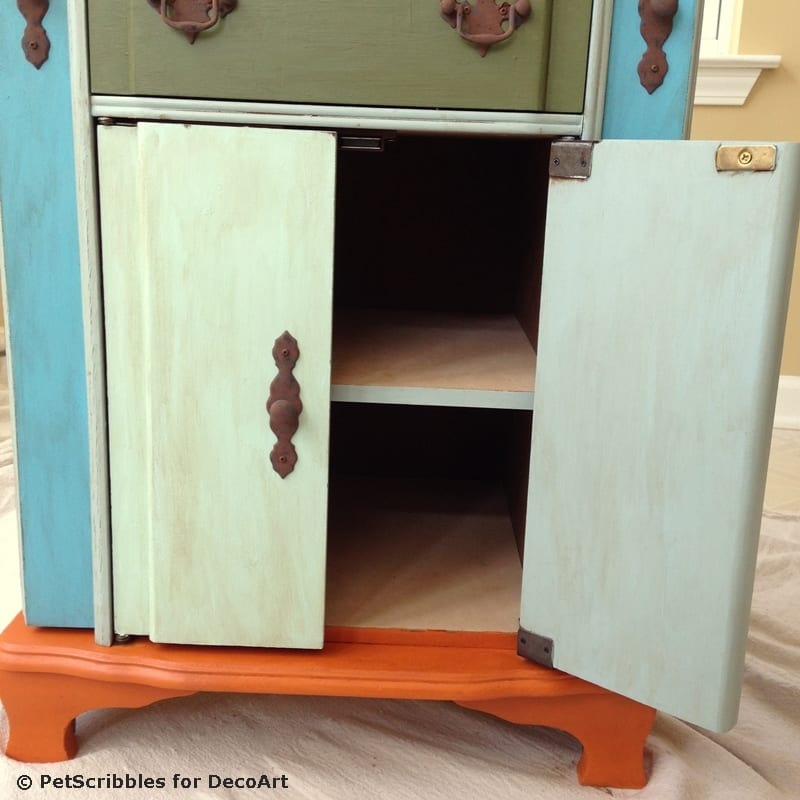
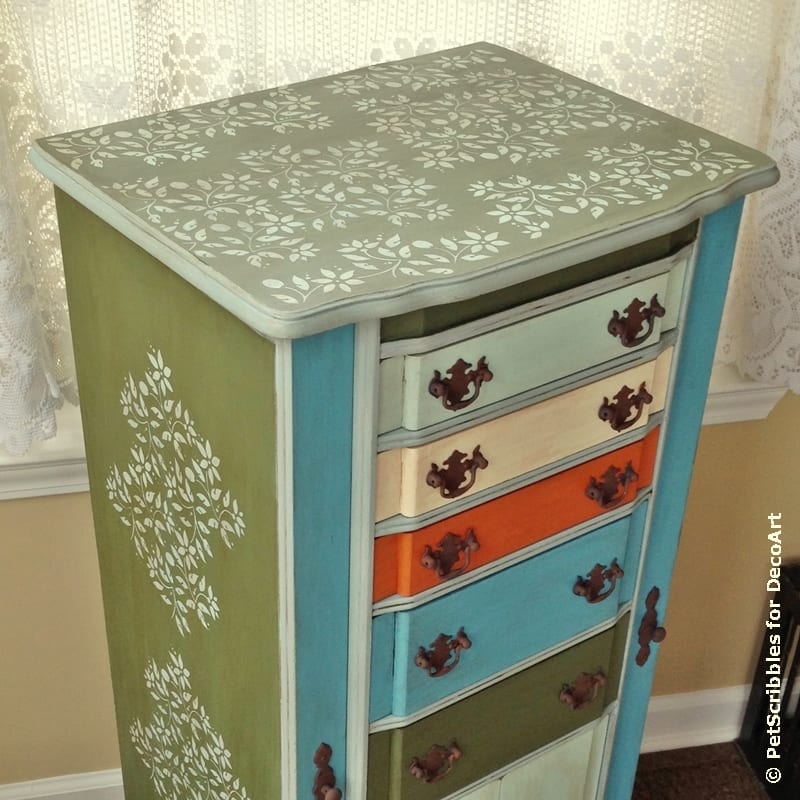
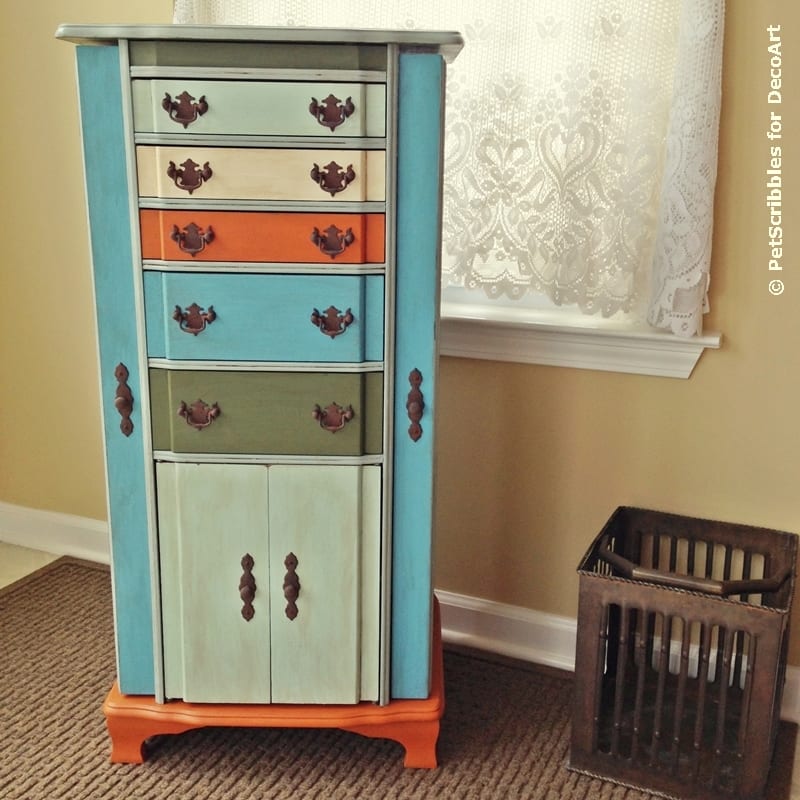
For the outside cabinets, as well as the top, inside lid and the back of the cabinet, I used Enchanted, a lush green shade. The drawers were painted in Refreshing (mint), Heritage (orange), Whisper (ivory), and Escape (turquoise-ish).
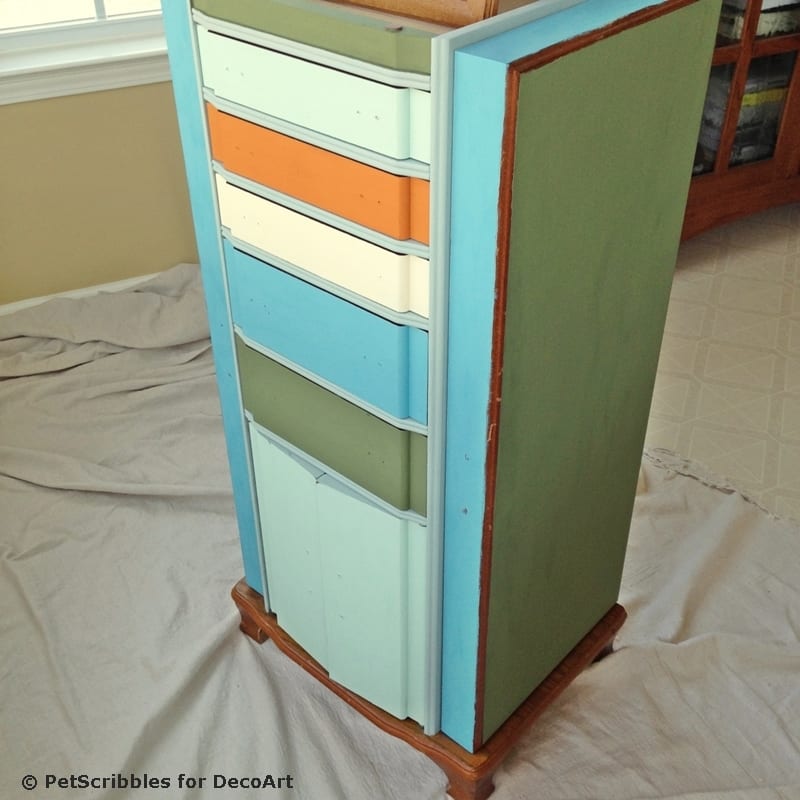
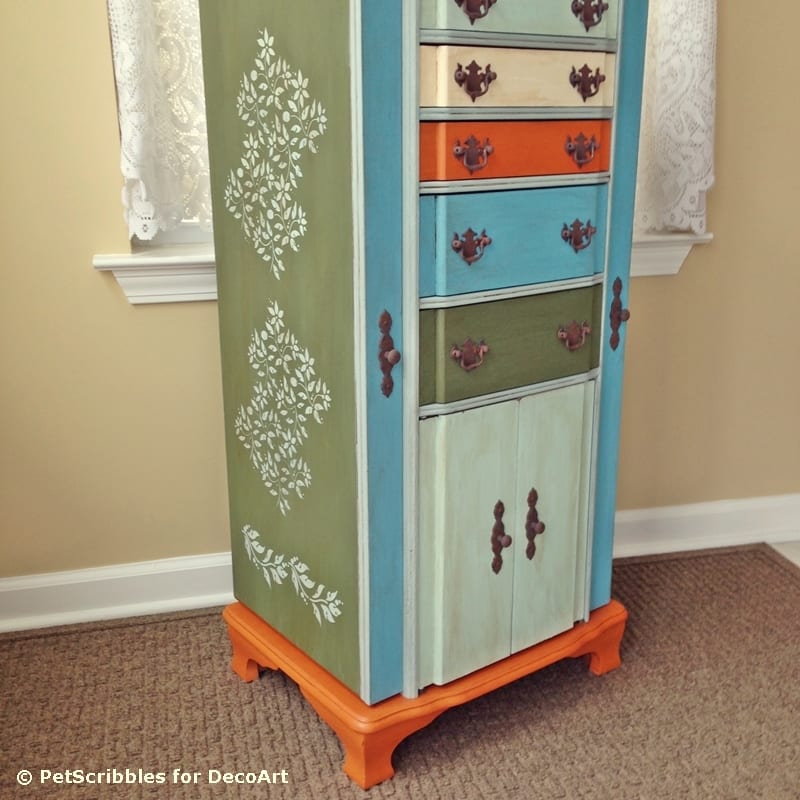
I also used Escape on the wide edges of the side cabinet doors. In this image above, I still needed to add Vintage to the cabinet door trim, and Heritage to the bottom and feet.
After the painting came the stenciling!
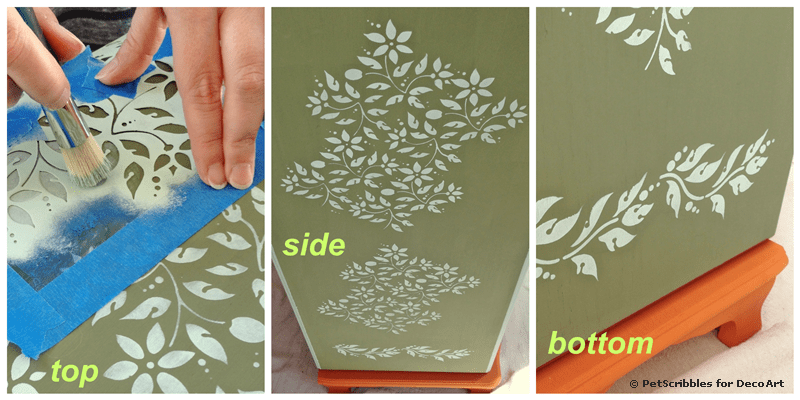
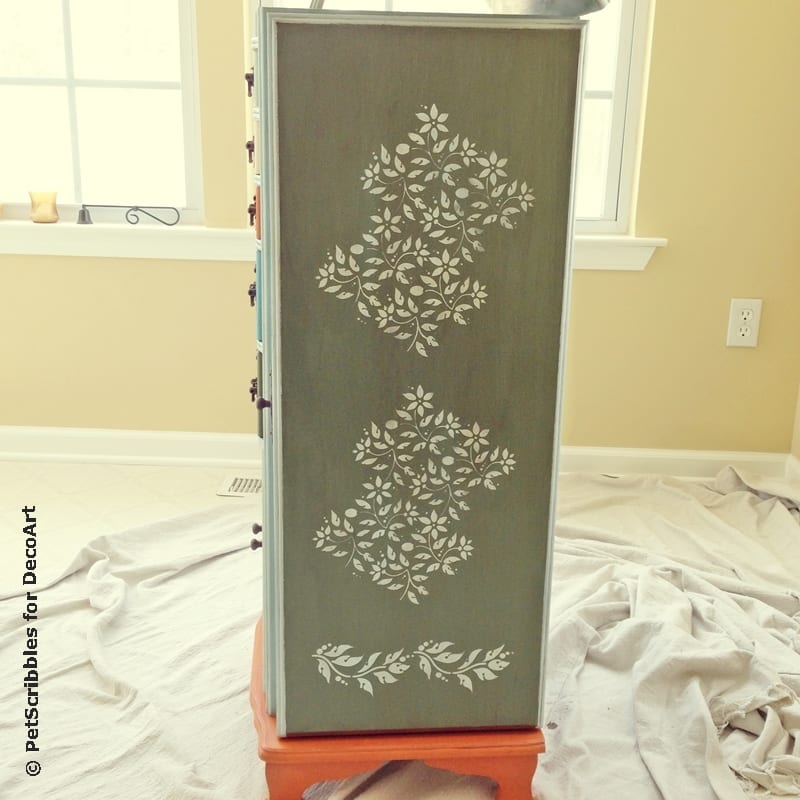
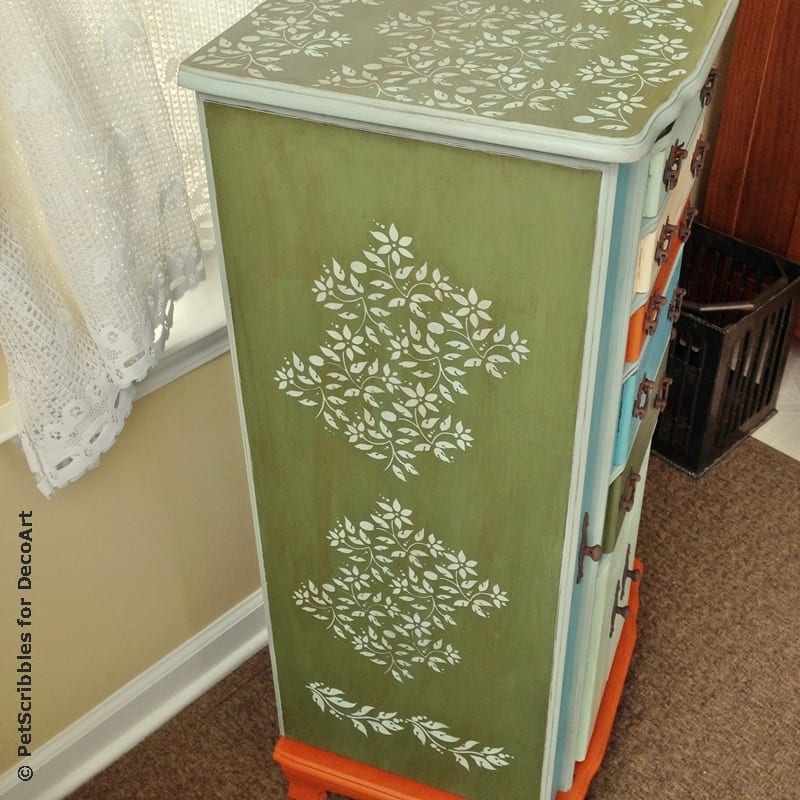
I stenciled a floral pattern all over the top of the cabinet (left), and then repeated the pattern down each side cabinet door (middle). I took a similar stencil which almost looks like an exact match and added it to the bottom of each side cabinet door (right).
To protect the paint finish, I gave everything a coat of clear wax (A).
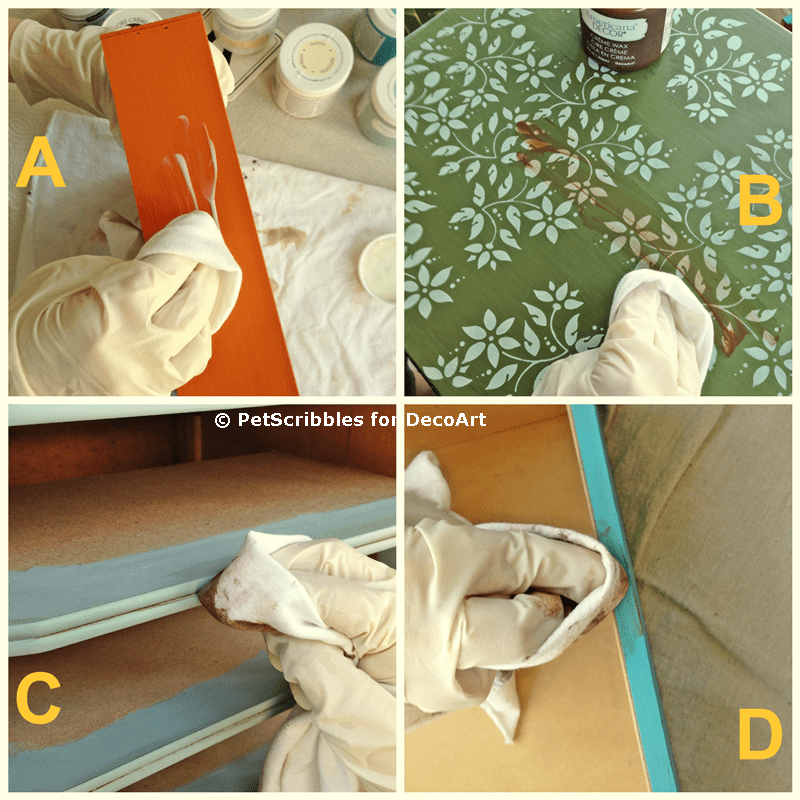
Once the clear wax was dry, I wiped on (and wiped off) some brown wax on all painted surfaces including the lid (B), the trim and drawer edges (C), and the inside and outside of the painted cabinets (D).
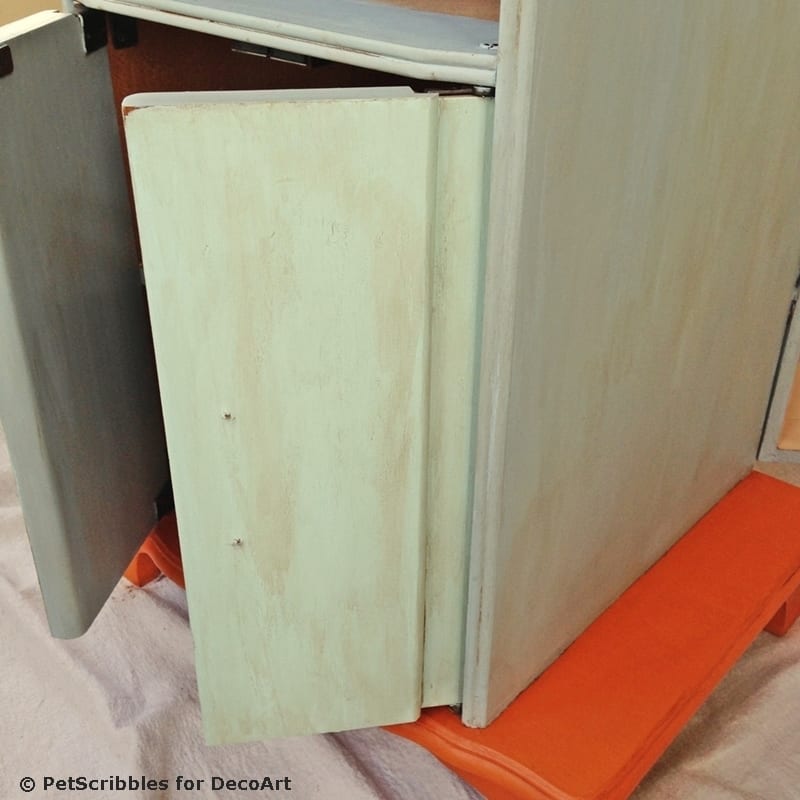
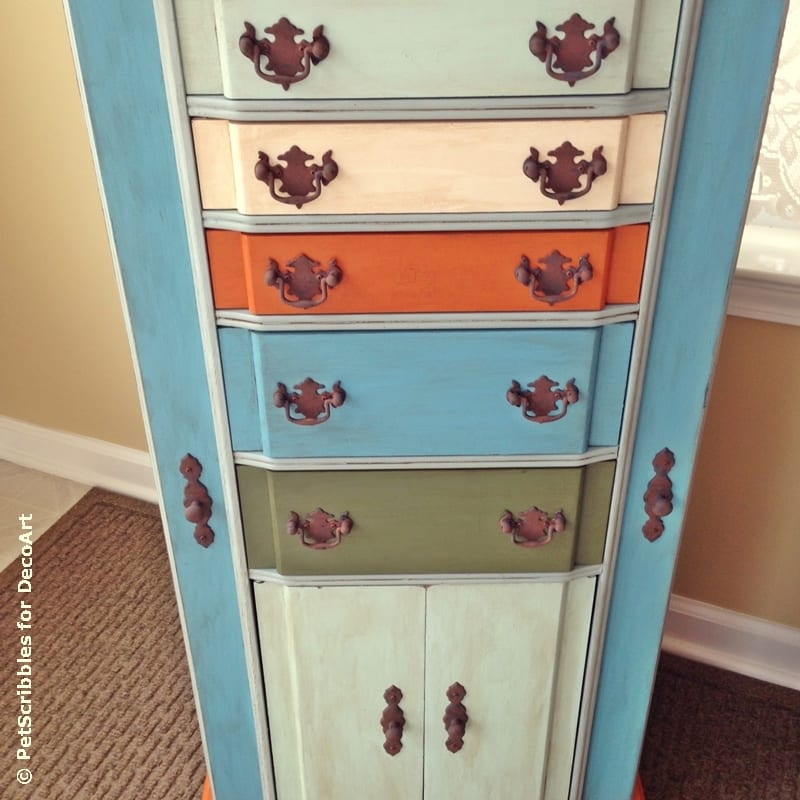
The image above shows the difference between the Vintage (blue) and the Refreshing (mint) chalky finish paint colors. These pastel colors helped to balance out the brightness of the orange and turquoise colors.
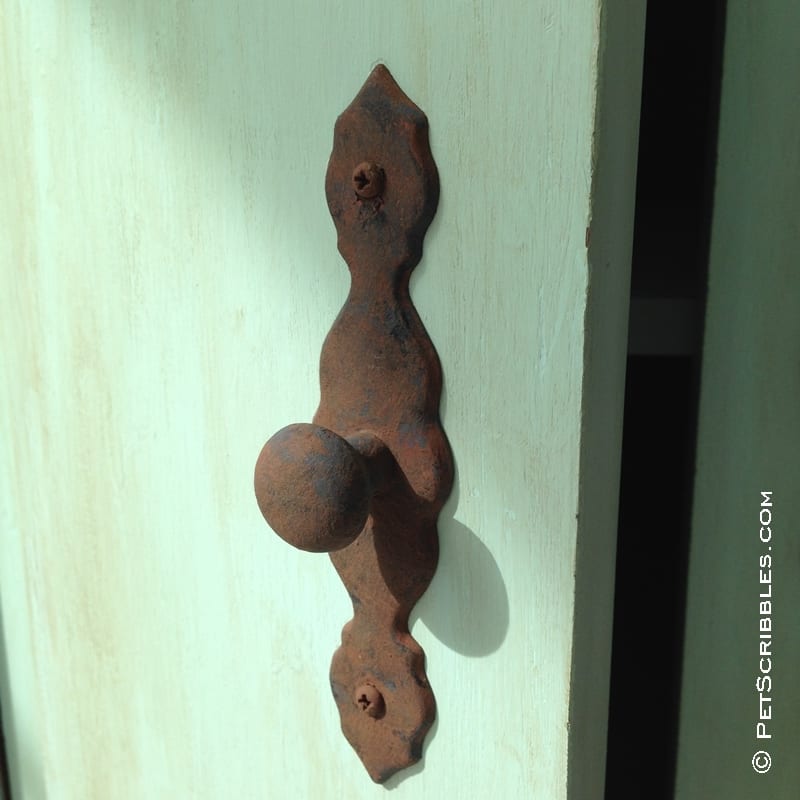
I gave the brass hardware a distressed-looking faux rust finish — all with chalky finish paints. I love how real the faux rust looks!
I shared my faux rust tutorial back in May, so please click here if you missed it:
How to Paint Brass Hardware to Look Like Rust
Once everything was dry, I attached the hardware back onto the cabinet.
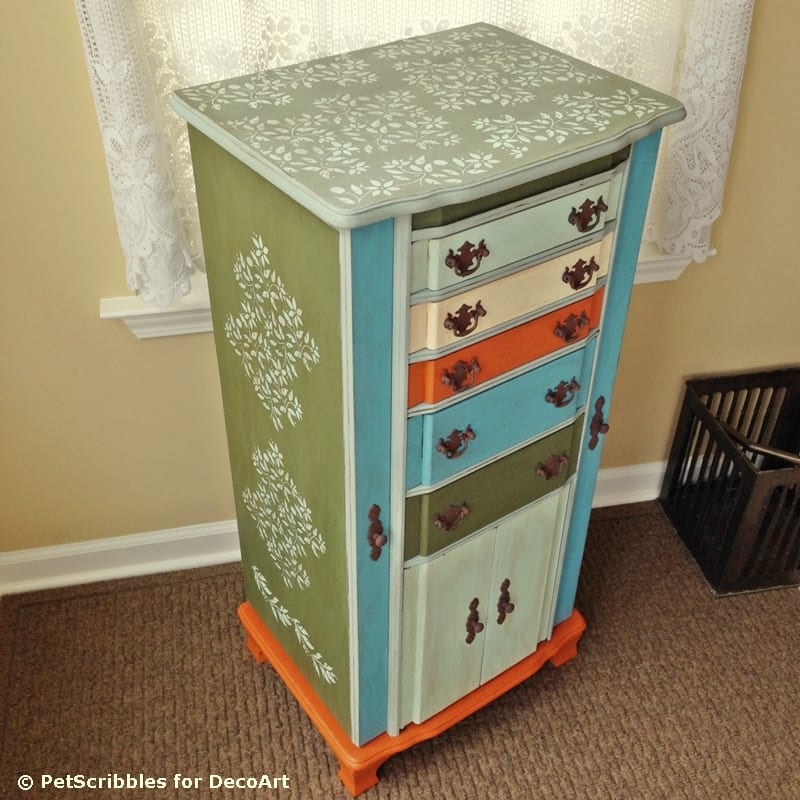
All done!
The top stenciled . . .
The side cabinet stenciled . . .
The top lid propped open with the inside mirror, painted in Refreshing . . .
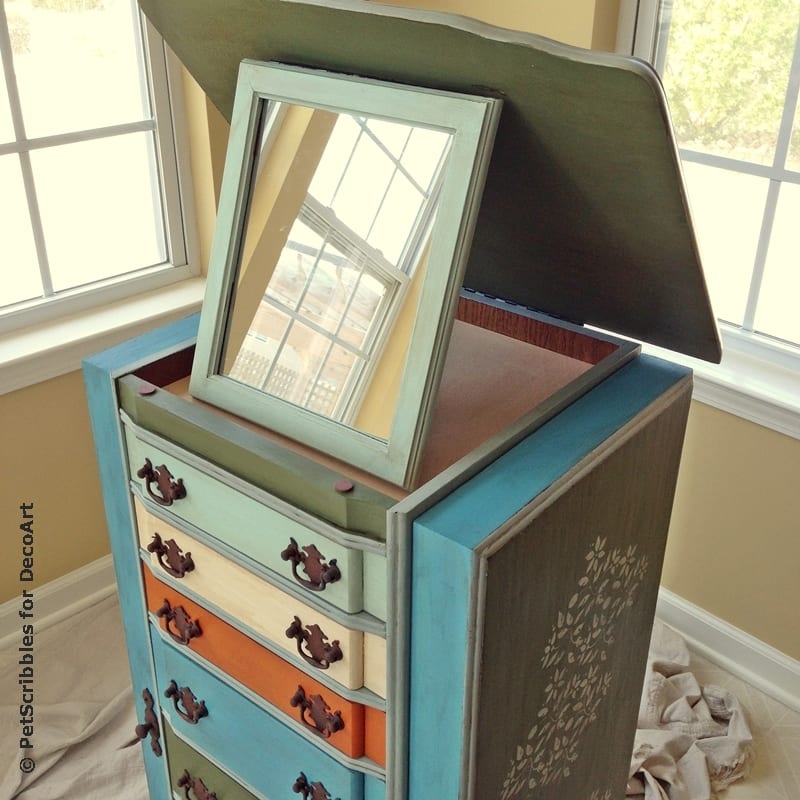
Side cabinet door open . . .
Lower front cabinets . . .
Using the brown wax to distress all of the painted surfaces was a great way to tie the different colors together with “the same” brown tint here and there.
I can’t believe the difference paint makes!
Well actually I can, but I’m always pleasantly surprised!
The pop of orange (Heritage) on a small drawer and on the bottom makes it fun — almost gives the jewelry armoire a bohemian vibe!
The ivory color (Whisper) only appears on one small drawer.
You can read and see my complete tutorial — including all the supplies I used plus step-by-step pictures — over on DecoArt’s website!
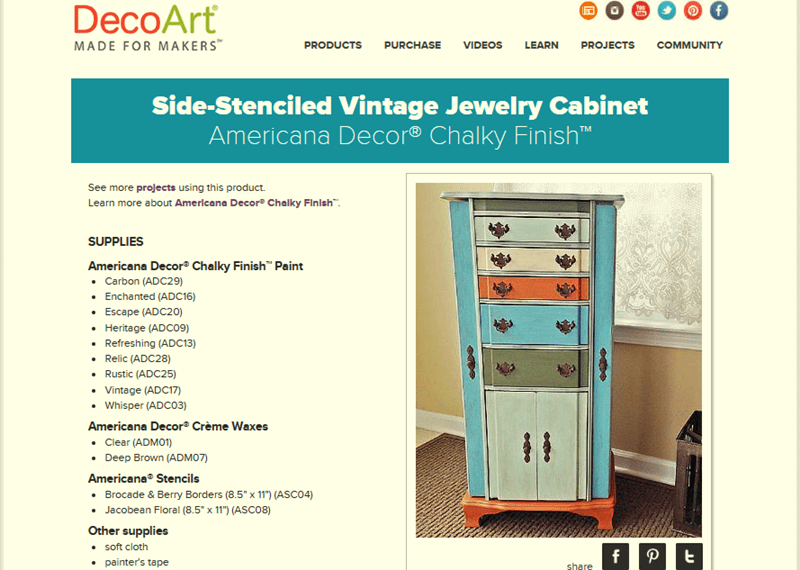
Either click on the image above — or — click on the link below!
Side-Stenciled Vintage Jewelry Armoire
By the way — this armoire weighs a ton! I’m exaggerating, but let’s just say that hauling it upstairs and into our bedroom was not something my husband wants to repeat again. Ever.
(But you and I know there will be a next time with some other piece of vintage furniture that I find! I think he knows it too!)
Happy crafting!
~Laura
Laura this is absolutely gorgeous! You transformed the armoire into a work of art!
Thanks Malia — for the compliment and your support!
Your after is absolutely gorgeous, Laura! I love everything about it, the colors, the stencils…everything! You took something ho hum and made it a work of art.
Thank you so much Mary Beth! I really appreciate it!
Such an awesome makeover! Love the colors you used.
Thanks Lindsay! I wanted it to be bright yet subdued, and I think the brown wax definitely helps with unifying the colors. 🙂
You transformed this piece into something fresh and new. Great job, Laura!
Thank you Meegan! I do love it!
So pretty – I love your color choices!
Thanks Amy! I tried to come up with something that will withstand any future color changes in our master bedroom! (Unless I paint the bedroom purple! LOL)
where do you find the amoire, I have been looking and they are expensive
Good question Georgia! I found this at a large antique/vintage store south of where we live. I wasn’t specifically looking for it, but when I saw it — I pounced! 🙂 This piece cost me less than $50 and was in surprisingly good shape, so I was willing to spend the money. On the flip side — I’m still kicking myself for not buying an antique sewing table I saw three years ago for a steal. To this day I have yet to see as good of a price as I did back then. Sigh…
What an amazing transformation! Love this so much (and great colors!)
Thank you so much Linda! It is quite a change from all of that oak wood — just wish that it still wasn’t as heavy! LOL
Such a beautiful piece. Great job!
xo Jess
Why thank you Jess! I really appreciate it!
This turned out fantastic! I love the colors and stencil you chose. What an wonderful piece.
Thanks so much Leanne! I’m so glad you like it!
Beautiful – love the pattern you chose!
I love the end result, it looks fabulous! The stencils are so cool, I’m gonna have to find something like this for my next projects. Love the post!
Thanks so much Marie! I always shy away from stencils at first – mainly thinking I might screw them up. Then once I do them, I realize they are pretty straight-forward and easy to do. Stay in touch so I can see what you paint!