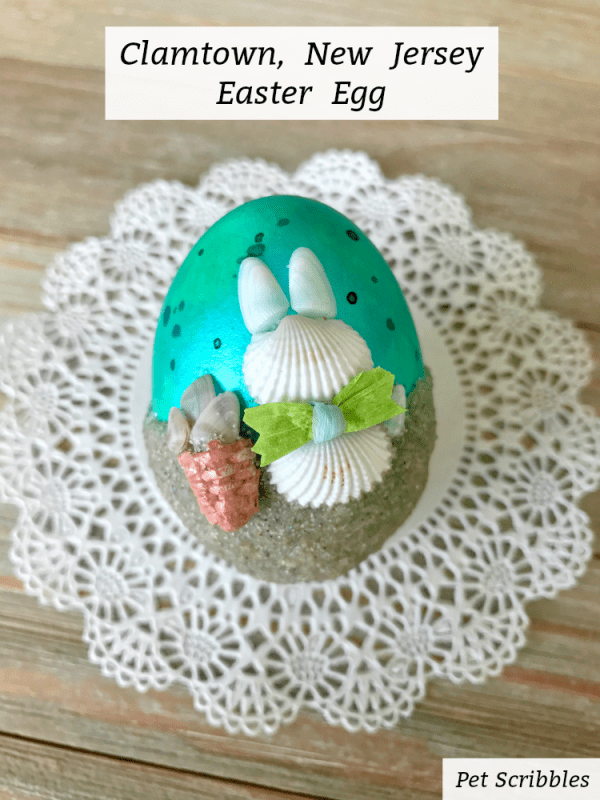
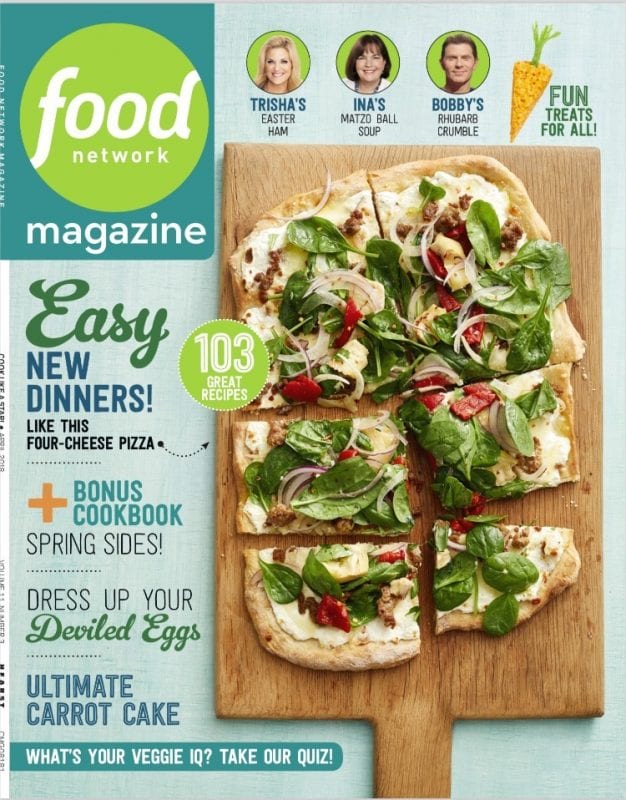
My Clamtown, New Jersey Easter Egg is in Food Network Magazine! I’m one of 50 crafters who decorated eggs representing all 50 states in America! Here’s how I created my Clamtown, New Jersey Easter Egg!
Yes, it’s true: the gal who doesn’t cook is in the April 2018 issue of Food Network Magazine!
(And yes, I realize how lucky I am that my husband loves to cook!)
How did this happen? 🙂
Food Network Magazine and Me?
Last December, I was contacted by Food Network Magazine as they were working on a story for their April 2018 issue, where a crafter from each of the 50 states would decorate an egg in such a way that represents something special about that state.
After bouncing some ideas back and forth with the magazine’s senior editor, we settled on an egg that would have a New Jersey beach theme.
I live in Little Egg Harbor, New Jersey. Little Egg Harbor surrounds the town of Tuckerton. One of the early names of Tuckerton — back in the 1700s — was Clamtown, as back then it was a thriving seaport. (And yes, you can enjoy some really tasty clams in this area!)
I challenged myself to come up with a decorated Easter egg that would be a tribute to Clamtown, New Jersey!
Food Network sent me a fake ceramic egg — called an “eggnot” — and I was decorating this Easter egg in December while most people were still crafting for Christmas!
What are eggnots?
Until now, I had thought my egg decorating choices were: real eggs, plastic eggs, Styrofoam eggs, paper maché eggs or wooden eggs.
Wow — was I surprised to learn about eggnots — a ceramic egg that looks and feels just like a real egg!
Here’s the sample egg sent to me by Food Network Magazine:
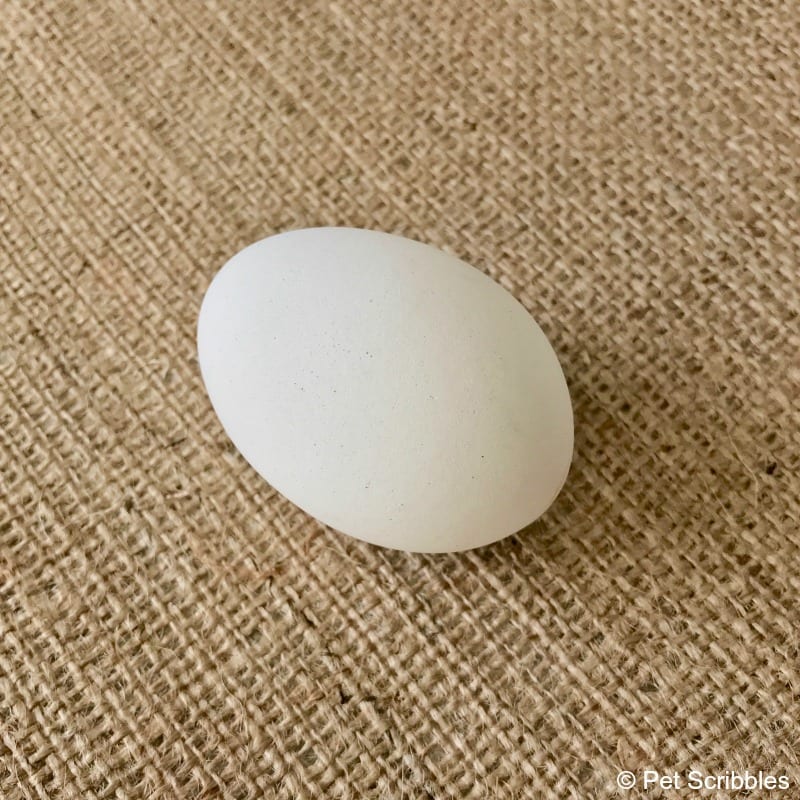
It looks so real, that my first reaction was imagining a bunch of these ceramic eggs displayed as is — undecorated — in a pretty chicken wire basket as instant farmhouse decor.
What’s so impressive is the feel of the eggnot — the weight is uncannily like a real egg. I love that feature!
Here’s more info from the eggnots website:
- eggnots are the first allergy-free, dyeable Easter egg alternative!
- Made of high-quality ceramic, eggnots look and feel just like a real egg, but they’re vegan-friendly and 100% safe for those with egg allergies.
- eggnots are a convenient Easter egg alternative – this year, skip the hassle of refrigerating, boiling, and disposing of real eggs. eggnots are non-perishable and eco-friendly!
- eggnots, look and feel like real Easter “eggs”.
- Perfect for crafters as well.
- Made in the U.S.A.
FTC Disclaimer: I received an eggnots egg from the Food Network to decorate for their magazine and website. This Clamtown, New Jersey Easter Egg, however, is 100% my own project! Some of the links in this post are affiliate links. I explain more here.
Clamtown, New Jersey Easter Egg
Supplies:
- Eggnots egg
- FolkArt Color Shift Paint in Aqua Flash — Plaid Crafts
- FolkArt Pickling Wash in Coral Beauty — Plaid Crafts
- Martha Stewart Multi-Surface Paint in Lake Fog — Plaid Crafts
- Mod Podge, Sparkle Finish — Plaid Crafts
- Tattered Angels Glimmer Mist in Snowy Pine — Canvas Corp Brands
- Small paintbrush
- Toothpicks
- Scissors
- Wax paper
- E6000 Adhesive
- Tiny miniature basket — Darice Crafts
- Raffia ribbon in spring green and pale blue
- Miniature clamshells or seashells
- Sand — from the beach or craft store
Tutorial:
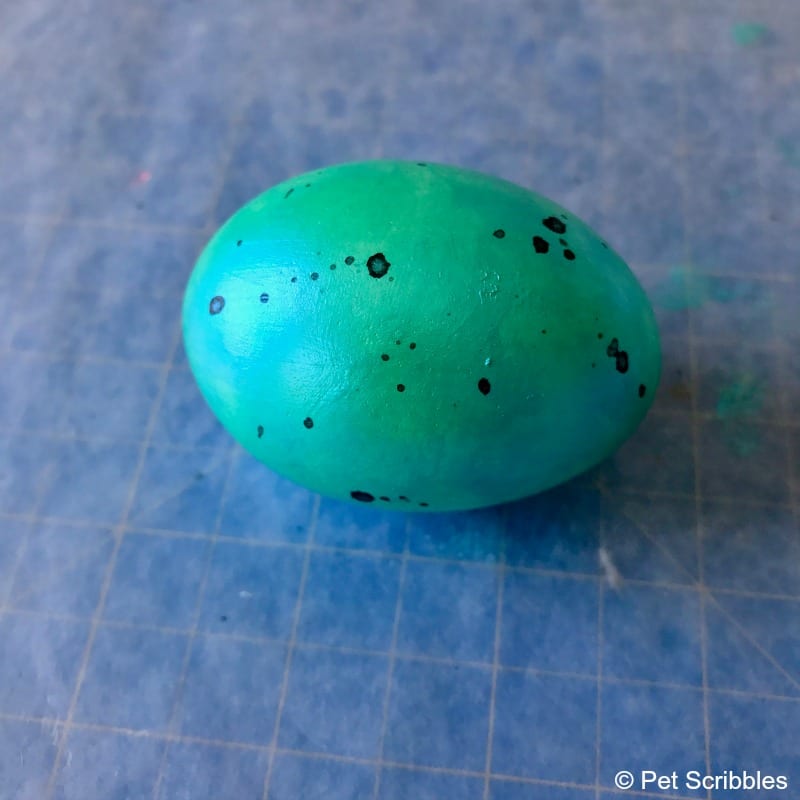
Step One: Paint the Eggnots egg with two coats of Color Shift Paint in Aqua Flash. Let dry in between each coat.
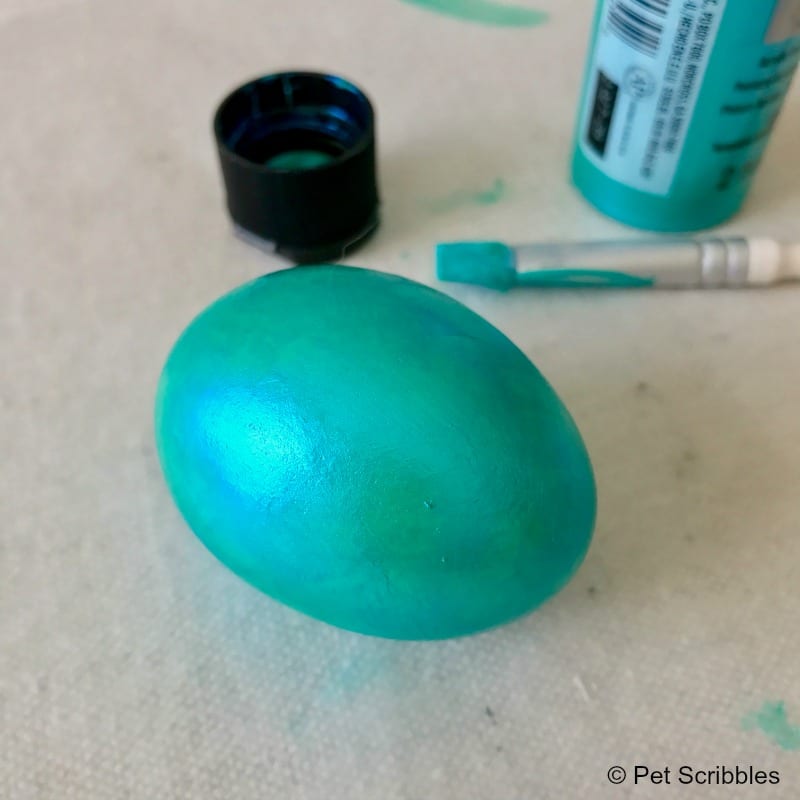
Isn’t this egg so pretty already?
Helpful tip: Gather up several of these metallic Color Shift paints and create an entire eggnots collection with these colors — a simple but stunning idea!
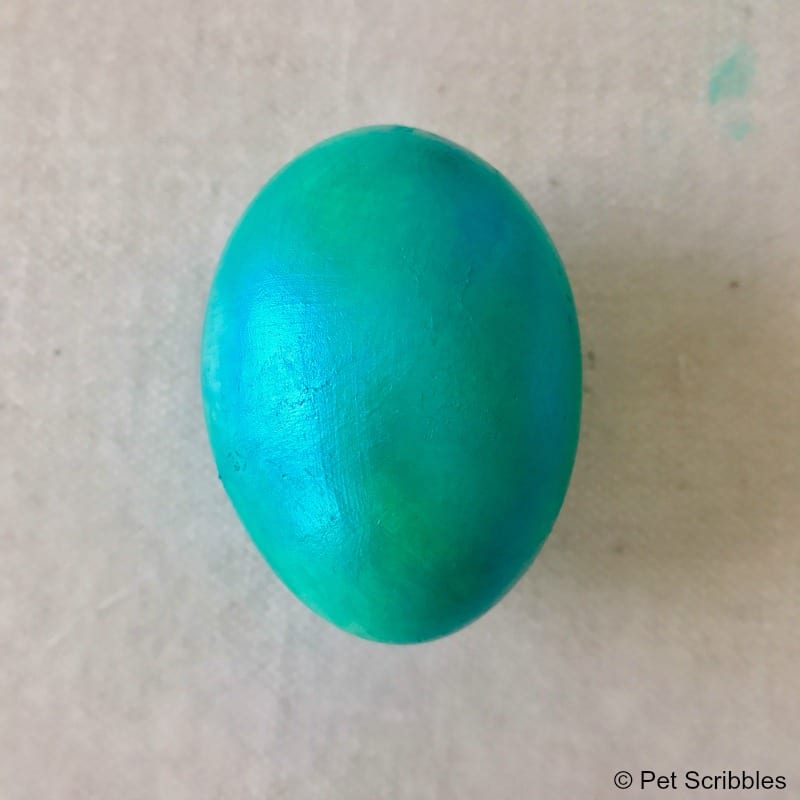
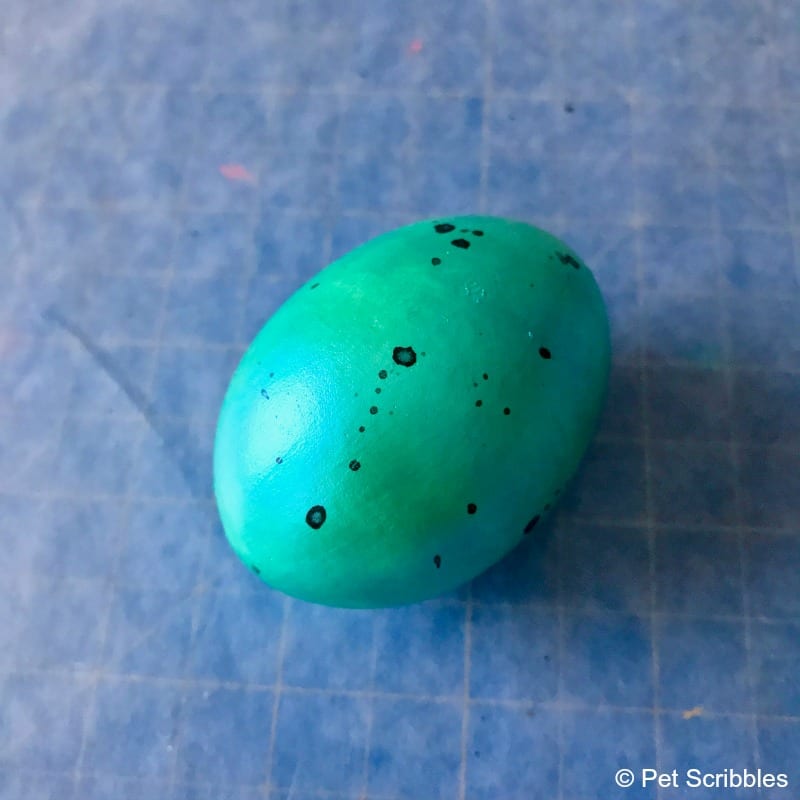
Step Two: Add tiny droplets of Tattered Angels Snowy Pine Glimmer Mist to the painted egg to give a speckled look.
Helpful tip: Use wax paper or scrap paper underneath the egg to catch any wayward splatters while you’re doing this step.
To do:
- Carefully take the spray cap top off of the bottle.
- Hold the spray cap so that the attached tube is horizontally over the egg.
- Gently tap the cap with a small paintbrush stick.
- Tiny droplets of the glimmer mist will splatter onto the egg.
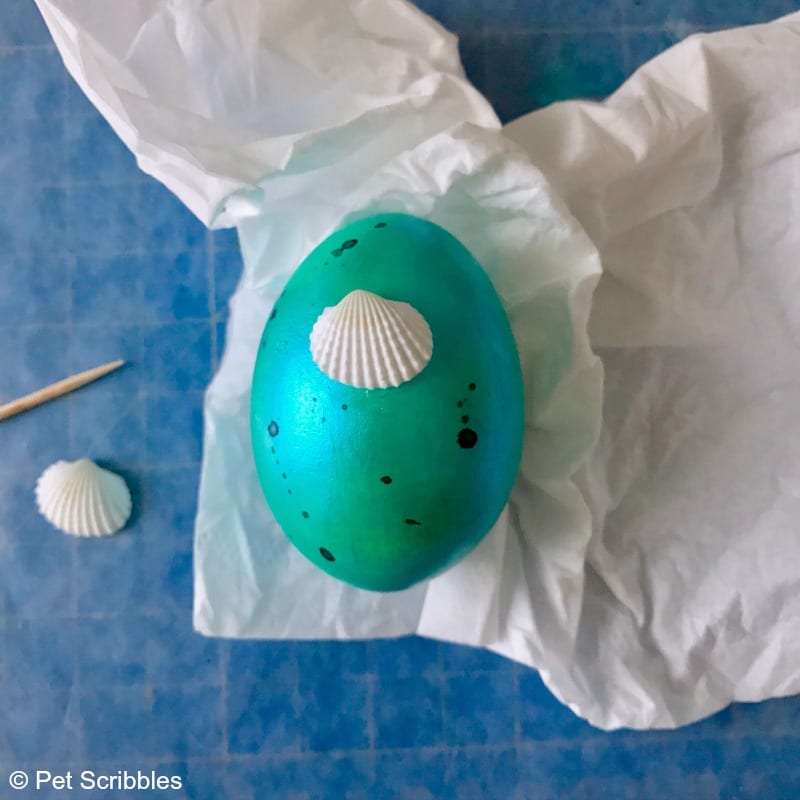
Let the egg dry extremely well, and make sure not to touch the mist while it’s drying so you don’t smear it.
Once dry, you’ll see that each of the dried droplets has a silvery sheen to it. It’s a really pretty effect! (See below.)
Step Three: Play with the placement of your miniature clamshells until you are pleased with your design.
Helpful tip: With a small surface, remember that a simple design will be easier than a more complex design.
I knew that I wanted to make a rabbit from the shells, as well as have a tiny Easter basket filled with clamshells.
The more time you take with this step, periodically placing the shells on the egg to see how they look — while also not getting too frustrated when they slide off (ask me how I know this) — the better your final design will be.
Step Four: Apply several layers of sand to the bottom half of the speckled egg using Sparkle Mod Podge. Let dry thoroughly.
I dipped into my stash of Long Beach Island sand — so even the sand is local on this Jersey shore-themed egg!
First, I covered half of the egg with Sparkle Mod Podge, then began sprinkling the sand over the Mod Podge until I had a decent first coat. Make sure you do this over a large bowl to catch all of the excess sand!
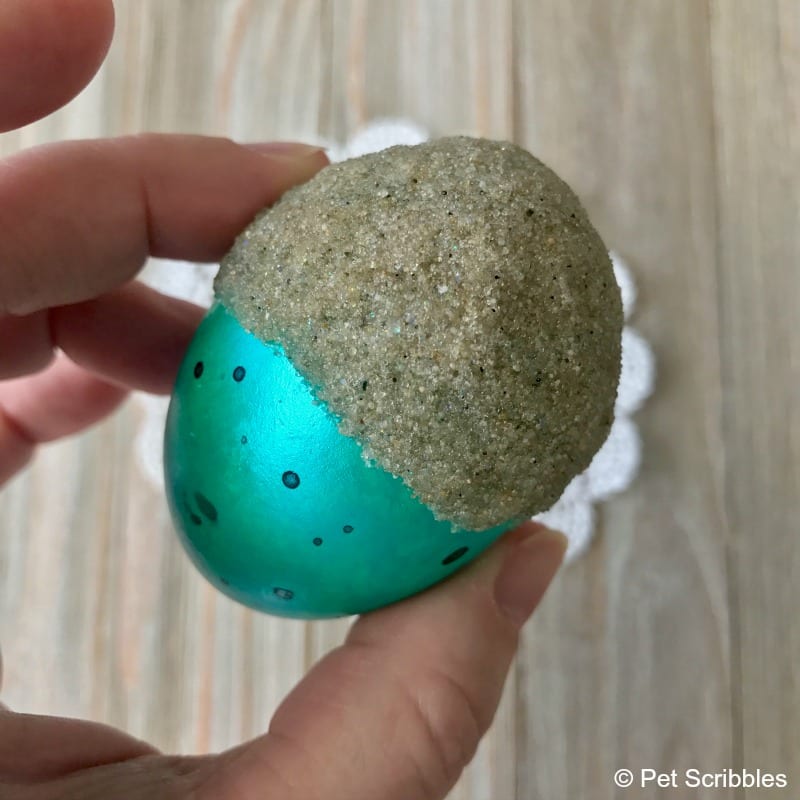
Next, add more Sparkle Mod Podge over the sand by gently tapping it on with a foam brush, one section at a time.
Roll the egg into the sand, lift up and gently shake it a bit.
Keep repeating these steps until you’re happy with how it looks.
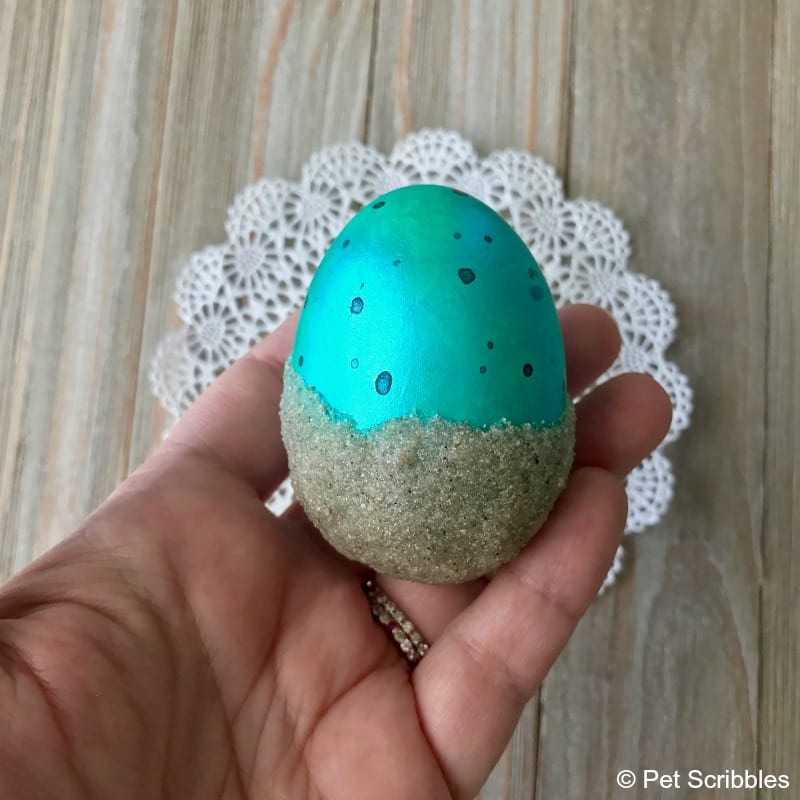
I like using Sparkle Mod Podge for this step — versus regular Mod Podge — because of the hints of extra sparkle that peek out through the sand here and there.
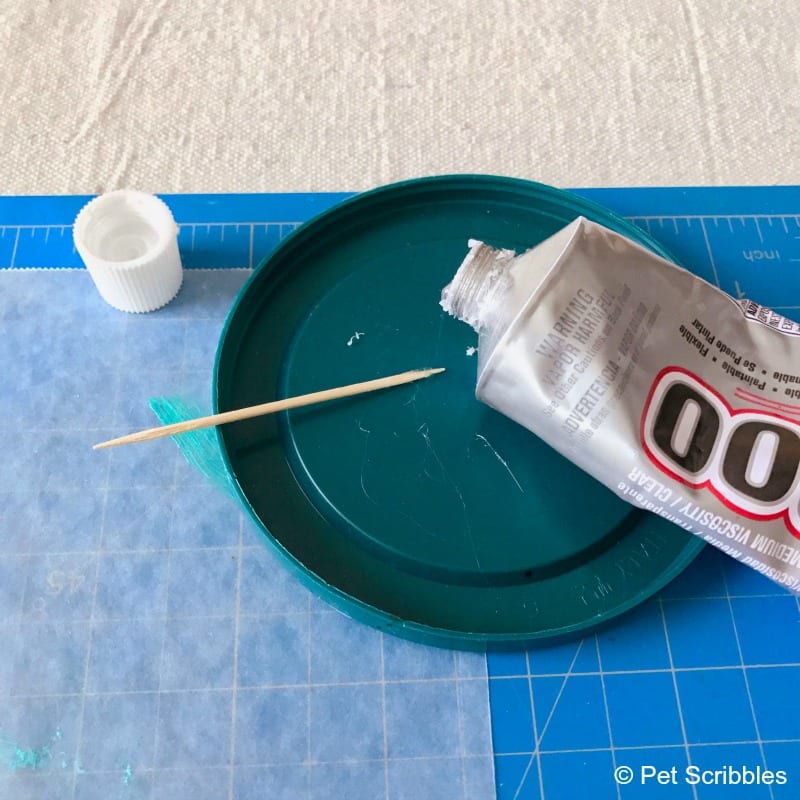
Step Five: Attach the clamshell rabbit using E6000 adhesive.
Use toothpicks to carefully apply the adhesive in tiny amounts to the backs and edges of each shell.
I attached two shells for the head and body . . .
. . . then two tiny clamshells for the ears plus one tiny shell for the bunny tail.
Hold each shell in place for several seconds, and let the shells dry and cure thoroughly.
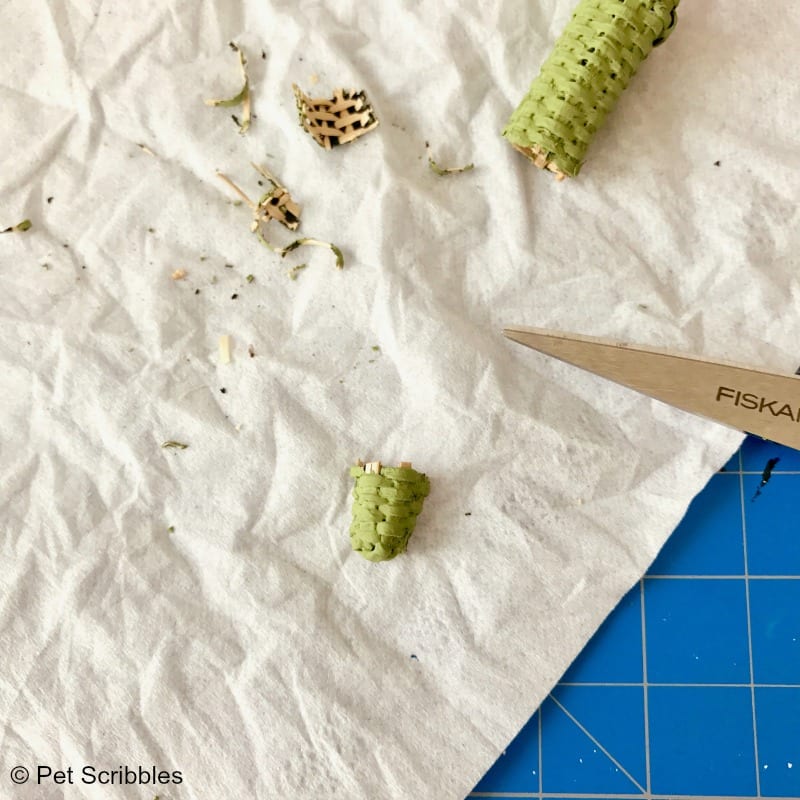
Step Six: Cut the miniature basket in half, paint or stain as desired. Let dry.
First I cut the miniature basket in half, so that it would lay nicely on the egg. I checked its placement and cut a bit more here and there until I was happy with how it looked.
As this tiny basket was already painted from a previous project, I gave it a new coat of paint using Martha Stewart craft paint in Lake Fog as a base coat . . .
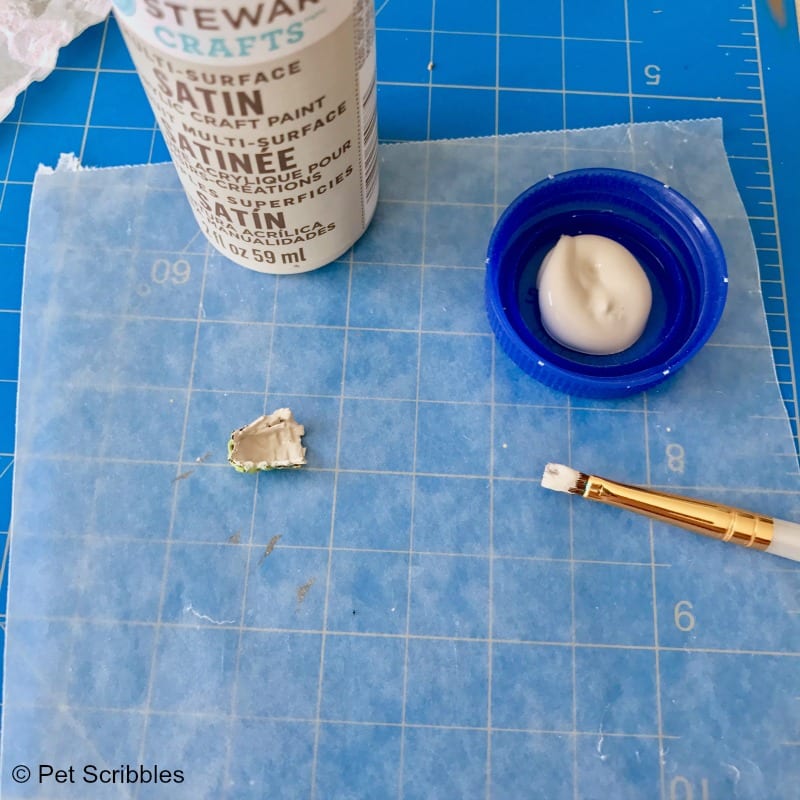
. . . then I dry-brushed on some FolkArt Pickling Wash in Coral Beauty for a nice bit of color.

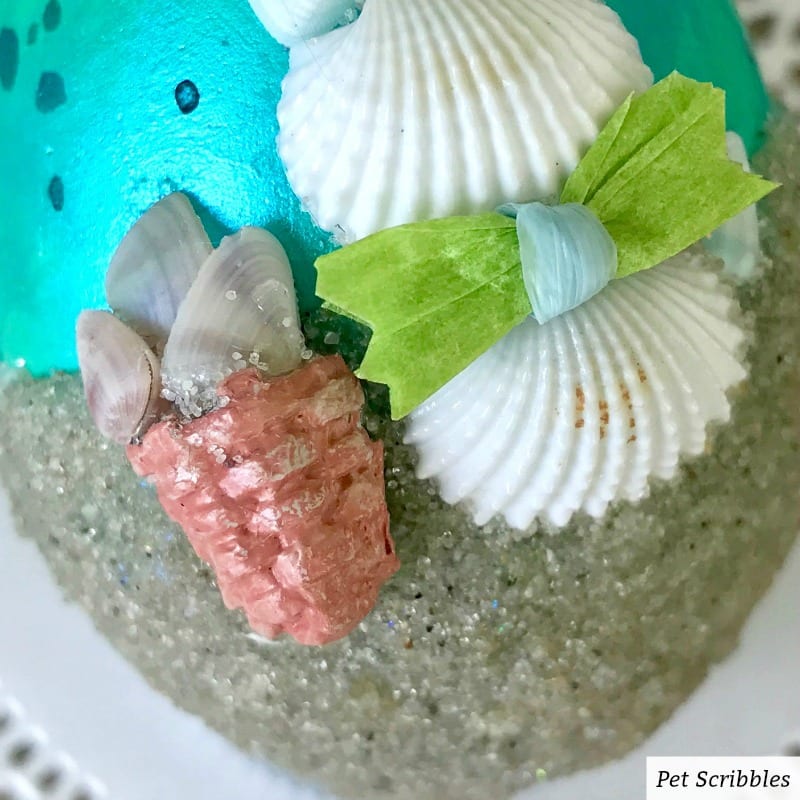
Step Seven: Attach the basket and tiny clams to the egg using E6000 adhesive.
You can’t have a Clamtown, New Jersey Easter Egg without a basket of tiny clams!
Again, use toothpicks to easily apply the adhesive to the backs and edges of each shell and the basket.
Hold each one in place for several seconds and let dry and cure thoroughly.
Step Eight: Make a bowtie for the bunny using raffia ribbon scraps.
I took a small length of spring green raffia, and tied it in the center with pale blue raffia.
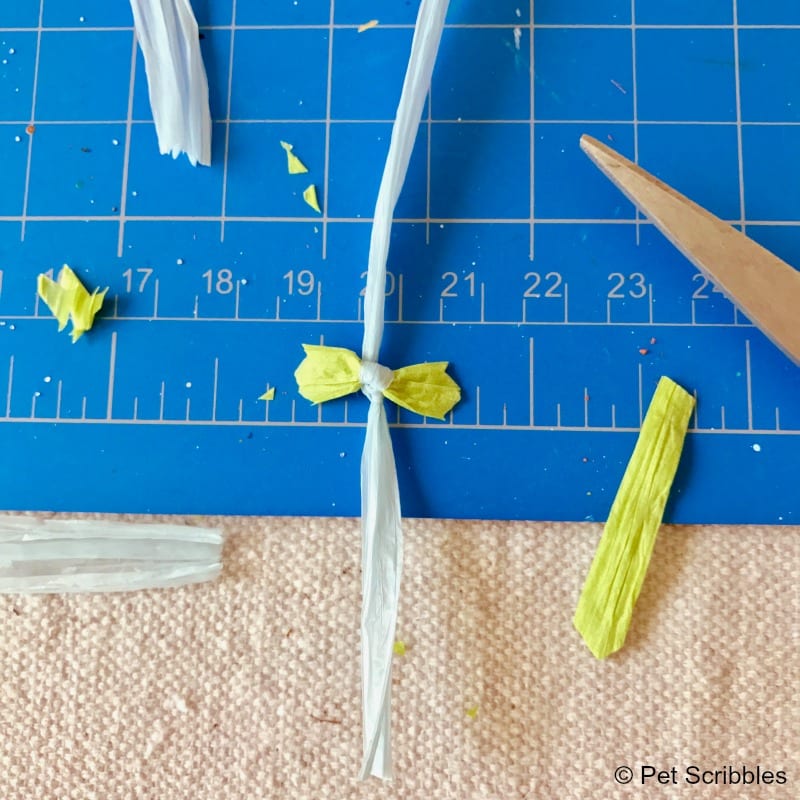
I cut the edges of the green bowtie using pinking shears, then cut the ends of the blue raffia off the back of the knot.
Step Nine: Attach the bowtie using E6000 adhesive.
Let the egg dry for at least two days to make sure all of the adhesive is cured and dried and stuck on there!
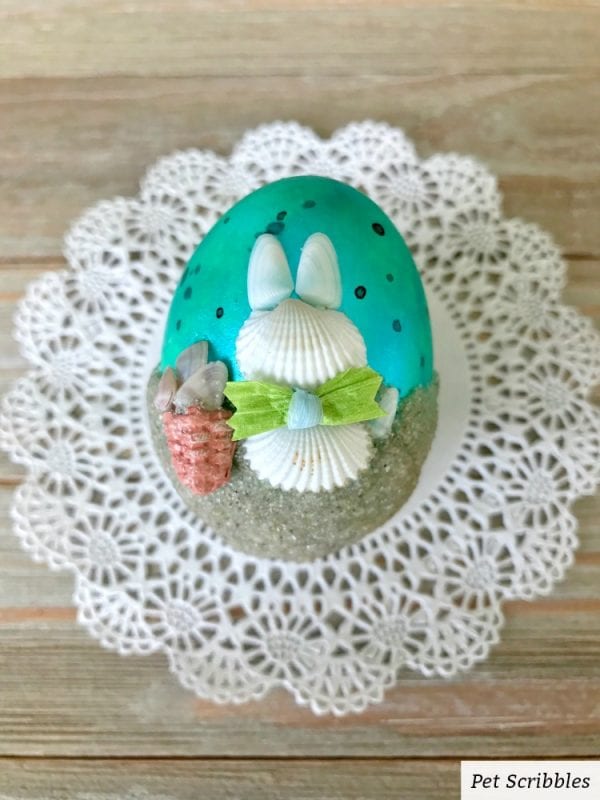
And that’s it!

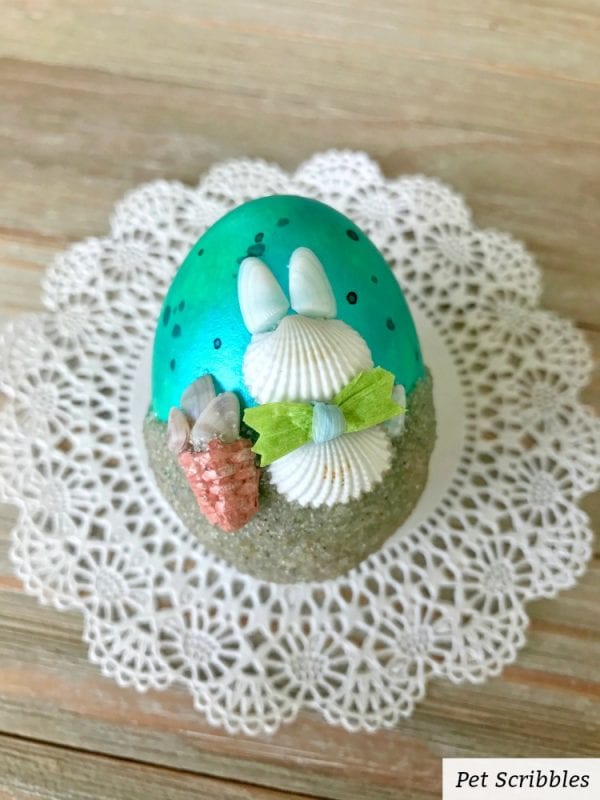
My Clamtown, New Jersey Easter Egg!
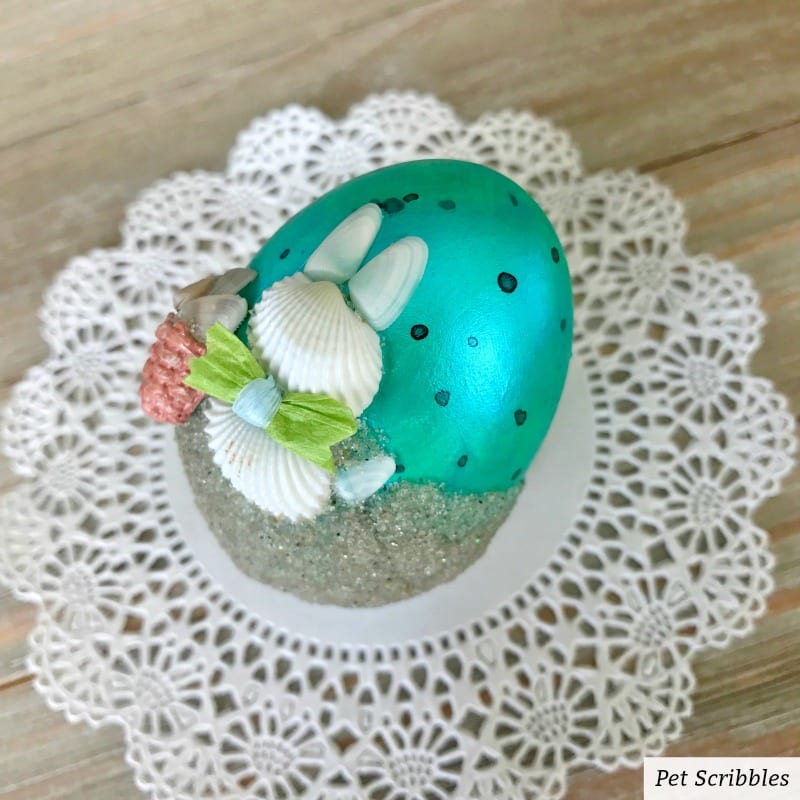
This would be a fun craft to do with your girlfriends or with your kids — just remember to use a bit of patience for all of those small parts that can be difficult to handle for little ones. (And always supervise when handling small items, sharp scissors — you know the drill!)
Look at these tiny clams in a basket! I think this is my favorite part of the egg!
I hope you’ll pick up the April issue of Food Network Magazine to see my Clamtown, New Jersey Easter Egg along with eggs representing the rest of the 49 states decorated by some very talented crafters!
Happy crafting!
Laura, that is so awesome. Congrats on the feature and it’s well deserved!!!!!!!!!!!!
Thank you so much Deborah! I had so much fun doing this!
What an adorable egg! Congratulations on your magazine feature!
Thanks so much Paula!
What an awesome collaboration — AND EGG!! As a former Jerseygirl, I love-love-love your egg.
How did I not know you are a former Jerseygirl? So you totally get my egg! xo
Oh wow, they looks so adorable!! Love it, thanks for showing it to us!