
Remember my 60th Anniversary Centerpiece that I made for my parents’ anniversary celebration? One of my neighbors saw my pictures of it on my Facebook page and asked me to make one for her own parents’ upcoming 50th Anniversary! The specifications included a beach theme, with something sunset-ish to go with a beautiful art canvas that will be displayed.
I played around with various ways to create a “sunset” look with paint, and came up with this technique. It isn’t the quickest way to do it, but it is easy and practically fool-proof, so I wanted to share it with you!
Sunset Painting Technique Using Three Colors
Supplies:
- unfinished wood craft item
- sandpaper
- jar with water for paint brush
- paint brush
- paint – three colors of your choice
- paper towels
Steps:
Give your unfinished wood piece a light sanding to remove any rough spots. Here’s my numbers I’m using for the centerpiece:

Choose your three paint colors. One will be the base color, and the other two will be the colors you will layer on slowly. I chose a metallic yellow-gold as my base color.
Paint two coats of your base color and let dry thoroughly.
Put a small blob (a crafty technical term!) of each color into a small paint tray. I use plastic jar lids, explained in my post here.
Wet your paint brush by dipping it into the jar of water. You want the brush saturated but not dripping wet. Here’s a shot of my brush that might be helpful:
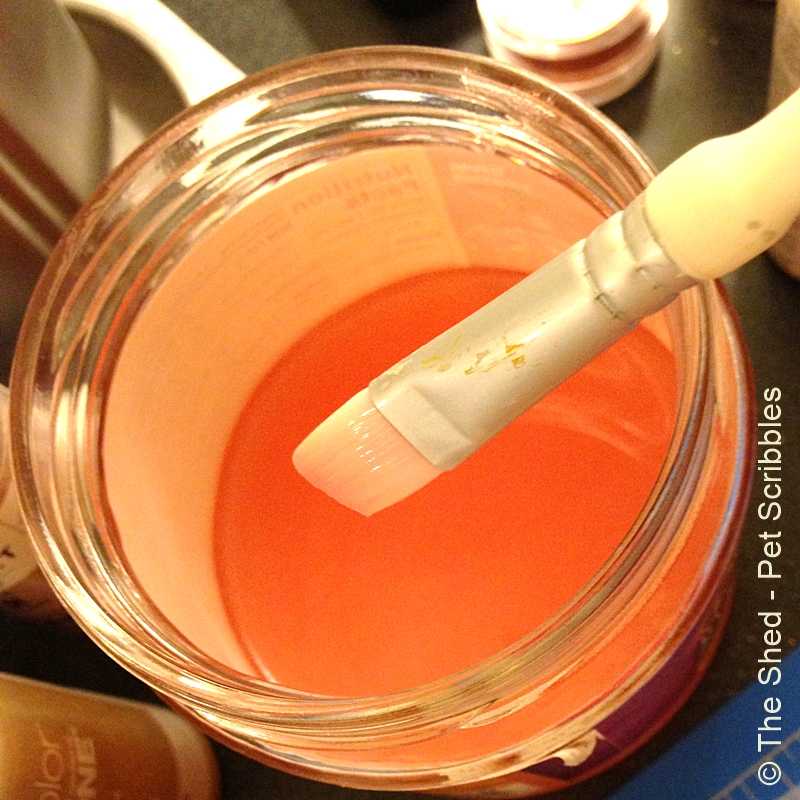
Now swirl the wet brush gently around into one of the paint colors, to make a watery texture.
I couldn’t take pictures of me “in action” layering on the colors, however I’ll explain this technique as best as I can, using the front of the number 5, below, as a guide.
Imagine painting a pink watery line on the left edge of the five; then paint a watery line on the top right front edge. Wait a few seconds and then wipe and blot if off with a paper towel. You will keep repeating this process, alternating your two colors that were not used as the base color.

Take the same paint brush, swirl it around in the water jar to remove that color and dip the brush into your next color to water it down. You can see the paint colors above, and here’s a close-up shot below of my pink shade, after all of my thinning and swiping and painting.
For your second color, in my case it was orange, swipe a watery line up the front of the number 5, all the way up, then down on the lower right area. Wait a few seconds and wipe off. See how the watered down colors begin to blend in?


I kept a small amount of the base color just in case I wanted to touch up anything, but I ended up not needing it. Mistakes are impossible to make with this technique – but – let’s say you made a curved line instead of a straight one, and you wanted to correct it. Just wet your brush and begin “painting” over the spot you want to correct. The water will reactivate the paint and you’ll be able to remove some of the paint and then add back in what you’d like.
It’s honestly a fun technique because you can build up a lot of depth with your colors.
Once you’re satisfied, let your wooden piece dry thoroughly. Then spray it with a sealer.
Voilá!


~Laura


I love the depth of color, Laura ~ such a lovely combination. Thanks so much for sharing at this week’s Project Inspire{d}.
Thanks so much Mary Beth! Love your weekly party!
It truly does have a sunset-like glow! So pretty.