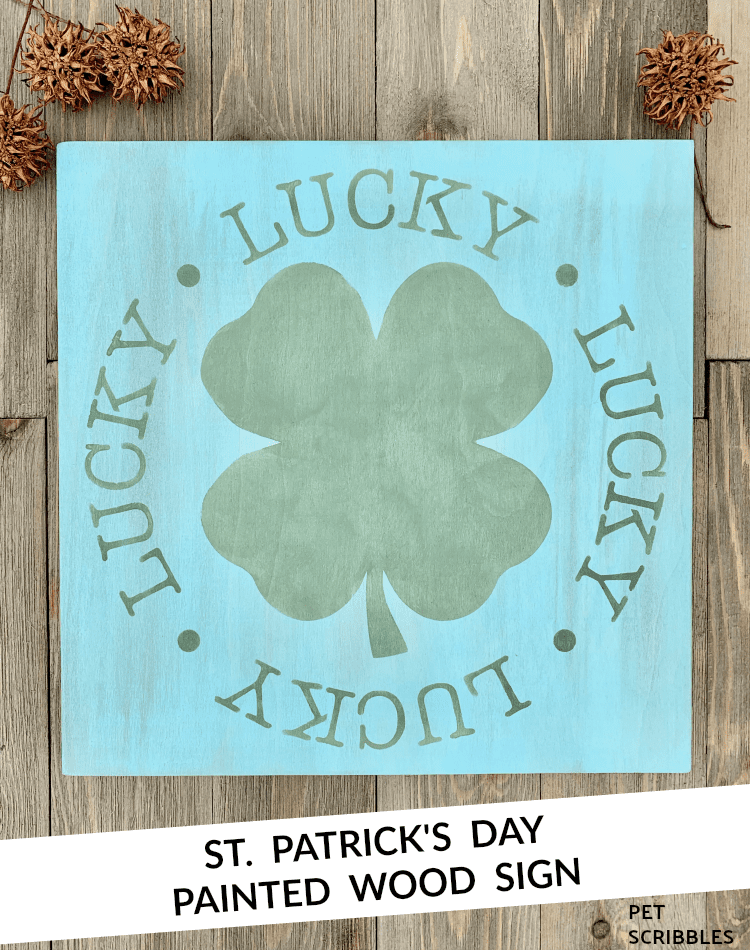
Make a St. Patrick’s Day painted wood sign with a lucky shamrock stencil, chalk paint and pickling wash paint for a distressed finish. An easy DIY!
Last month, I made a rustic Valentine’s Day wood sign, and I totally gushed about the stencils that I used.
I called the stencils a game-changer, and I wasn’t — and am not — kidding!
Read all about the FolkArt Value Pack Holiday Stencils by clicking over to my Valentine wood sign tutorial.
Today I’m making a St. Patrick’s Day Painted Wood Sign using another stencil from this same holiday collection.
FTC Disclaimer: I’ve received products to try out in my role as a Plaid Crafts Ambassador. This St. Patrick’s Day Painted Wood Sign, however, is 100% my own project! Some of the links in this post are affiliate links. I explain more here.
Where to find Unfinished Wood Signs
You can find these square unfinished wood panels at Walmart. This is a 12″ x 12″ size, and they also sell them in a 10″ x 10″ size.
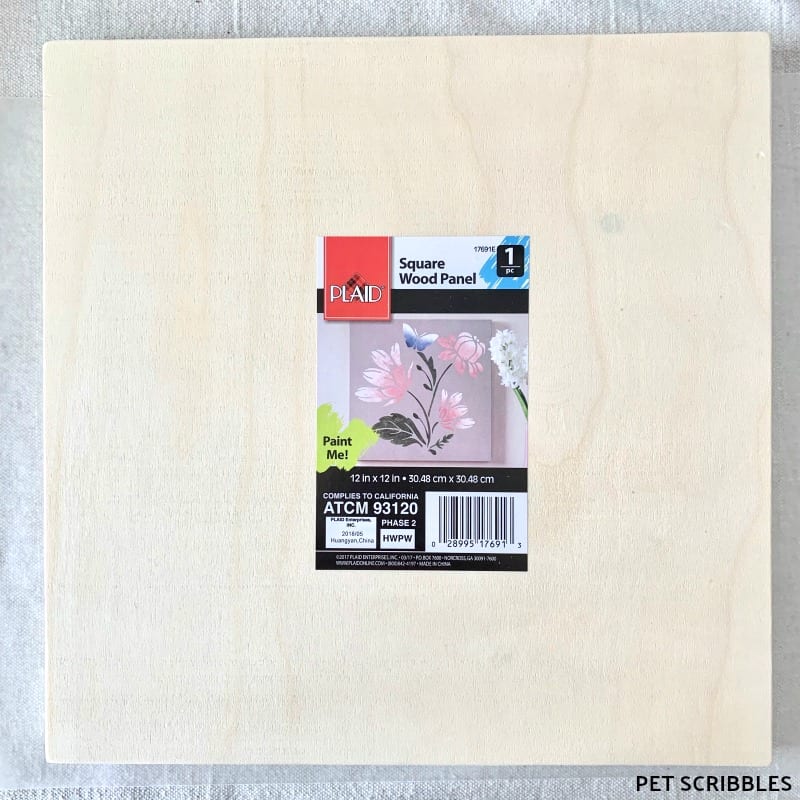
Most importantly, this square size is a perfect fit for all of the FolkArt Value Pack Stencils — of which they are many different styles and themes available.
Here are similar square wood panels that I found on Amazon. I like that some are sold in multi-packs (those are the choices that are approximately $25), which is great if you are painting multiple signs — or want to have your girlfriends over for a painting party at home!
Similar blank signs are sold at major craft stores, so look around and find your best deal!
Supplies:
- Square Wood Panel — Plaid Crafts
- FolkArt Value Pack Holiday Stencils — Plaid Crafts
- FolkArt Stencil Brush Set — Plaid Crafts
- FolkArt Pickling Wash in Sea Glass and Stormy Sky — Plaid Crafts
- Waverly Inspirations Chalk Paint in Moss — Plaid Crafts
(I got a fabulous mini set of these paints at Walmart,
but you can use similar colors in this set from FolkArt) - Paint brush
- White rag
- Wax paper
- Washi tape
- Latex gloves
(The gloves allow me to get messy without worrying about my hands!)
Tutorial:
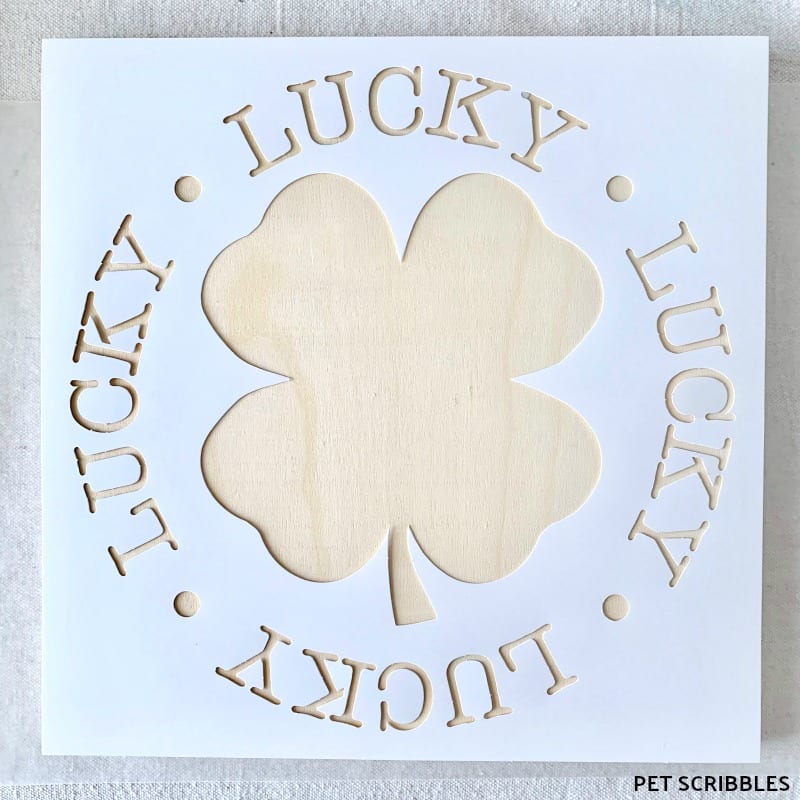
First, remove the stencil pieces from the overall stencil design.
When you take these stencils out of the package, you’ll see the pieces can easily be popped out to reveal your stencil design. I like this because it keeps everything perfect until you’re ready to use each one!
In most cases, if the pieces are small I just recycle them.
But check out this nicely sized shamrock:
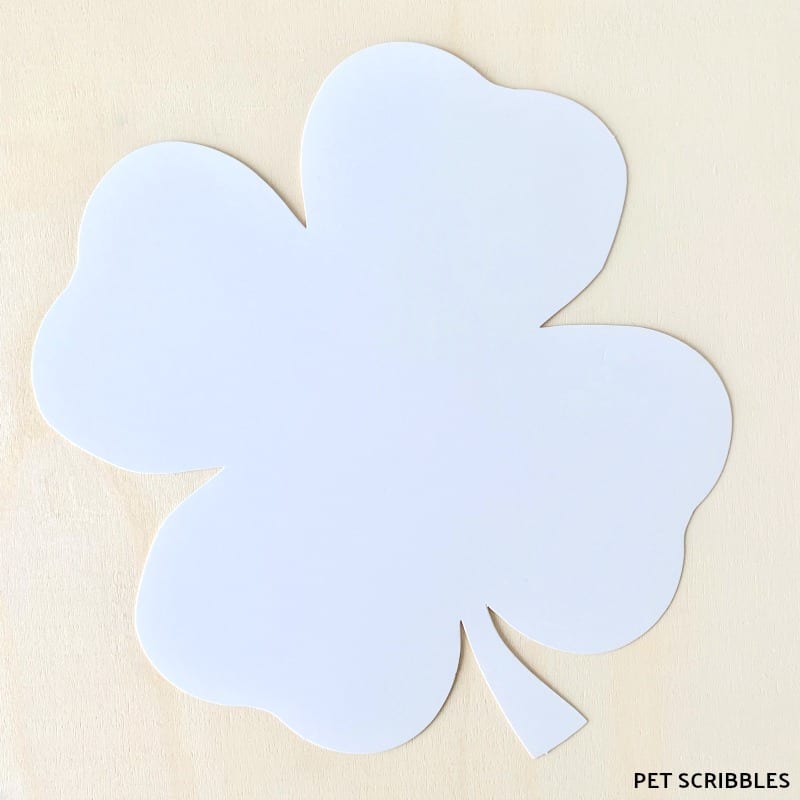
I’m saving this to use in another craft!
Choose what colors your background and your stenciled design will be.
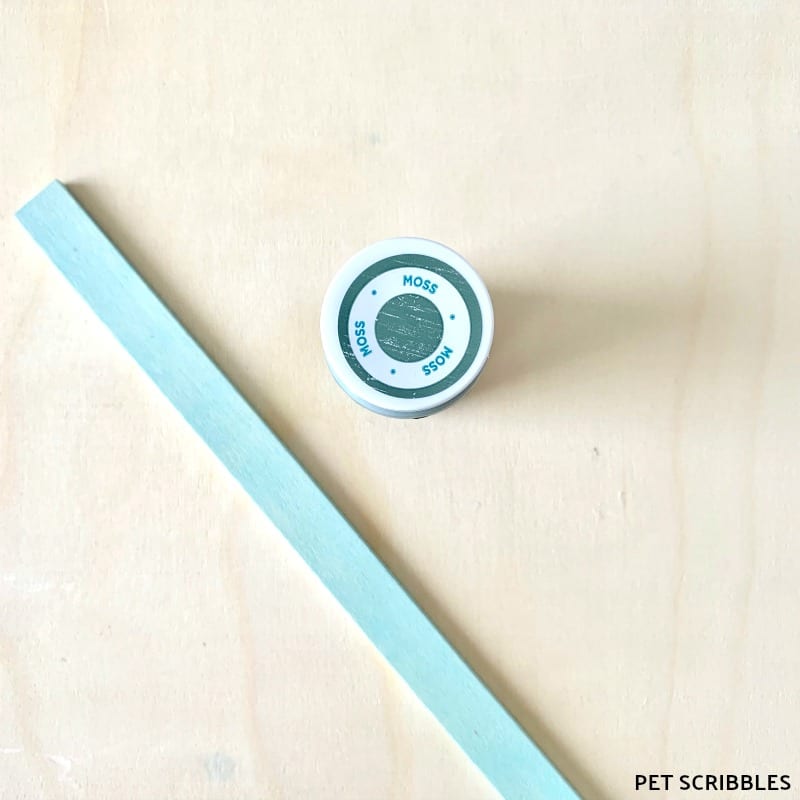
Whenever I want to use pickling wash on a wood project, I grab my rulers, which I stained with every color of pickling wash available! This makes choosing a color so easy.

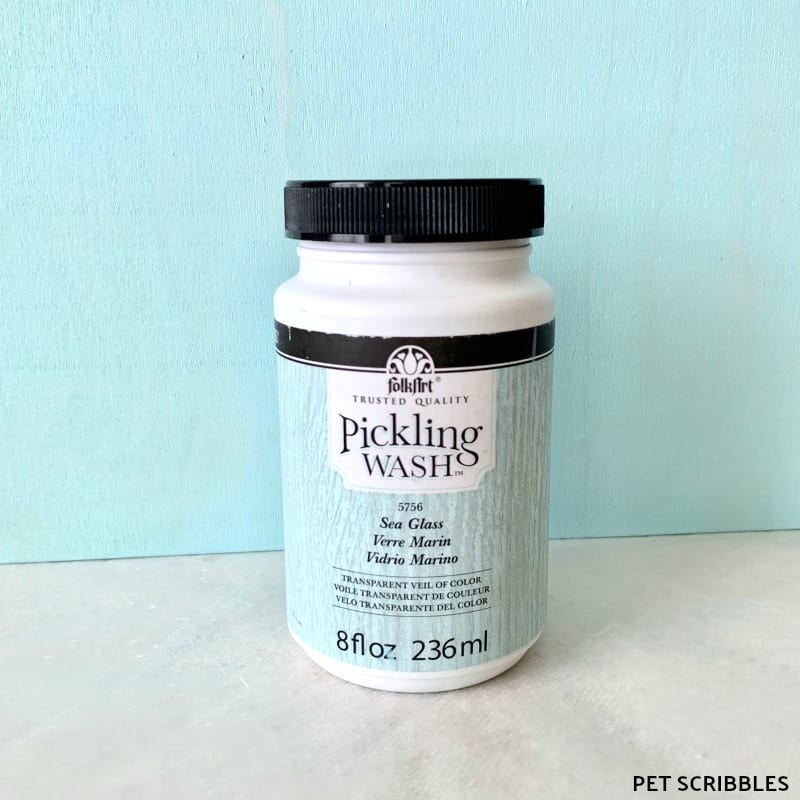
I chose the Sea Glass pickling wash for the wood panel, and a pretty Moss green chalk paint for the stenciled design.
Paint your wood panel with the pickling wash using a paint brush.
I did two quick coats, using the pickling wash like regular paint, and let it dry.
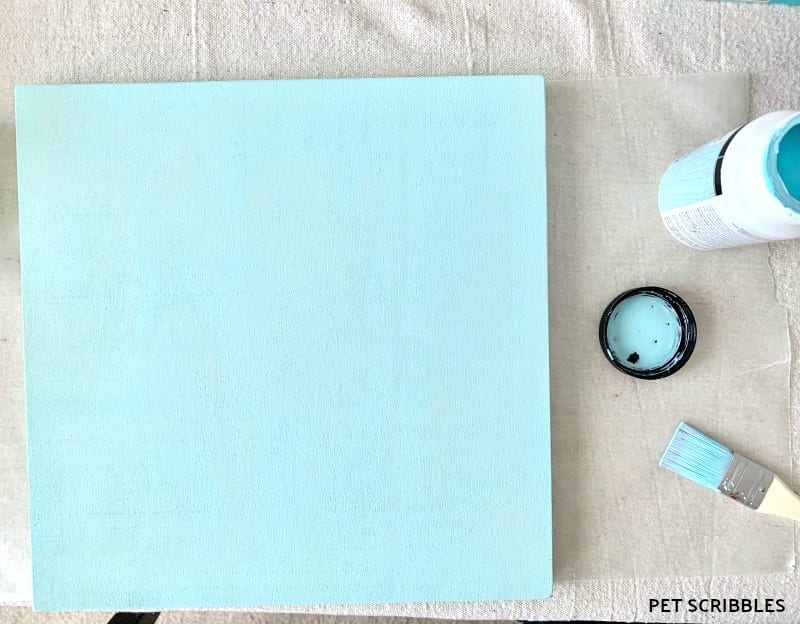
As an aside, I love that the colors on the pickling wash jars are the same as what comes out onto your project.
It’s a small detail and I’m sure you can relate with choosing a paint color which looks “different” once applied. Not so with these!
Distress the painted wood sign with Stormy Sky pickling wash.
Here’s how the sign looks once this step is complete, before I show you how easy it is to do:
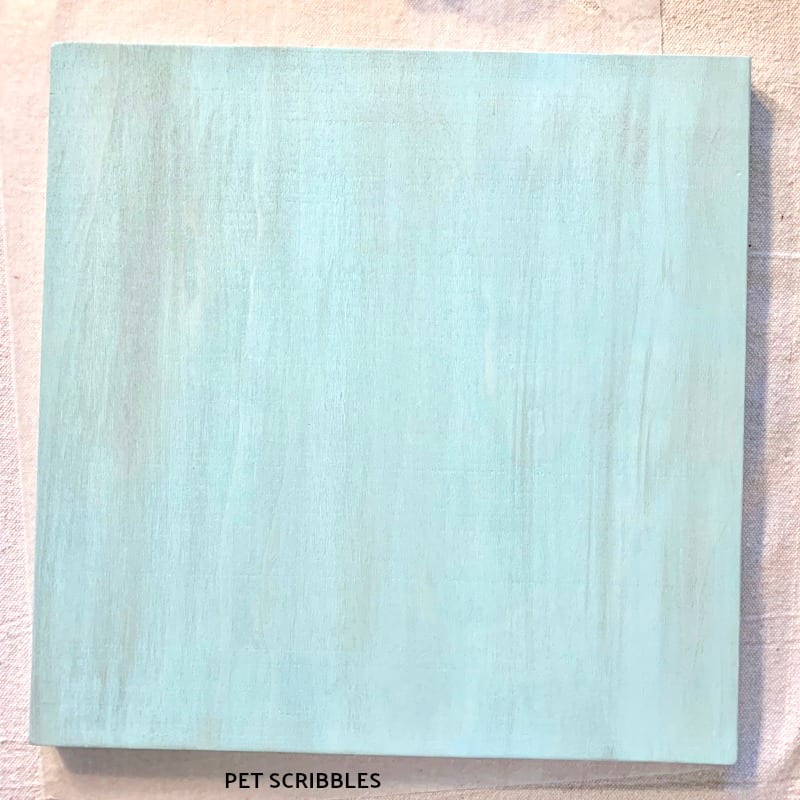
First, take your paint brush and apply some of the Stormy Sky pickling wash to a lint-free rag.
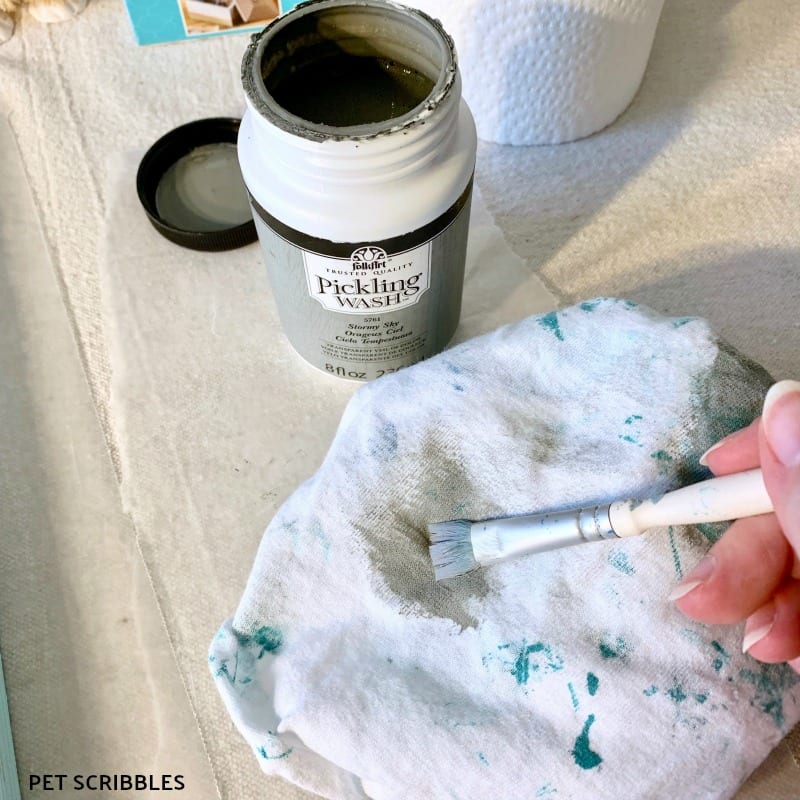
Next, take your rag and very lightly — in the direction of the wood grain — rub a light amount here and there to begin distressing the wood panel.
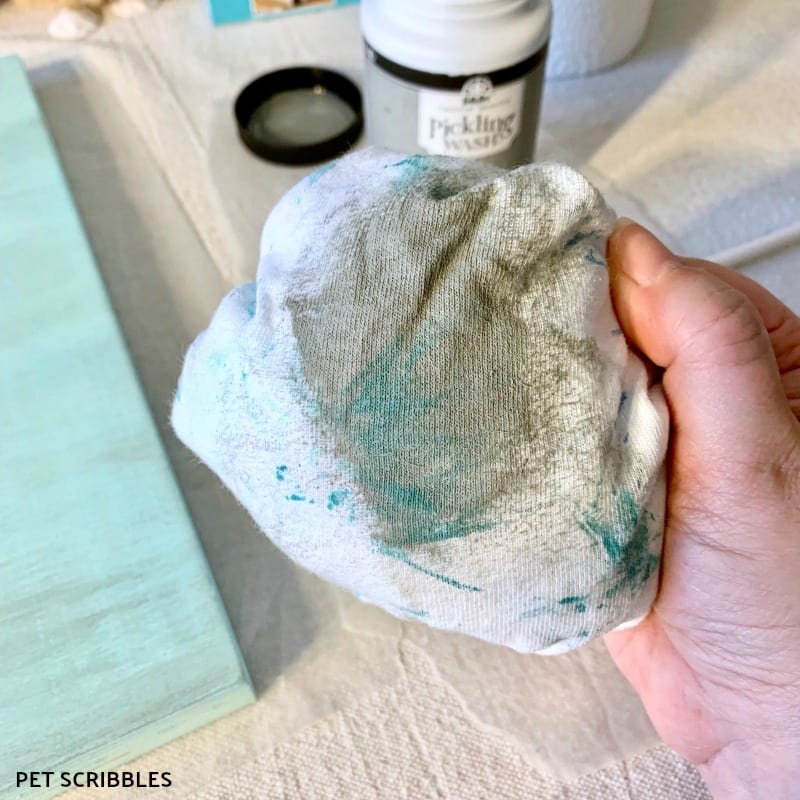
Remember: Less is more when you begin doing this, as you can always go back and add more pickling wash for a deeper distressed effect.
Helpful tip: Practice on the back of your wood sign first. Nobody will see and you’ll quickly get the feel of it!
Stencil your St. Patrick’s Day Painted Wood Sign
This step is straight-forward, and I will refer you to my Be My Valentine stenciled sign for a more in-depth tutorial on how I taped my stencil to the wood as well as painted the stencil with chalk paint.
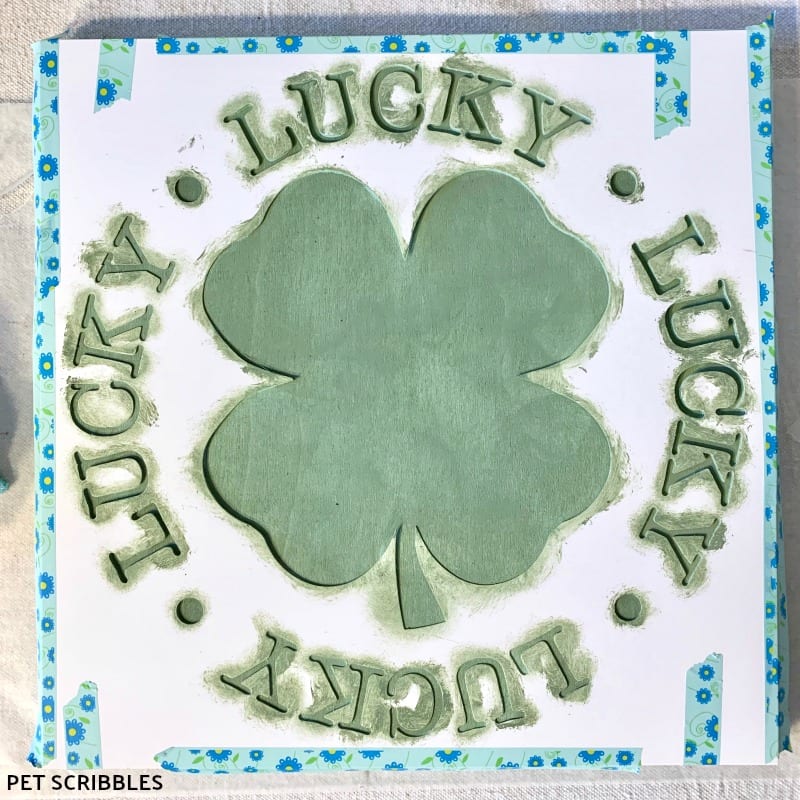
Once finished with the stencil, carefully remove it and let everything dry.
Chalk paint dries fast, which is nice.
Give the edges of the wood panel a quick coat of paint.
Finally, paint a rough coat of chalk paint on the edges, letting some of the blue pickling wash poke through.
This is optional, and you can leave the edges the same background color too if you prefer.
However, I think the painted edges give the sign a nice finish.
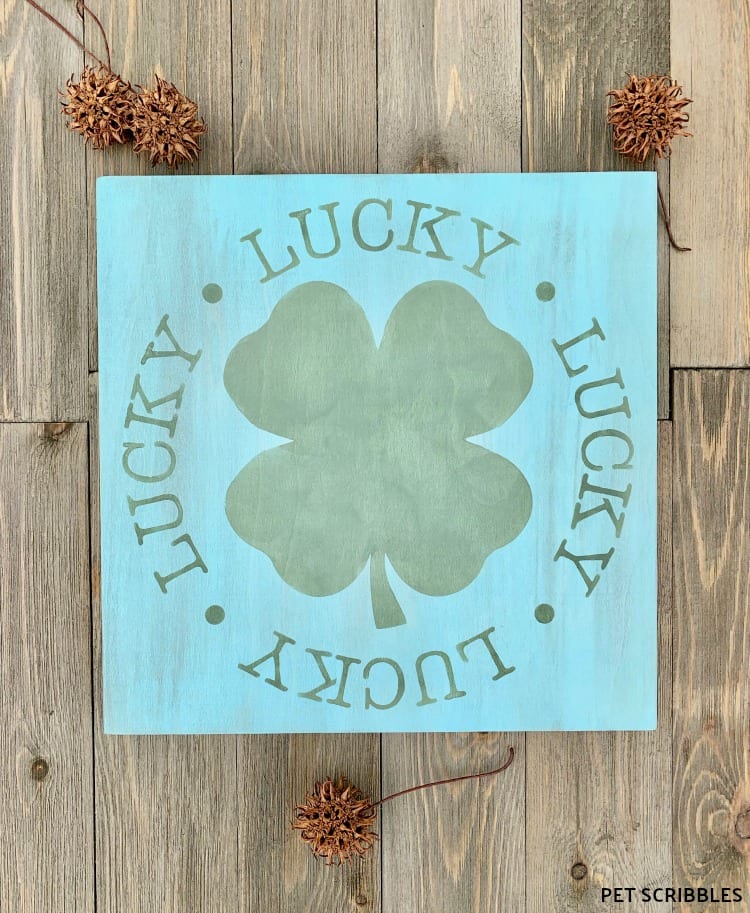
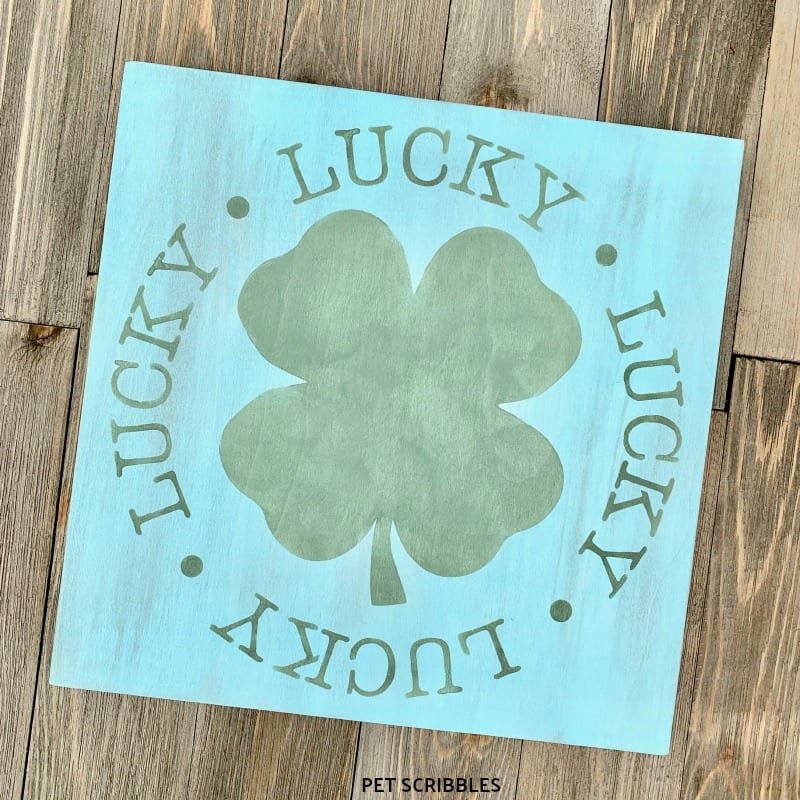
St. Patrick’s Day Painted Wood Sign
Here it is — ready to display!
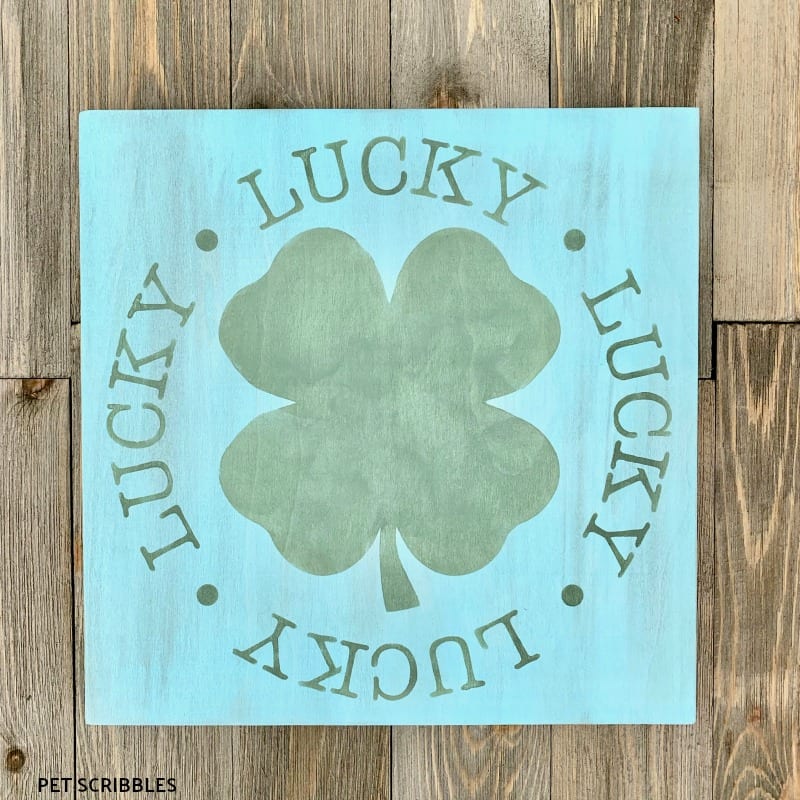
The colors are a refreshing Spring combination!
This St. Patrick’s Day painted wood sign is easy to create. I hope you try it!
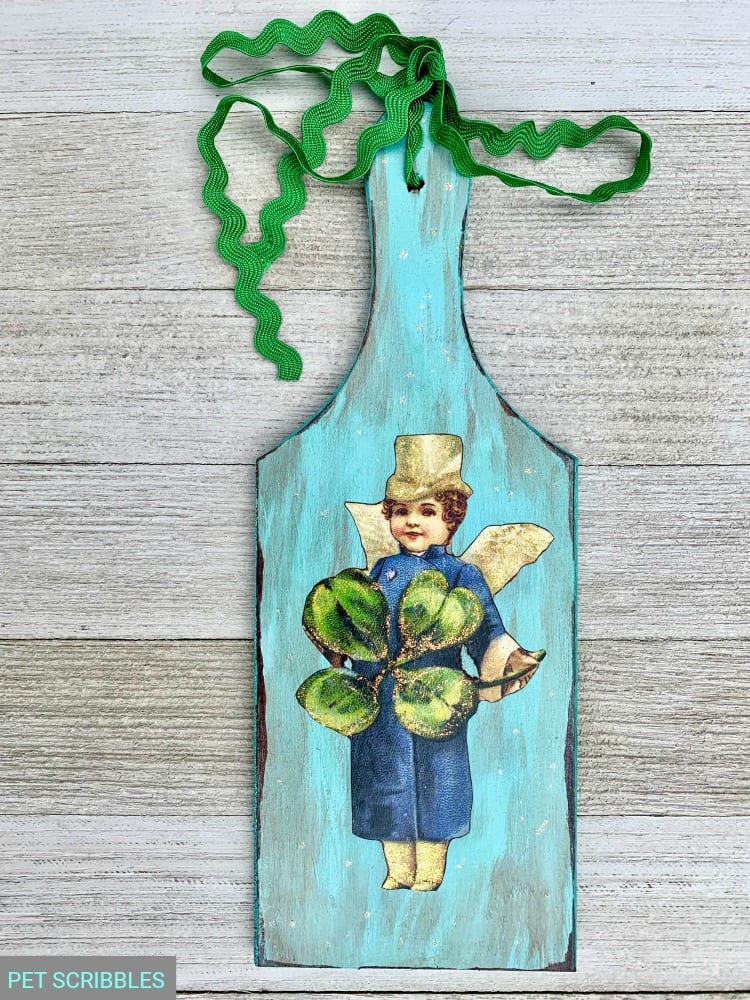
Here’s another vintage-style St. Patrick’s Day DIY I did in similar colors:
Vintage Leprechaun St. Patrick’s Day Decor
Happy crafting!
Lovely post! You’ve given that sign a real rustic look, working for The Handy Squad I’ve had to hang many signs like these as well as mirrors and pictures. Keep the creativity flowing! Luke.