I’m very excited to share with you that I’m one of DecoArt’s bloggers! What this means for you is that from time to time I’ll be sharing new products from DecoArt, showing you how to use them, and in the case of today – offering you an awesome rebate too!
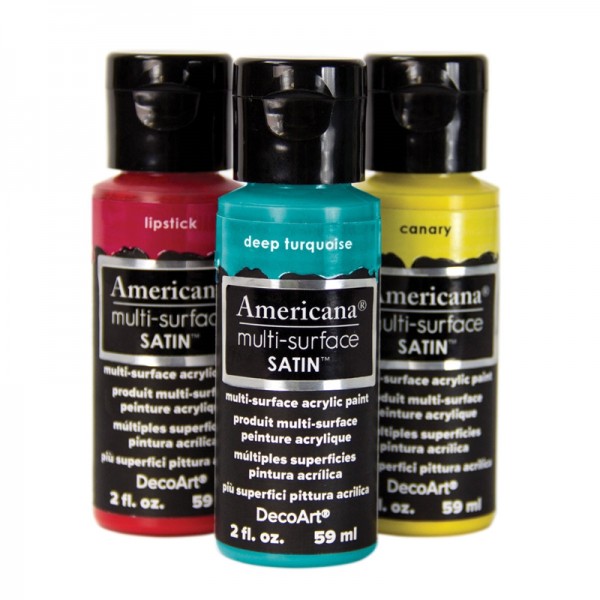
Today’s post is all about the new Americana Multi-Surface Satin paints, which I tried out along with some new Americana Mixed Media Stencils.
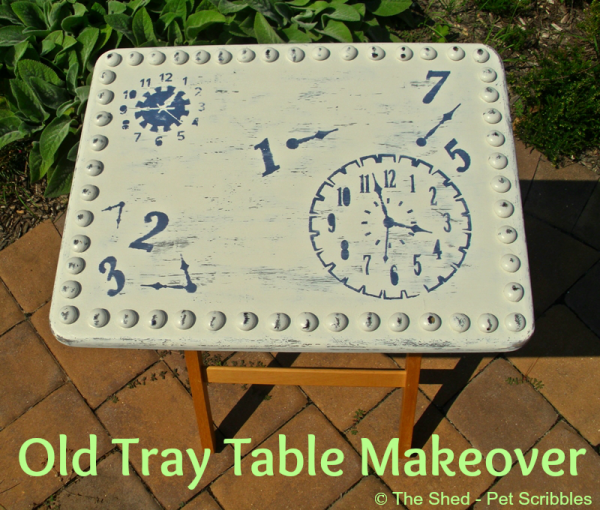
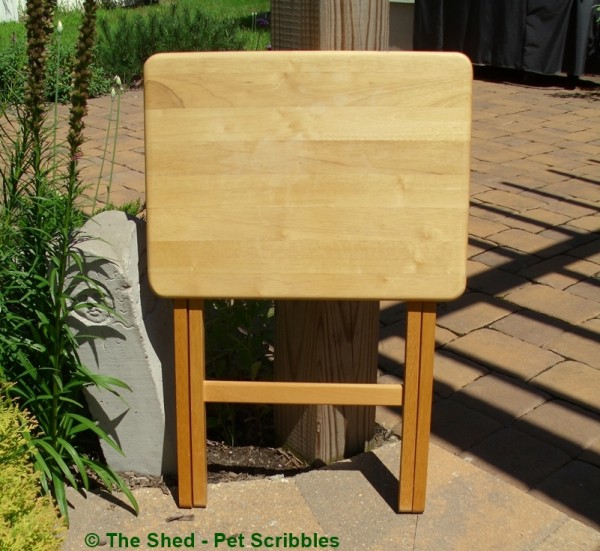
We’ve had this old tray table for quite some time, and as soon as I saw the Americana Timeless Treasures stencil, I knew this tray table was about to get a new lease on life!
The table had been sitting in our guest room. (You know how you stick things in the guest room and shut the door? Yes? No? Well, that’s kind of what we’ve been doing, and it was time this little table got a makeover!)
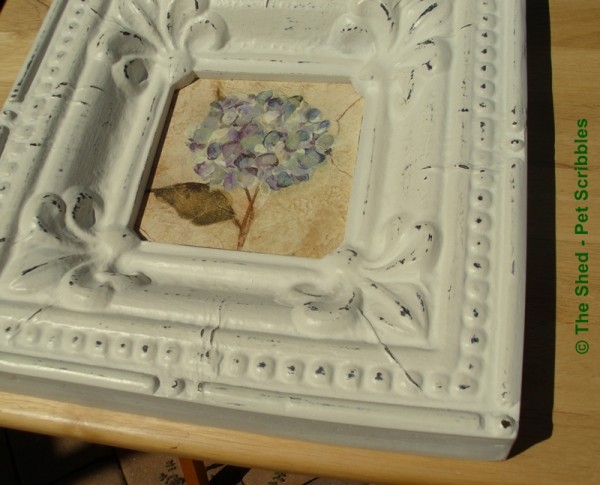
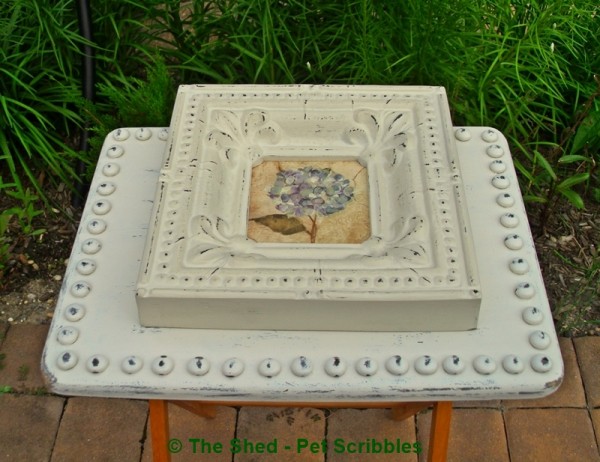
Also in our guest room is this framed hydrangea art print. I’ve always loved the frame, and decided to see if I could mimic this frame’s style with the tray table.
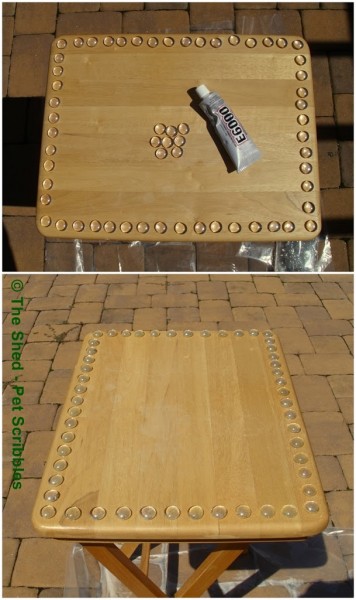
First I needed to recreate the hobnail look. I’ve seen this look created with thumbtacks and brads, but I knew I needed something more substantial in order to pull this look off. Looking around my craft studio, I thought my bag of glass gems might work nicely. After laying the gems out, I glued them on with my trusty E6000 adhesive.
I was getting excited about how this table was going to look!
The next step was to paint a base color onto the table top. But if the table is wood and the gems are glass, what kind of paint will work? Here’s where the Americana Multi-Surface Satins – by DecoArt – are perfect to use, as they can be painted onto many different surfaces including wood and glass.
Yes, I’m a blogger with Deco Art, but I honestly am in love with this paint. In. Love. And I would tell you this even if there was no connection with Deco Art! The paint is thicker than standard acrylic craft paints and spreads (and levels out) just beautifully. Because this paint is formulated to be an indoor/outdoor paint, you don’t need to apply a lot of coats just to get good coverage.
There’s no need to use primer with this paint, and the paint dries quickly too – although you’ll want to let it cure for about a week. The colors are rich and the paint comes in lots of color choices.
For my base coat, to match the undercoat in the frame that I was imitating, I applied two coats of Steel Grey. I also used a small touch-up brush to get in between all the glass gems to make sure they were completely covered. I let this dry overnight.
To give an old and distressed look to the table – again, similar to my inspiration piece – I rubbed the side of a candle onto the edges of the grey table, on top of the glass gems, and across the surface of the table top. You can see the faint lines of the candle wax:
The wax will “resist” the next layer of paint, making it easy to sand that layer off in places where you would expect to see normal “wear and tear” on an older piece of furniture.
I painted on a thick layer of White Birch, which is a really pretty antique white shade of paint, also in the Americana Multi-Surface Satins line. Let this layer of paint dry very well. Again, I let it dry overnight.
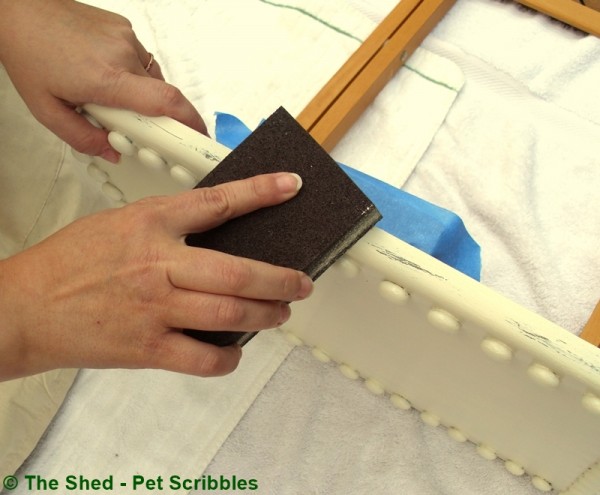
The next day it was time to sand! I used a sponge sanding block in a fine grit. When you’re sanding off paint, begin lightly until you get the feel of how easy the paint will come off. I sanded the areas where I had applied the candle wax. I used an old towel to periodically rub off the dust while I worked.
It didn’t take long until I achieved the look I was going for. How do you think I did?
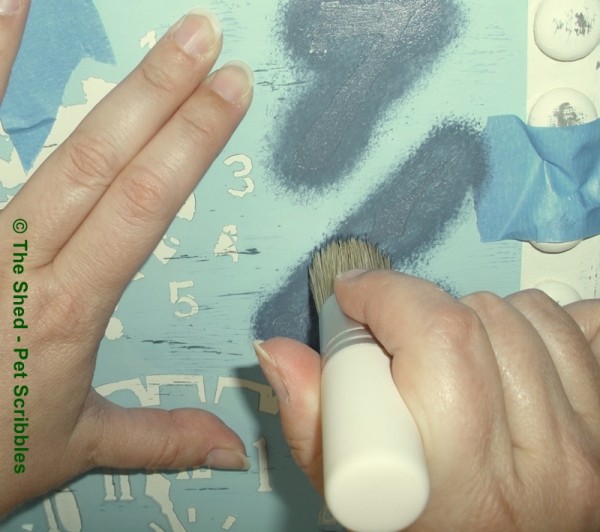
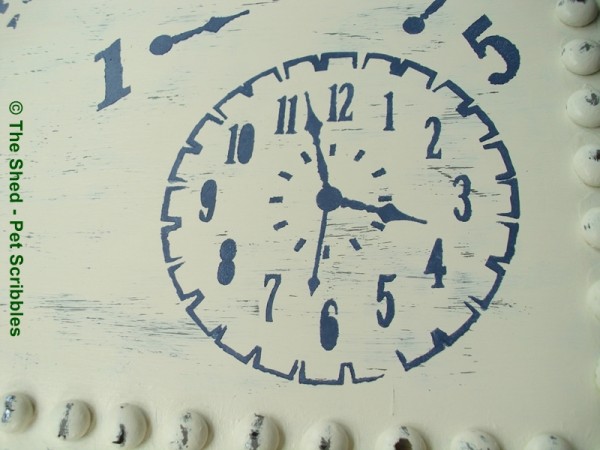
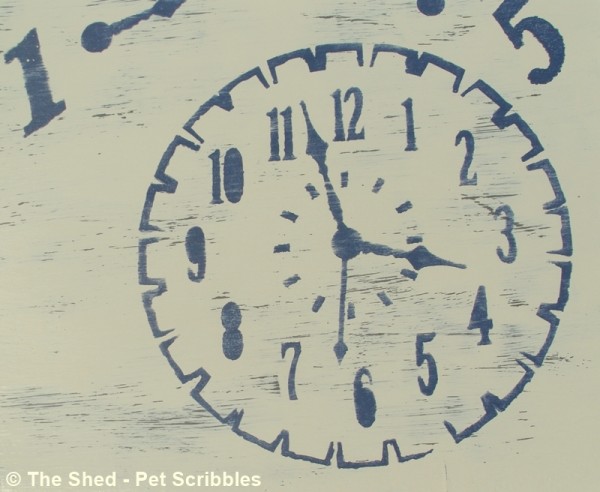
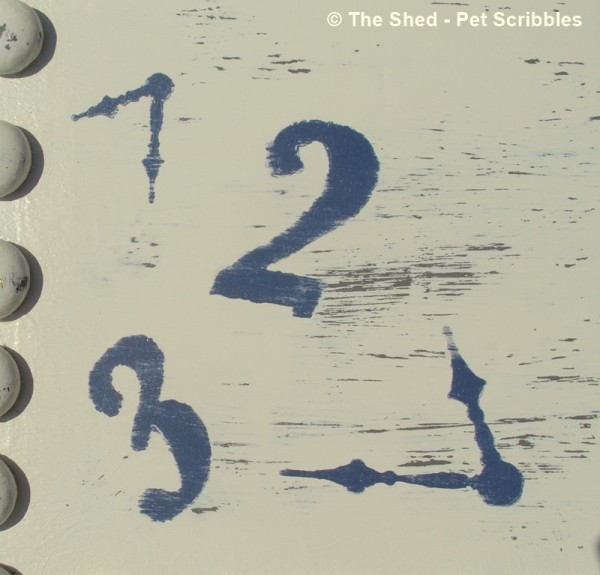
Once the table was sanded and the dust was removed, it was time to lay out the clock stencils. I used painters tape to hold the stencil down in places, and a regular stencil brush – nothing fancy is needed. For the stenciled clocks, I used a stunning dark blue shade of Multi-Surface paint called Night Sky. (I think this has quickly become my favorite shade, as I used it on my “Thotful Spot” distress sign tutorial last week too!)
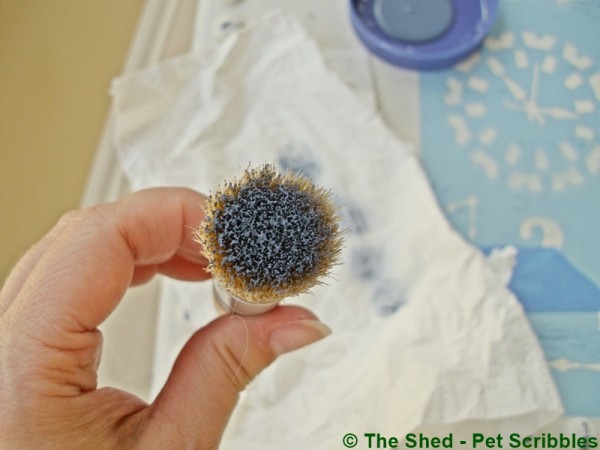
Remember that you need very little paint on your stencil brush. Just dip the tips of the bristles into your paint, and remove most of the paint onto paper towels. See the image above for what your brush should look like when you’re about to begin applying the paint. And here’s an action shot:
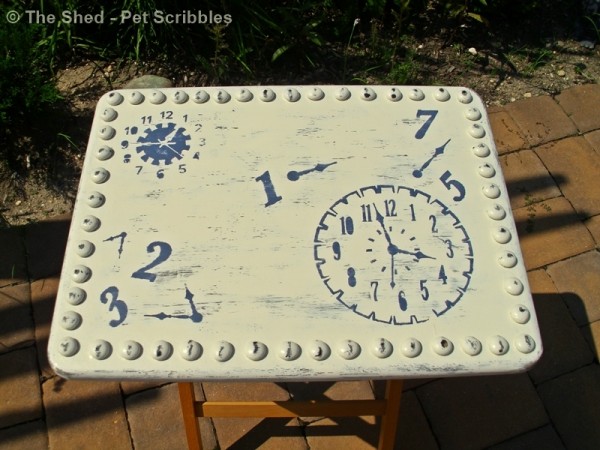
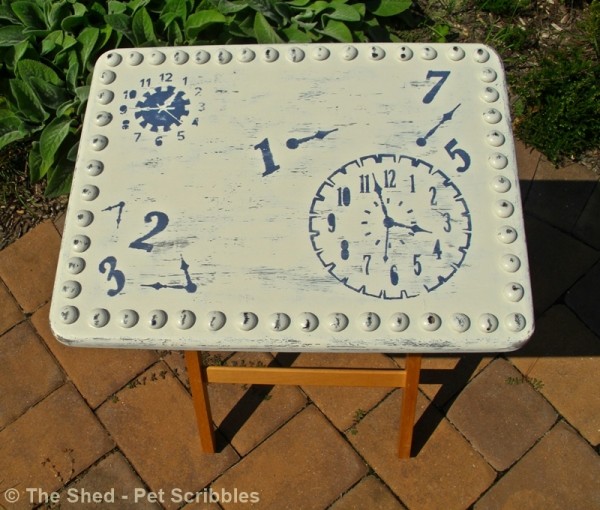
Fast forward, and the stenciling was complete! I love how the clocks and numbers look against the distressed paint background.
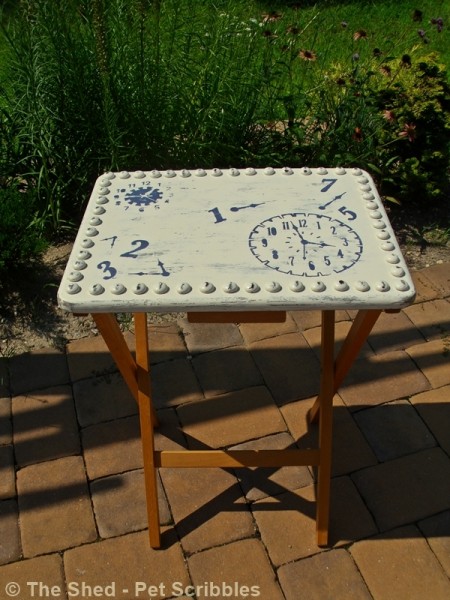
I did one more round of light sanding, just to blend the stenciled images into the distressed look a bit more, and then I was done!
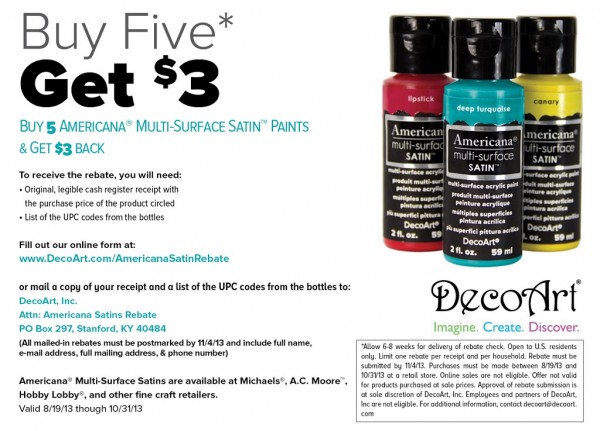
Americana Multi-Surface Satins are available for purchase at Michaels, A.C. Moore, Hobby Lobby and other fine craft retailers. And between now and the end of October, you can get $3 back for every 5 Multi-Surface Paints you buy! Think of all your upcoming crafting needs: Fall, Halloween, Christmas – both indoors and outdoors? This is a sweet deal! The details are below and also on the DecoArt website here.
I love how the table turned out, as now the table and frame look like they are a set! Much nicer than having a random tray table hanging around!
Happy Painting!
~Laura
The paint and stencils mentioned in this post were provided to me by DecoArt, but all opinions are still 100% my own.


Fantastic makeover Laura! And love paint that gives good coverage. Beautiful result!
Thanks Carol – glad you liked it! And yes – what a different in project time when using a paint like this!
Love this project and using the glass gems…brilliant!
Thanks Vanessa! The glass gems as hobnails turned out exactly like I imagined, so I was pretty stoked! 🙂
I’m a fan of the gems on there too–clever!
Awesome, Steph! Glad you like them!
OOO I love it Laura! First of all, you are always so creative. Secondly, these paints look ahhhh-some! xo
Thanks Malia! Yes, these paints ARE awesome and have made my projects actually move along more quickly! Now if only the paint could make ME move along more quickly… Hah!
Using those glass gems is GENIUS! What a great little tray – pinned!
Thanks Keri! I’m still amazed that the gem idea turned out so well. LOL
What a great idea to use the glass gems! Lovely! Thanks for stopping by DIY Vintage Chic’s Friday’s Five Features and Fun Festivities. Don’t forget to stop back by this Friday!
You’re welcome Becca! Glad you like my glass gems turned into hobnails! 🙂
Your table top looks great! I think you should do some kind of painting on the legs to make it more cohesive. What do you think.
I’ve been thinking about painting the legs ever since I redid the table top, but haven’t settled on exactly which color(s) to do. Any suggestions?