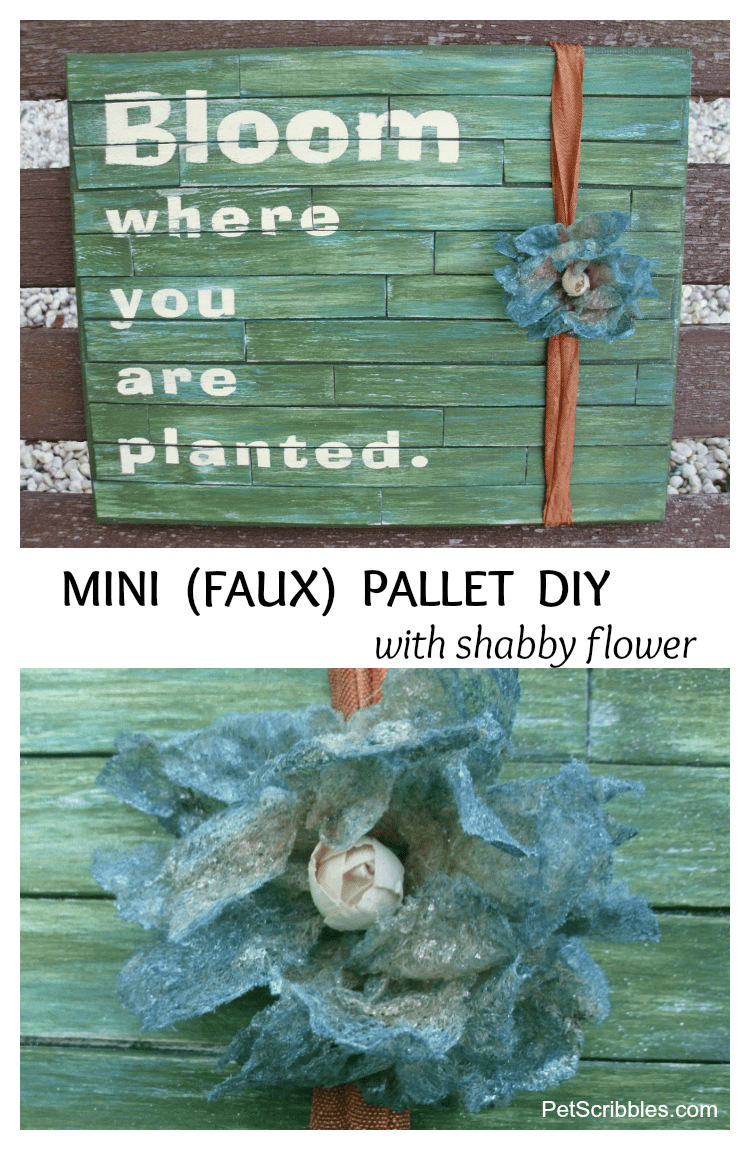
Make a mini faux pallet from popsicle craft sticks by cutting up the sticks into different lengths. Glue onto a canvas then paint and decorate! A great DIY you can customize in so many ways to fit your own decor.
A trend that I love – that is so very hot right now – is pallet art. And my favorite pieces of pallet art are those that are truly handmade, versus the mass-produced knock-offs beginning to pop up in catalogs and home decor stores.
I’ve spent the past week working on a fun mini faux pallet art project that was inspired by a tutorial I saw on U Create Crafts. I liked the idea of creating a small version of pallet art without the effort of using actual pallets. And what I truly love about this particular DIY is that the pallet “slats” look very real, as they are alternated on each row rather than just one giant slat all the way across.
Supplies for your mini faux pallet!
Jumbo craft sticks, blank 8″x10″ canvas, assorted colors of acrylic craft paints, sanding block or sandpaper, paint brushes, paper towels, stencil for letters, strong glue.

Turn craft sticks into a mini faux pallet!
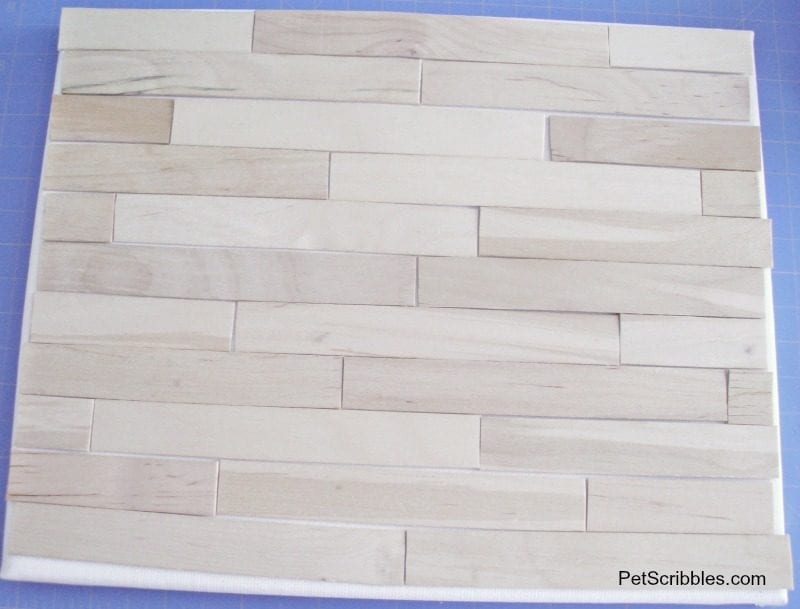
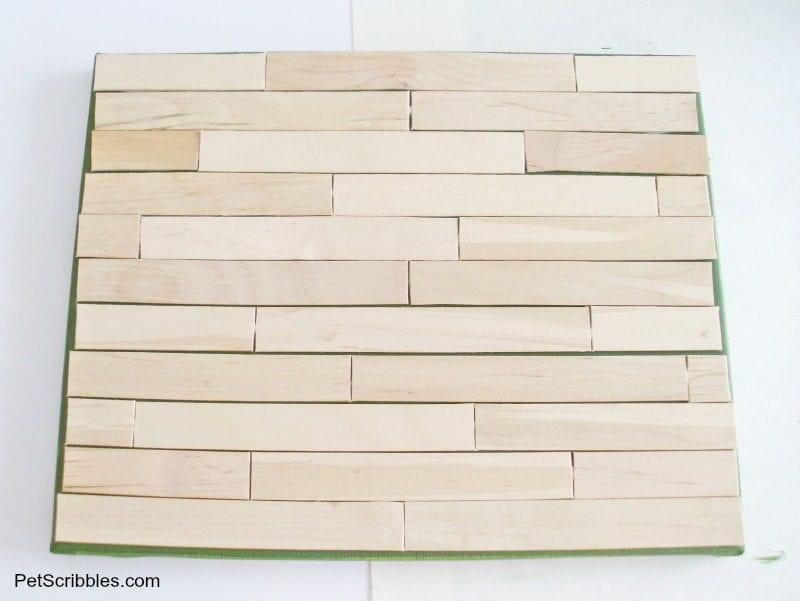
Step One: Cut the rounded ends off of each craft stick, and begin to put them in position on your canvas. All you’re doing in this step is seeing how many you will need. You are not gluing anything down yet.
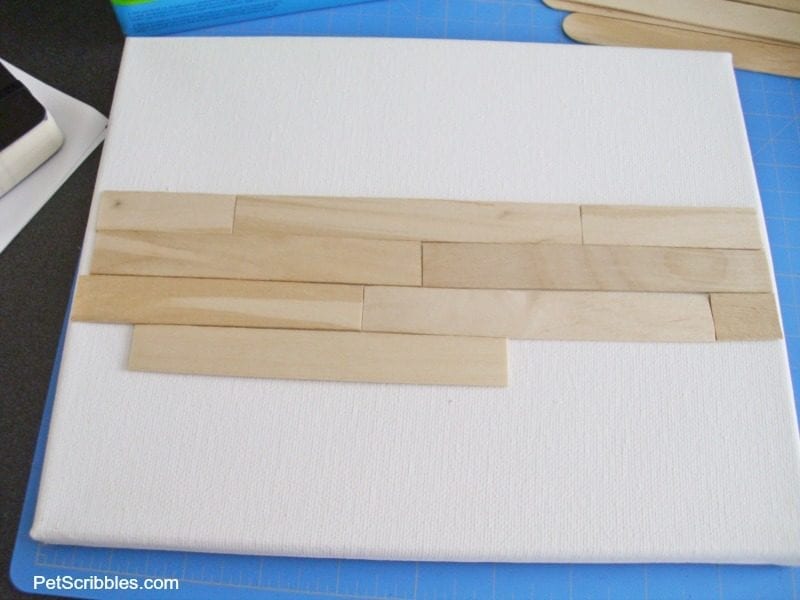
Once you have them all in place, begin to cut them into different lengths so they will look more like a wood pallet when glued together. (See pictures for examples.) Cut some sticks in half, cut others into 3 separate pieces. There’s no precise method.
Paint the canvas!
Step Two: Once you have positioned all of your pieces, it is time to paint your canvas the same base color that your craft sticks will (eventually) be painted. (I chose a greenish-olive color.)
Note: I bought a 2-pack of canvases, which came in handy: I was able to keep my positioned craft sticks on the canvas, and take the other canvas to actually paint. This way, I didn’t lose my pattern that I had mapped out.
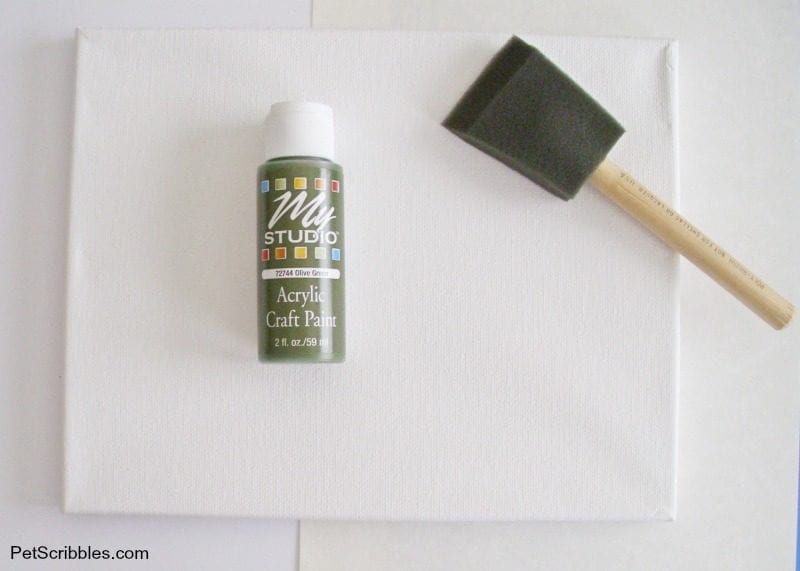
I painted two quick coats. Let dry.
Attach the craft sticks to the canvas!
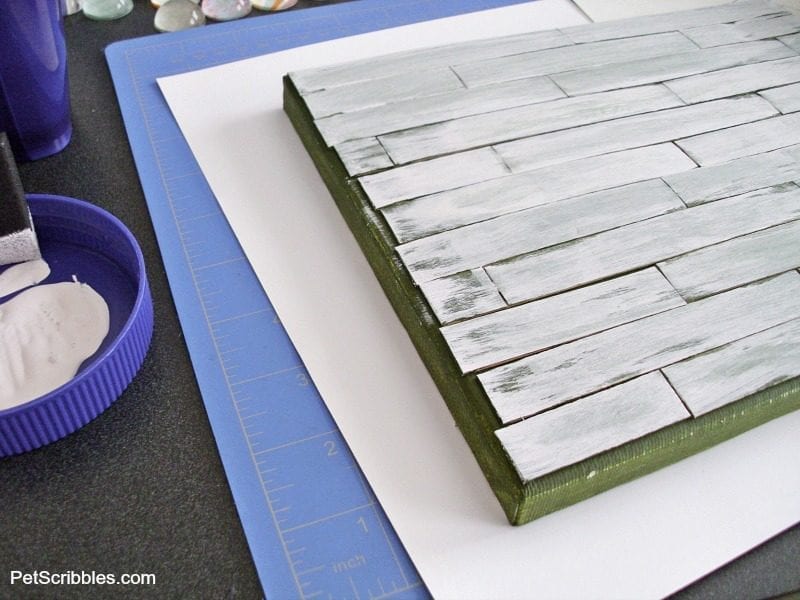
Step Three: Glue the craft sticks onto the canvas as shown in the photo. (I used Aleene’s Turbo Tacky Glue.) I kept the line of glue toward the “center” of each row of craft sticks, so that any glue seeping out was minimal.
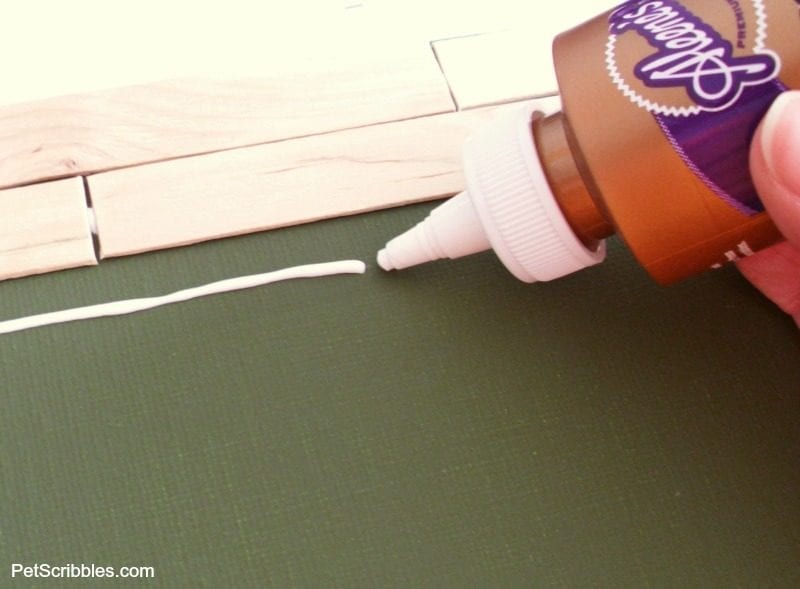
Once all sticks are glued down, let everything dry.
(For the remaining steps, I’m going to call this “the pallet” from here on out.)
Paint the mini faux pallet!
Step Four: Using the same paint that you used to paint your canvas, paint a few coats onto the pallet. Let dry.
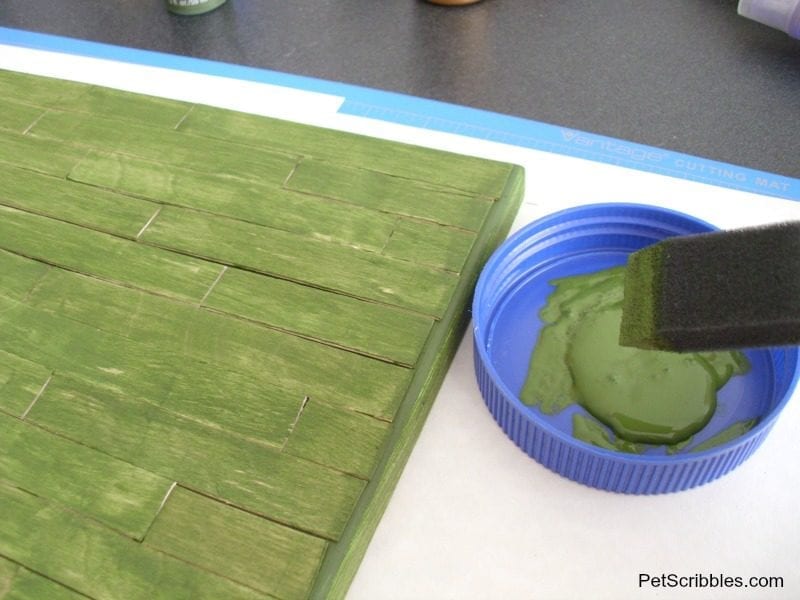
Once dry, lightly sand the surface of your pallet.

Step Five: Take at least two other colors of craft paint and dry brush those colors onto the pallet. I chose a very pale pink, and brushed that over the green.
Once almost dry, I then took some bright aqua paint and brushed that on, covering about three-quarters of the pallet and then immediately wiped most of the paint off with a paper towel. Time for the green paint again, brush it on, wipe it off.
Here is an “action shot” of the pallet after wiping a layer of aqua paint off:
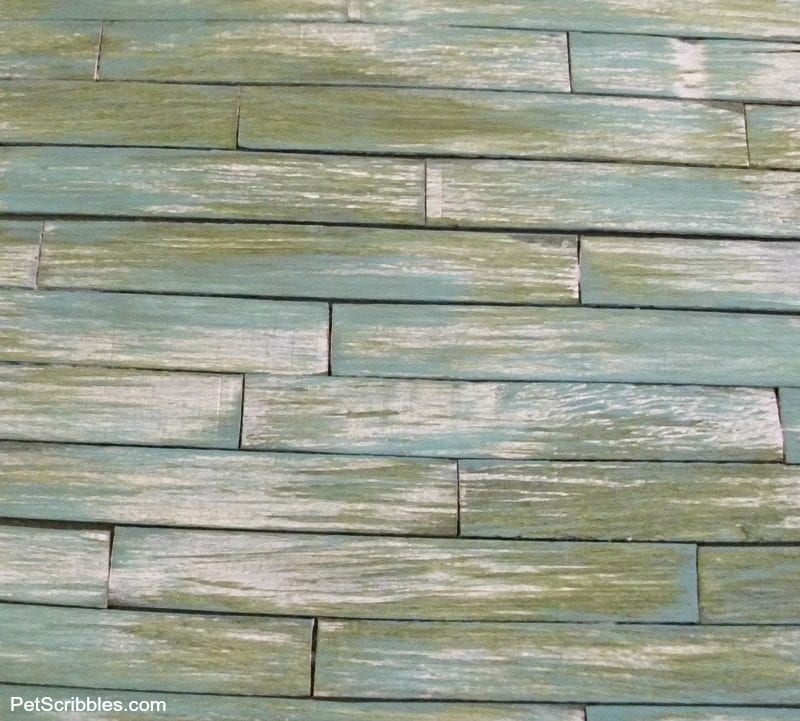
Then I made a wash of navy blue (basically a mix of the navy blue craft paint heavily watered down), and brushed that on over the entire pallet. After letting it sit for about 5 minutes, I then wiped that layer off. I kept repeating this process until I was satisfied with how it looked. Play around with this step and have fun with it. The look I was going for was an old pallet that had been painted over many times in its life.
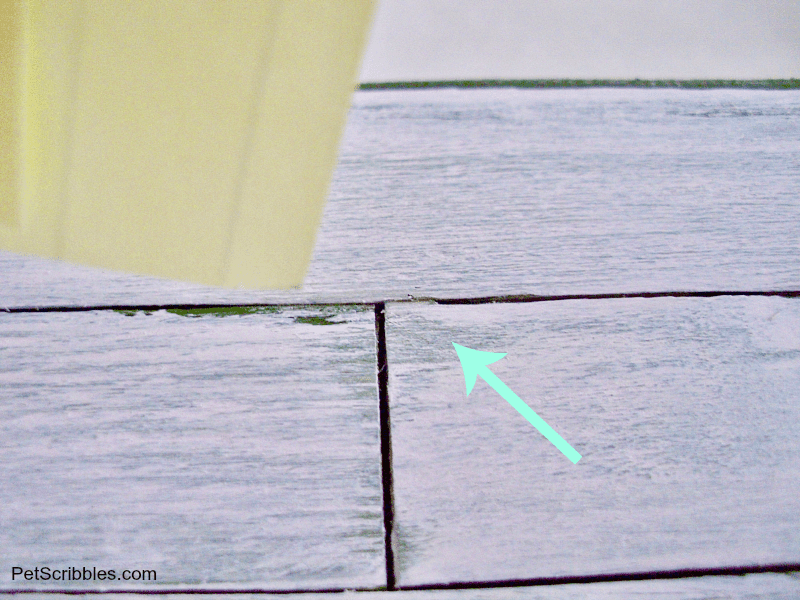
How to remove paint globs from between the pallet slats
If you get any paint “globs” that don’t want to sink down between the pallet slats, like this . . .
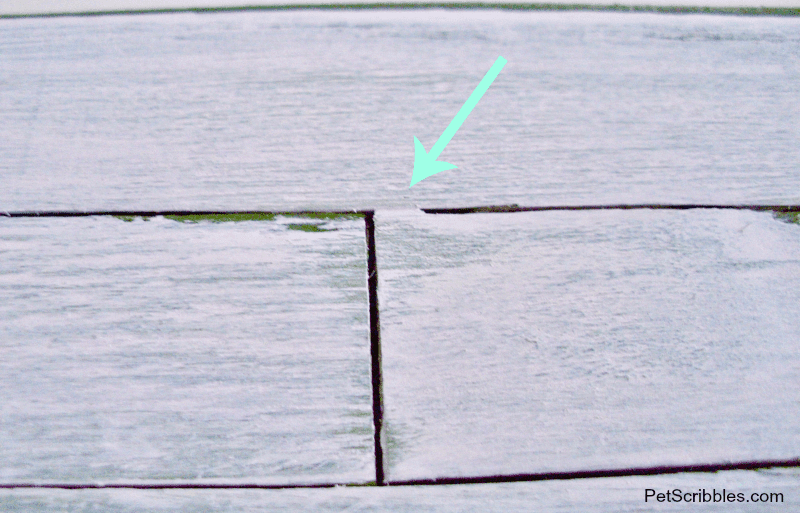
. . . here is an easy trick:
Take the edge of a post-it note and run a corner down between the slats:
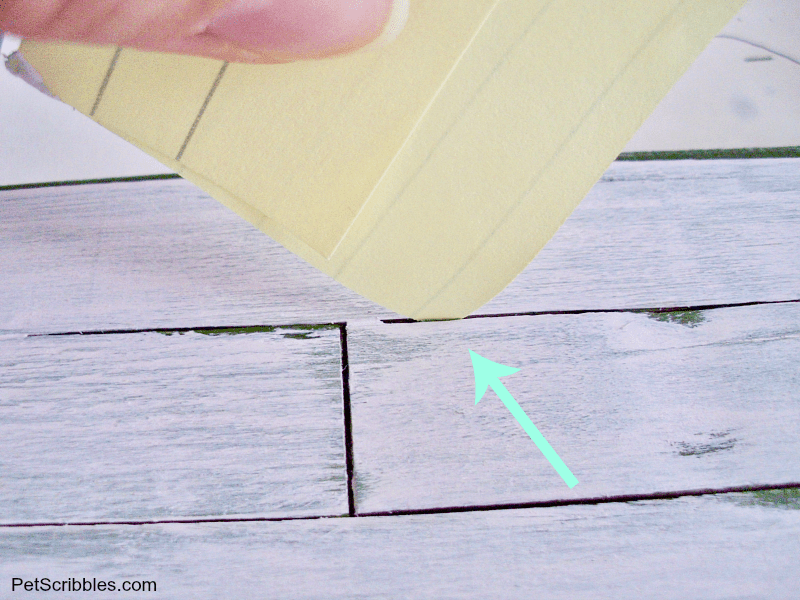
The glob is removed!
Sand the pallet!
Step Six: Sand the pallet down very well, which will further blend all the colors together and will give it an old, distressed look. Wipe the pallet with a soft cloth to remove any dust. Then decide if you’re satisfied with the final color, or if you want to add another layer, or just a few bits of one color here and there. You can’t go wrong, so definitely take some time to play.
Note: Make sure to also paint the sides of your canvas to match the pallet. I painted the sides with both the green-olive paint and the bright aqua paint, layered over each other, to match the front of the pallet. You can also cut up more craft sticks and attach them to the sides, then paint, etc. Maybe I’ll do that on a future project.
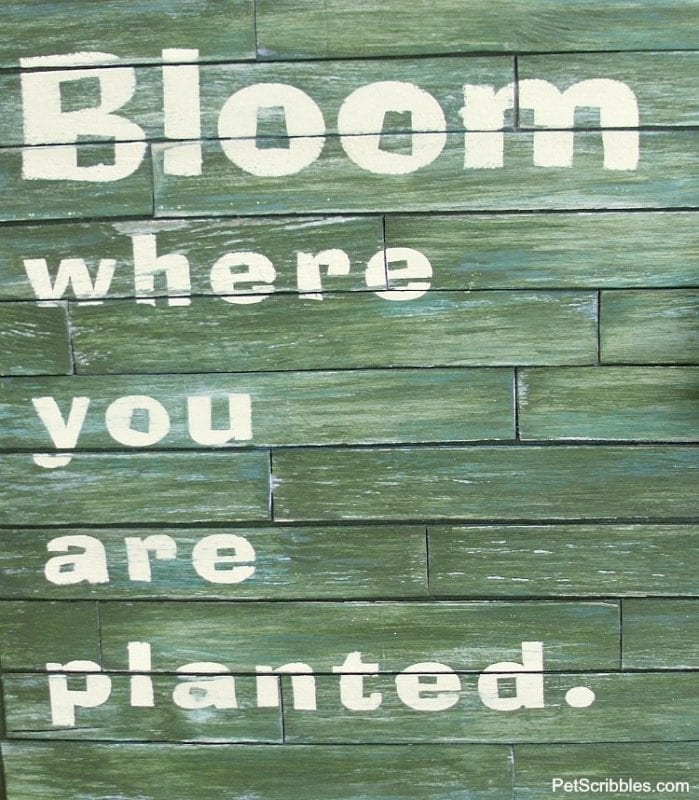
Add some words!
Step Seven: For the words, I made a stencil out of vinyl with my Silhouette Cameo.
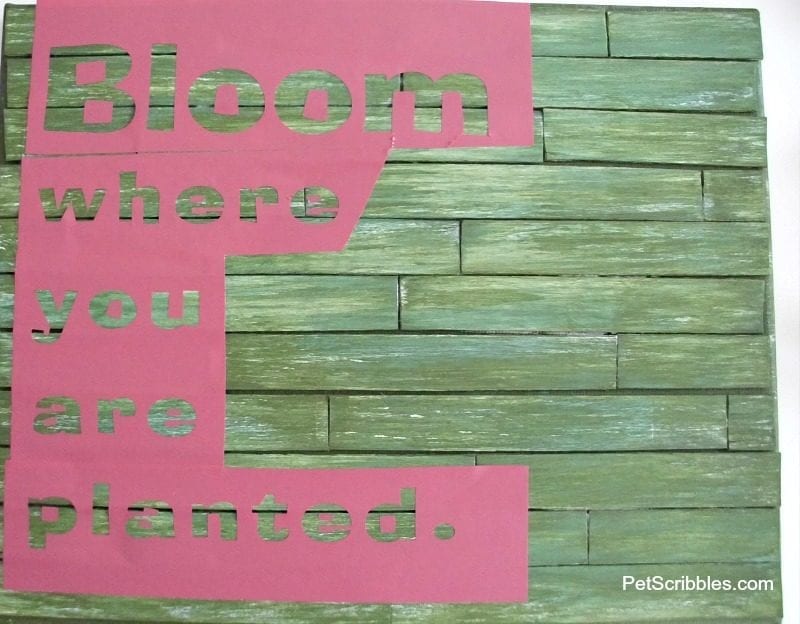
I weeded the letters off the vinyl, and then adhered the “outline” of the letters onto my pallet as shown in the picture.
Step Eight: Using a pouncer, and some pale yellow paint, I lightly painted inside the letters.
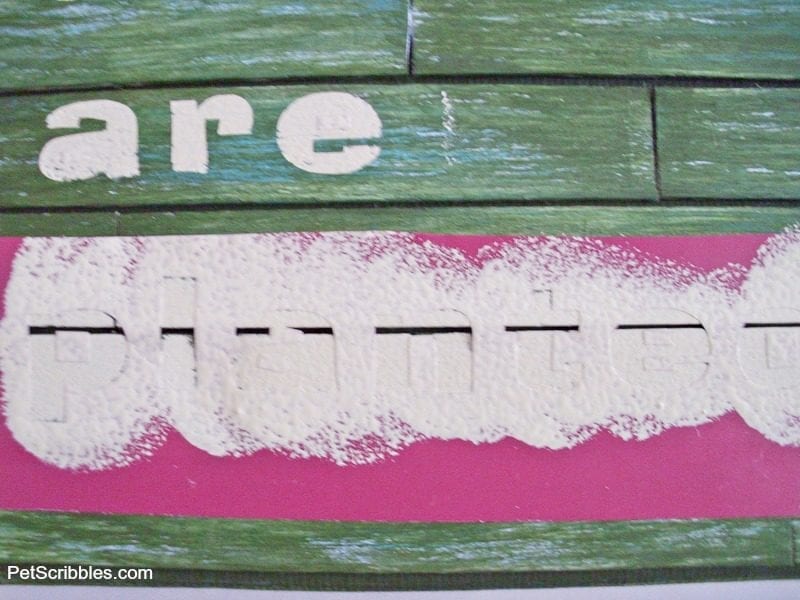
I then removed the stencil while the paint was still wet, and touched up the letters with a tiny paintbrush.
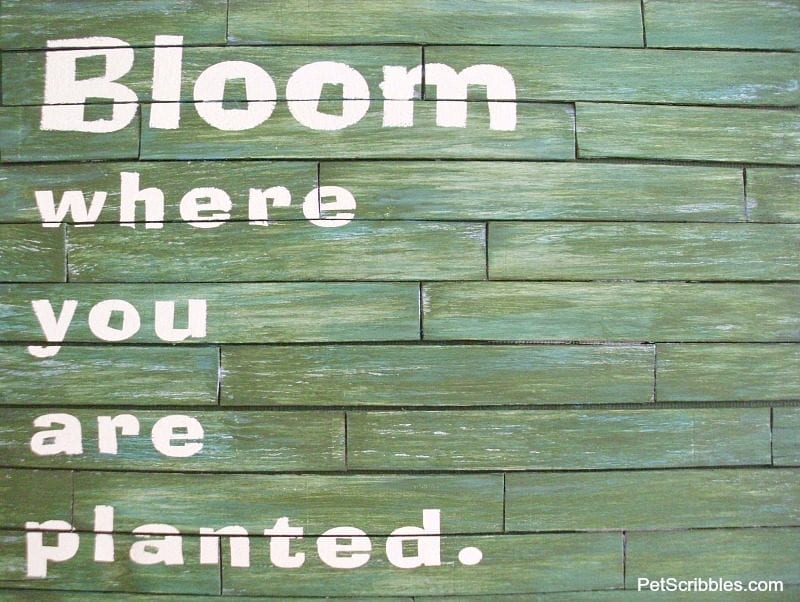
Let dry, and then give the entire pallet – words included – a light sanding to “age” the letters.
Again, it’s entirely up to you how much or how little you sand everything.
Add a flower!
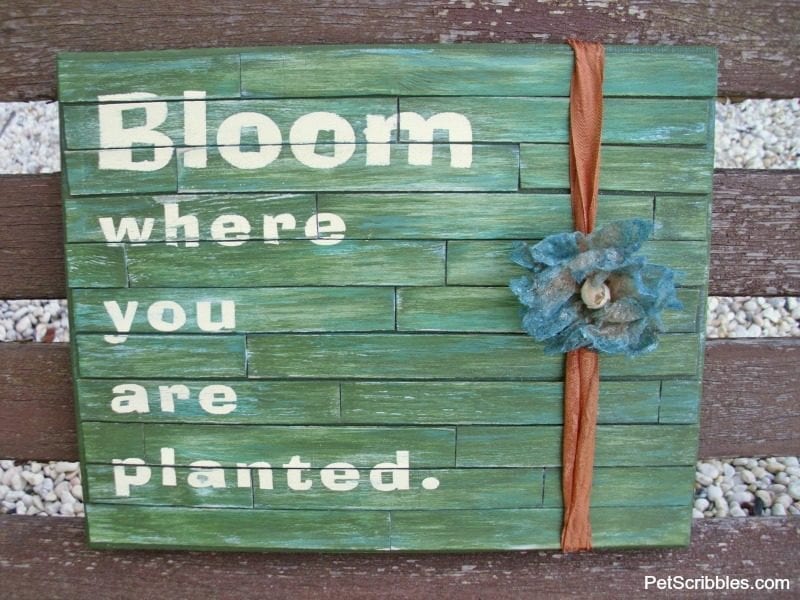
Step Nine: Make some flowers! I purposely wanted my phrase down the left side of the pallet, so there would be room to attach some flowers.
What kind of flowers? How about flowers made out of used dryer sheets!
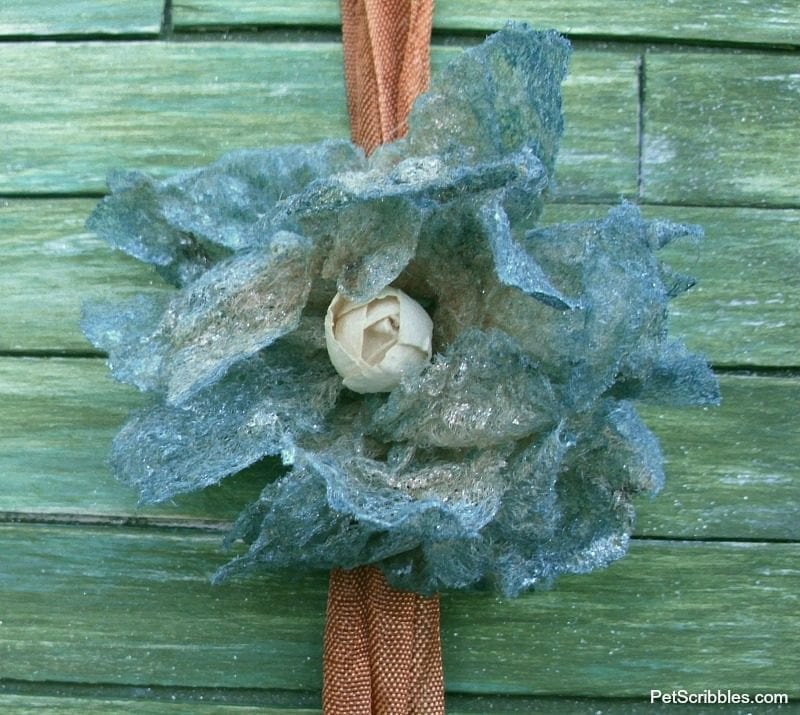
Isn’t it pretty?
Want to learn how to make your own?
Click here for my tutorial: Dryer Sheet Flowers Tutorial!
Step Ten: Attach the flower with wire around the seam binding ribbon. Attach the paper flower center with super-strong glue. Let dry overnight. Attach some bits of felt to the back of the pallet art, to prevent scratching your walls, whether you hang it up or lean it on a shelf or mantel.
Mini Faux Pallet!
Ta-daah! (That’s me singing, with my best gameshow model sweep-of-the-hands to show you my finished work!)
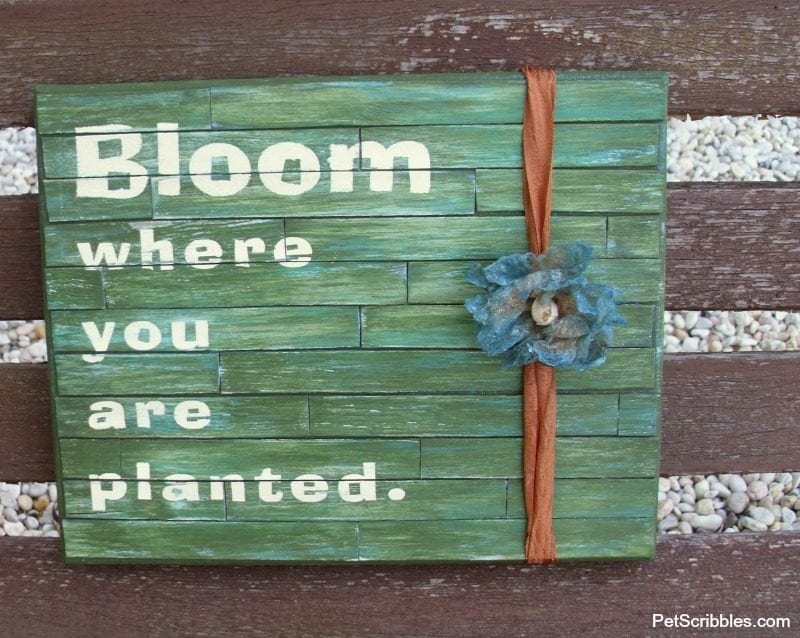
I photographed this on our outdoor bench which has wooden slats. That’s kind of funny to me now that I think about it: faux wooden slats photographed on real ones!
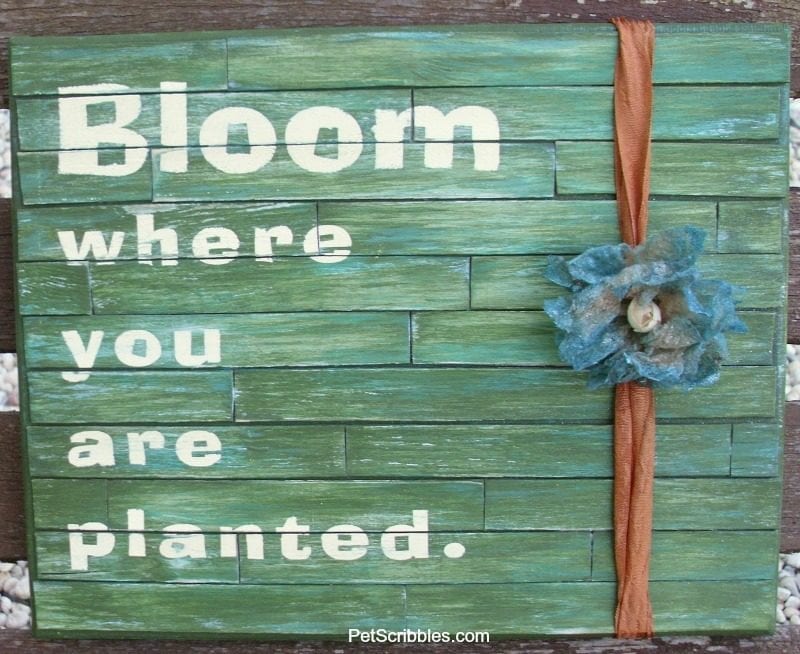
I love the way it turned out, and I don’t think you can truly tell this was made with simple popsicle sticks.
What do you think?
Can you tell these started out as popsicle sticks?
Happy crafting!
Very cool! Thanks for sharing!
Thanks Kim! 🙂
Adorable and so very creative! I love that you used jumbo craft sticks…genius!
Thanks Abbie! As soon as I saw Kari’s tutorial with the craft sticks, I thought the same thing: genius! 🙂
Love it! ….off to buy me some jumbo popsicle stick!
Hah! 🙂 Thanks Misty…and again: your video for the dryer sheet flowers rocks!
I love it when 2 great crafters collide! Laura, I’m a new follow and so happy to have found you. I’ve been following Misty for a little while and I love her so much. Thank you both for giving me a wonderful weekend project 🙂 Laura S.
Happy to meet you, Laura! 🙂 And I love your name! Definitely let me know if you make the flowers or the faux pallet art – I’d love to see what you come up with. (And yes, I love Misty’s work too!)
Laura, you did an awesome job! I love that green/white washing technique you used.
Thanks so much for stopping by to share!!
Thanks Kari – that means a lot, as your tutorial was my inspiration! 🙂 You rock!
I love this! Great look and looks like such fun to do. I’ve never heard of reusing old dryer sheets, will definitely be looking into that!
Saw you at Debbiedoo’s Newbie Party and I’m now following you! Great blog!
Debbie 🙂
Thanks so much Debbie! Always nice to meet a fellow gardening addict, as I saw you describe yourself on your blog! 🙂 Yes, the dryer sheet flowers are really amazing, so I hope to get myself in gear to do a tutorial on it soon!
Really cute! I love the finishing touch with the fabric flower.
Blessings, Nici
Thanks Nici! I appreciate it! 🙂
This is so cute Laura! I want it. Do you need my address 😉
You are so sweet, Johnnie!
I LOVE this faux pallet look. So glad Amy over at Plucking Daisies linked to your 2012 top projects! I will be back to browse some more. Thanks for this tutorial…it goes on my list to try in 2013!
Wow – thanks Jan! I can thank Amy now too, as I just opened up your blog and am completely in awe of your artwork! So it goes w/out saying, but I’ll be doing the same thing as you: coming back to your blog to browse some more! 🙂 Happy New Year!
This is so cute!!!
Thank you, Katie! Glad you like it!
I love this! I have so many ideas of what I can paint on faux pallets. I think I will be buying some craft sticks when I am at work tomorrow at Michaels. 🙂 Thanks so much for sharing.
Thanks so much Trisha! That’s exactly what happens: you will come up with so many ideas using the “wood pallets” as the backdrop! I’d love to see what you come up with!