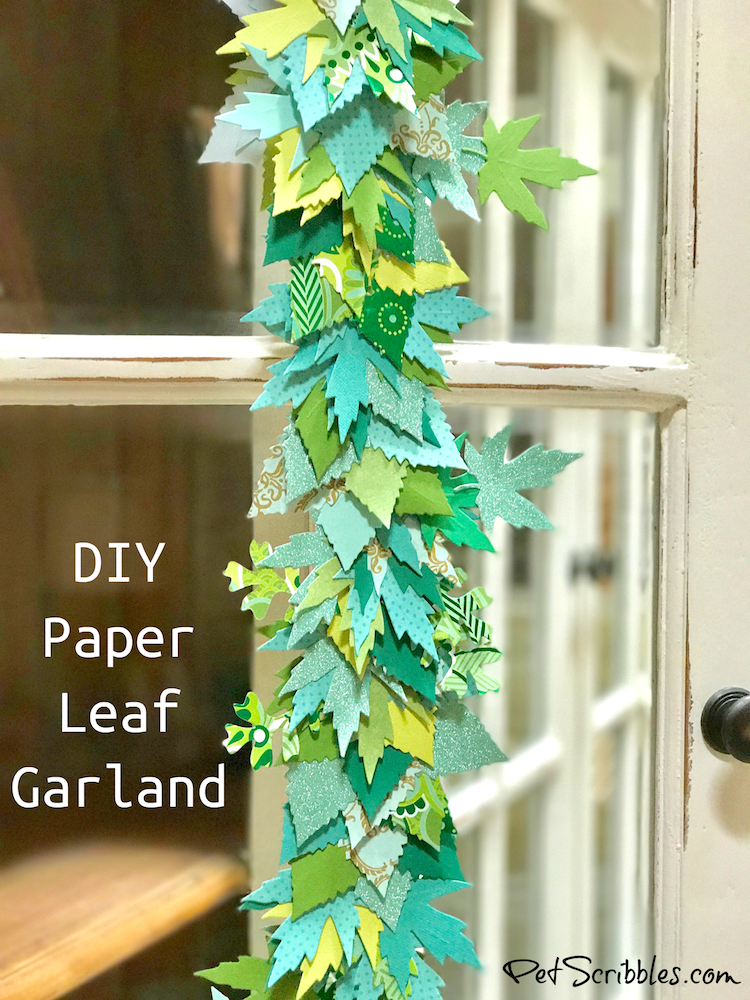
How to make a beautiful paper leaf garland with your paper scraps, a paper trimmer, adhesive and staples! The staples make this craft quicker to put together than just using adhesive, plus your leaves won’t blow away!
This week, the Xyron Design Team is sharing projects we’ve created using office supplies!
So before I get to my paper leaf garland tutorial, I want to share my own thoughts about some fun products I tried out recently!
FTC Disclaimer: I’ve received products/compensation as part of the Xyron Design Team. This paper leaf garland tutorial, however, is 100% my own project! Some of the links in this post are affiliate links. I explain more here.
Swingline
You’re probably familiar with ACCO Brands — the parent company of Xyron — and don’t even realize it.
They are the parent company of many popular brands, including Swingline.
Did you immediately think of a stapler?
So did I!
But there’s another product Swingline makes that is a must-have for your craft needs:
The Swingline Classic Cut Lite Guillotine Trimmer — otherwise known as a paper trimmer!
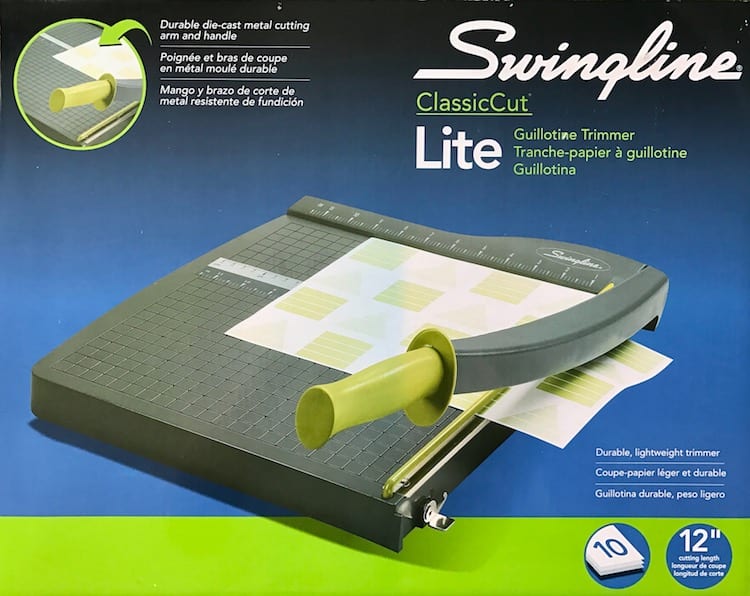
This paper trimmer — in fact — is “Amazon’s Choice” for paper trimmers!
If you follow me on Instagram — and I hope that you do — you saw this post I shared earlier this week:
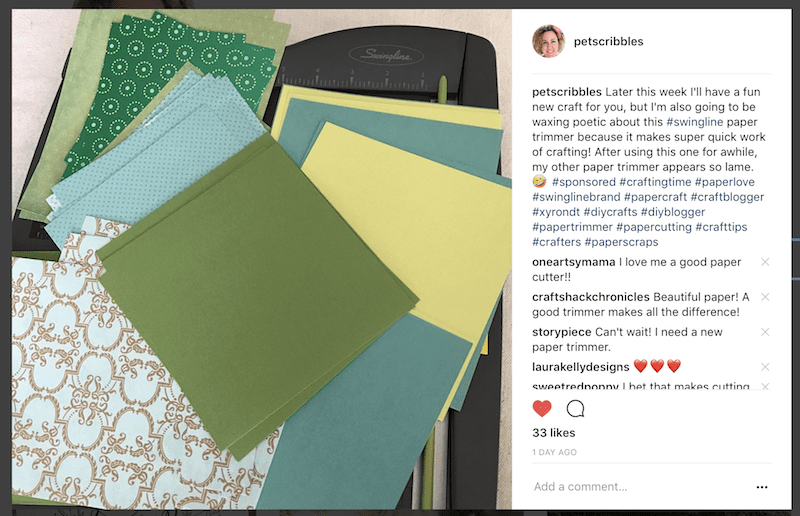
So here’s where I wax poetic, because this paper trimmer is so much better than the trimmer I’ve been using for years.
So much better!
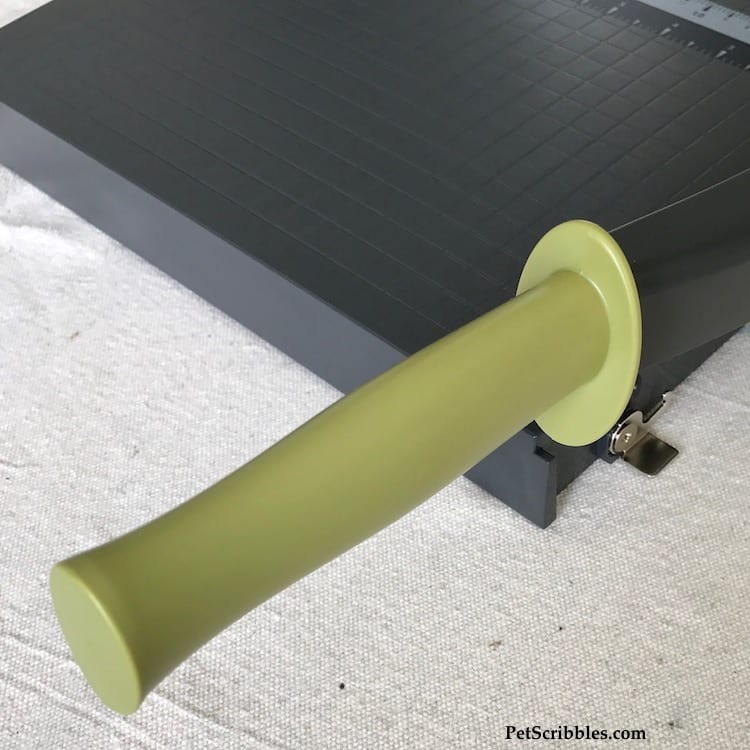
The very first thing I noticed — and you will too — is that this paper trimmer is super lightweight! (And again, compared to my previous heavy one, this is a nice feature to have!)
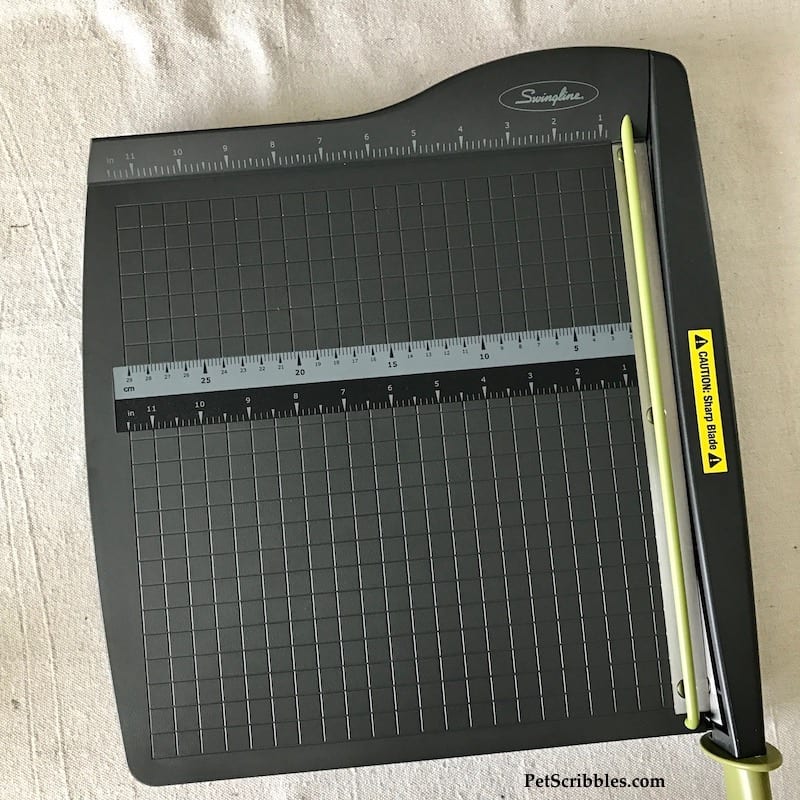
And although the Swingline paper trimmer is lightweight, it also has a durable plastic base, with feet that won’t let the trimmer slip around on your work surface.
In the image above, you can see the alignment grid for accurate measuring and cutting — super handy!
And speaking of handy — I couldn’t fit the paper trimmer’s handle into my picture above — so here’s a picture of the handle, which is made of durable die-cast metal, as is the cutting arm attached to it.
Most important feature ever?
This Swingline paper trimmer has a self-sharpening blade!
I repeat: a self-sharpening blade!
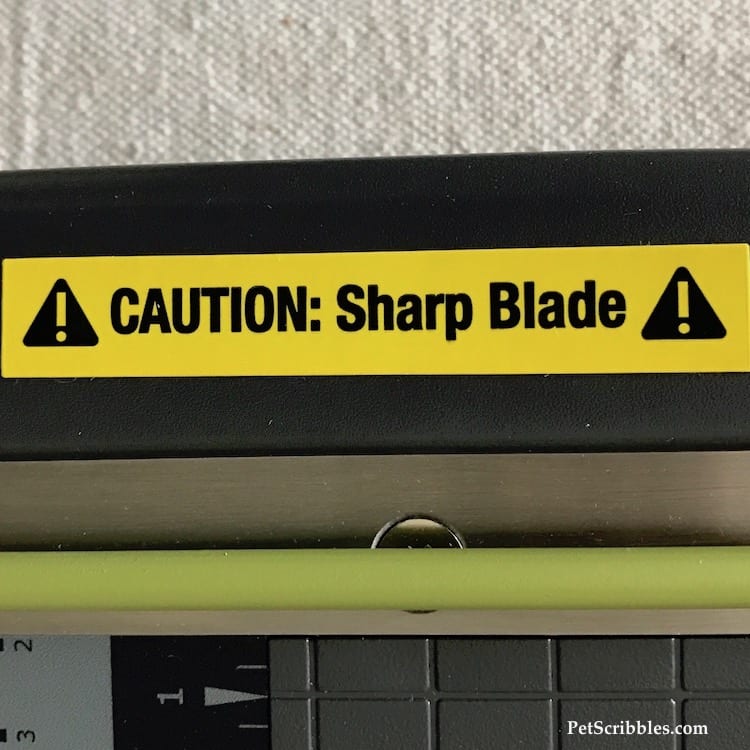
Helpful tip: That blade is indeed sharp, so my suggestion is to not remove this sticker (shown below) from the cutting arm, especially if you’ve got little ones around. To me, this is a professional paper trimmer. But if you’re going to have your kids use this, please supervise them closely.
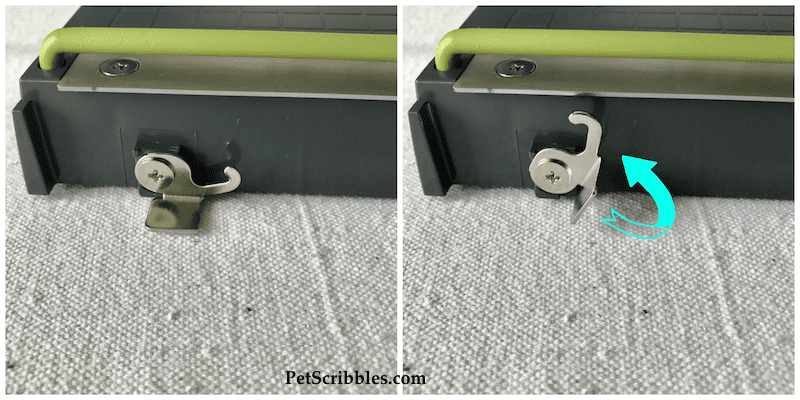
There’s a protective guard rail as well as a safety latch to lock the cutting arm in place. Works well and stays put!
Second most important feature?
This Swingline paper trimmer has a 12″ cutting length, which is perfect for scrapbook and decoratiave 12″ x 12″ papers!
This trimmer can cut up to 10 sheets at a time, depending of course on their thickness.
And last but not least — the super cool retro Avocado green color is so fun!
How to make a beautiful paper leaf garland!
Supplies:
- Swingline Paper Trimmer
- Swingline Stapler, Retro, Legacy #27, Green
- Xyron® Mega Runner
- Swingline Color Bright Staples – Green
- Diecut machine (I used my Sizzix Big Shot)
- Sizzix Thinlits Fall Foliage Die Set by Tim Holtz
- Decorative cardstock
- Decorative paper
- Paper scraps
- Satin ribbon, cut to size
Tutorial:
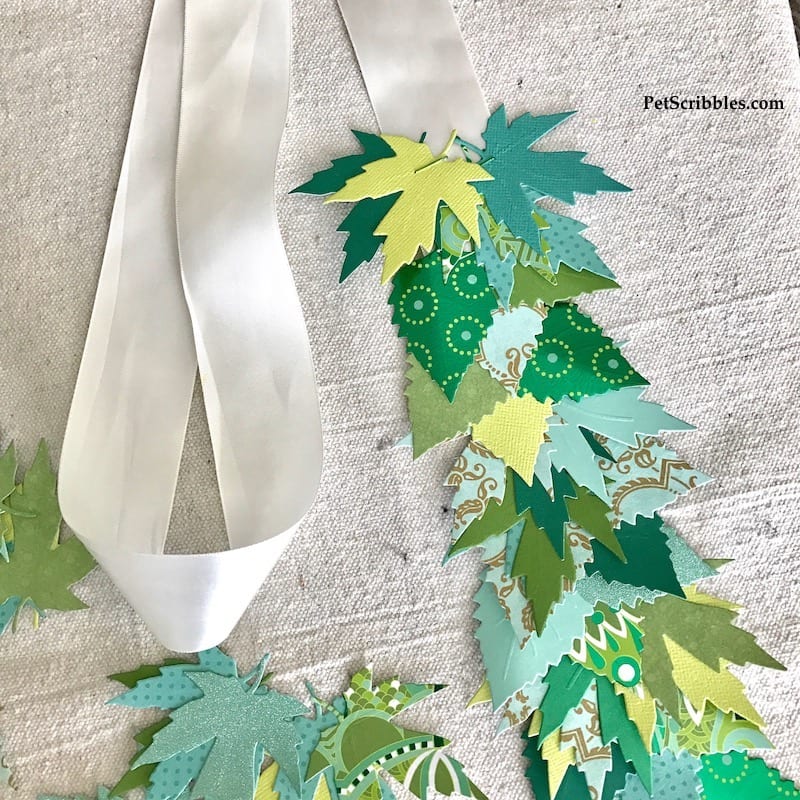
Step One: Measure and decide how long you want your garland to be, then cut a piece of ribbon to the desired length.
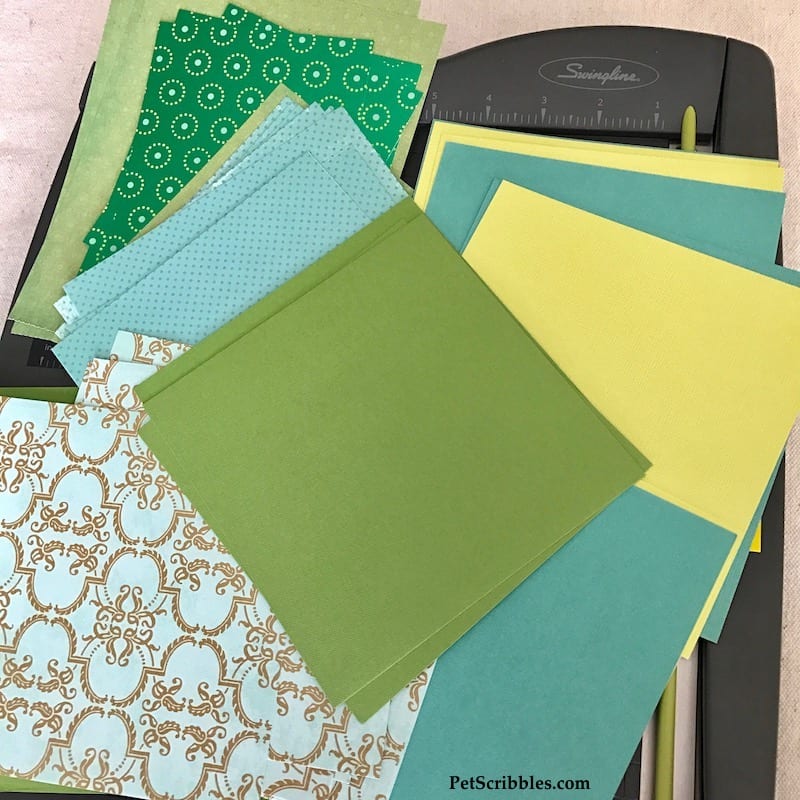
Step Two: Using the Swingline Paper Trimmer, cut decorative papers and cardstocks down to a size that can fit through your die-cutting machine.
This step went very fast, because you can cut multiple sheets at once!
Step Three: Using your die cutting machine of choice, cut out some leaf shapes.
I used a Tim Holtz “Fall” package of leaf shape dies. (Let’s face it — these leaf shapes are good for any time of the year!)
Step Four: Attach the leaves together in groups of two’s and three’s, using the Xyron Mega Runner.
At first I was being very precise with making my leaf sets, as you can see below . . .

. . . and then I started to get more creative . . .
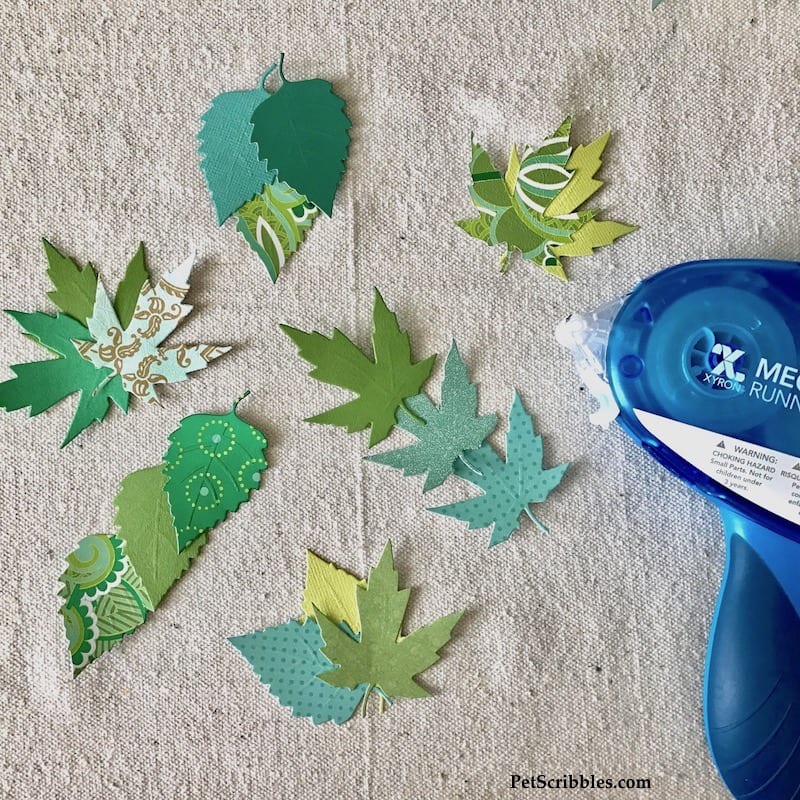
Much better!
We interrupt this tutorial to show you a stapler!
And now just a few words about the coolest stapler I’ve ever owned!
(And this is coming from someone who may or may not have taken her office stapler with her when she left her previous corporate job/life!)
Behold: the Swingline Legendary #27 Model Stapler!
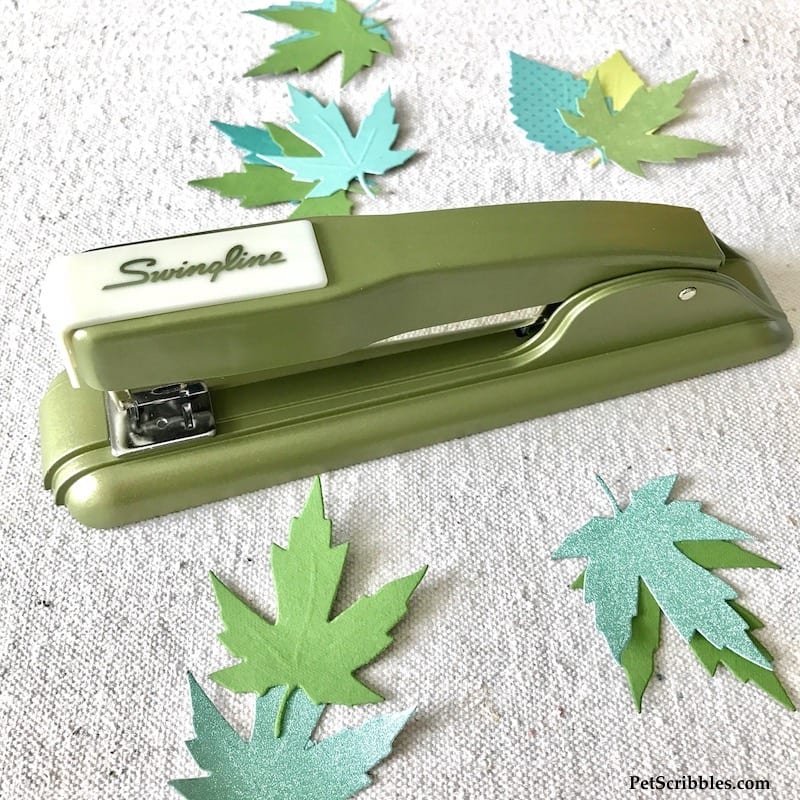
Isn’t it wonderful?
Again, that Avocado green color has me swooning, and had my 85-years young Mother laughing, as I told her about the Avocado green color.
Way back when, our first kitchen was filled with Avocado green appliances and accessories, as that was the hot color!
If you’re my age or older, you know what I’m talking about!
This “new” stapler was inspired by Swingline’s legendary stapler design from the 1970s! I love the retro design and color so much!
Other cool things about this stapler?
- durable metal construction
- staples up to 20 sheets at a time
- opens for tacking, to post papers to bulletin boards and more
- comes in red, blue and green — which I’m calling Avocado green!
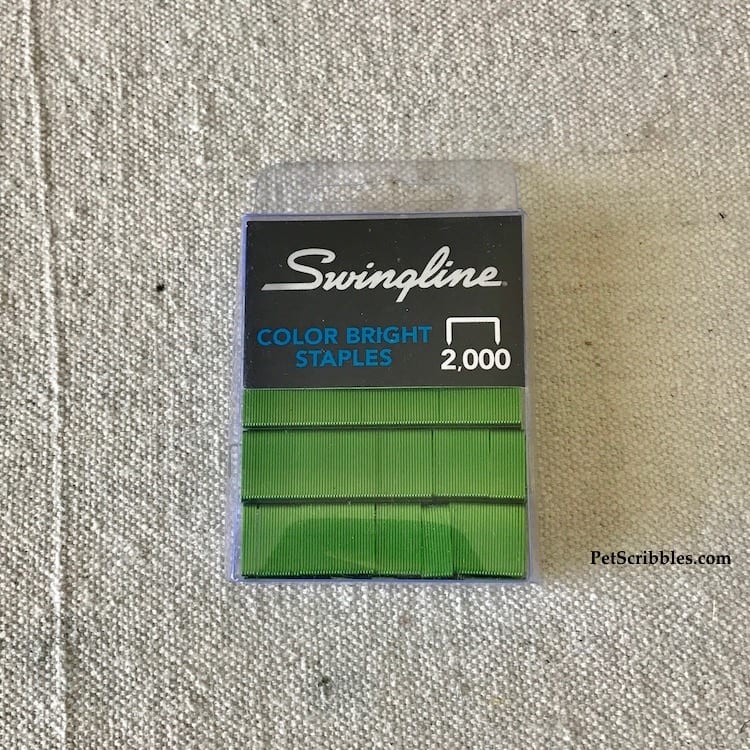
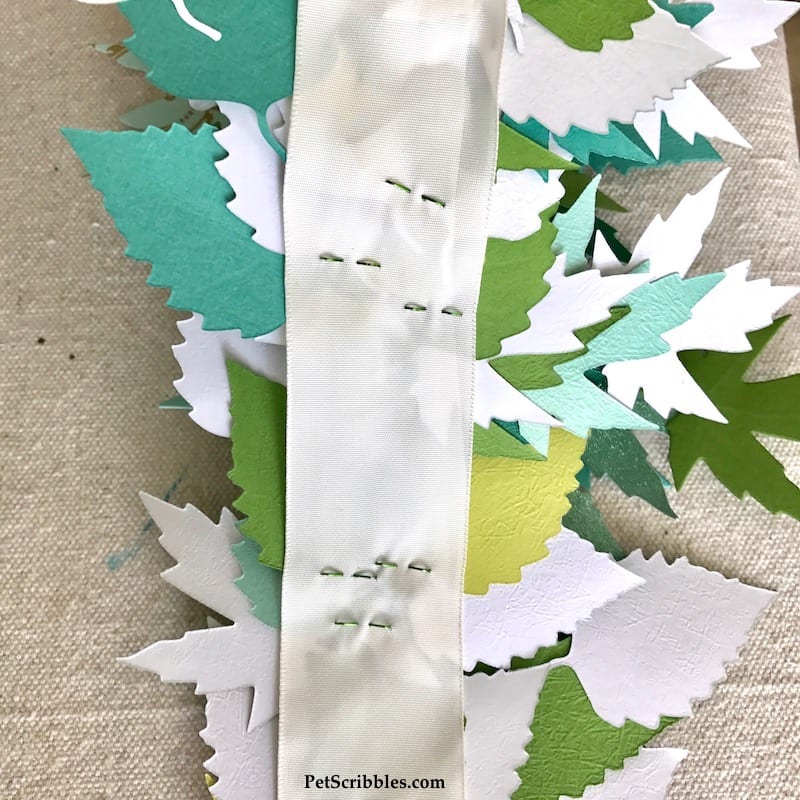
Step Five: Begin putting the paper leaf garland together by stapling each leaf grouping to the length of ribbon.
I found matching green staples on Amazon! I bought them just in case any of my staples would show through in my garland. And I saw on Amazon that Swingline makes these in several fun colors!
Start attaching your leaves at one end of the ribbon. Staple a leaf grouping to the ribbon, then slightly overlap the next leaf grouping to cover the staple, and then attach that to the ribbon.
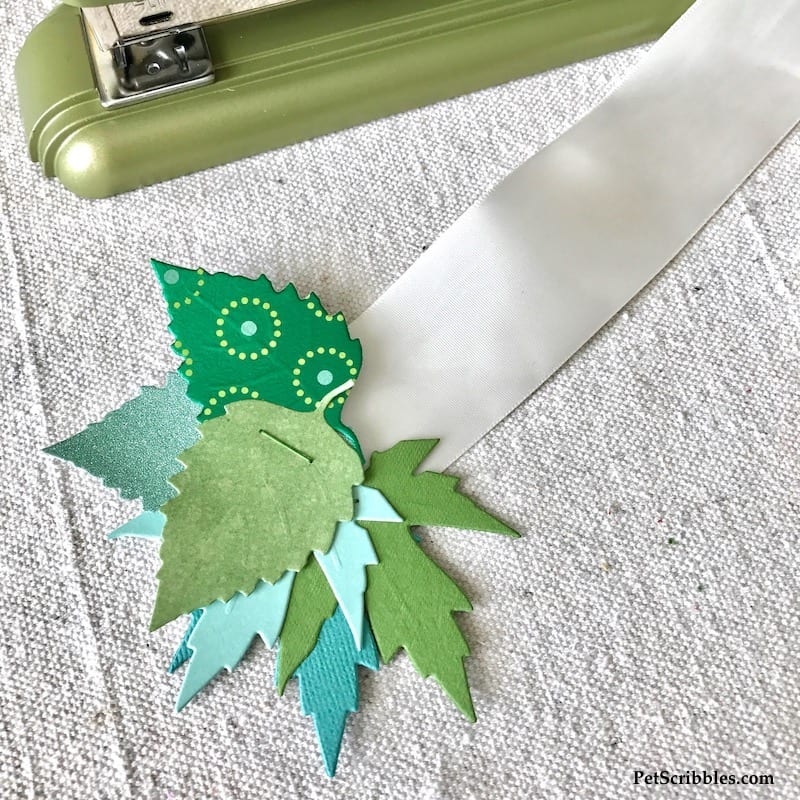
Just keep repeating this process!
Here’s what the back of the ribbon looks like. Nobody will see this side, so no worries!
Don’t repeat the same colors in a row, or at least try not to.
But more importantly: don’t overthink it, and your garland will look much more natural that way!
Helpful tip: When you get to the opposite end of the ribbon, reverse the direction of the leaves so that each end has leaves hanging off the ribbon. This is more of an issue if you’re making a horizontal garland.
Step Six: Fill in any gaps with additional leaf clusters, if needed.
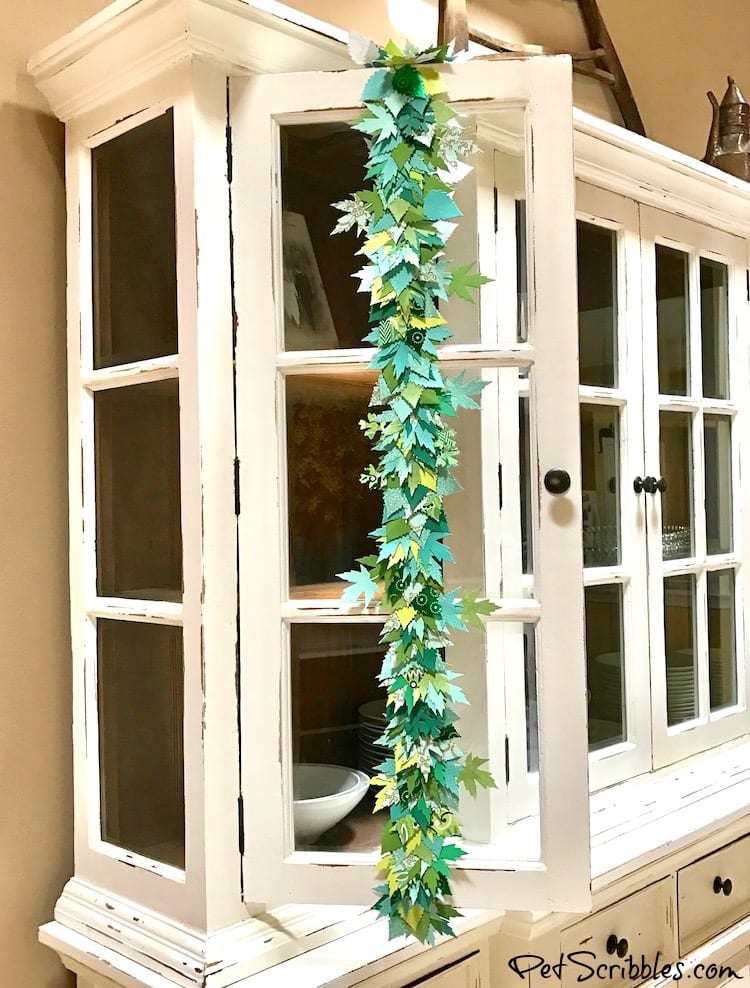
And that’s it!
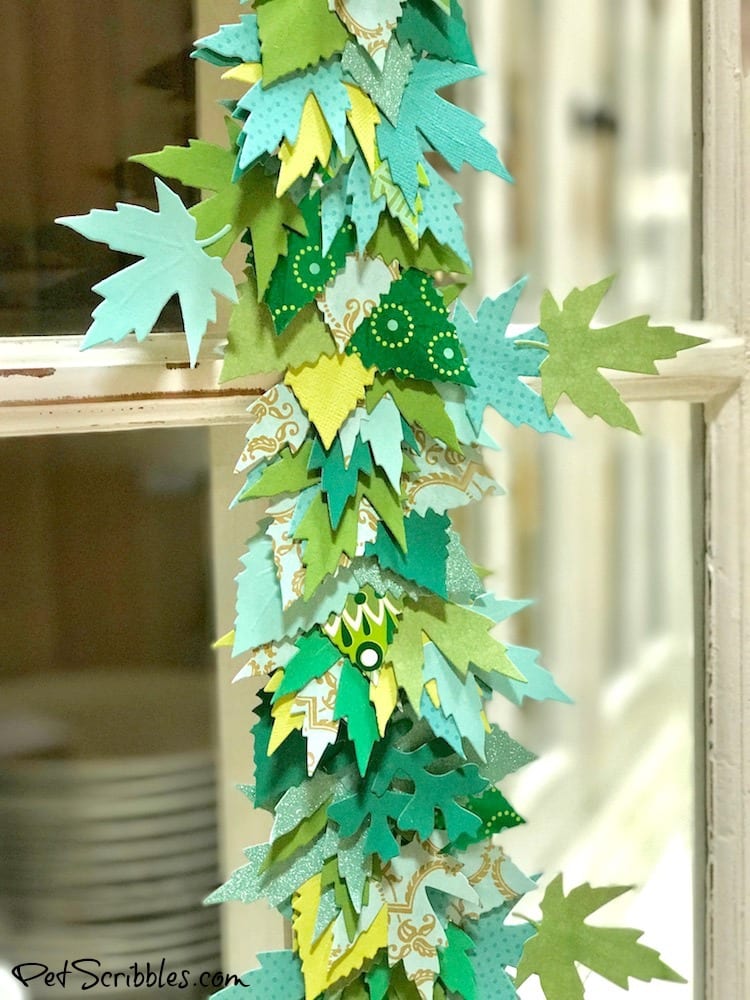
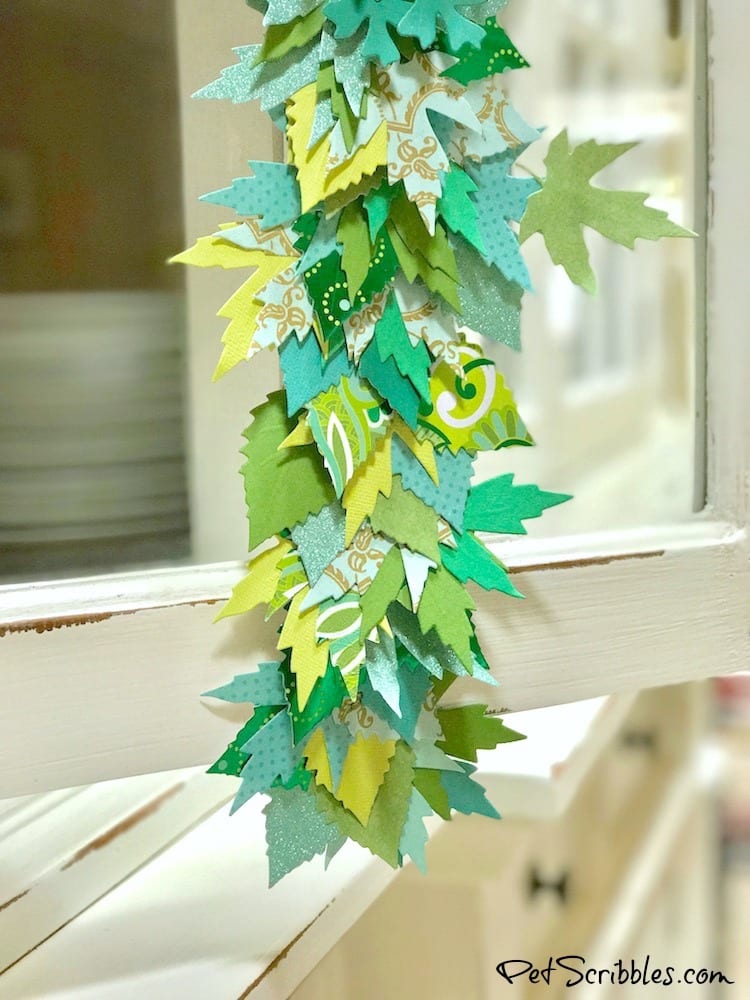
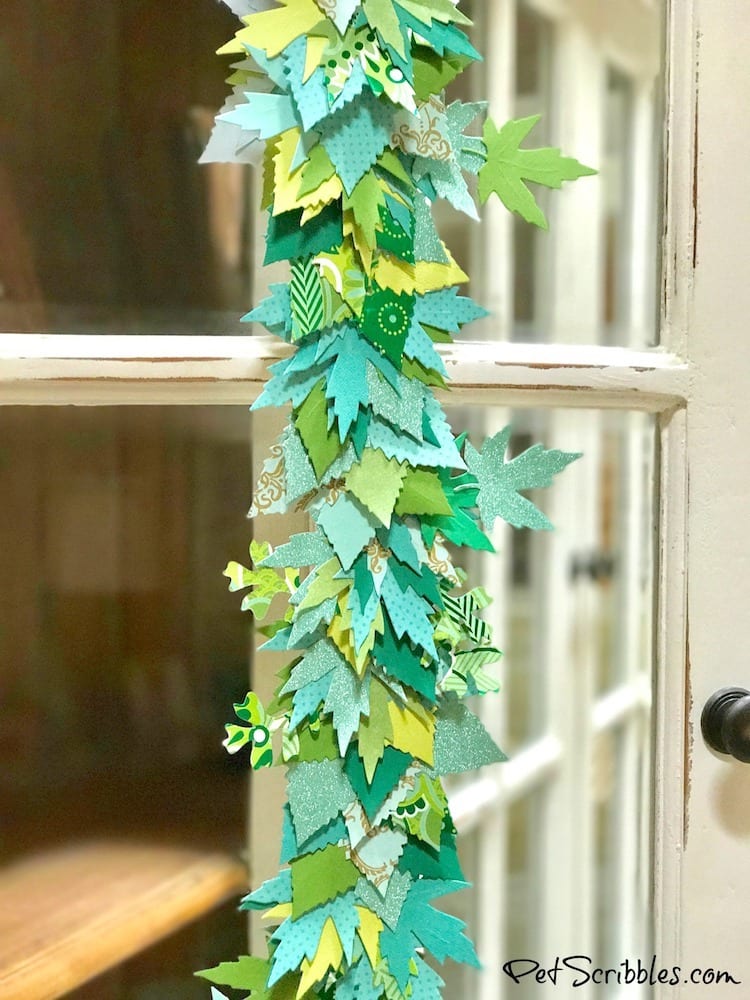
Now you have a beautiful paper leaf garland and the leaves won’t blow away! (Win-win if you’re hanging this outdoors!)
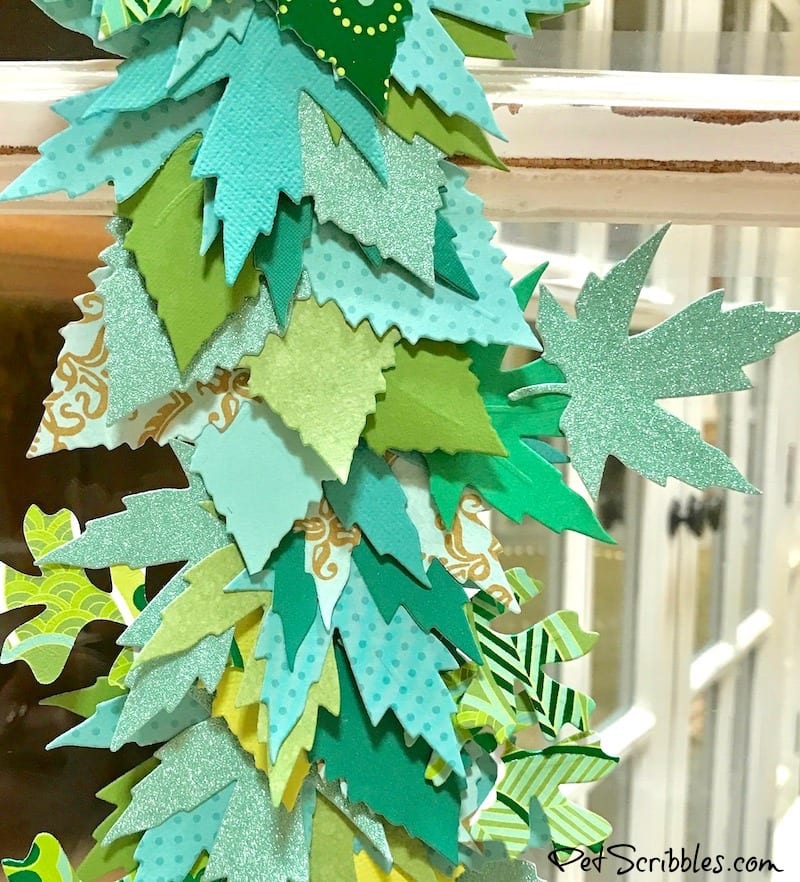
Some close-up images for you!
I hope you’ll visit our Xyron Facebook page to see the projects that my fellow Xyron Design Team members made!
There are lots of fun tips and ideas for you!
Happy crafting!
~Laura
I love this! The colors, patterns, and how full and lush you made this garland. Thanks for the idea and tutorial!
Thanks SO much Jeanie! This project was really fun to create!
The leaves are each so pretty and together they are smashing! LOVE!
Why thank you Laura! I think I needed a big dose of Summer color, since I’m already starting to think about Fall projects!
Your garland is so gorgeous and I love these products!! So clever!