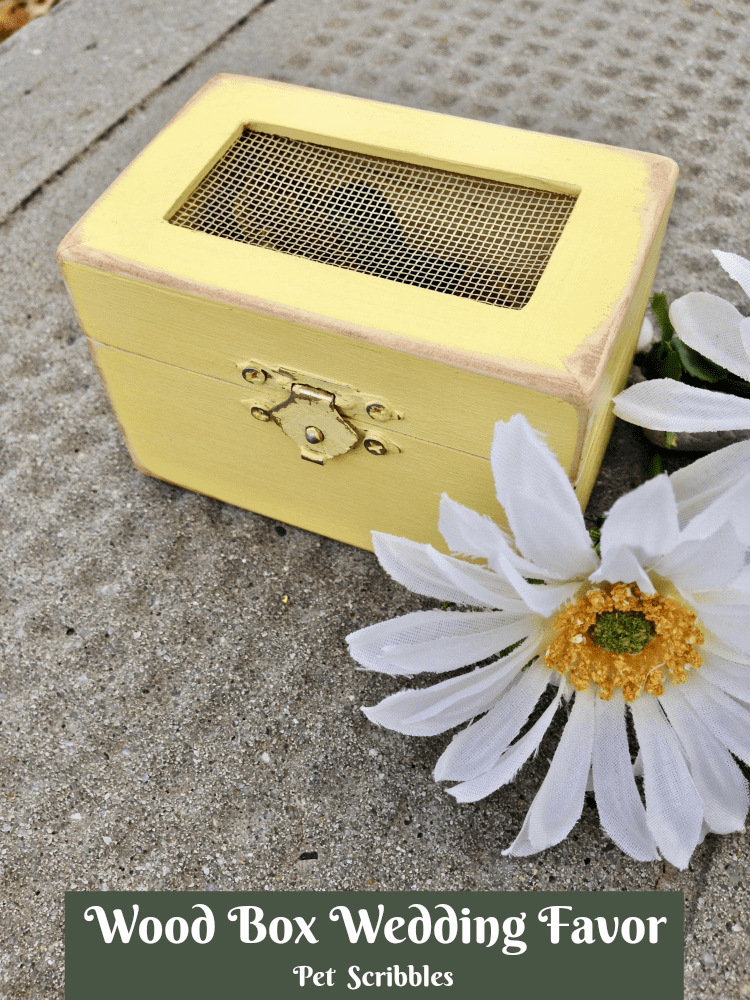
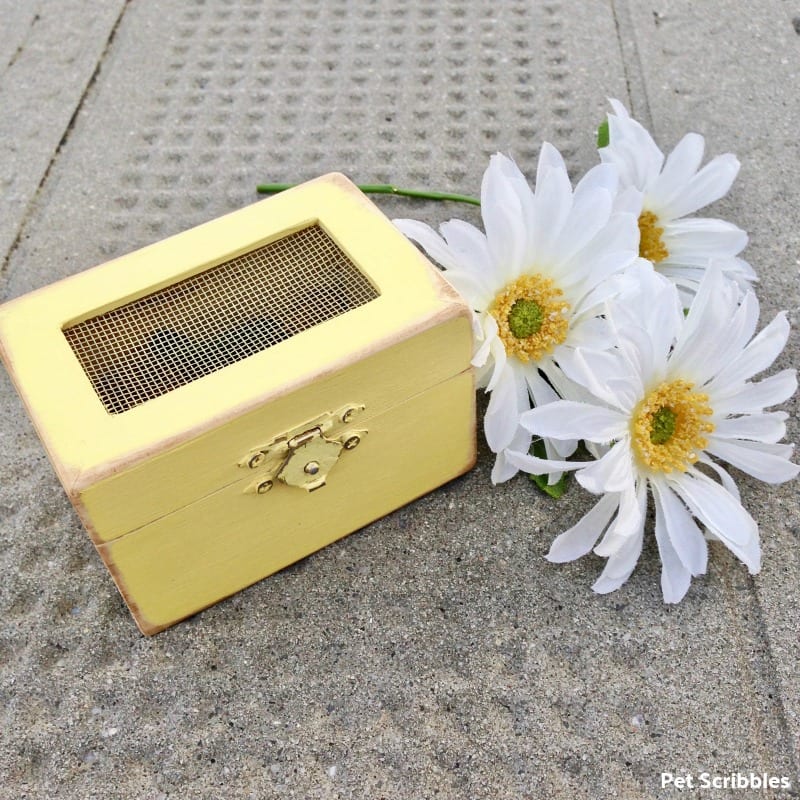
Make a keepsake wood box wedding favor, and fill it with something special like potpourri, candy, flower seeds or a small spice package. It’s quick and economical to do!
Want to make your own wedding favors that your family and friends will treasure for years to come?
Buy a bulk order of small unfinished wood boxes and with paint and wax — don’t worry, it’s easier than it sounds — you can have keepsake wedding favors for all of your guests!
This is an economical idea, as each unfinished wooden box that I used cost under $1.50 per box.
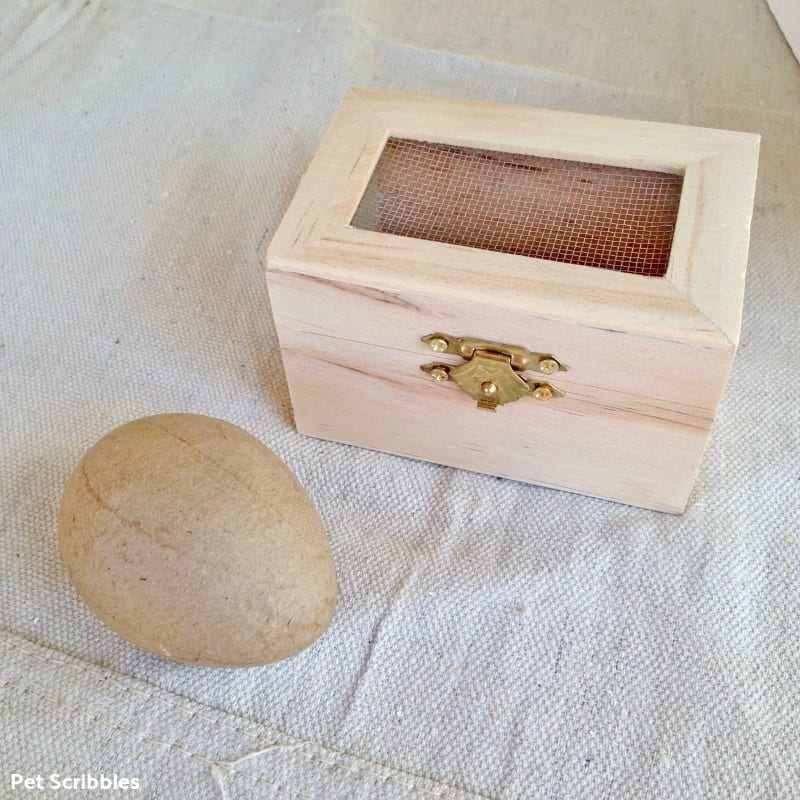
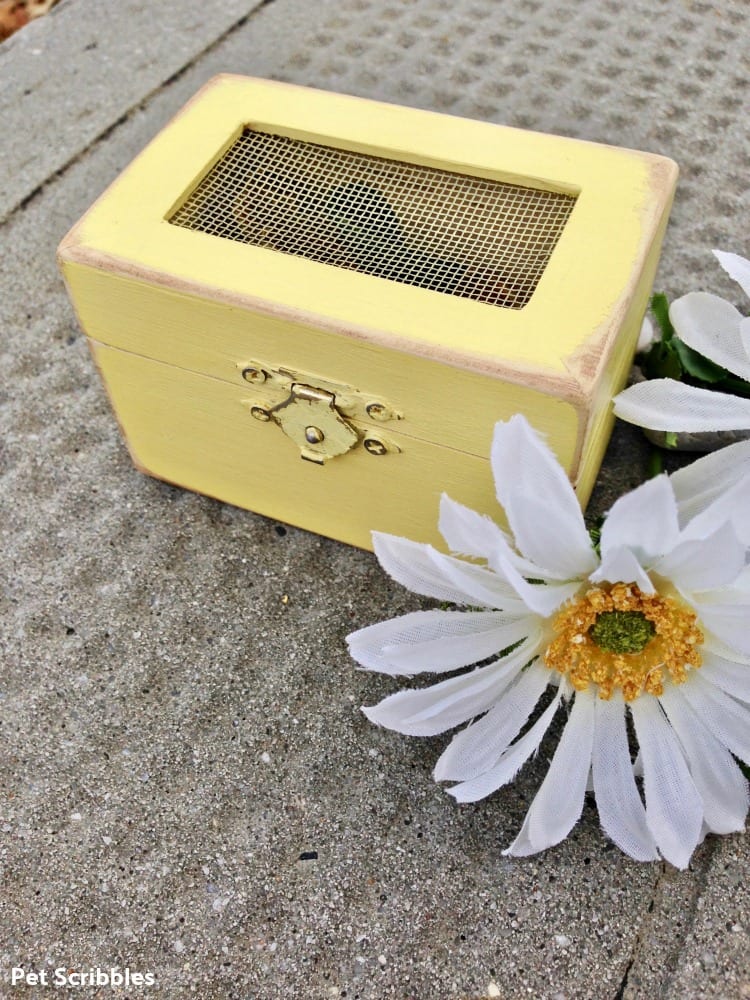
I started with this unfinished wood box. (There’s a 2.5″ paper maché egg next to it, so you have an idea on the size. The box measures 3.125″ x 2.375″ x 2.5″.
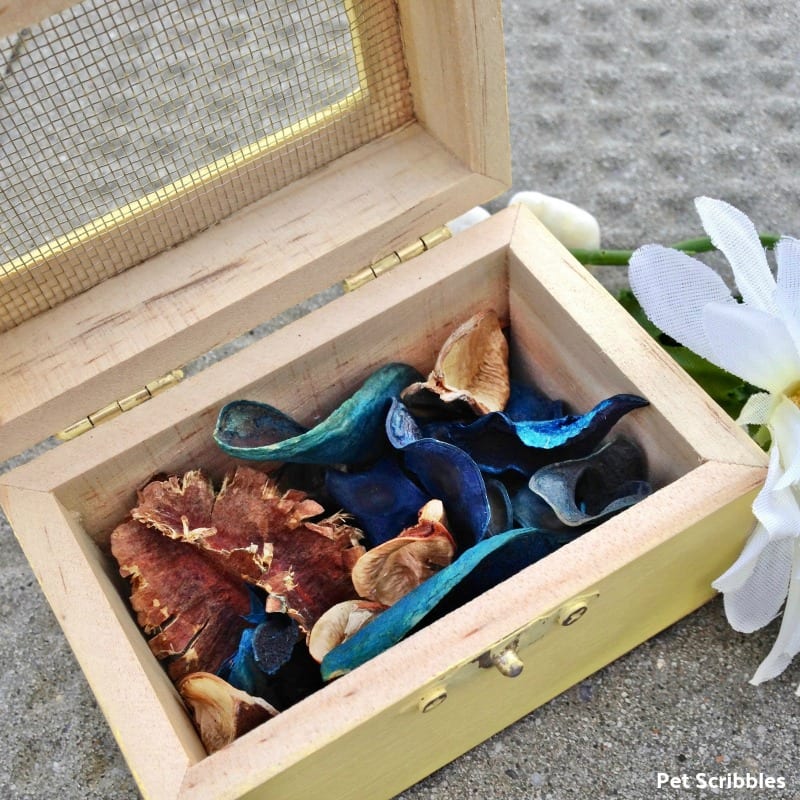
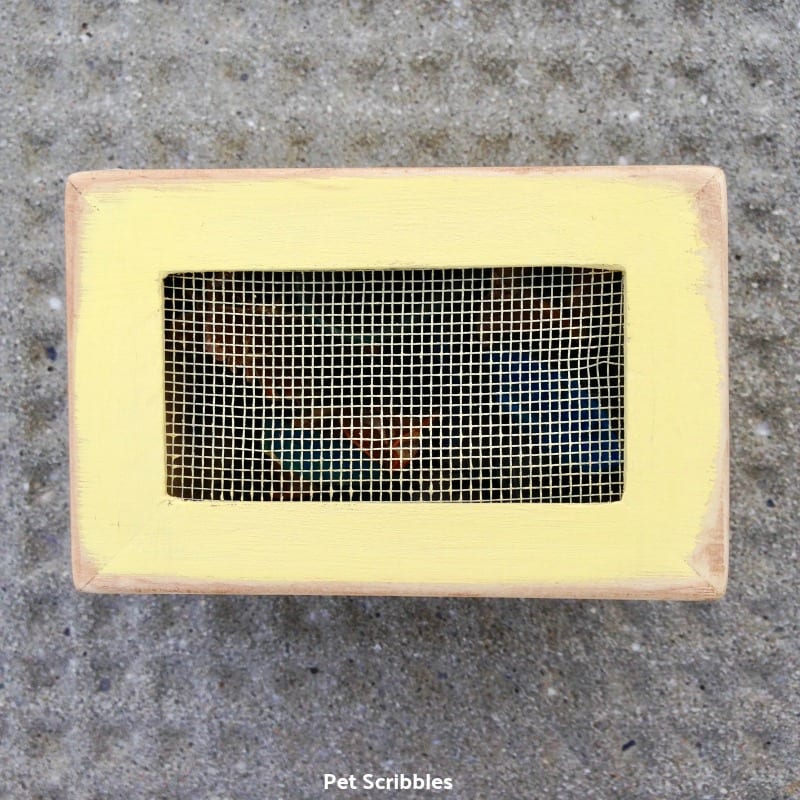
I really love the mesh covering on the box lid, as it adds a nice rustic touch!

Wood Box Wedding Favor Supplies:
FTC Disclaimer: Some of the links in this post are affiliate links. I explain more here.
- small unfinished wood box
- chalk paint in your choice of color — DecoArt
(the pale yellow color I used is called “Delicate”) - paintbrush
- sandpaper or sanding sponge
- white rag or paper towels
- filler: potpourri, spices, flower seeds, candy, etc.
- Optional: Americana Decor waxes in brown and clear — DecoArt
- Optional: cotton swabs
Wood Box Wedding Favor Tutorial:
Sand any rough edges of the wood box, if needed.
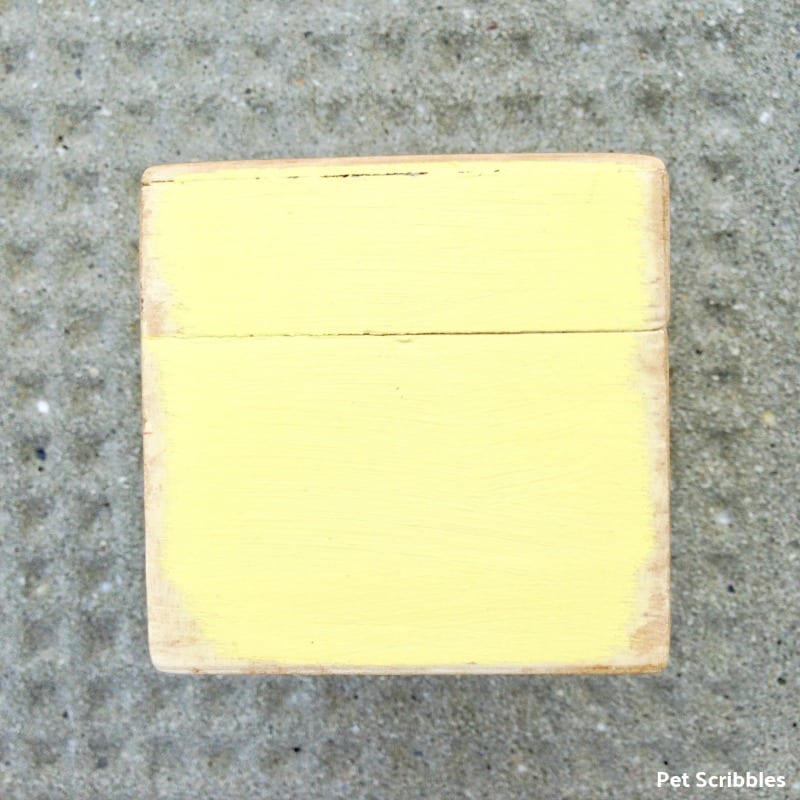
Paint the outside of the box — including the wire mesh and the hinges — with two quick coats of chalk paint. (Chalk paint dries quickly, which makes doing multiple coats quicker than with regular acrylic craft paints.)
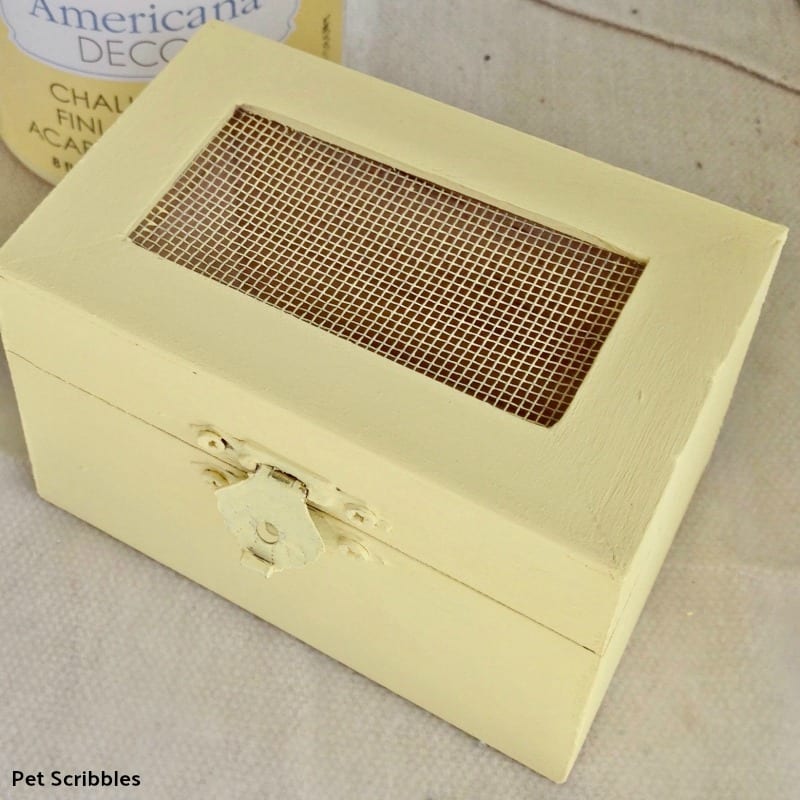
Leave the inside of the wood box unfinished — it will add to the rustic look.
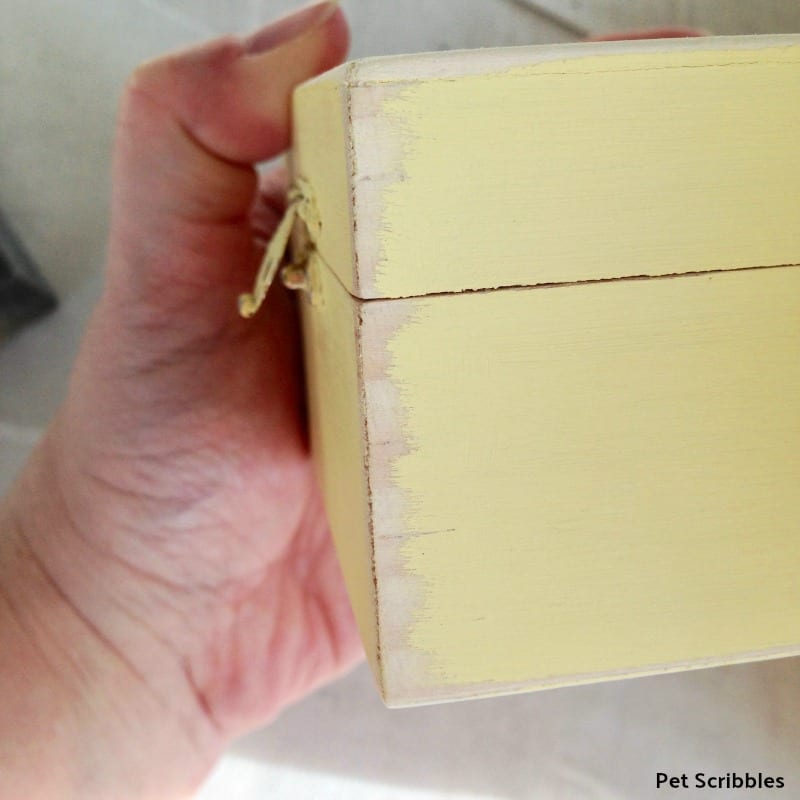
Next, sand the box along the edges until you like the look. It’s up to you how much — or how little — distressing you want to do.
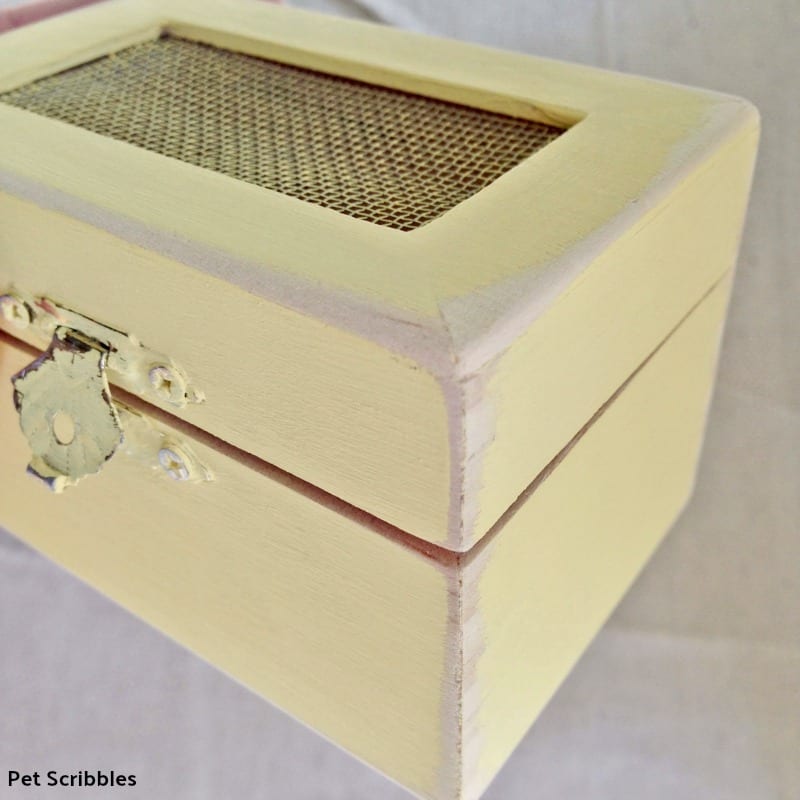
I sanded a bit of paint off the hinges as well to make it look old.
Wipe any dust off with a rag or paper towel.
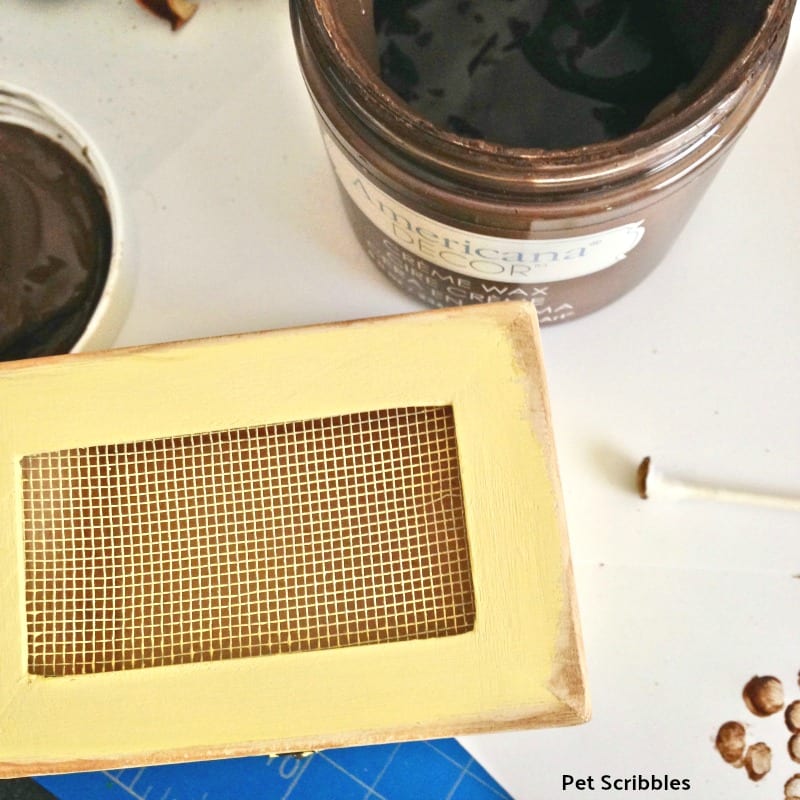
You can leave the wood box wedding favor just like this — as it looks fine as is — so these next steps are optional.
Using a cotton swab, apply a tiny amount of brown wax to the sanded edges of the box, then immediately wipe off the wax with a white rag. This darkens the exposed wood edges just a bit, providing a more antiqued look to the box.
As a final step — also optional — use a cotton swab to apply clear wax over the painted areas of the box — except for the hardware and mesh covering — then immediately wipe off and rub into the wood using a white rag or paper towels.
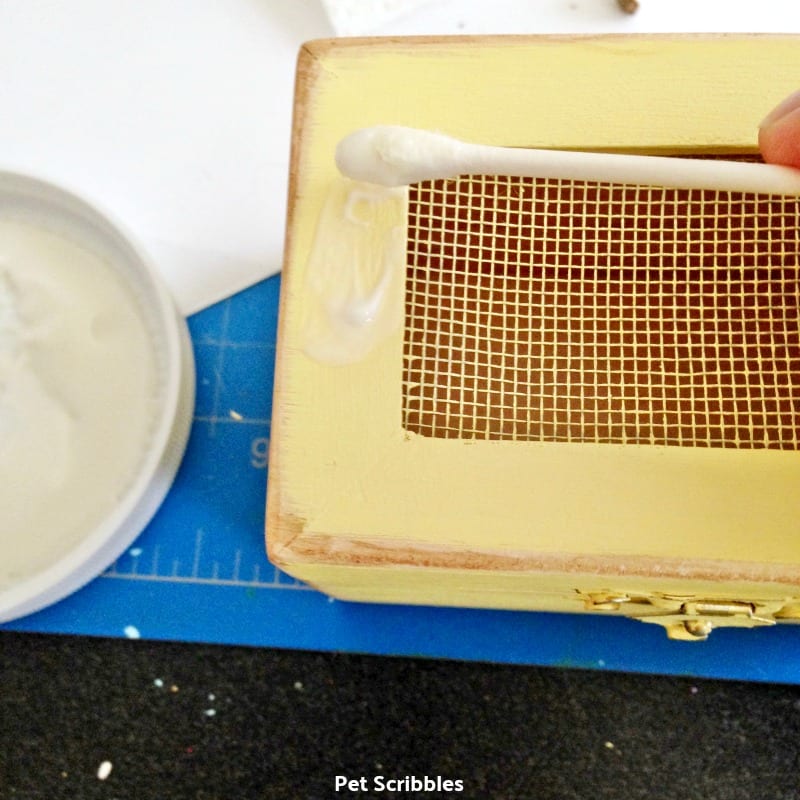
I don’t always use wax on my chalky painted projects, however I do like the protection it provides and how the wax deepens the chalk paint color just a bit.
Let dry, and that’s it!
A pretty wood box wedding favor that is quick to make!
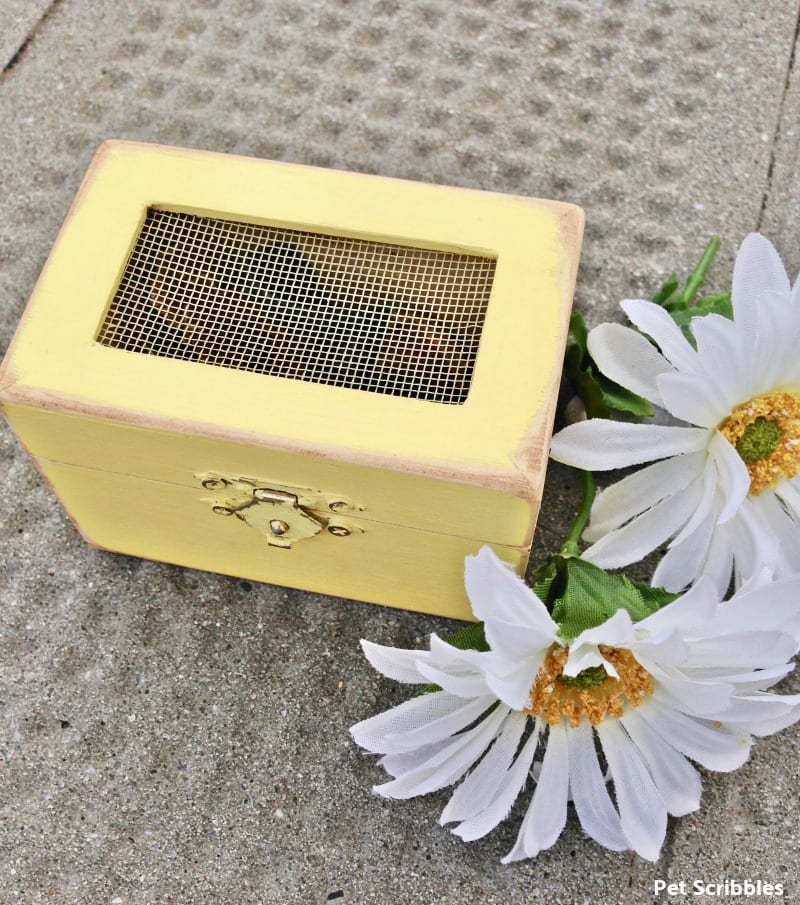
I filled this box with pretty potpourri. The scent will come out of the mesh opening, but the mesh keeps the potpourri safely inside.
Helpful tip: Hunt around on the internet and retail stores for large bags of whatever filler you want to use, whether it’s candy, mints, spices, flower seeds, shells, etc. It will be much cheaper, especially if you have many boxes to fill.
These boxes are easy to make and they are a useful wedding favor too: who doesn’t love a pretty little box to store things in?
More 15-Minute Wood Crafts!
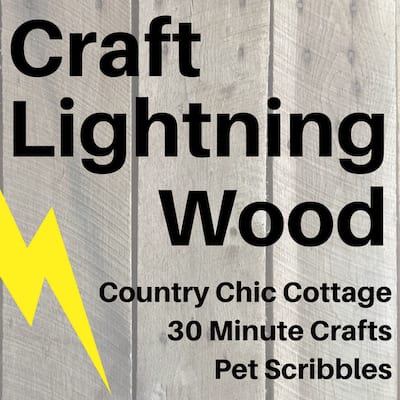
Today is Day 4 of Craft Lightning Wood Crafts week, a craft blogger event I’m co-hosting with Angie of The Country Chic Cottage, and Carolina of 30 Minute Crafts.
An awesome group of DIY bloggers created wood craft projects that can be made in 15 minutes, minus any necessary drying time.
Make sure you click over to see all of the really neat projects from Day 1 — Day 2 — Day 3!
Check out these amazing wood crafts, below!
Make sure to click on each link for the step-by-step tutorials! And don’t forget to pin your favorites!
Pallet Garden Perfect for Summer by Angie of The Country Chic Cottage
No Sew Sewing Box by Carolina of 30 Minute Crafts
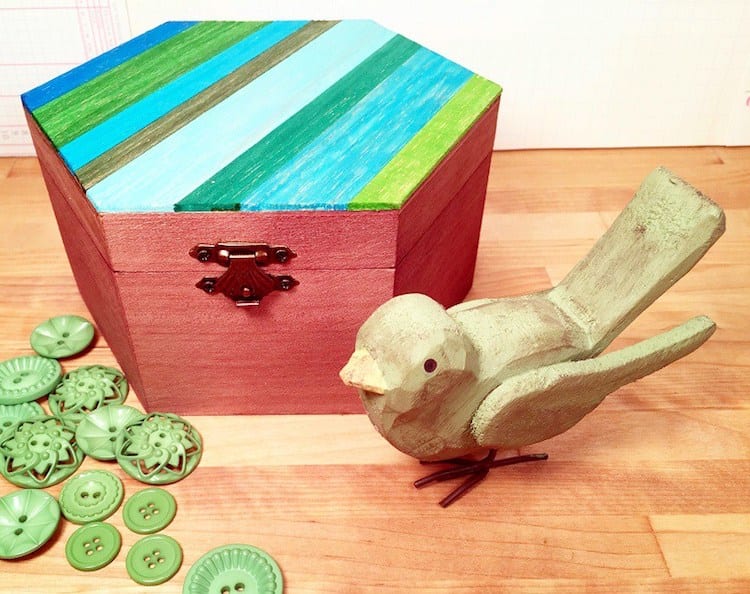
How to Stain a Wooden Box with Markers by Beth of Creatively Beth
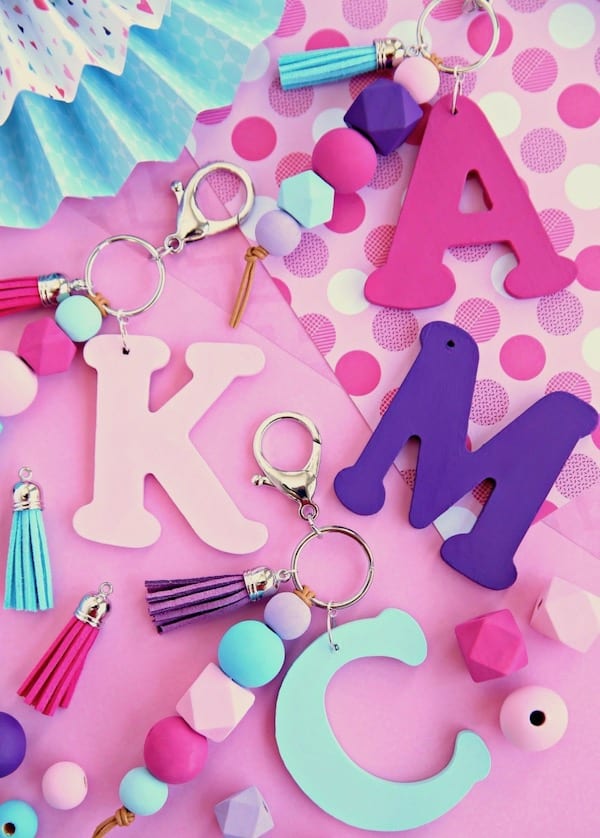
DIY Wood Monogram and Beaded Keychains by Kara of Happy Go Lucky
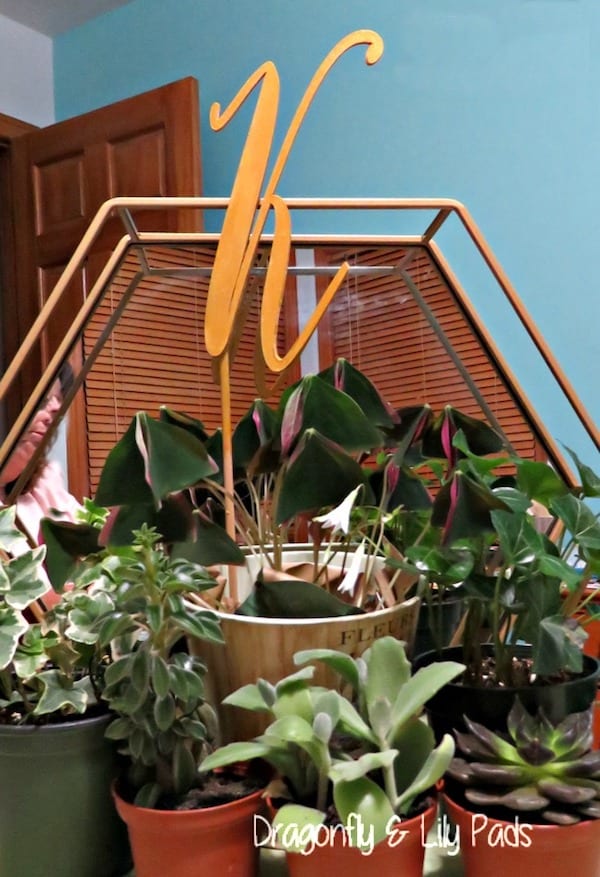
Wood Cake Topper with Cricut Knife Blade by Karen of Dragonfly & Lily Pads
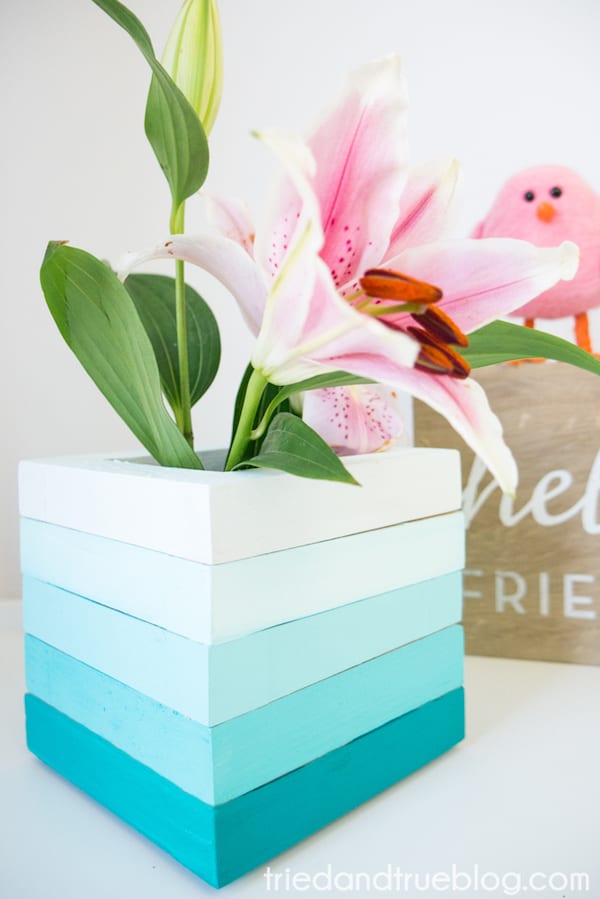
Easy Wood Frame Gradient Vase by Vanessa of Tried & True
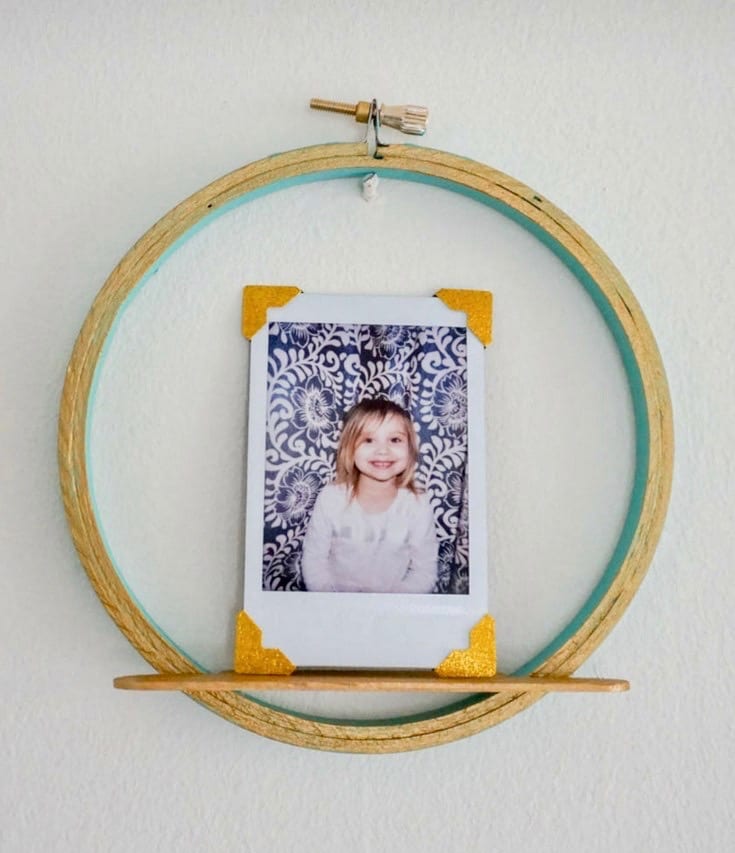
Embroidery Hoop and Popsicle Stick Picture Shelf by Albion of AlbionGould.com
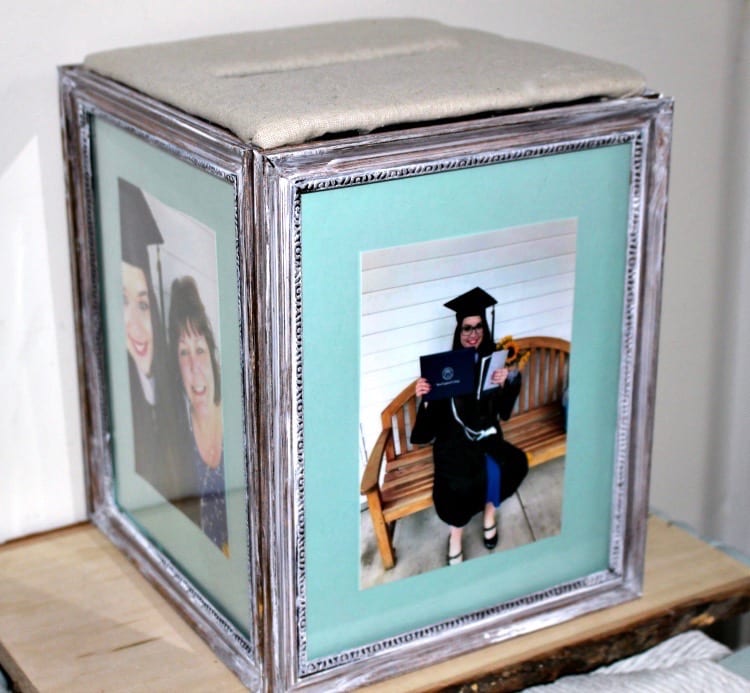
Easy DIY Graduation Photo Frame Card Box by Michelle of Our Crafty Mom
I hope you are enjoying these creative 15-minute wood crafts this week.
Stop back tomorrow for our final day of inspiration in this series!
Happy crafting!
An older version of this tutorial first appeared on Deja Vue Designs, when I was a craft contributor there. This tutorial has been completely updated for you here!
Leave a Reply