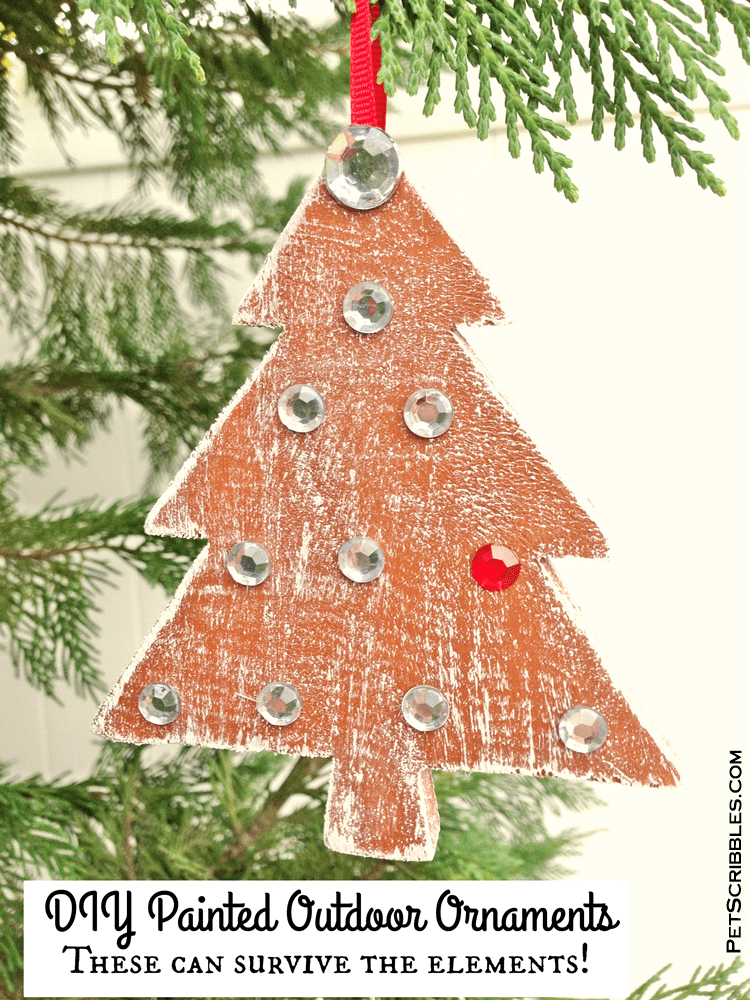
I love painting unfinished wood ornaments, and this year I decided to make my own Painted Outdoor Ornaments that can withstand the elements. I guess I could also call them Weather-Proof Ornaments!
I’ve previously mentioned my love affair with using outdoor paint in creative ways. Outdoor paint — which is essentially paint made to withstand the outside elements — can be used on so much more than flower pots, decorative rocks or birdhouses.
DIY Painted Outdoor Ornaments
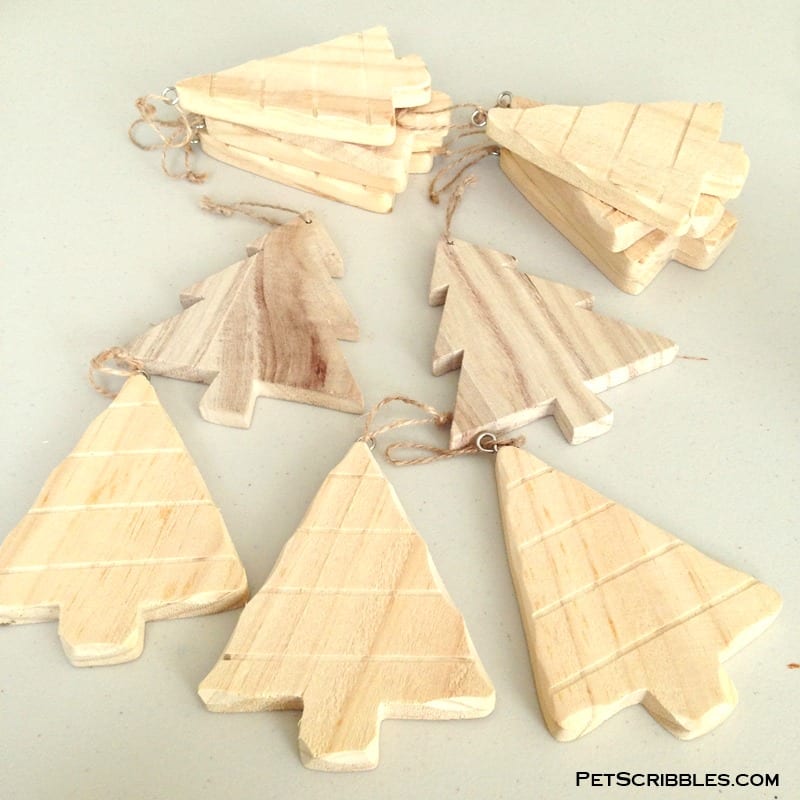
Supplies:
- Unfinished wood tree shaped ornaments – Michaels
- Patio Paint Outdoor Acrylic in Pinecone Brown – DecoArt
- Patio Paint Outdoor Acrylic in Cloud White – DecoArt
- Patio Paint Outdoor Acrylic in Clear Coat – DecoArt
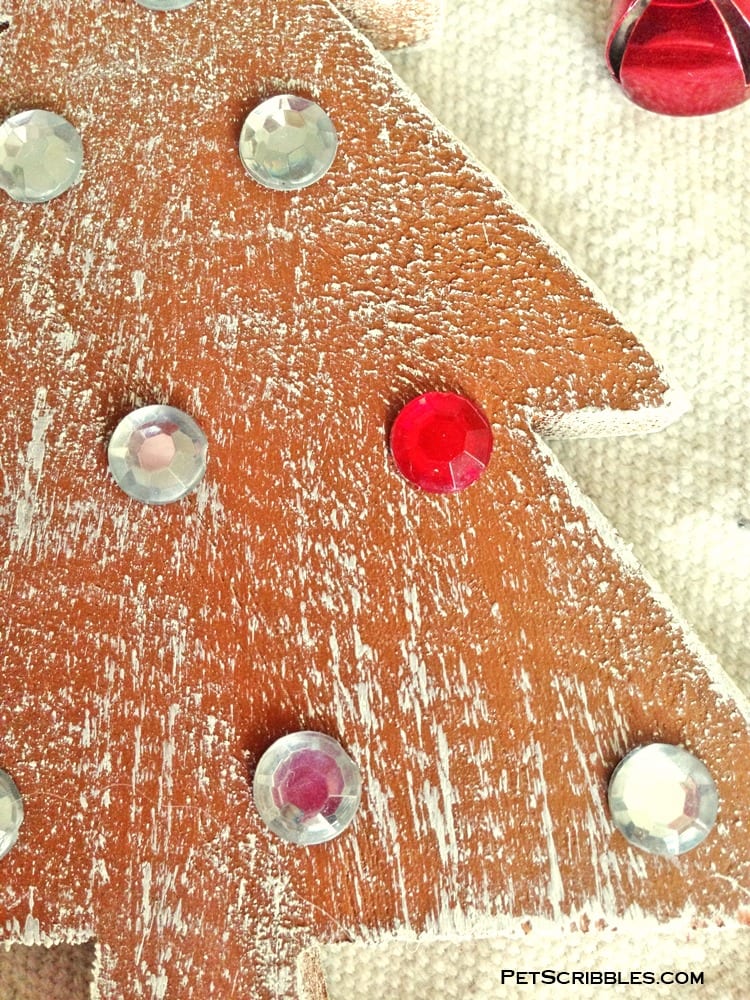
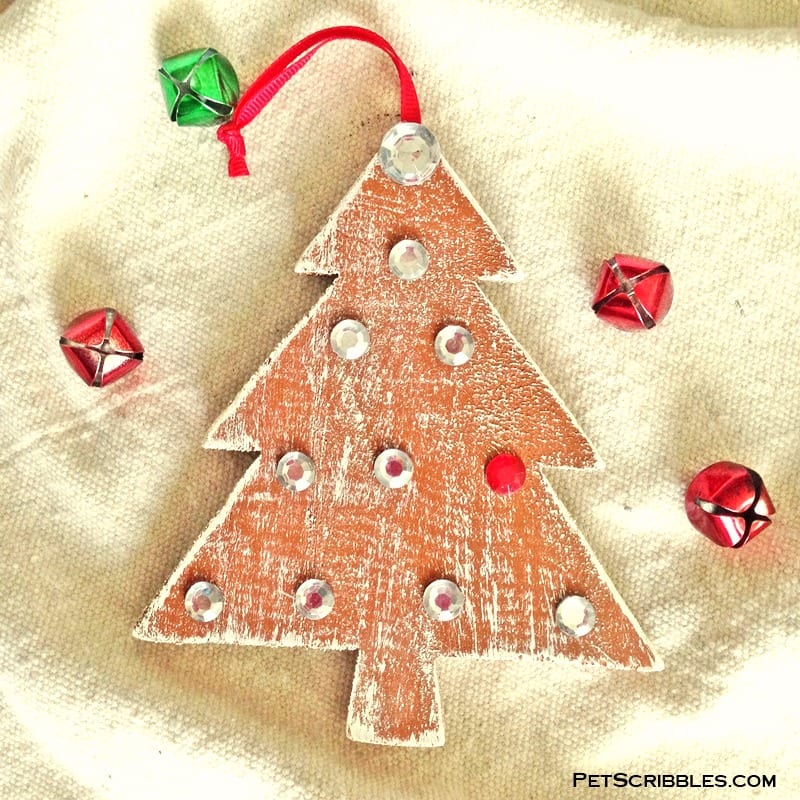
- Decorative gems in clear, red and green – Michaels
- E6000® Adhesive
– Amazon (affiliate link)
- Decorative ribbon in red
and green
– Amazon (affiliate link)
- Wax paper
- Plastic lids or plastic palette
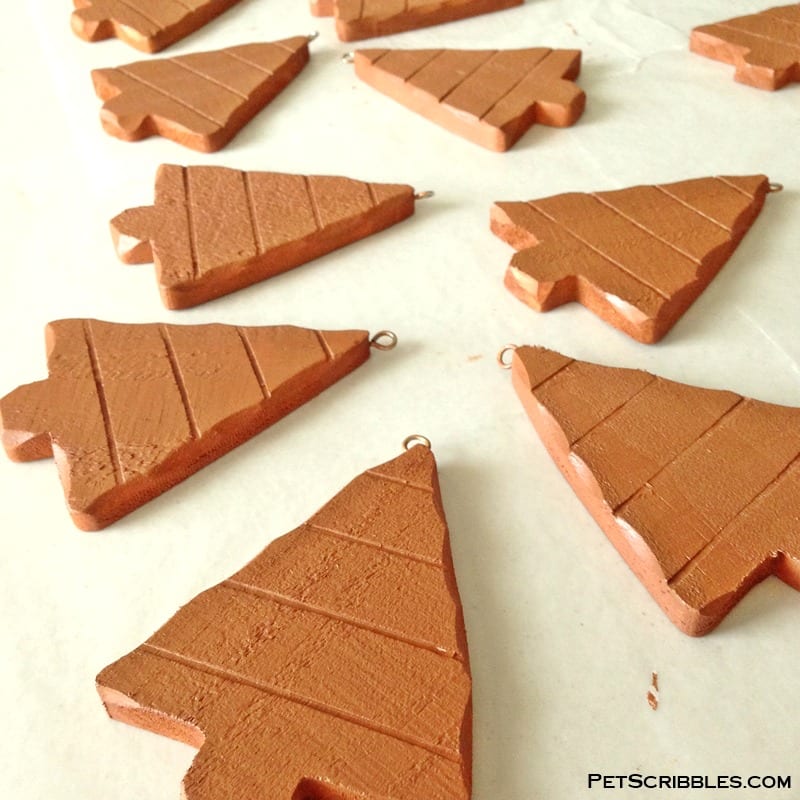
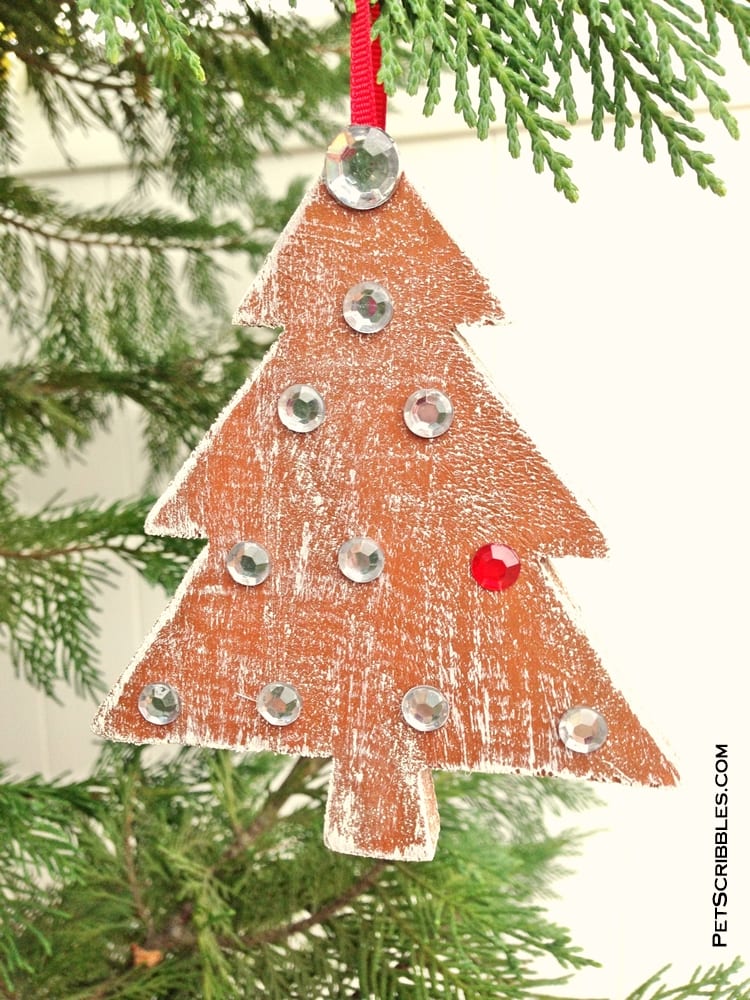
Step One: Paint each ornament with two coats of Pinecone Brown Patio Paint. Let dry in between coats.
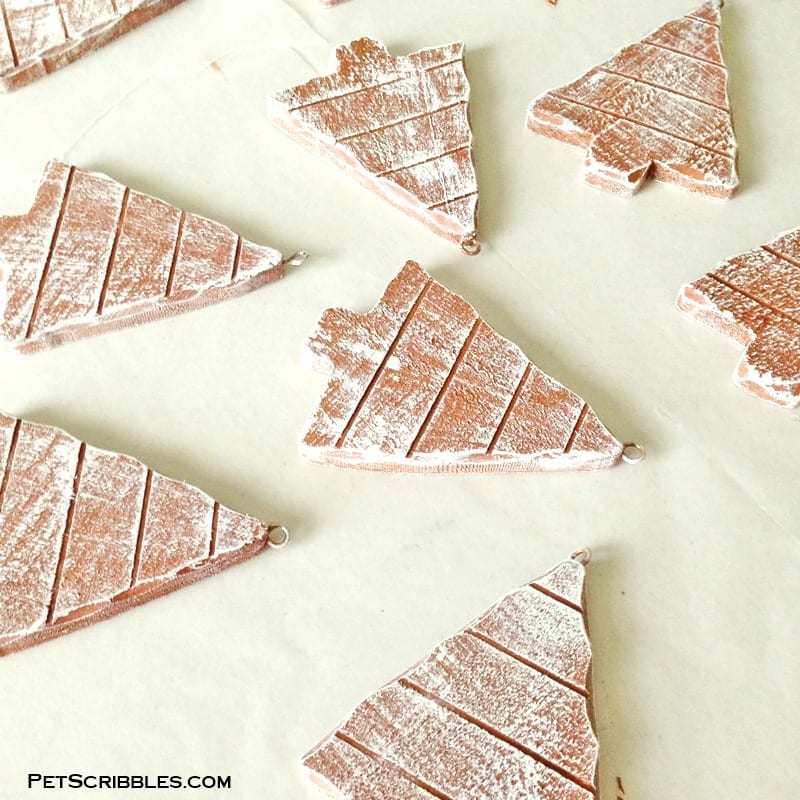
Step Two: Lightly dry-brush Cloud White Patio Paint all over each ornament. Start slowly and build up color until you like the look. Let dry.
I think these look like iced cookies now!
Step Three (optional): Add a “Handmade by” stamp to the back of each ornament, which is especially nice for gift-giving. I used a personalized self-inking stamp from Expressionery.com.
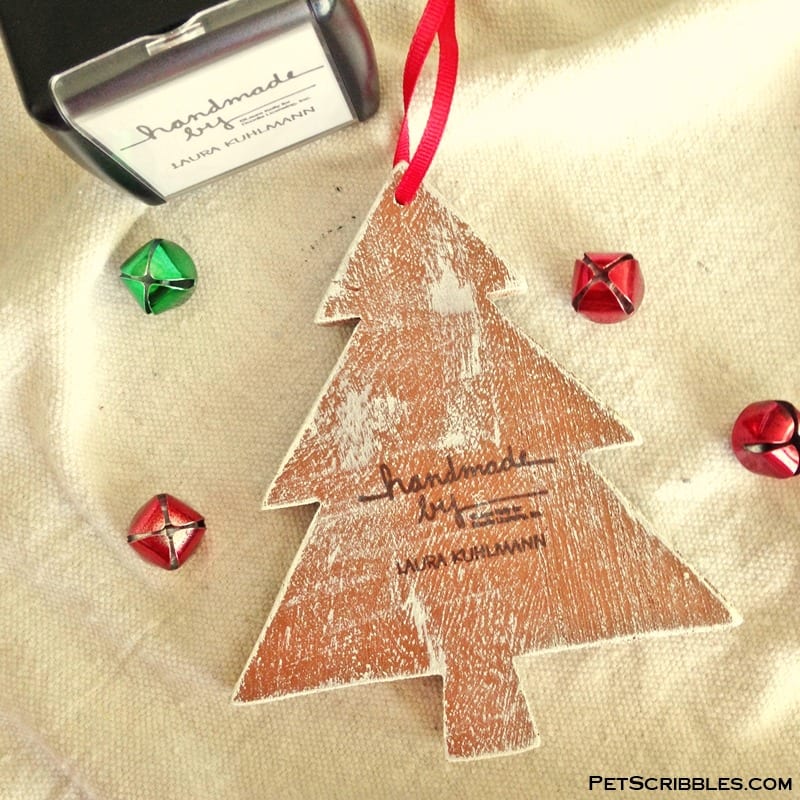
Step Four: Apply one quick coat of Patio Paint Clear Coat to seal each ornament. Let dry.
Step Five: Attach decorative gems in Christmas colors to each tree using E6000 Adhesive. This is a very tough adhesive for both indoor and outdoor use. Let the ornaments sit for about 24 hours to fully cure.
Step Six: Tie a thin piece of ribbon to the top of each ornament to hang.
These ornaments don’t take long at all to create, and are perfect for little hostess gifts attached to a wine bottle, teacher’s gifts attached with a gift card, or cute little office gifts.
Want to see more of my DIY ornaments? Just click on the Related Posts links below!
Happy crafting!
~Laura