• Skip to primary navigation
  • Skip to main content
  • Skip to primary sidebar
  • Home
  • Gardening Index
  • Videos
  • Subscribe
  • Navigation Menu: Social Icons

    • Facebook
    • Instagram
    • Pinterest
    • RSS
    • Twitter
    • YouTube
Garden Sanity by Pet Scribbles

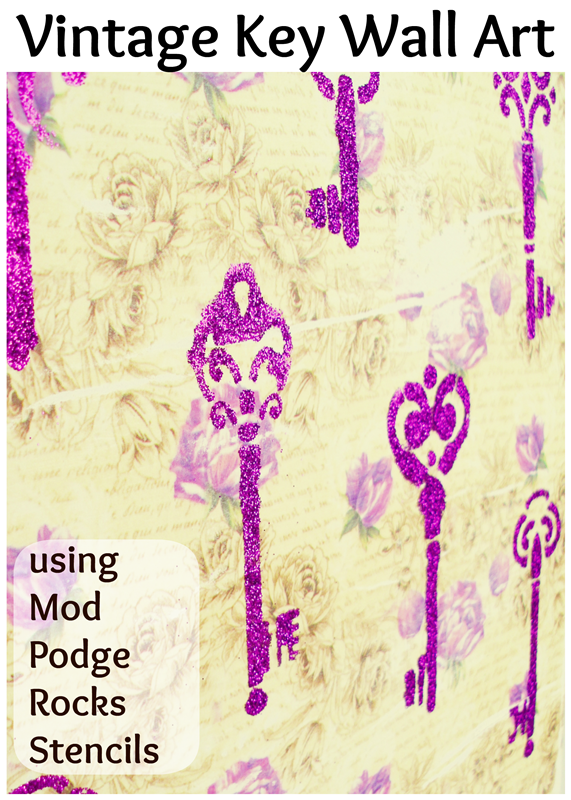
Vintage Key Wall Art using Mod Podge Rocks Stencils

This post and photos may contain Amazon or other affiliate links. If you purchase something through any link, I may receive a small commission at no extra charge to you. Any supplies used may be given to me free of charge, however, all projects and opinions are my own.


March 6, 2014 By Laura

Pin
Share
Post
Vintage Key Wall Art using Mod Podge Rocks Stencils

Materials for this project were provided by Plaid Crafts and Mod Podge Rocks! All opinions are most definitely my own!

It’s time for a Math lesson. I hate Math, so no worries: this one’s easy!

Mod Podge + stencils + glitter + Amy Anderson = Mod Podge Rocks Stencils

Amy Anderson, the awesome creative force behind the Mod Podge Rocks! blog, came up with a fantastic way to stencil designs easily with glitter. How? Using Mod Podge, of course, with her new line of adhesive-backed stencils!

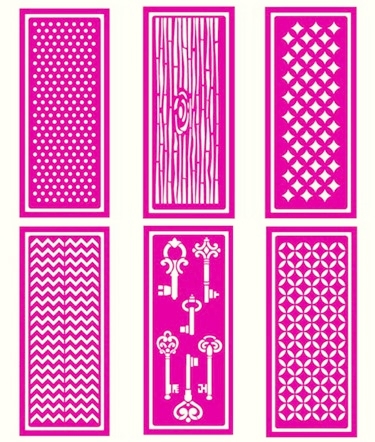
These stencils fill a definite need in crafting with glitter, and come in six trendy designs:

Mod Podge Rocks Stencils come in 6 designs.

Aren’t they fun?

I’ve seen quite a few projects on Pinterest using these stencils and was super-excited to get a chance to try them out myself.

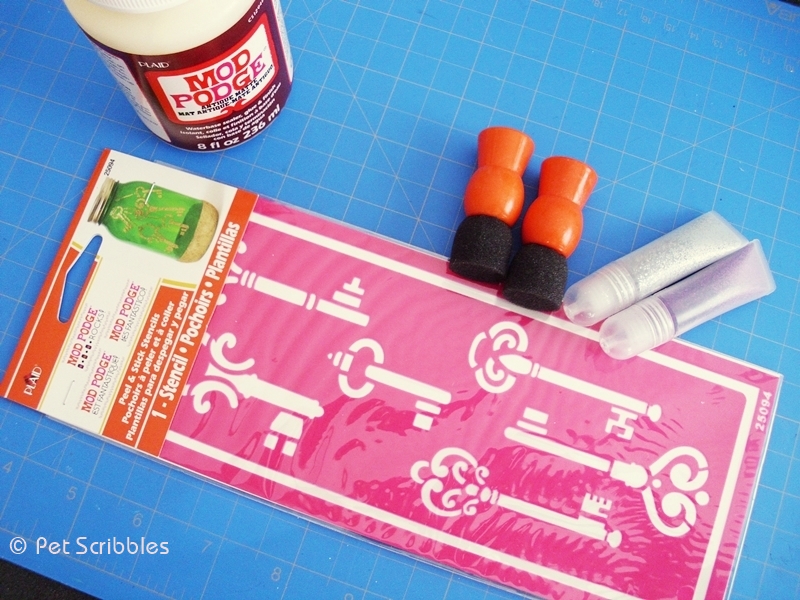
I chose the Skeleton Keys stencil for my project.

Supplies needed to make your own Vintage Key Wall Art using Mod Podge Rocks Stencils

Other supplies needed for this project include: Mod Podge Spouncers, Mod Podge Podgeable Glitter, and a Mod Podge formula of your choice – I used Antique Mod Podge. I also used a very small paint brush – think small makeup brush – to brush away excess glitter, which I’ll discuss in just a bit.

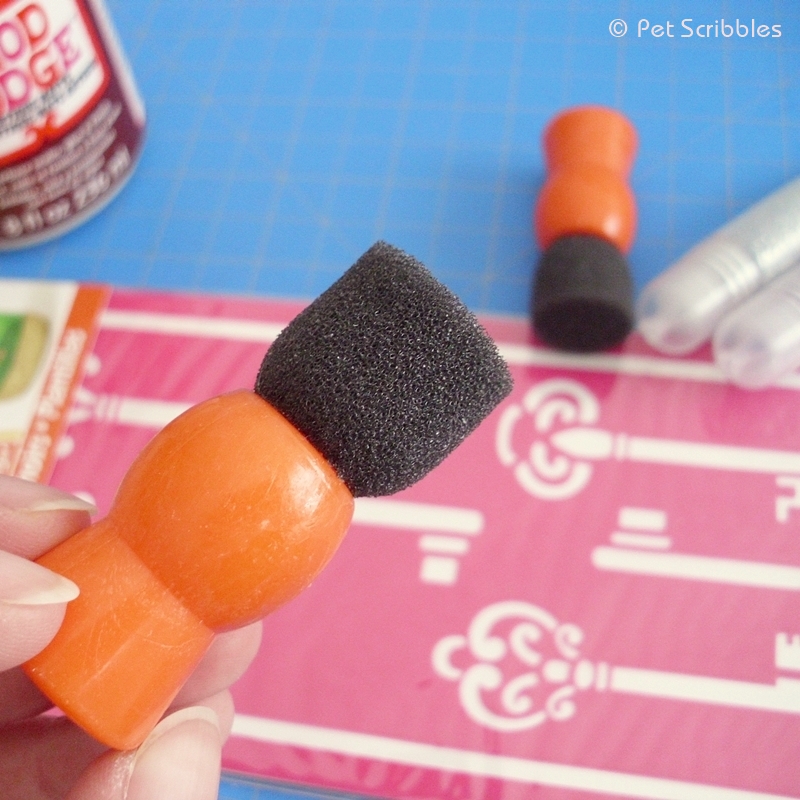
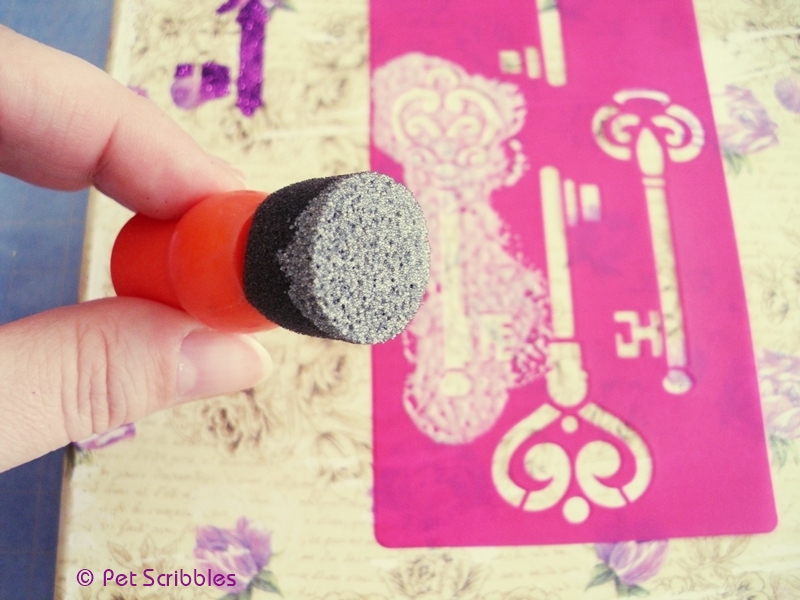
Here’s a closer look at a Mod Podge Spouncer, which is used to apply the Mod Podge to the stencil:

Mod Podge Spouncer
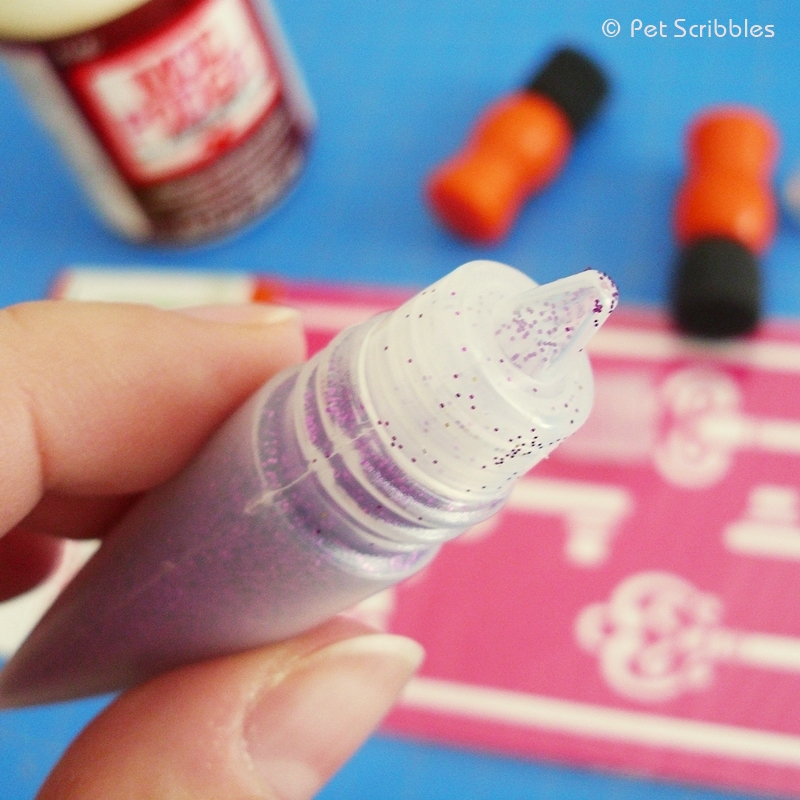
The Mod Podge Podgeable Glitter comes in a small tube. Remove the cap and you have an open point, as shown below. This pointed cap also unscrews, so any extra glitter can easily be funneled back into the tube. No waste! And who wants to waste glitter?
Mod Podge Podgeable Glitter
What’s also simply awesome about these small glitter tubes is that when gently squeezed, they sort of  “poof” out little spurts of glitter in a controlled way. I was surprised at how effective this not-really-impressive-to-look-at little tube of glitter was. A really great idea!
Vintage Key Wall Art Tutorial
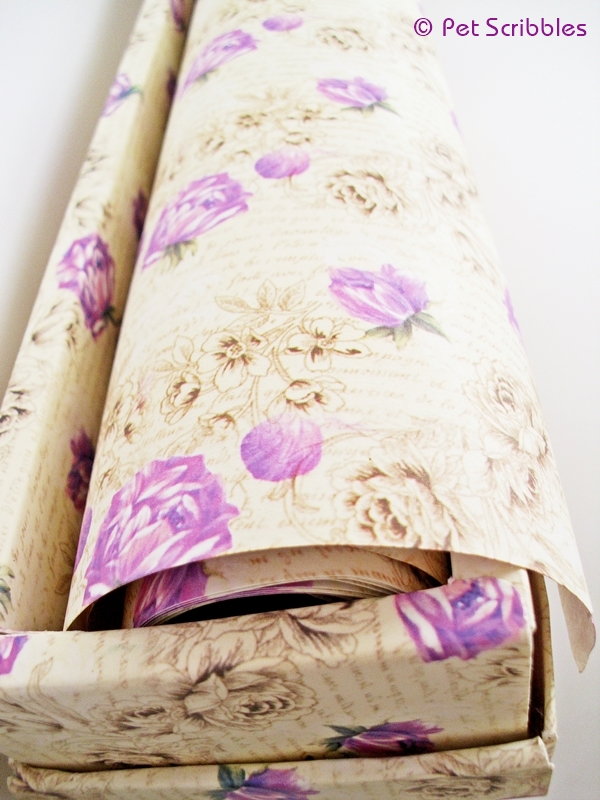
When I received these materials and saw the purple glitter, I wasn’t sure what I’d come up with. But after staring at my paper stash for quite awhile, my eyes landed on a box of shelf paper which is in my stash because I love the vintage-style print.  It was a perfect match.
Vintage-style printed shelf paper is a great decorative paper to craft with!
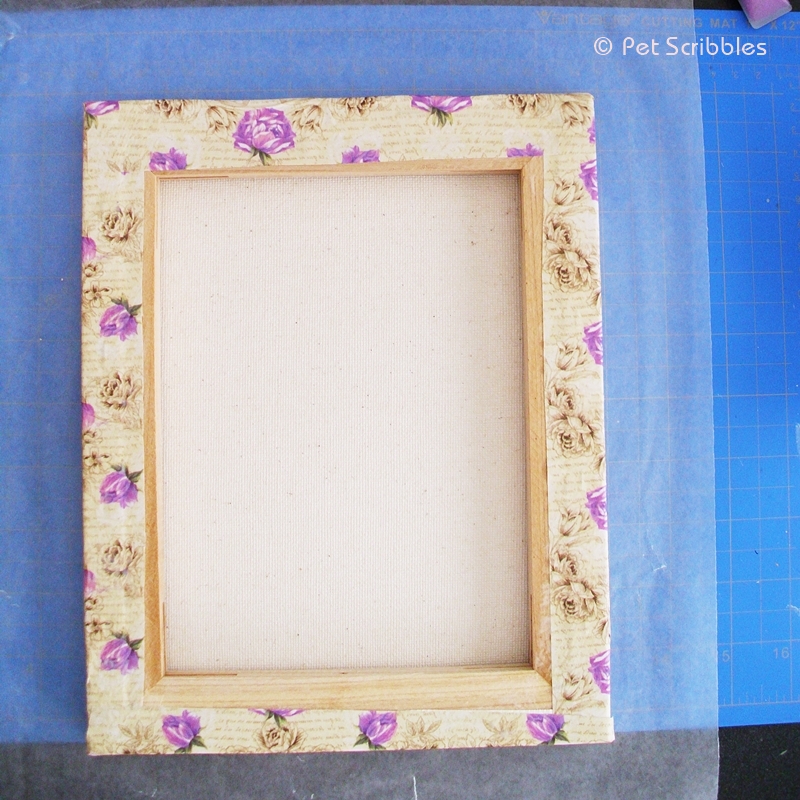
Step One: Using Antique Mod Podge, I decoupaged the shelf paper onto an 8×10 artist canvas, wrapping the paper around onto the back frame of the canvas as shown below. Smooth it out as best you can and let it dry. If there’s any wrinkles, however, it will just add to the vintage look of this piece!
Handy tip: I always use wax paper on top of any Mod Podged flat surface when I’m smoothing it out: glue can’t stick to my fingers, and any glue that gets onto the wax paper won’t stick back onto the project either.
Use wax paper on top of a Mod Podged flat surface when smoothing it out: glue can't stick to fingers!
Step Two: Using a sanding block, sand the paper to give it more of a weathered and worn appearance. I sanded more heavily in some areas than others, and love how it began to resemble vintage wallpaper. Wipe away any sanding dust with a soft white cloth.
Once the decoupaged canvas was dry and sanded, it was time to stencil!
Step Three: Using a spouncer, I applied the Antique Mod Podge onto the stencil. Work quickly, so the Mod Podge doesn’t begin drying. As soon as the Mod Podge is applied, carefully lift up the stencil and set aside.
Mod Podge Spouncers are the best way to apply Mod Podge onto the new Mod Podge Rocks Adhesive Stencils.
Step Four: Using the Podgeable Glitter, cover the Mod Podge stenciled image with glitter. Make sure to have paper underneath your project to make it easy to catch the excess glitter when you’re tapping and brushing it off later.
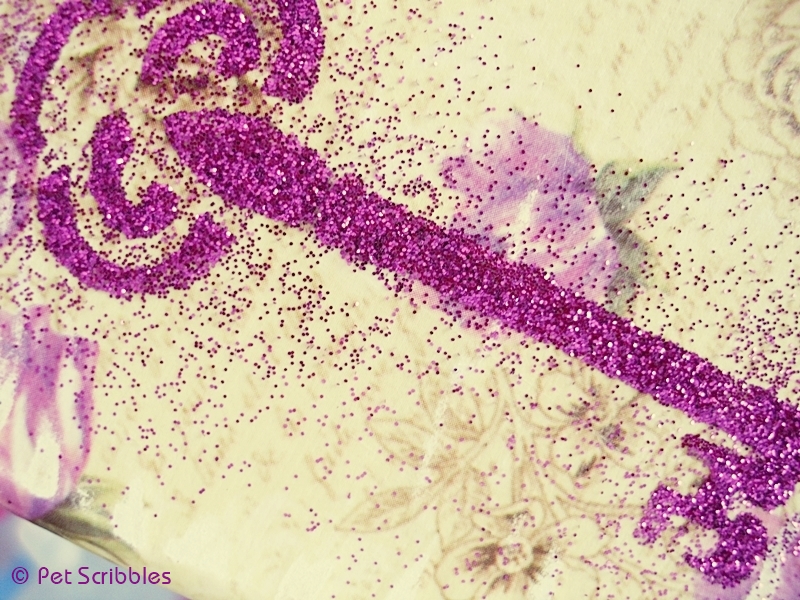
Close up of a just-glittered stencil design before glitter is brushed away.
Step Five: Take your small brush and carefully brush away as much of the excess glitter as you can, without touching the wet Mod Podged areas. Here’s what mine looked like after my initial brushing:
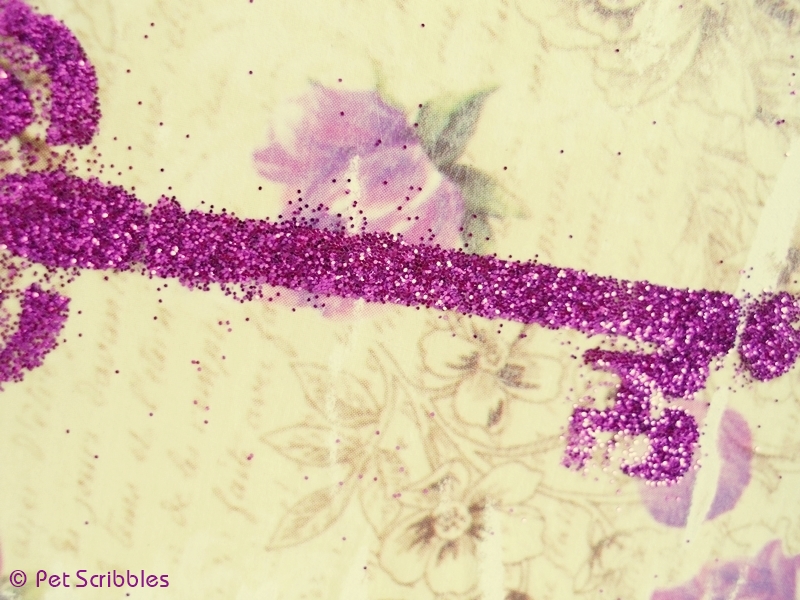
Close up of a glittered stencil design after glitter is brushed away, but before the design is dry.
Step Six: Once everything is dry, use the same tiny brush and remove the rest of the excess glitter. What I loved about this step is that I was able to use my brush gently even on the stenciled keys, without losing any of the glitter on the designs.
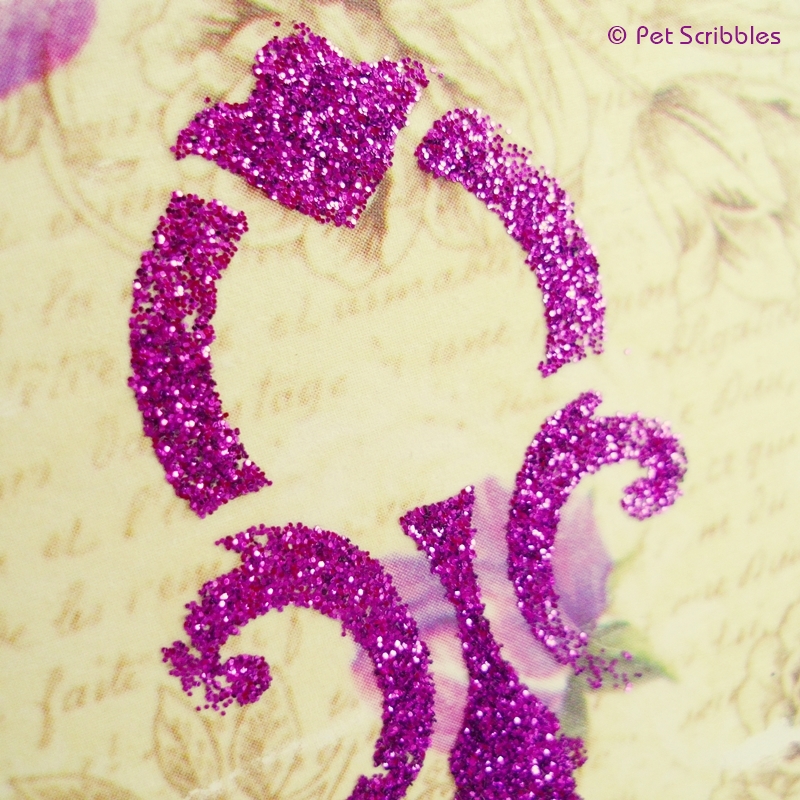
Here’s a close-up shot of one of the cleaned-up keys:
Close up of a glittered stencil design after it has dried and extra glitter is brushed away completely.
That’s all there is to it!
In a short amount of time, you have a pretty stenciled design in glitter! I spaced out the different keys across my canvas, moving from left to right, so there wasn’t any waiting time needed for each key to dry.
Optional tip: to avoid glitter coming off your project, spray with a light coat of sealer.
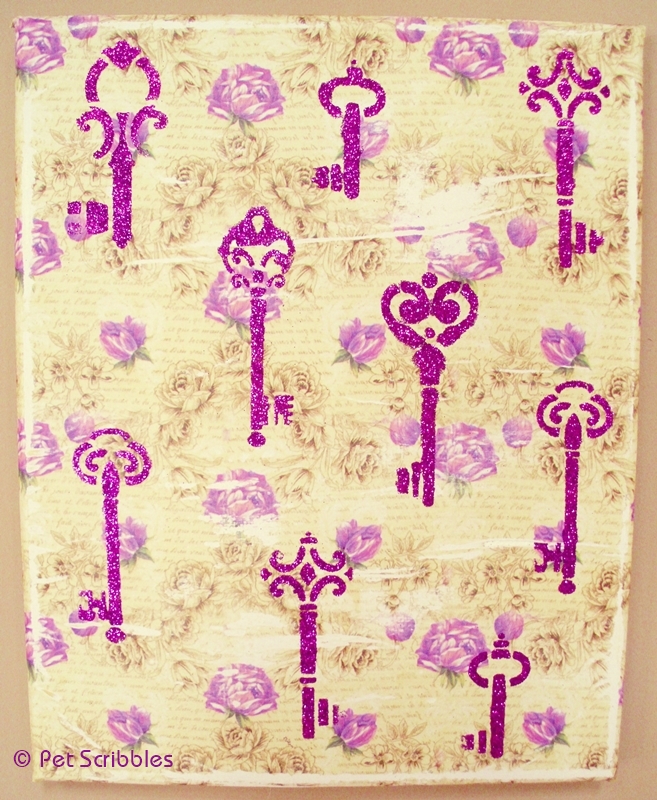
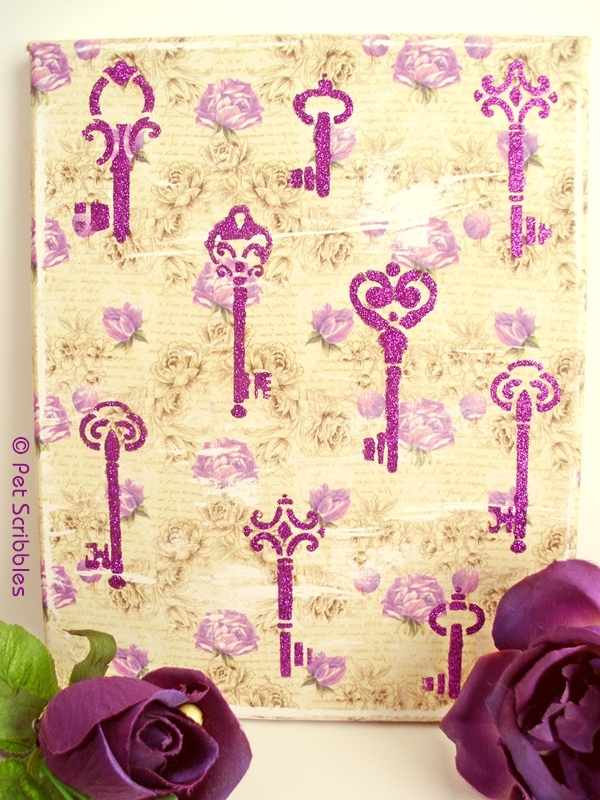
Here’s the canvas hung on one of our mocha-colored living room walls:
Vintage Key Wall Art using Mod Podge Rocks Stencils
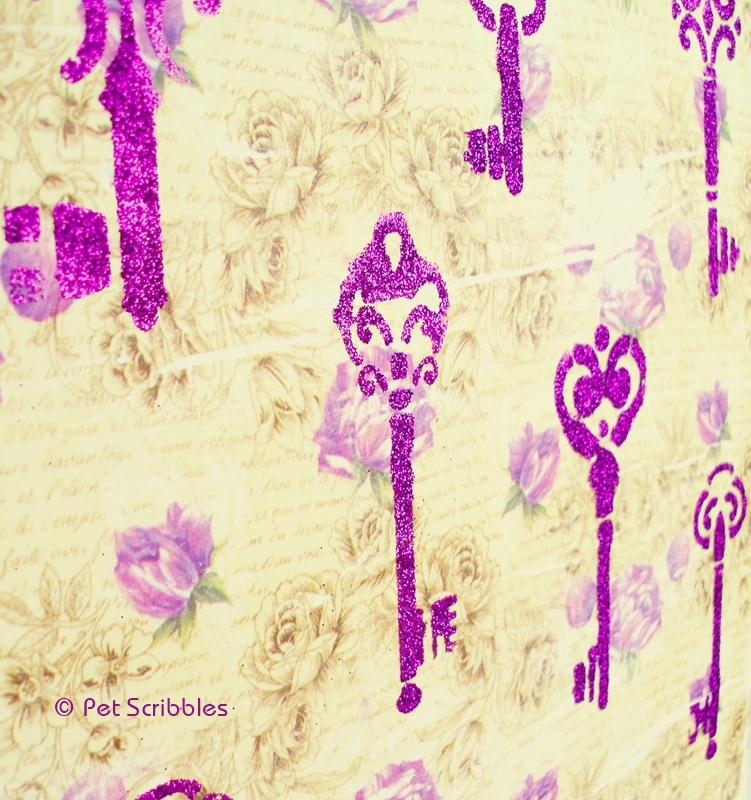
And here’s a detail shot so you can see how the glittered skeleton key design looks up close:
Vintage Key Wall Art using Mod Podge Rocks Stencils
I love how it turned out, and that I was able to make something using glitter that still retained a vintage feel! Because the stencils are adhesive-backed, they won’t let any glue seep underneath and you can also use these stencils on curved surfaces like mason jars and vases.
Vintage Key Wall Art using Mod Podge Rocks Stencils

The stencils can be used multiple times, as long as you take care to wash them immediately after using. Just use soap and water to clean the stencils, nothing fancy. I let mine air dry – adhesive side up – on a scrap piece of paper and then placed it back onto its adhesive backing.

Fun tip: Try using sand instead of glitter, for a different effect!

You can read more details on the stencils on Plaid Craft’s website here. And to see a never-ending supply of awesome ideas from Amy Anderson herself, definitely visit her blog: Mod Podge Rocks!

Happy crafting!

~Laura

   
     The Answer Is Chocolatehomework
Pin
Share
Post

Filed Under: Crafts & DIY Tagged With: amy anderson, Craft Tutorials, DIY wall art, glitter, glitter project, how to stencil, mod podge, mod podge rocks, Mod Podge Rocks Stencils, stenciling tips

Previous Post: « Layering Ribbons on a Vase
Next Post: Dr. Seuss Craft: Truffula Trees from dishwashing sponges! »

Reader Interactions

Comments

  1. Amy Anderson

    March 7, 2014 at 12:35 am

    This is so pretty Laura! I love this glitter color on this background. THANK you! xo

    • Laura Kuhlmann

      March 7, 2014 at 2:57 pm

      Well… thank YOU for creating such an awesome product! πŸ™‚

  2. Jeanie Hevener

    March 7, 2014 at 4:36 pm

    I have a “thing” for vintage keys AND glitter, so this is my kind of project! Very pretty Laura!

    • Laura Kuhlmann

      March 7, 2014 at 5:43 pm

      Me too, Jeanie! LOL I think that’s why I was so excited to try out this particular stencil! πŸ™‚

  3. Mary Beth

    March 8, 2014 at 2:34 am

    This is so pretty, Laura!

    • Laura Kuhlmann

      March 10, 2014 at 5:23 pm

      Thank you so much, Mary Beth! πŸ™‚

  4. Katie

    March 10, 2014 at 6:45 pm

    Super cute wall art!!!

    • Laura Kuhlmann

      March 11, 2014 at 1:06 am

      Thanks Katie!

  5. Maryann @ Domestically-Speaking

    March 10, 2014 at 6:58 pm

    Super cute… love keys and the glitter makes it so fun!

    • Laura Kuhlmann

      March 11, 2014 at 1:08 am

      Hooray for another key lover! πŸ˜‰

  6. Jacque n Matt Knowlton

    March 10, 2014 at 7:30 pm

    Cute cute cute!

    • Laura Kuhlmann

      March 11, 2014 at 1:10 am

      Thank you, thank you, thank you Jacque!

  7. Simply D Constructed

    March 13, 2014 at 12:07 pm

    It really IS simpler than it looks! Great job. I have been looking at stencils for some time now and I think I’d like to give it a try. Thanks for the easy tutorial!

    • Laura Kuhlmann

      March 14, 2014 at 2:04 pm

      Thanks Dee! Let me know if you try these stencils – I bet you will create something fabulous!

  8. Melissa@TheHappierHomemaker

    March 13, 2014 at 2:45 pm

    I love these new stencils!!! And of course loving the glitter!

    • Laura Kuhlmann

      March 14, 2014 at 2:06 pm

      Thanks so much Melissa! πŸ™‚

Primary Sidebar


Welcome to Garden Sanity by Pet Scribbles. I’m Laura, an artist and self-taught gardener. Gardening is therapeutic for me, peaceful and calming. I write articles and film videos centered around my own gardens, with plenty of plant suggestions and gardening tips. I’m glad you’re here and happy to share my garden inspiration with you!

As an Amazon Associate I earn from qualifying purchases.

As an Amazon Associate I earn from qualifying purchases.

© 2025 β€’ PET SCRIBBLES LLC β€’ PRIVACY POLICY