I’m so excited to share this fun post with you today!
Have you heard of The Ribbon Retreat?
If you have, then you already know they sell an amazingly awesome selection of ribbons and trims for just about any DIY project you can dream up, in just about any color you need! They also sell gorgeous fabric, plus many “surfaces” (my word) to craft with: hair clips, pendants, headbands, shoe clips, key fobs, belt tips… you get the idea, right? Lots of goodies to choose from!
And if you aren’t familiar with The Ribbon Retreat? You need to head on over there right now and visit!
And you can see me while you’re there! Well, not really “see” me, but almost as fun:
I’m super excited to announce that I’m a blog contributor for The Ribbon Retreat, and my first post is up on their blog this week!
I love ribbon, lace and trims of all kinds, often using them in my DIY projects, so you know I’m like a kid in a candy store when I’m shopping on The Ribbon Retreat!
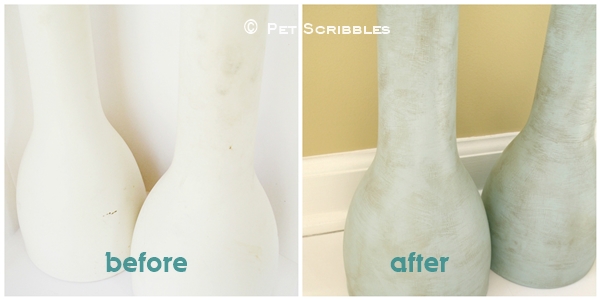
For my first contributor blog post, I decided to show how I love to layer ribbons. I started with a set of ugly vases (that needed a lot of love) and gave them a makeover with paint and wax for a wonderfully distressed look.
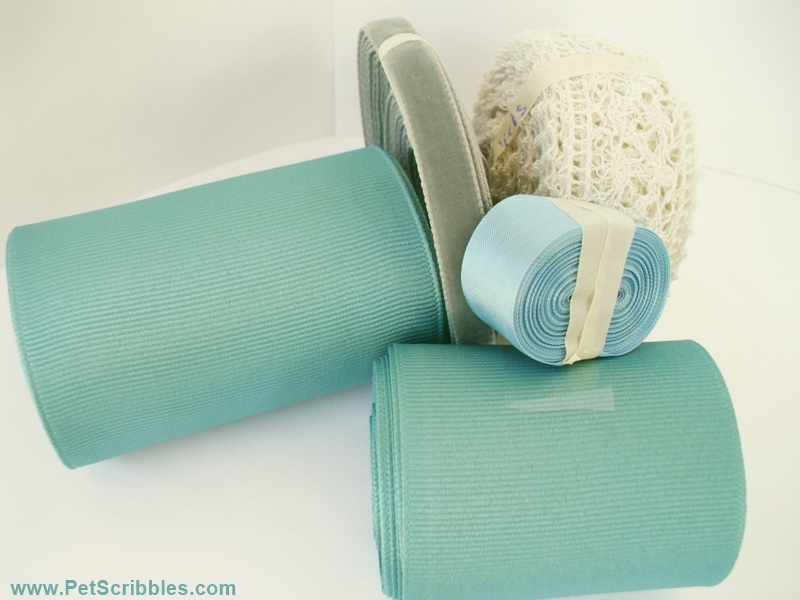
Then I made them pretty and shabby with a soft color palette of ribbons, velvet trim, lace and a few more goodies that you’ll have to see when you click over to visit!
So let’s not delay any longer!
Click here to learn how I layer ribbons: Ribbon and Lace Vase
Happy crafting!
~Laura

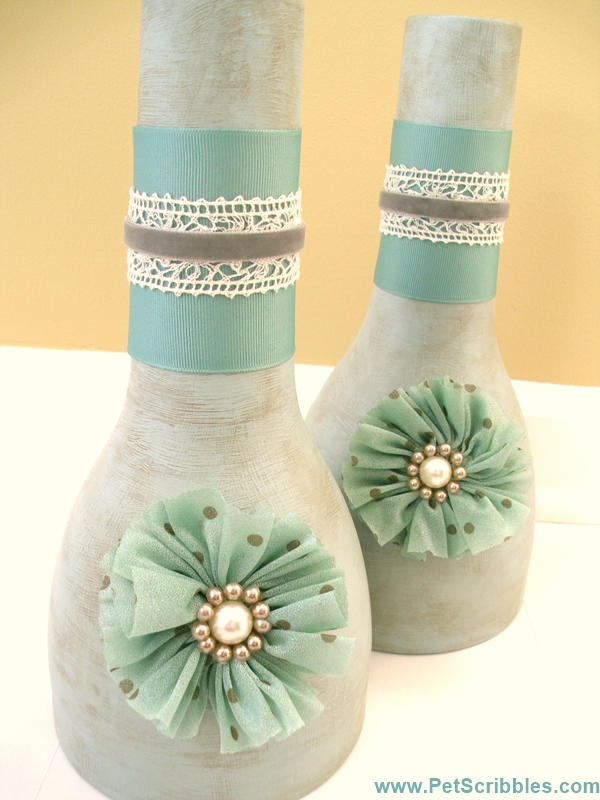

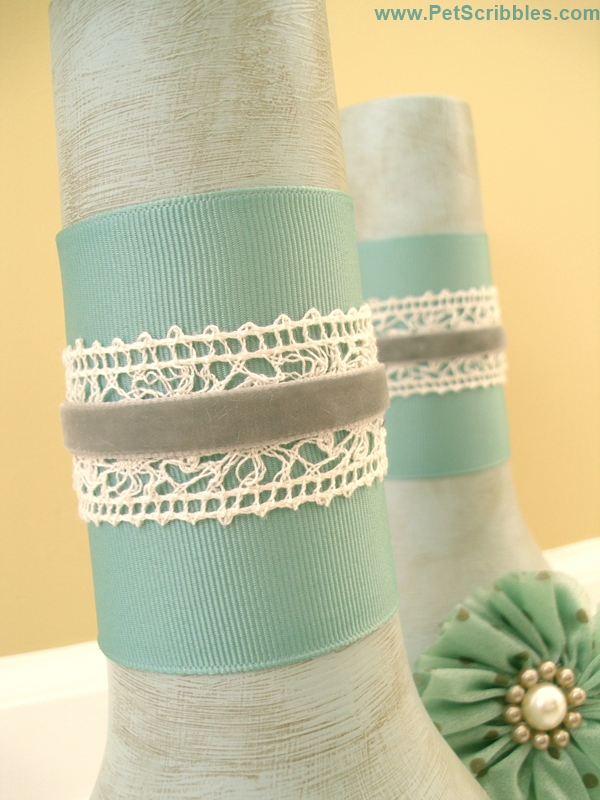


Laura, O Brilliant One, I’ve been admiring your vase makeover at TRR since it was first posted, and even though I want to leave a comment there, I just had to pop over here to tell you how much I love your project!!!♥ The color scheme is gorgeous, and your idea to use flowers (which I always thought of as limited to headband, brooch, clothing, or shoe use) as embellishments is ingenious!
Um, er, and I also wanted to ask you a couple of questions… : P
Are the vases glass or ceramic–and would it even make a difference as far as using chalk paint is concerned?
Did you paint a bit into the tops of the vases?
Thank you for sharing this amazing project! I am truly awestruck. xoxo
I’m so glad you loved the color scheme, Pat! I like creating things in more muted and softer colors, although I will do the occasional vibrant-looking craft! I’ve always thought of those flowers just as you mention, which is why I decided to use them in a different way. I love that you can buy these ready-made from The Ribbon Retreat, because I haven’t yet mastered the art of making them myself. (Not even close!)
For your questions: the vases are ceramic. But I’ve also used the same paint on glass vases. (Look for my altered bottle tutorial from last week, which is a glass bottle!) It makes no difference whether you paint on glass or ceramic.
Yes, I painted into the tops of each vase, just enough so if you were looking at the opening, it would look “finished”. But I only painted about an inch at the most inside. That’s really all you need. Another idea, if you didn’t want to paint inside, is to just paint the rim only, using a tiny brush. That also will give you a finished look.
Thanks so much for your compliments! As it was my first project for The Ribbon Retreat, I really appreciate your comments and questions! 🙂
Laura, I’m so glad I popped in to visit because I have never heard of The Ribbon Retreat. I am crushing on that gorgeous velvet ribbon and I cannot find any around where I live. Your vases are beautiful! Pinning!
Thanks Jane! You will love their selection of velvet ribbon! 🙂