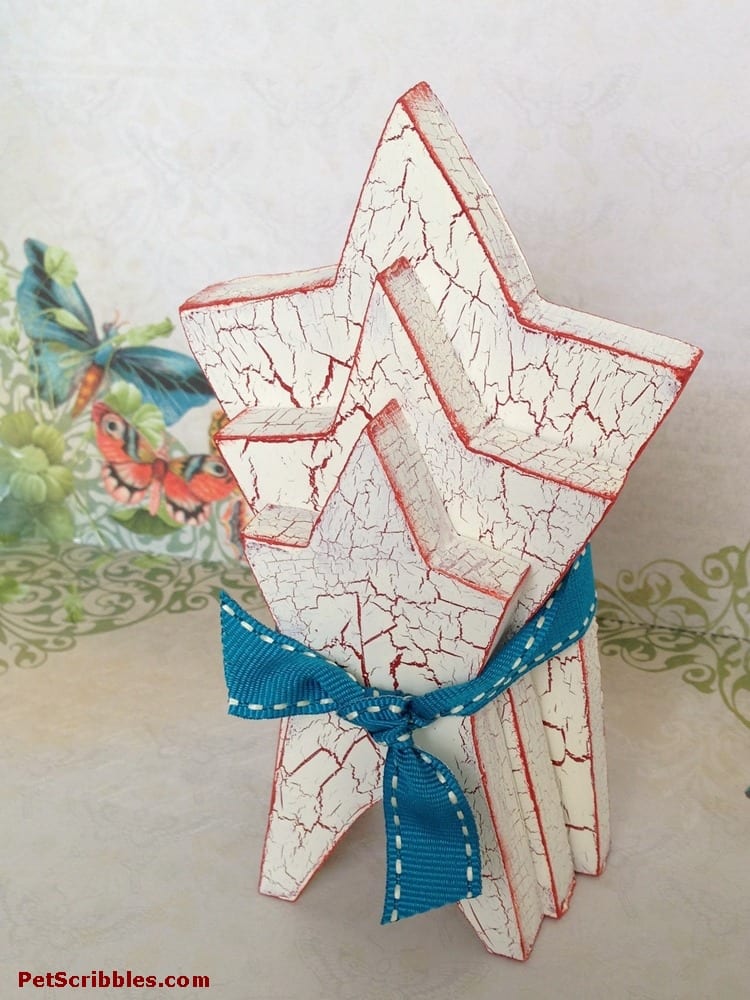
How to paint unfinished wood stars with a crackled finish, to make your very own Rustic Painted Wooden Stars! (Plus year-round decorating ideas too!)
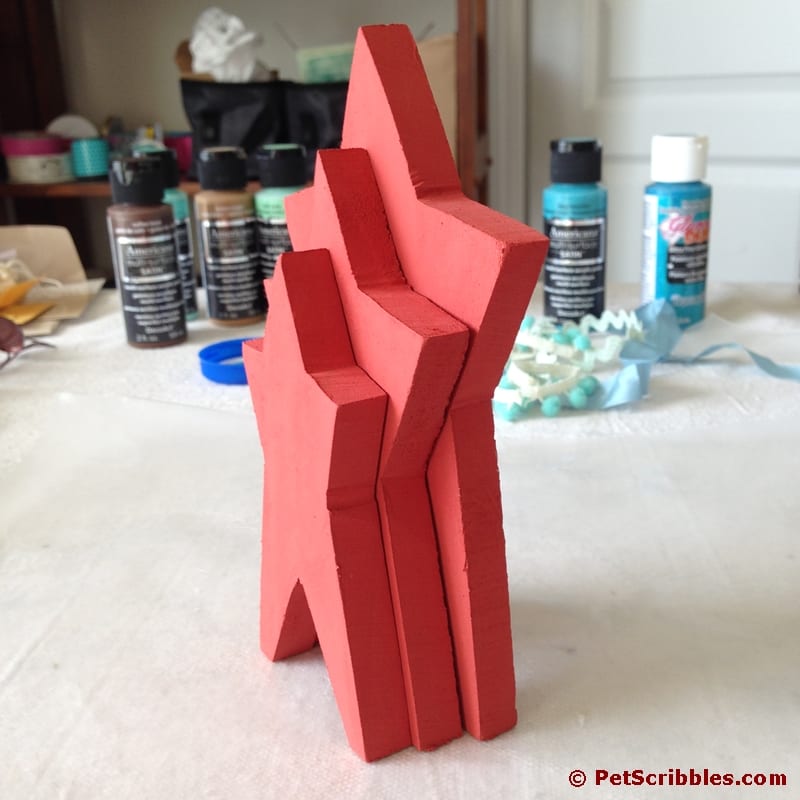
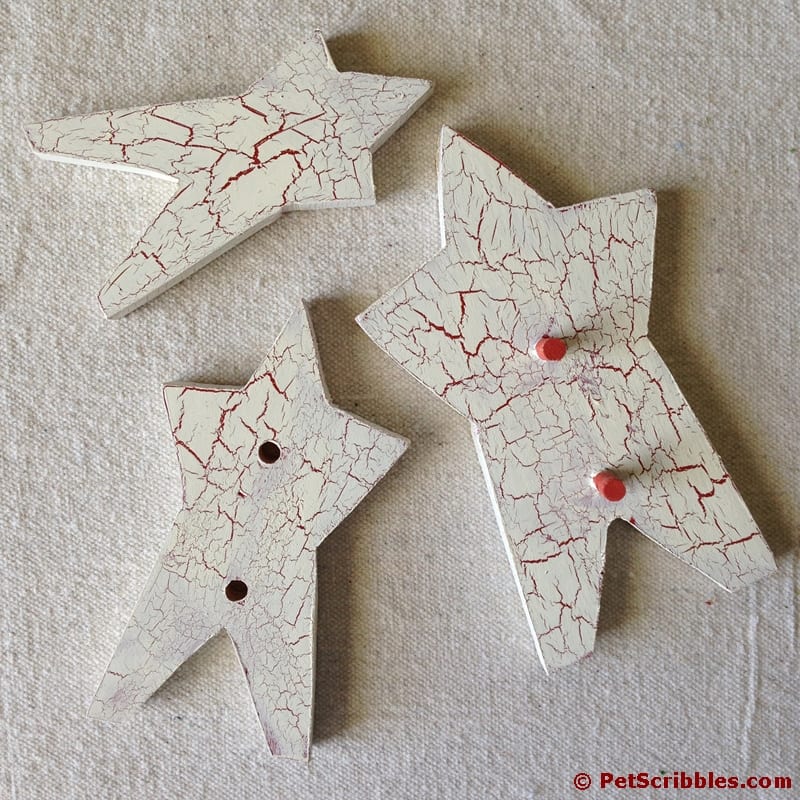
I ordered this trio of unfinished wood stars — the link is in the supplies list below — and here’s what they look like when you get them:

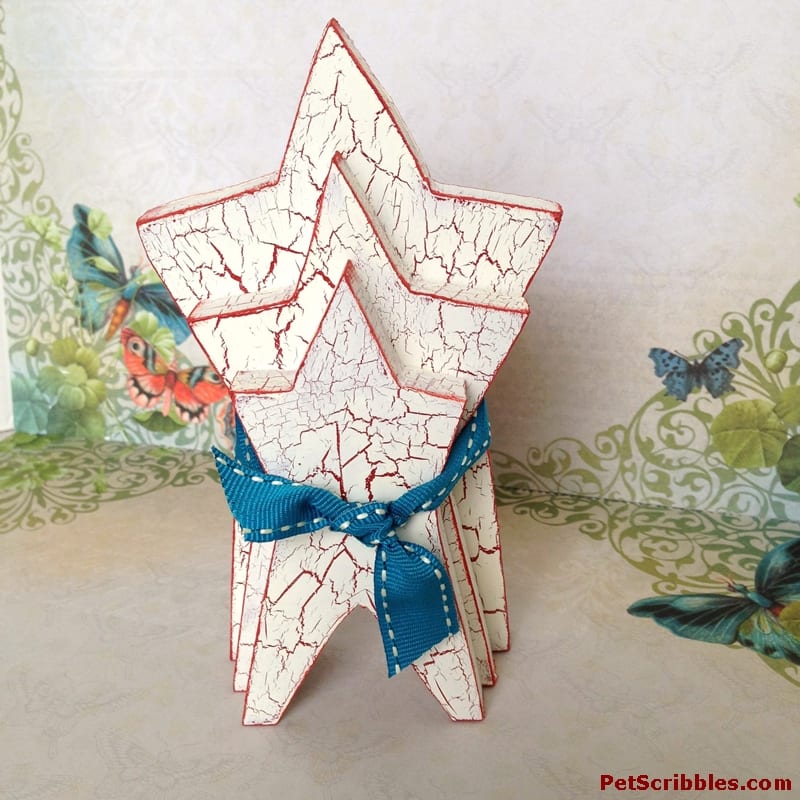
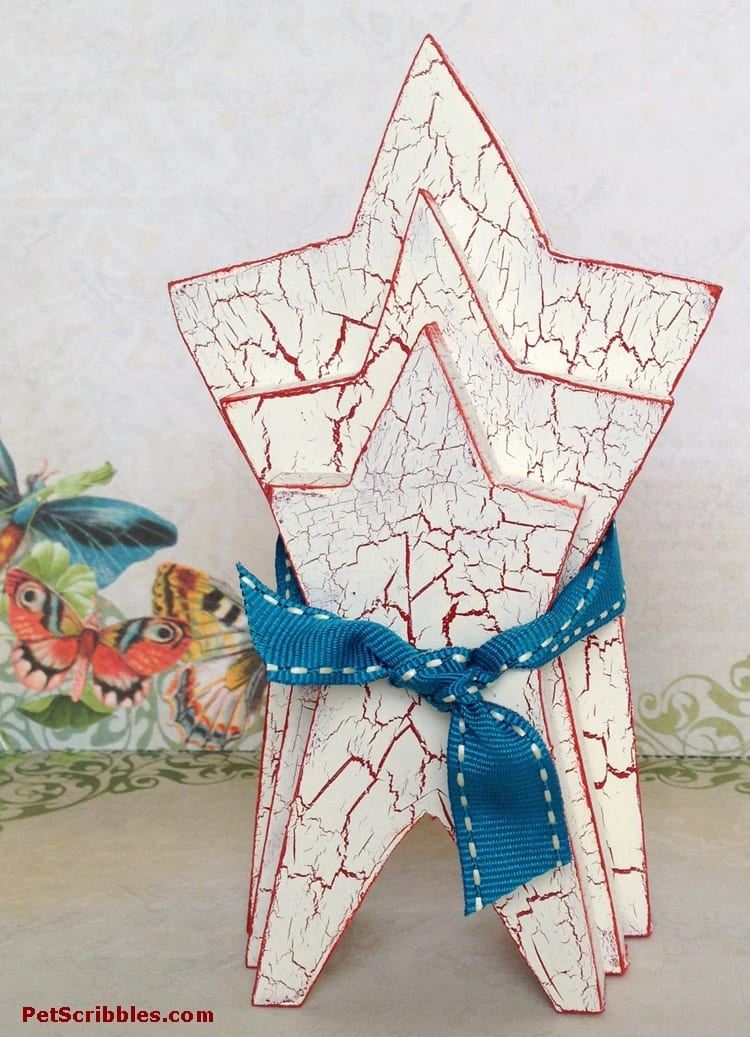
The ribbon you receive might be different than what I received, but I love the homespun look that this has already! The stars come apart, held together by wooden pegs and measure 4″, 5″ and 6″ tall.
FTC Disclaimer: Some of the links in this post are affiliate links. I explain more here.
Supplies:
- Unfinished Wood Star Set (via ConsumerCrafts.com)
- DecoArt Americana Decor Chalky Finish Paint
colors: Cameo, Lace - DecoArt Americana Decor Crackle Medium
- Paintbrushes (small and tiny)
- Wax paper
- Sandpaper
- White rag
- Paper towels
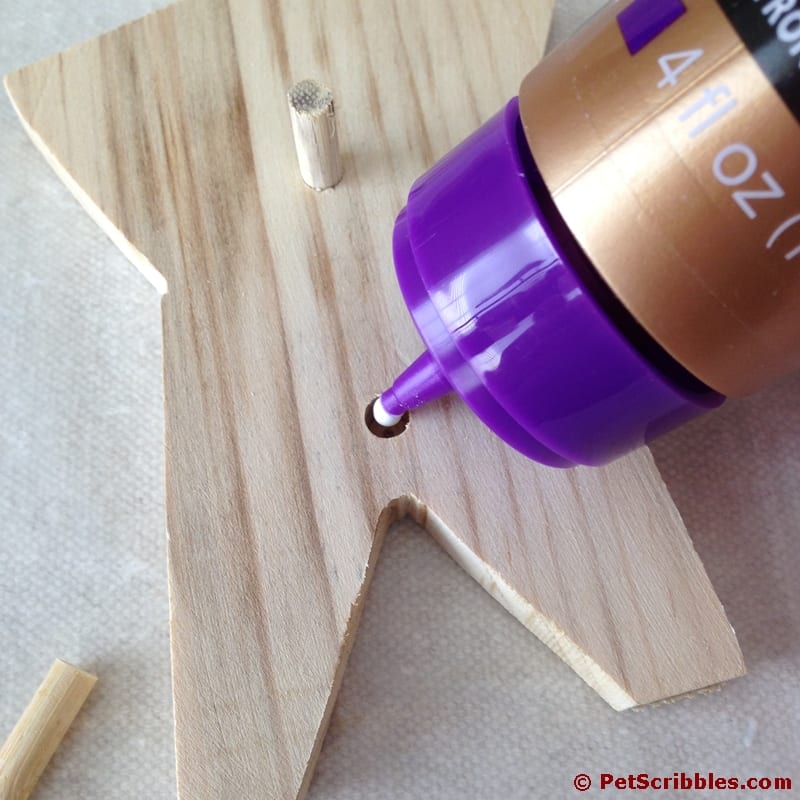
- Aleene’s Turbo Tacky Glue
- Ribbons (as decoration)
Rustic Painted Wooden Stars
Step One: Sand any rough edges, if needed. Wipe away dust with a white rag.
I mention “if needed” because I actually liked the rough spots and edges on these unfinished wood stars, so I skipped this step. It totally depends on what you prefer.
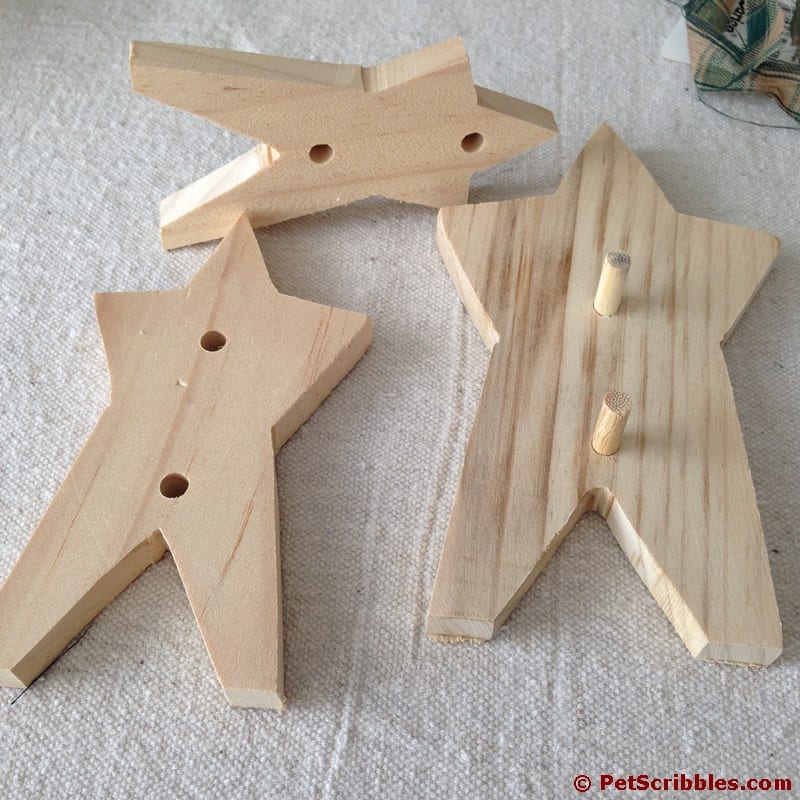
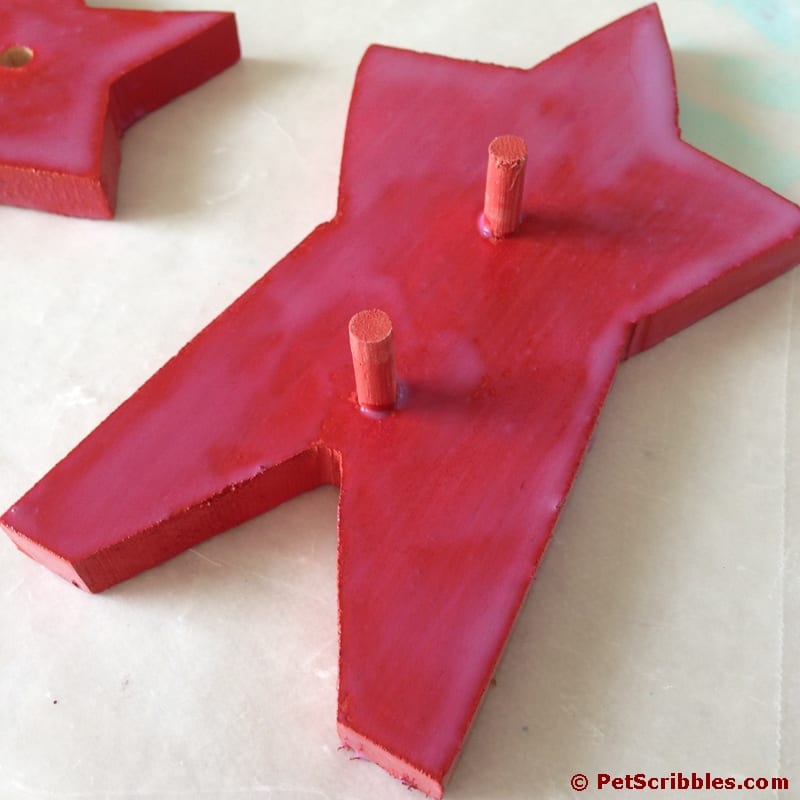
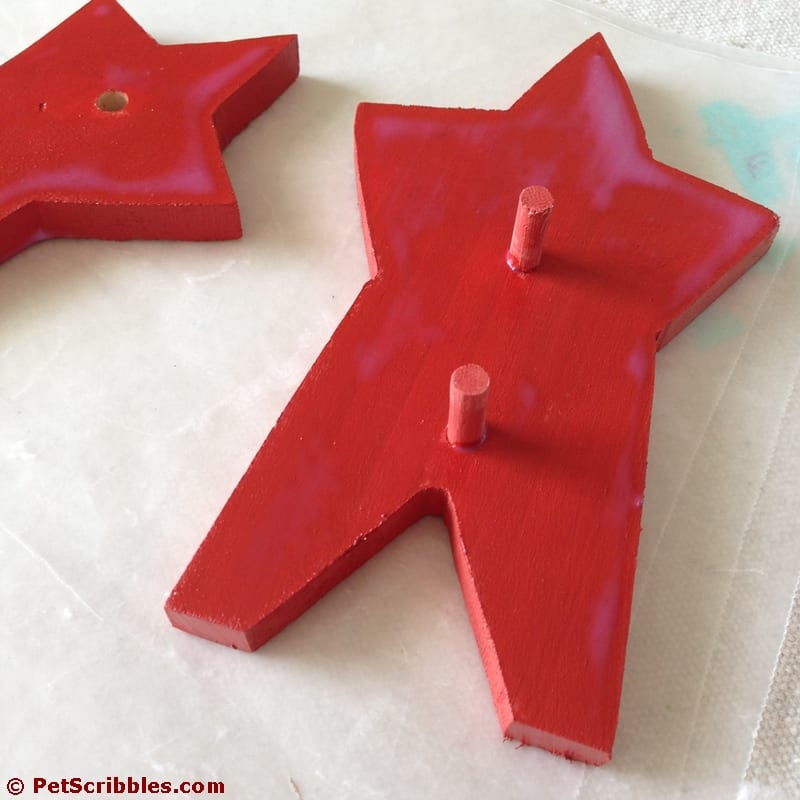
Step Two: Glue the wooden pegs into their holes. Let dry.
It’s not required that you do this, but having the pegs securely glued into their holes will ensure they don’t come out later. And we’ve all been there when a little wooden peg goes missing. I swear that time must stop completely until I find that darn peg!
Step Three: Paint each of the wood stars with two coats of Cameo chalky finish paint. Let dry.
This will be the base color that will show through the crackled top coat of paint.
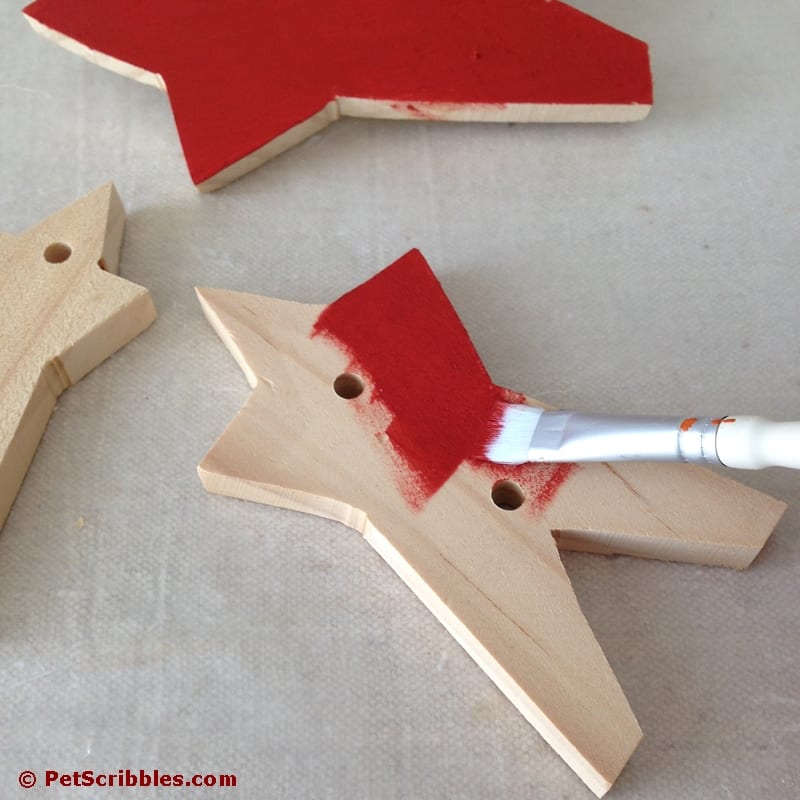
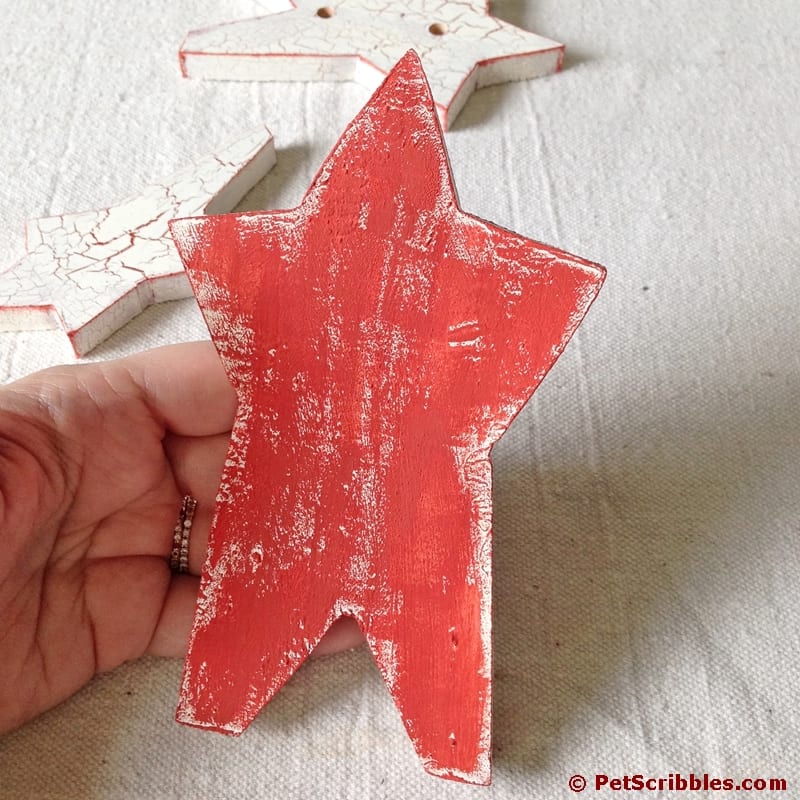
Cameo is a pretty shade that looks red but definitely has a hint of orange to it. I purposely chose this color as I think it transitions easily to many different seasonal decor vignettes throughout the year, as you’ll see further along in this post.

Again, if you wanted to leave them a solid color, you can.
Always remember this: You can do anything you want when crafting and creating! When you keep this in mind, you’ll allow yourself to experiment more without worrying if you’re doing it right or not.
Step Four: Using a paint brush, apply the crackle medium onto the front and sides of each painted star. Get a good amount onto your brush and spread on a nice even coat. Let dry.
The crackle medium is a thin, milky-looking liquid that drips easily — nothing thick at all.
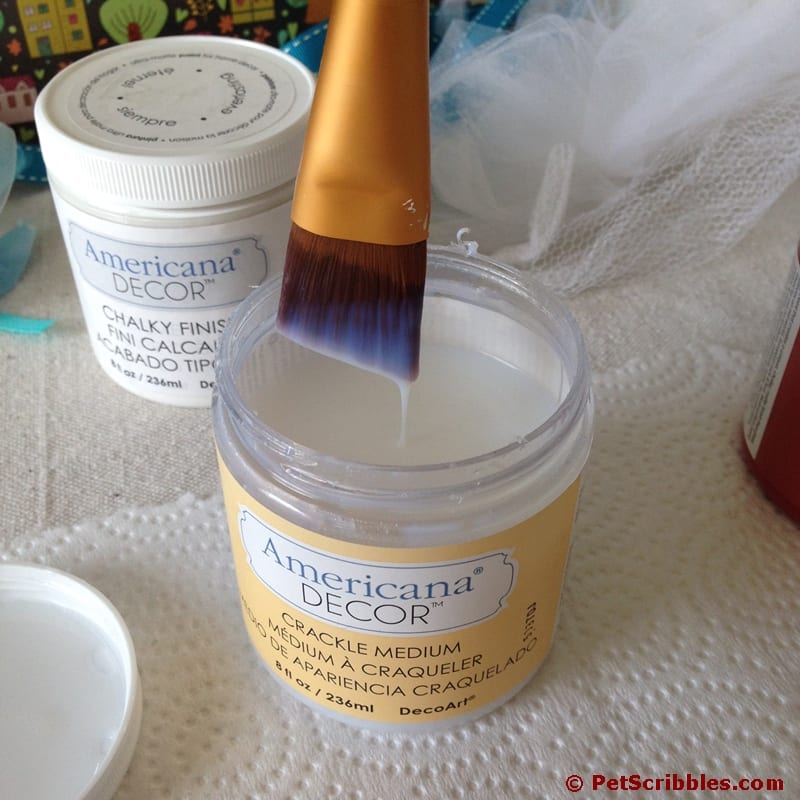
Depending on which direction you paint the crackle medium will result in your cracks appearing a certain way. (And the specifics are helpfully listed on the jar so you know which direction means what at a glance.)
There’s no wrong way to apply crackle medium, and I tend to brush it on both horizontally and vertically to get cracks going both ways.
Helpful tip: Be careful not to brush over the medium after it’s applied. I’ll show you what that ends up looking like in a bit.
The crackle medium begins to turn clear as it dries.
Here’s how it looked after 5 minutes . . .
And here’s how it looked after 10 minutes of drying . . .
Make sure the medium has completely dried before proceeding to the next step.
Step Five: Apply one coat of Lace chalky finish paint. Read specifics in this step before painting!
- Brush the paint on quickly and try not to go over the paint more than once.
- This off-white paint color is the top coat, which will crack as it dries, exposing the reddish-orange base color through the cracks.
- The cracking happens almost immediately, which is so cool to watch!
- Work quickly.
- Let dry.
The Lace shade of chalky finish paint is a pretty off-white color. I almost went with painting the top coat white, but again wanted a softer shade so that I could easily incorporate these stars into various seasonal displays throughout the year.
Once dry, I reassembled the stars.
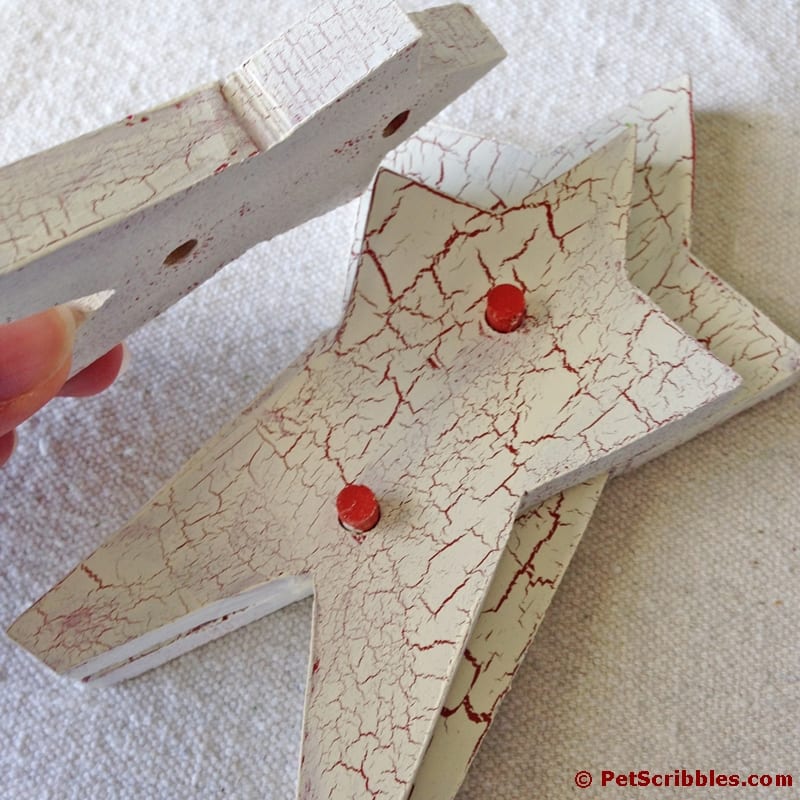
But I felt like something was missing, so decided to take it apart again and add a thin border along the front edges of each star.
Step Six: Add a thin red border using the Cameo chalky finish paint by dipping the tip of a small paintbrush into the paint then wiping it on a paper towel before lightly painting the edges of each star.
You could also sand the edges to expose the red paint underneath, but I didn’t want to mess up any of the crackle finish, plus this step went quickly as I only gave a border to the “front” edges of each star, to help define each one when they’re stacked together.
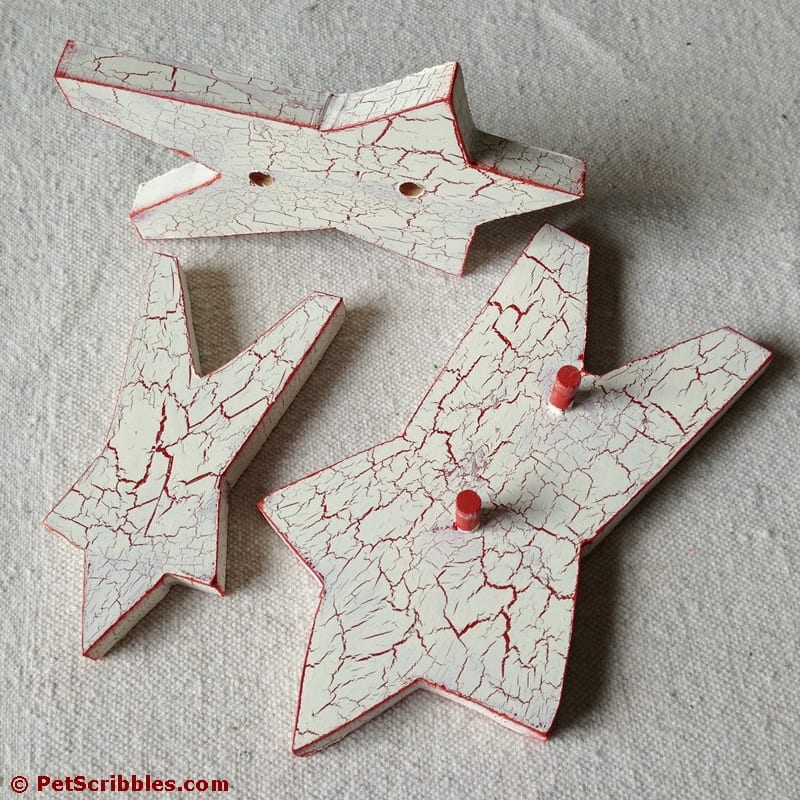
I also gave a quick rough coat of Cameo onto the back of the largest star, which provides a more finished look overall — as well as another decorating option just by turning the stars around!
Step Seven: Add a ribbon of your choice, depending on the season, style and holiday.
Here’s a fun Summery look for my rustic painted wooden stars — a bit unexpected but fun with the bright ribbon!
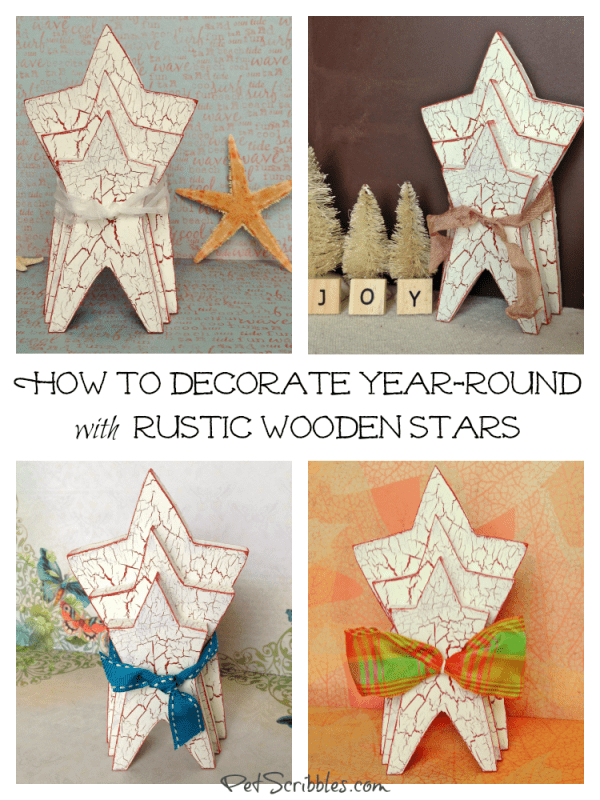
Why put the stars on display just for certain holidays?
I say keep them out all year if you want to!
I put together 10 decorating ideas to inspire you, as a “part two” to this DIY!
Click here to see:
How to Decorate Year-Round with Rustic Wooden Stars
Happy crafting!
~Laura