This project and video tutorial are sponsored by Darice Crafts. All opinions and ideas are most definitely my own!
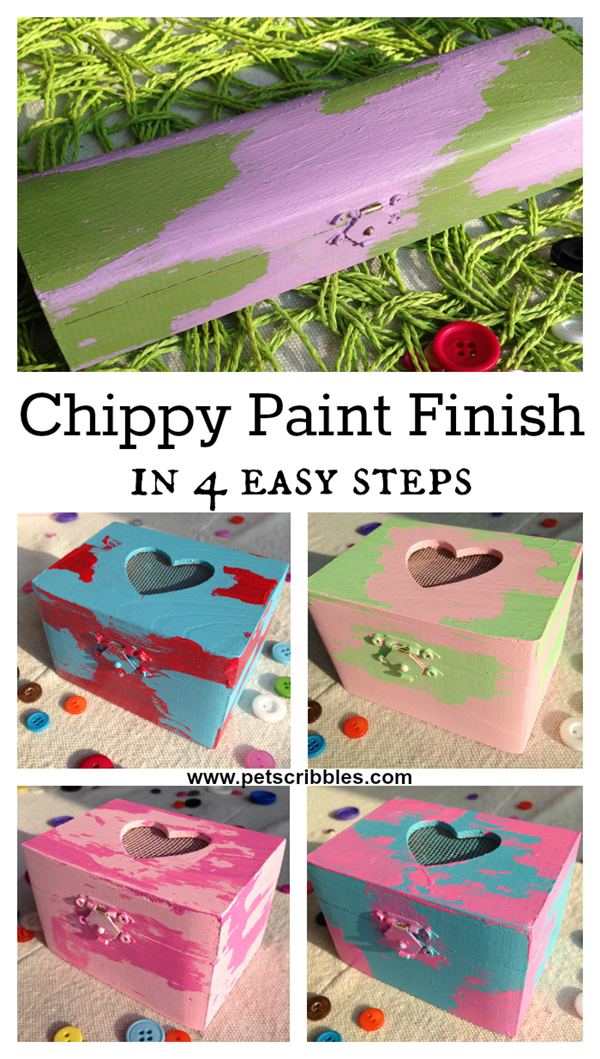
You can create a fun and contemporary chippy paint finish in with just a few supplies and 4 simple steps.
I love painting small unfinished wood pieces, and Darice Crafts has a wonderful selection in all kinds of shapes and sizes, including these little boxes:

Boxes of this size make great party or wedding favors, and don’t forget teacher gifts too! Spring is the perfect time to paint a bunch of these and keep them on hand for when you need a quick gift, as they’re the perfect size for a gift card or other small trinkets!
I created this short video to show you exactly how to do it:
Chippy Paint Finish in 4 easy steps
Supplies needed:
Unfinished wood boxes (Darice Crafts)
Two colors of craft or chalky finish paint
Wax paper
Paint brush
Wet wipes or baby wipes
Paper towels
Petroleum jelly
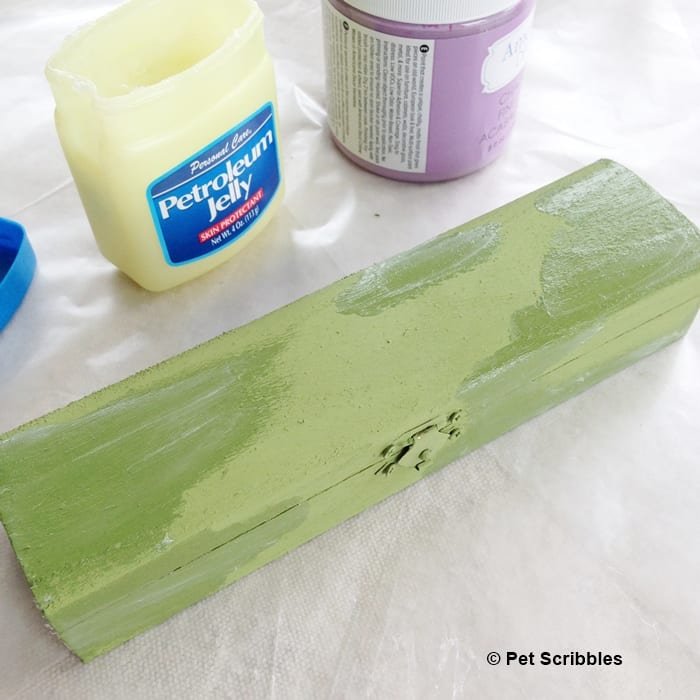
Step 1. Paint a base coat and let dry.
Step 2. Apply petroleum jelly anywhere you want this base color to show through your second color.
Step 3. Paint your second color right over the top of the base coat and the petroleum jelly areas.
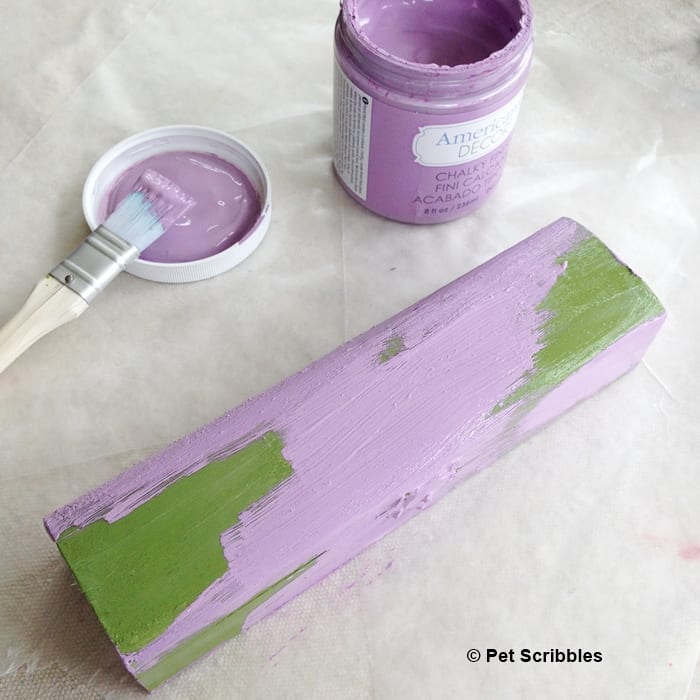
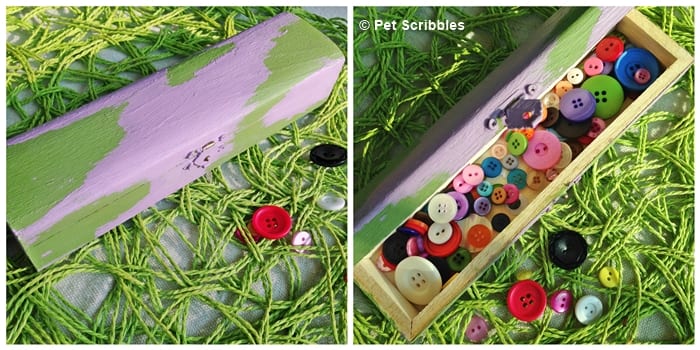
Let dry for several hours. Your project will look like this:
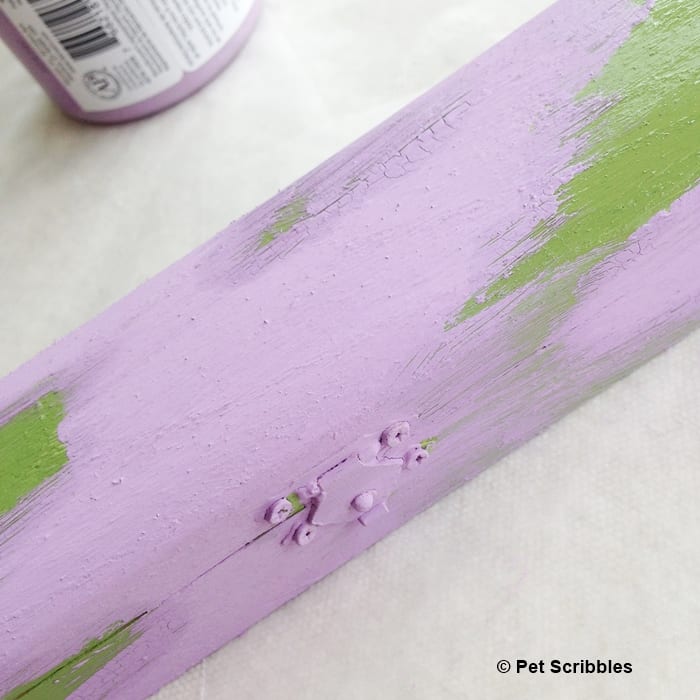
Notice how the purple paint (the top color) has dried, but you can see a darkened area with some crackling and a bit of shine too. Those areas are where the petroleum jelly is sandwiched in between your two colors.
Step 4. Using a wet wipe or a baby wipe, remove the paint and petroleum jelly from the box. The wet wipe will lift off the layers and also take care of any oil residue from the petroleum jelly. Wipe with paper towels.
Optional step: Lightly sand the painted wood.
Here’s some pictures of the boxes I shared in the video:
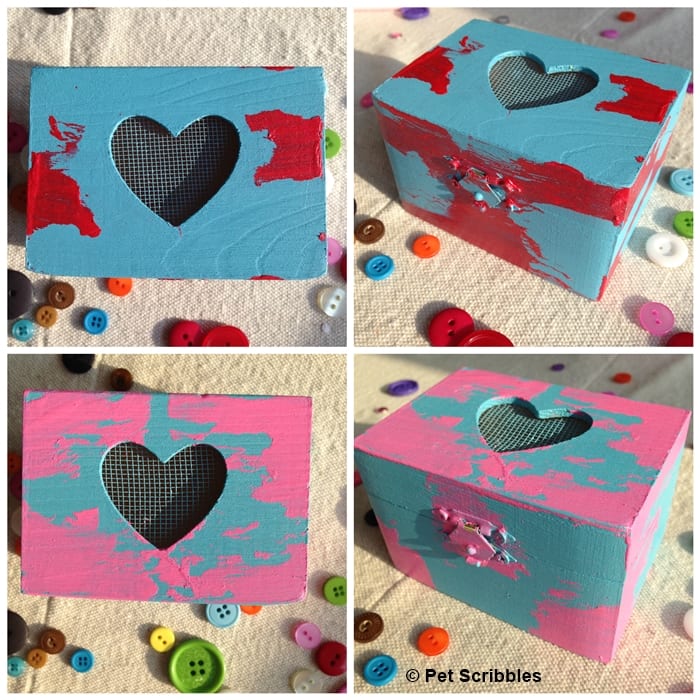
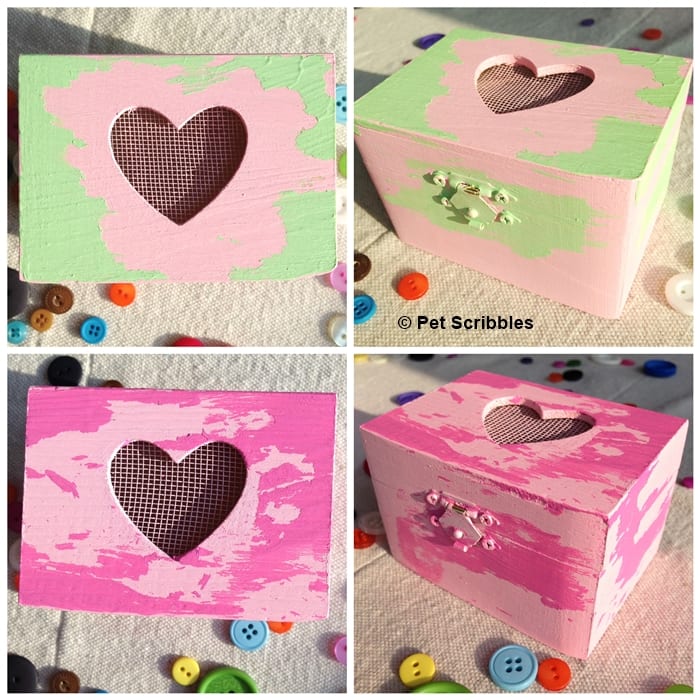
As you can see, your color choices are only limited by your imagination!
If, after watching the video, you have any questions – please leave them in the comments below.
Happy crafting!
~Laura
Can you believe I still haven’t tried chalky finish paint? I need to get some. Can’t wait to see you at Snap. This is such a fun project!!
No Laura, I can’t believe it! LOL it was fantastic meeting you (finally!) at SNAP!
Ooooh – I’ve never tried with petroleum. I definitely will!
You’ll love this technique Amy – once you try it and see how easy it is to get a weathered paint finish, you’ll be hooked! 🙂
Wow, Julie! Petroleum jelly is quite the “secret” ingredient, isn’t it?! Just based on your photos and instructions (didn’t watch the video… my speakers are still broken), it looks so easy to control how much “chippiness” is desired–and exactly where to place it. And the baby wipes tip is a gem! Thank you for sharing your fun project idea. xoxo
You’re welcome Pat, so glad you enjoyed this one! You’re exactly right: it IS easy to control exactly how chippy you do – or don’t – want the look to be. I wonder if the inventor of baby wipes had any idea how many ways they’d be used! 🙂
You look great on camera Laura! I really want to make a video tutorial.
Awww thanks Kelly! 🙂 Many of your scrapbook posts on your blog would do very well as visual “show and tell” videos! Just add that to your ever-growing list! 😉