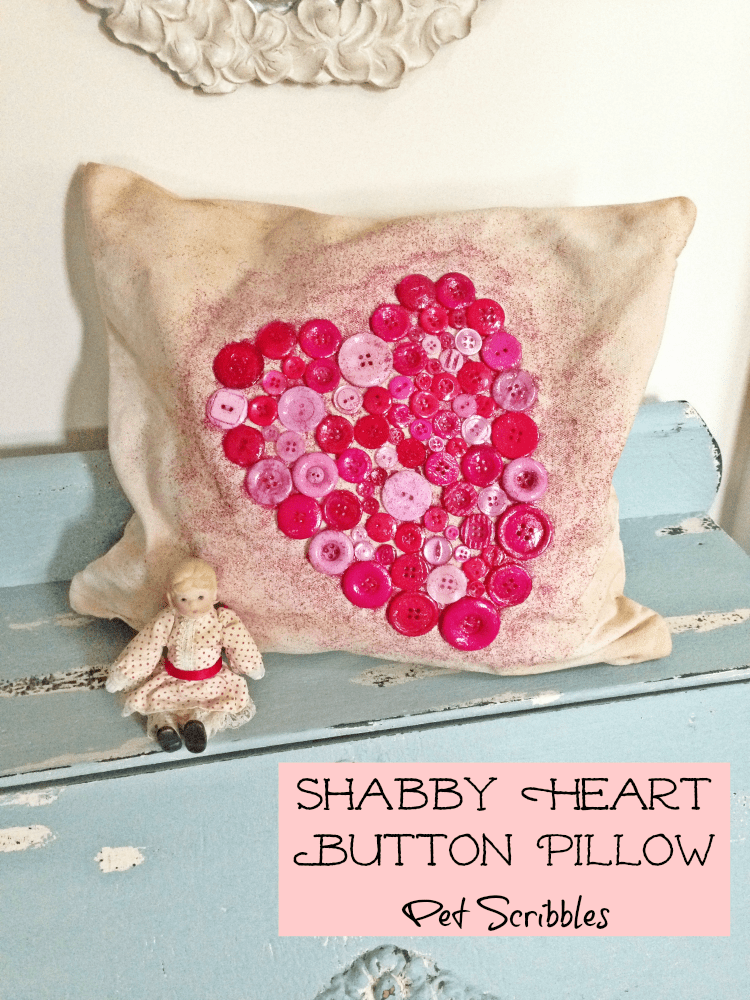
Make this sweet Shabby Button Heart Pillow to enjoy for Valentine’s Day. The mix of textures — sparkly glitter, shabby pillow cover, shiny buttons — is what makes it fun!
Although I made this shabby button heart pillow for Valentine’s Day, you can alter this tutorial to come up with something for other holidays or seasons.
Just change the colors of your chosen buttons and/or your chosen shape!
For example, an egg shape for Easter.
Hmmm… I may have just come up with another project for me!
Shabby Button Heart Pillow
Here’s how I created this shabby yet sparkly pillow for Valentine’s Day!
Spoiler Alert!
I had a craft fail in the middle of this tutorial. But since I like to keep things real here, I’m sharing that part too! You get it all!
FTC Disclaimer: Some of the links in this post are affiliate links. I explain more here.
Supplies:
- 100% cotton canvas pillow cover — craft store
- Tulip Glitter Dimensional Fabric Paint in Ruby — iLoveToCreate
- Aleene’s All-Purpose Turbo Tacky Glue — iLoveToCreate
- Red and pink buttons — Buttons Galore
- Black coffee (to use as dye)
- Coffee grounds
- Mixing bowl
- Ground cinnamon
- Rubber gloves
Tutorial:
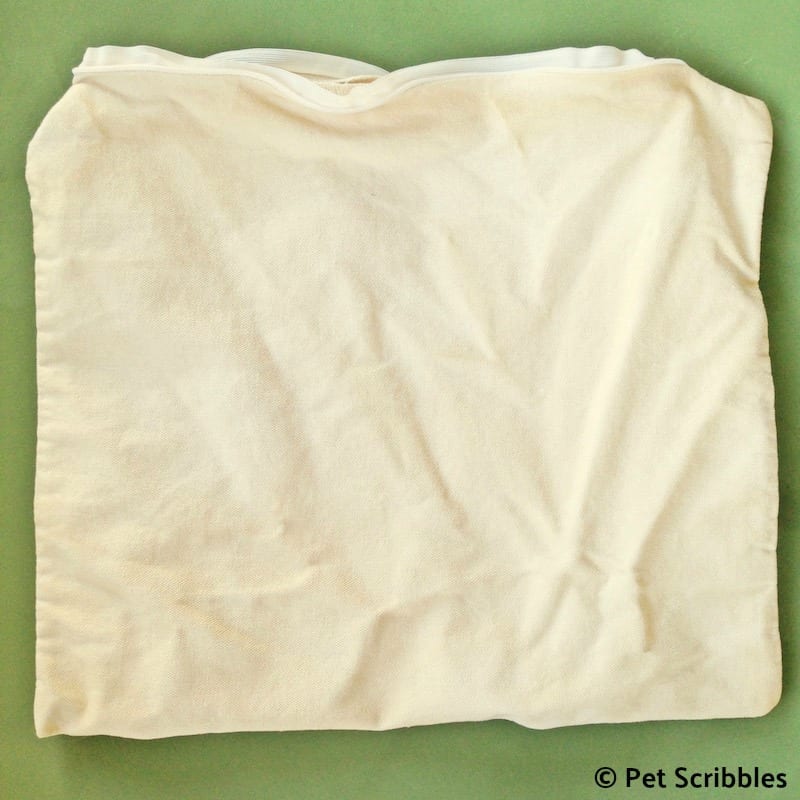
I began with this cotton pillow cover from the craft store.
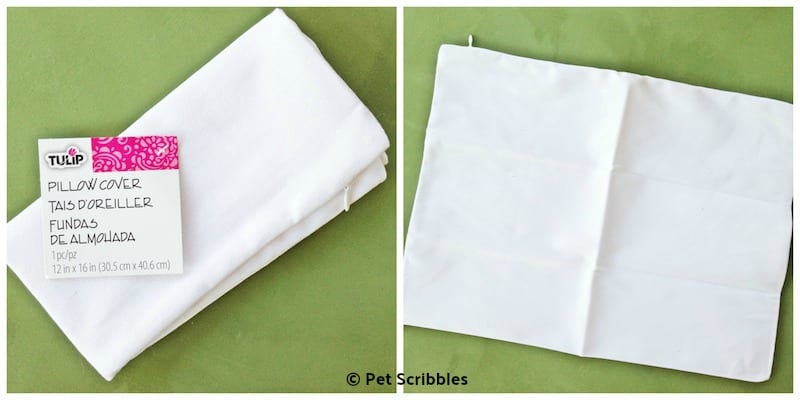
You can find similar ones at craft stores, dollar stores, or online. I also like this pillow cover from Canvas Corp Brands.
To make the pillow cover look very old and shabby, I dyed it with black coffee.
There are a zillion tutorials on the interwebs on how to dye fabric with coffee.
After reading many of them, I decided to wing it. It’s not hard to do.
Super helpful tip: Wear rubber gloves to protect your hands from getting coffee-stained!
Dying the Pillow Cover
Step One: Dye the pillow cover using coffee and cinnamon.
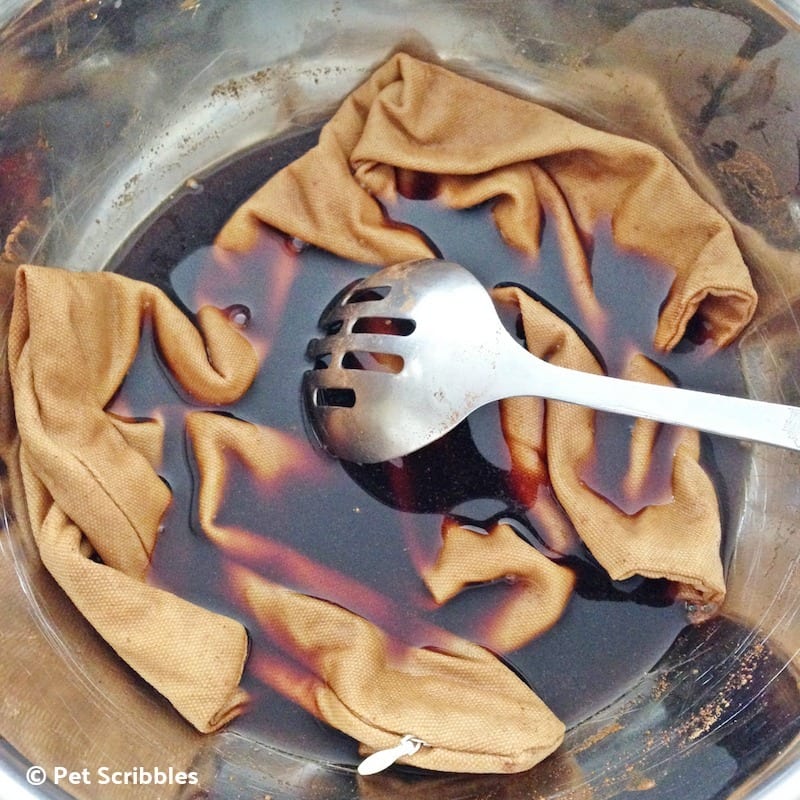
I poured super-strong black coffee into a mixing bowl, then dunked my pillow cover into the liquid.
A large spoon helped to keep the pillow cover submerged in the coffee dye.
I tossed in some cinnamon because several online tutorials suggested adding it in and smooshing it into the fabric.
So far, so good.
After 20 minutes, I removed the pillow cover and placed it on a plastic bag to protect the kitchen counter.
Step Two: Rub used coffee grounds onto the fabric.
Then I rubbed the leftover coffee grounds (from making the coffee earlier) onto the fabric.
(I was so excited about how this was going to look, let me tell you.)
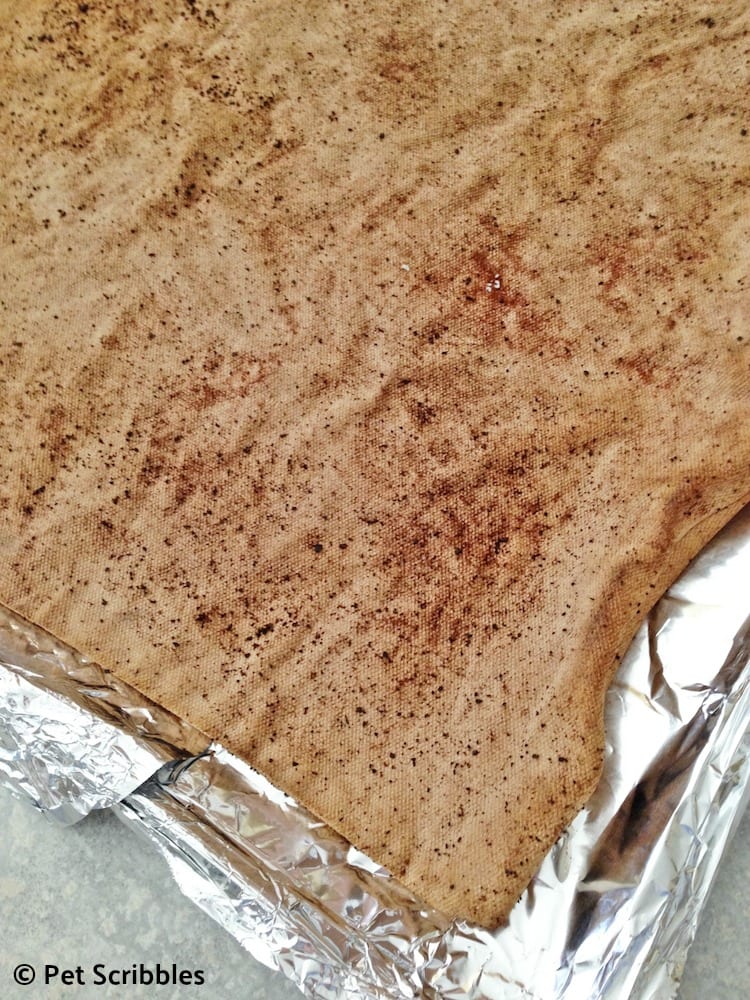
Step Three: Bake the pillow cover in the oven on low (about 200 degrees) for 40 minutes, flipping it over every 10 minutes.
After covering a cookie sheet with tin foil, I placed the pillow cover on the foil and cooked it on low. I flipped the pillow cover over every so often to make sure both sides were aging equally well.
And here’s where things started to go wrong . . .
I took the pillow cover outside and brushed off the coffee grounds and cinnamon bits and shook it out.
It was still a bit damp so I hung it to dry.
And… that is when reality hit me and my wonderfully distressed pillow case hard.
You see, I still wondered about this pillow cover staining the chair or couch where it would be displayed.
So — are you ready to cringe??
I washed the pillow cover.
I know. Dumb move.
Most of the awesome-looking distressed and time-worn shabbyness simply washed away.
(So much for me winging it!)
Heavy sigh. Until I remembered that it’s just a pillow case, and nothing truly tragic had occurred.
Remember, it’s crafting!
So on the positive side, the fabric did have a decent khaki shade to it, plus some subtle “stains” here and there.
Subtle being the key word. Hah!
Making the Button Heart Pillow
Step One: Insert a piece of cardboard into the cover as shown:
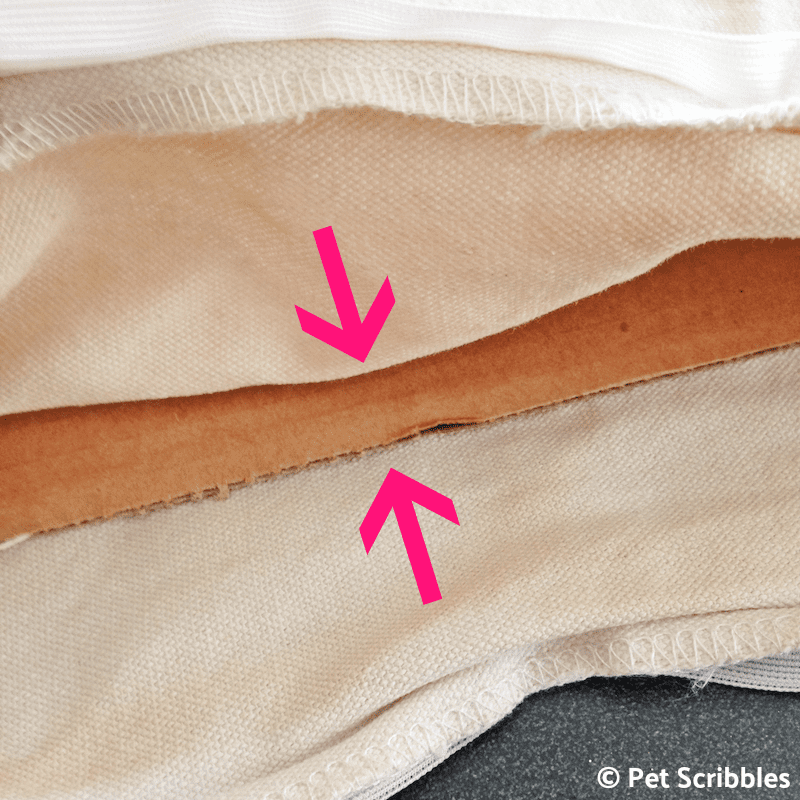
You don’t want the fabric paint to seep through onto the back of the pillow cover.
Step Two: Use dimensional glitter fabric paint to make a heart with the buttons.
Dimensional fabric paint works like a glue, so you can use it to adhere embellishments to fabric.
First I made an outline of my heart with buttons.
Next I squirted some dimensional fabric paint onto the bottom of each button, then pressed it down onto the pillow.
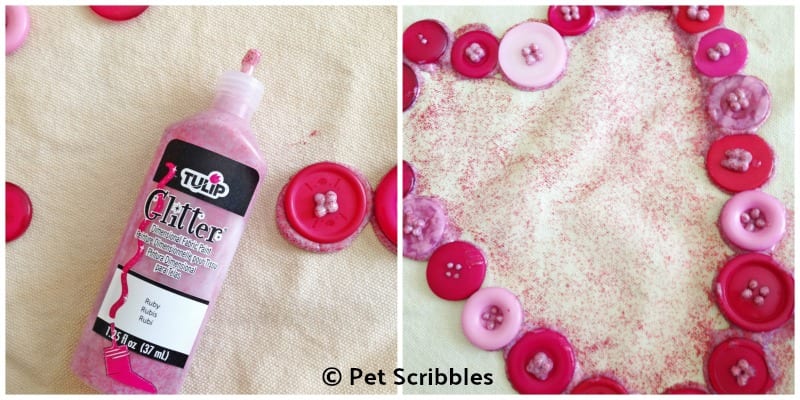
See how the fabric paint just came right through the button holes? And see how blobby it looks?
I wasn’t worried. Yes, I had a plan. (Wasn’t going to wing it for this part!)
Once the button outline of the heart was in place, I used the tip of a foam sponge brush and gently pulled the glitter fabric paint away from the buttons to create a glitter border around the heart.
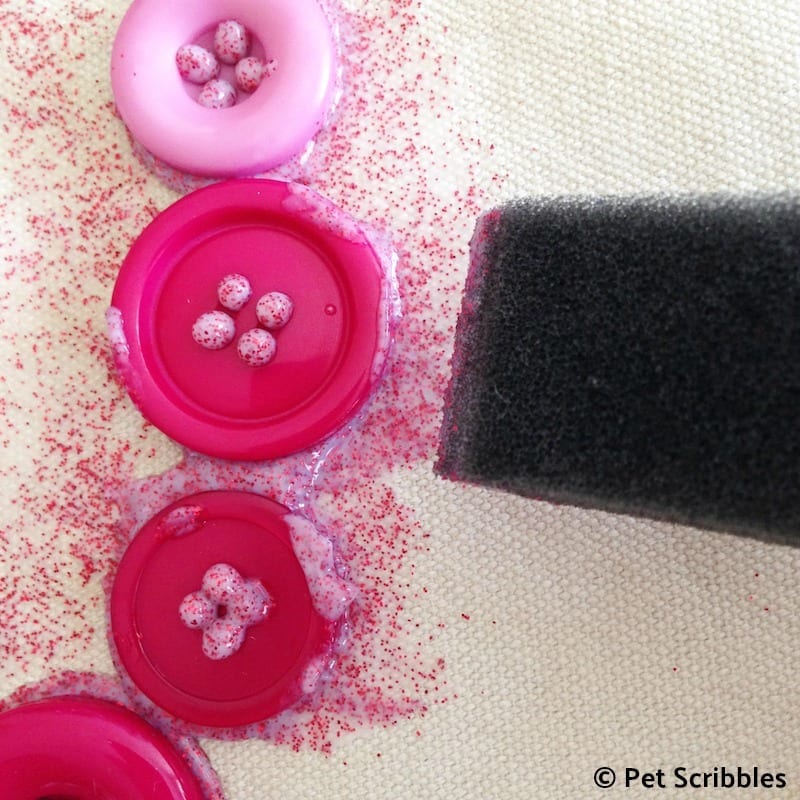
I used extra glitter fabric paint to lightly cover the inside of the heart with glitter.
Then I took the glitter paint that had seeped through the buttons and rubbed it around so that each button that outlined the heart was coated with glitter.
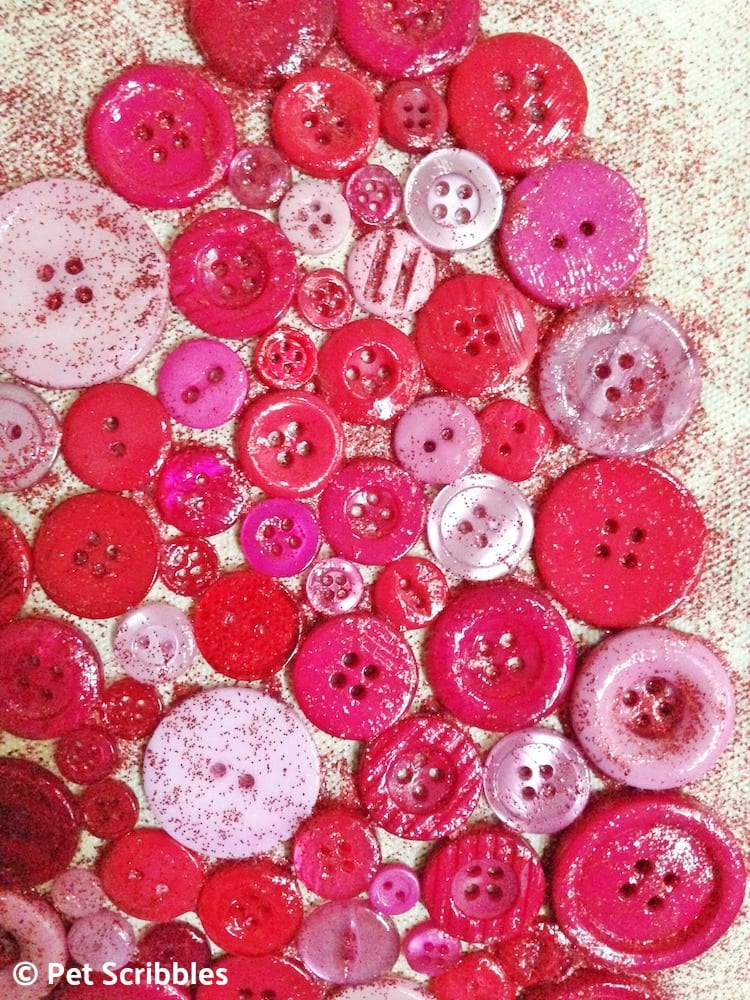
I filled in the heart with more buttons – only this time I used Aleene’s Tacky Glue to adhere them to the fabric.
Once dry, I squirted more glitter fabric paint over the buttons and used the foam brush to wipe it all over the buttons. I left everything to dry overnight.
And this is the result! A shabby button heart pillow!
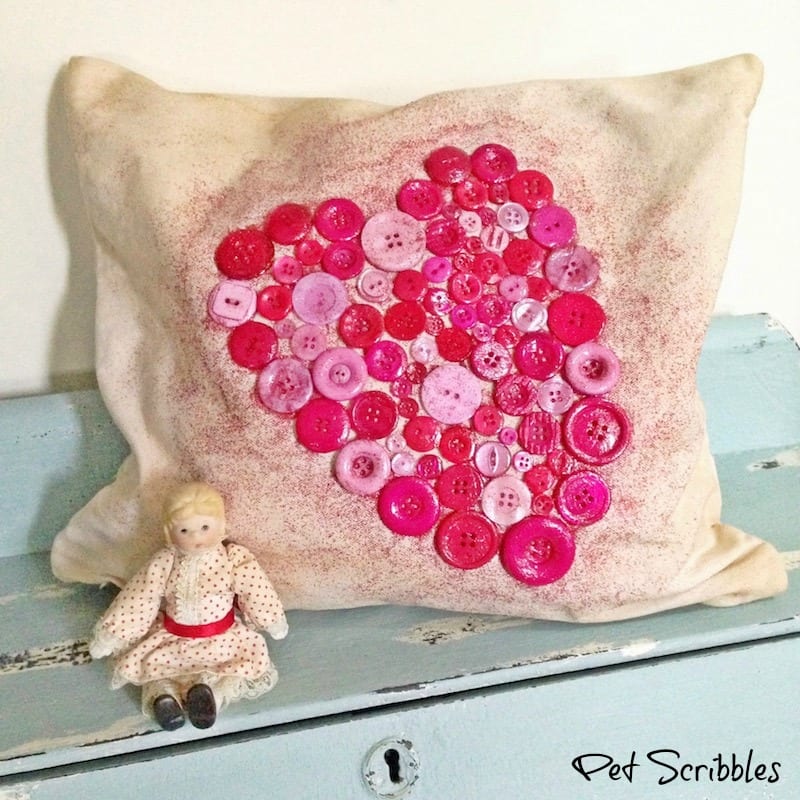
I love how it turned out.
No, you can’t rest your head on it, but it’s a fun accent pillow to enjoy!
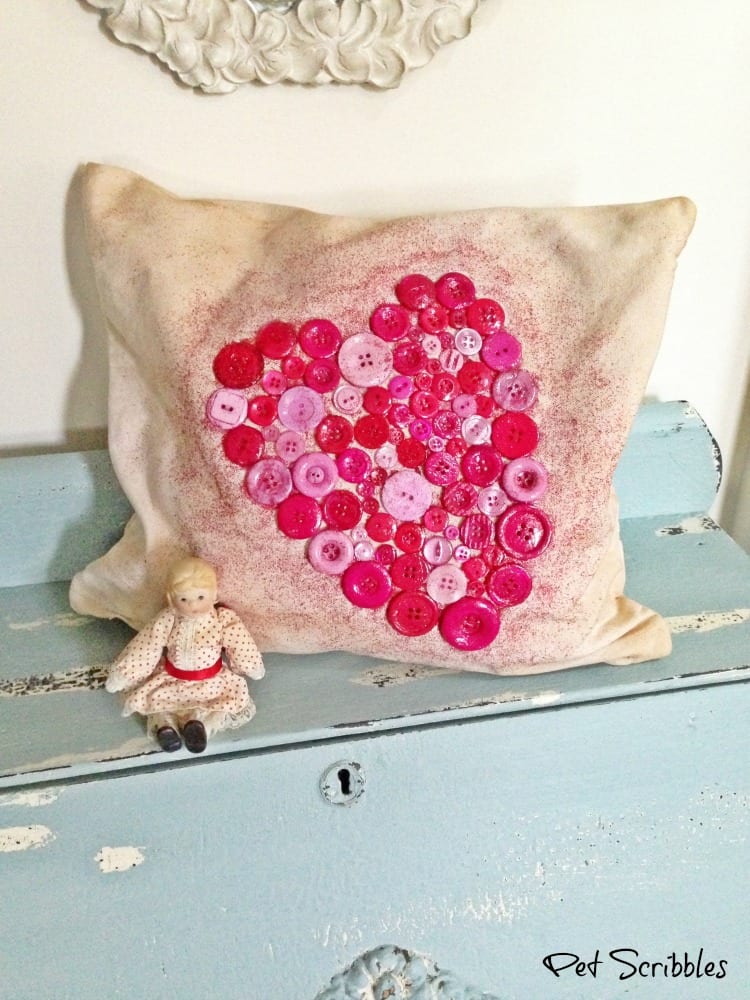
And remember: You can easily adapt this pillow to work for other holidays or themes – you are only limited by your imagination!
To see more of my Valentine crafts, just click here to pop over to the Valentines section of my blog!
Happy crafting!
An older version of my Shabby Button Heart Pillow tutorial originally appeared on the PinkWhen blog, when I was a craft contributor there. This tutorial has been completely updated.
Leave a Reply