
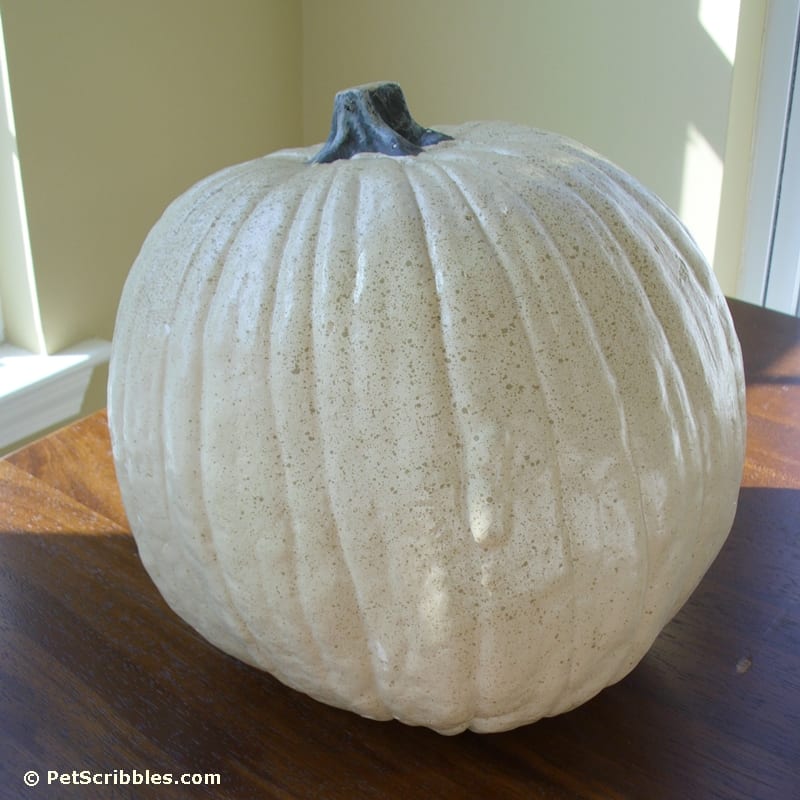
You can use any size faux pumpkin available at craft or dollar stores. I used a large size, as this pumpkin is displayed by our fireplace.
Personalize this tutorial by using a chalky finish paint color that matches your own home decor, and then enjoy your creation throughout the Fall season!
Supplies:
- Large-sized white craft pumpkin
- Americana Decor Chalky Finish Paint (Vintage shade)
- Americana Decor Creme Wax (Clear)
- DecoArt Dazzling Metallics Glaze (Renaissance Brown shade)
- Paper towels
- White rag
- Paintbrushes
- Waxing brush (optional)
- Screwdriver
- Straight Pins
- Toothpicks
- Faux leaves (found at Michaels)
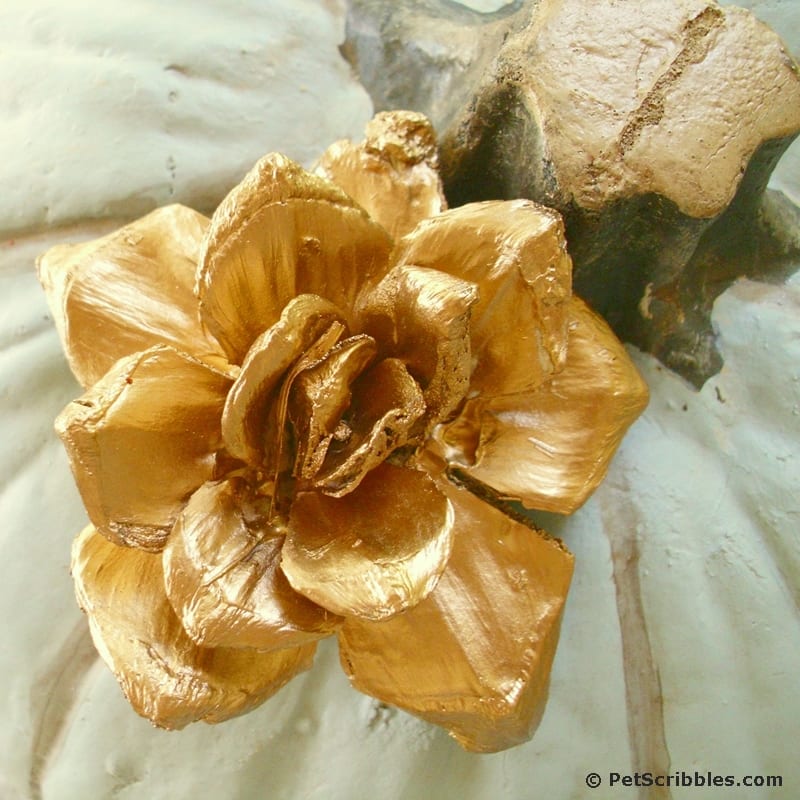
- Wood flower (from Michaels, which I had previously painted with Martha Stewart Liquid Gilding in Gold)
How to make a pretty pumpkin with layered embellishments!
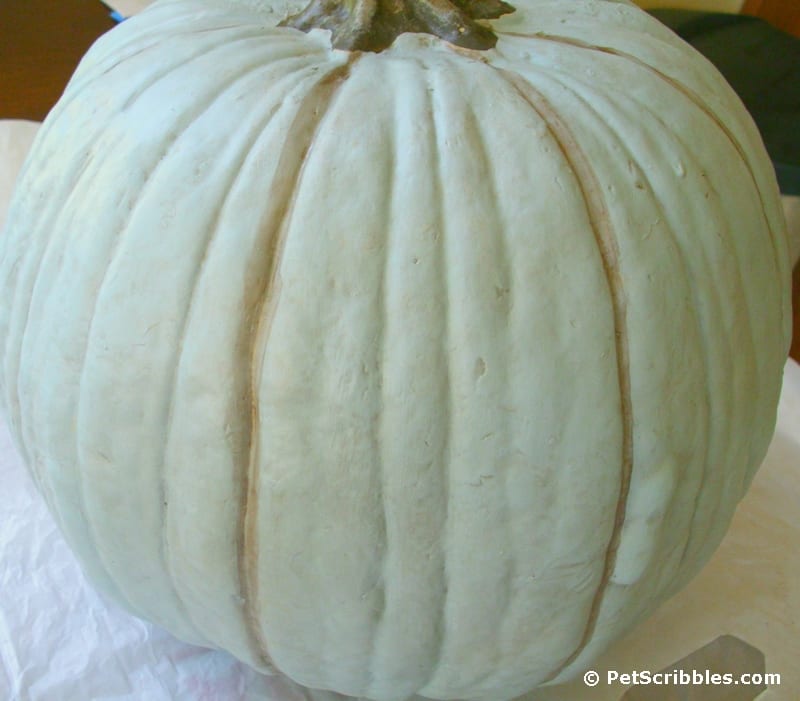
Step One: Paint your faux pumpkin in a pretty blue color. I only needed one coat of the chalky finish paint. Let dry.
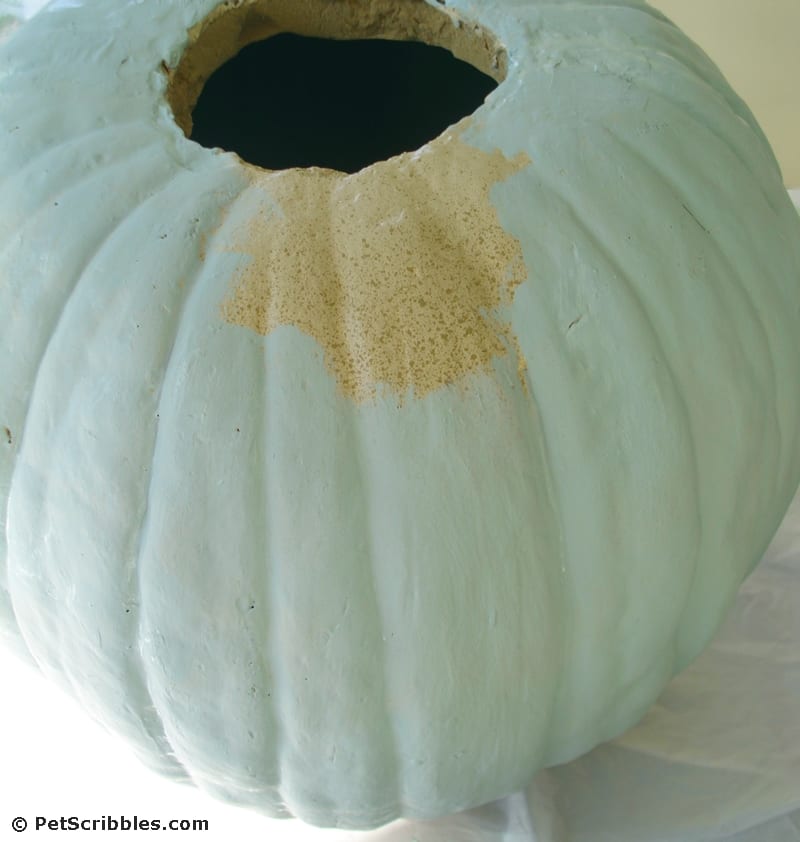
Helpful tips:
- Keep a spot unpainted (shown above) where you can hold onto the pumpkin. Chalky finish paints dry quickly, so you won’t have to wait long to paint over this remaining spot. (I lucked out as this faux pumpkin had a hole cut out in the bottom!)
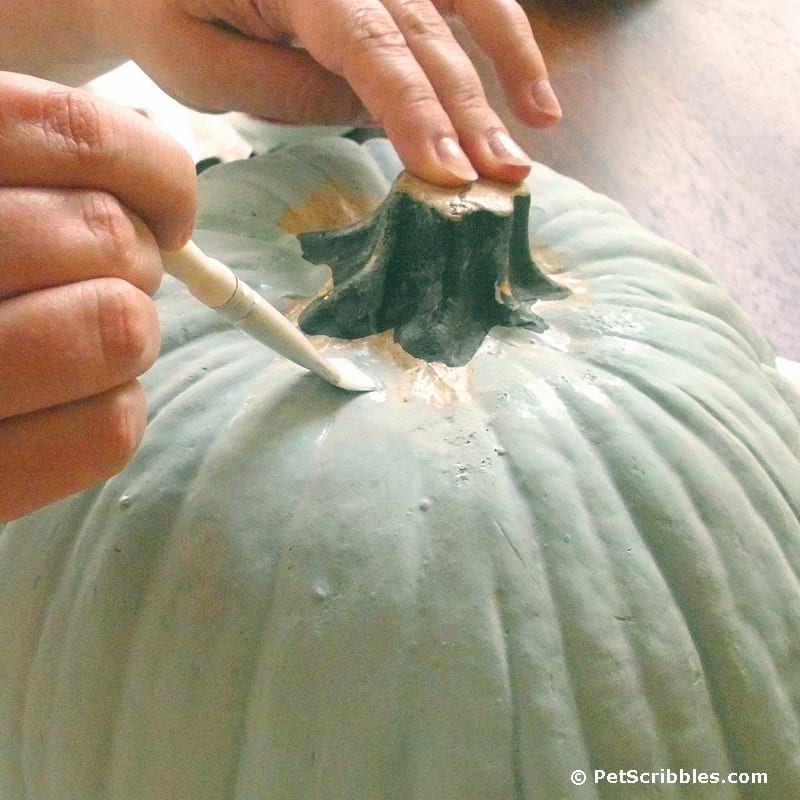
- Use a small brush (shown below) when painting around any detail work such as the stem of the pumpkin.
Step Two: Using a small paintbrush, apply thin lines of brown glaze along several – but not all – of the vertical grooves in the pumpkin. (I just eyeballed it, rather than measuring or counting grooves.)
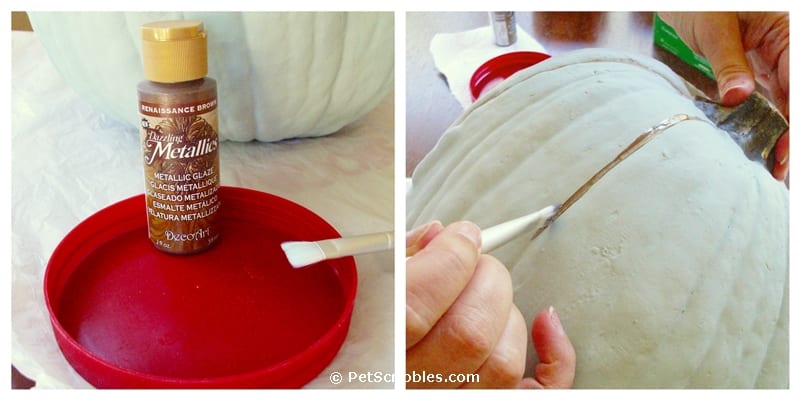
After you paint each line, take a paper towel and wipe off the glaze just by running your finger down the groove. The glaze will stick to the crevices and cracks, and provide a shadow effect, giving the pumpkin more dimension.
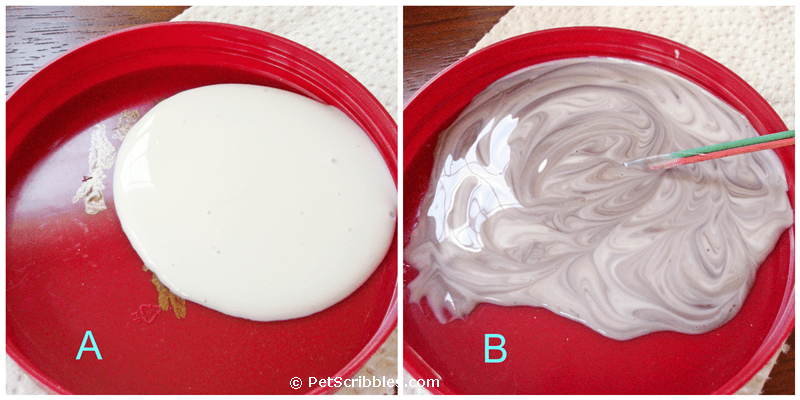
Step Three: Add some clear creme wax (A) to the leftover brown glaze and mix them together (B) with a couple of toothpicks.
 Step Four: Apply the wax with a waxing brush (or larger paintbrush will also work), and wipe off the wax immediately with a clean white rag. The wax gives the chalky finish paint more depth and enhances the color, while the brown glaze provides just enough tint to the texture of the pumpkin’s surface. Again, this gives the pumpkin more of a natural look.
Optional: You could also use a tinted wax, but I wanted to use up the glaze I had left over from Step Three.
Step Five: Use a straight pin to poke a small hole into the pumpkin. Move the straight pin around in a circle motion to widen the hole, then use a screwdriver to make the hole the size you need.
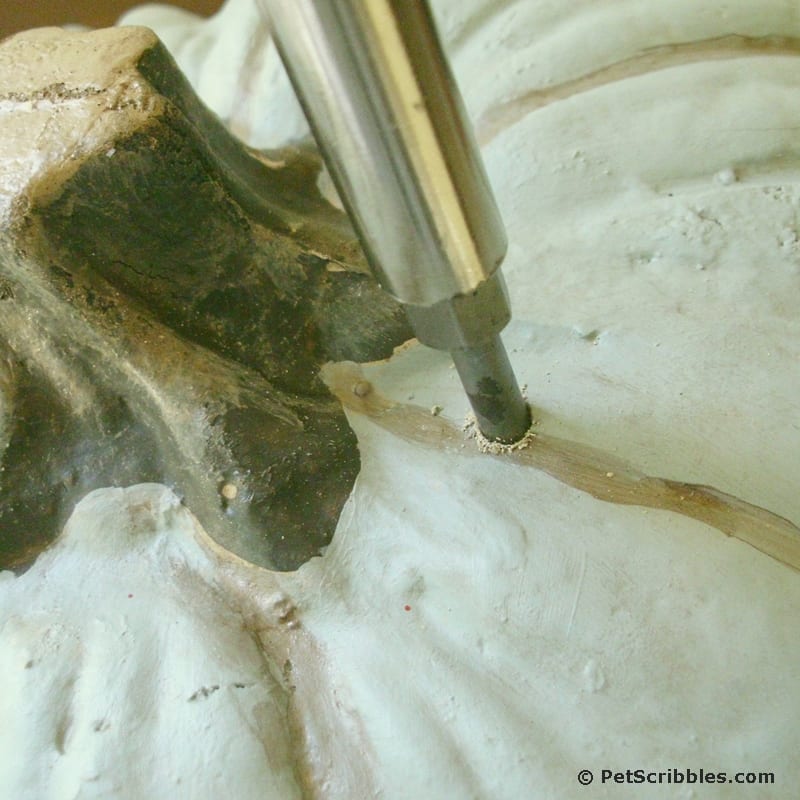
Some people will use a drill for this, although I find these pumpkins are usually soft enough to do this by hand.
Step Six: Take your chosen flower – I used a wooden one that I had previously gilded – and make sure it fits into your hole.
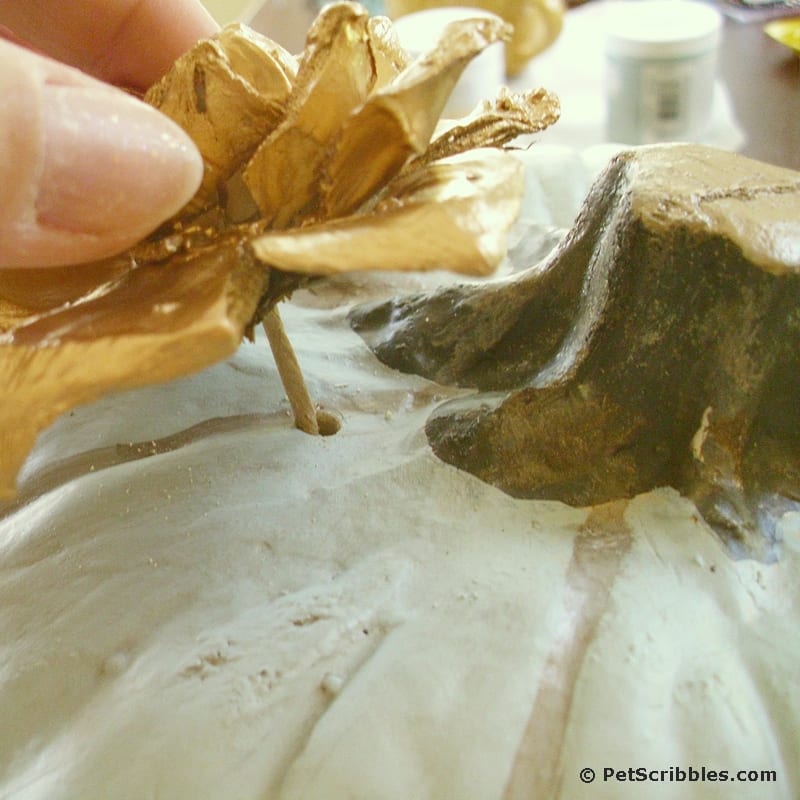
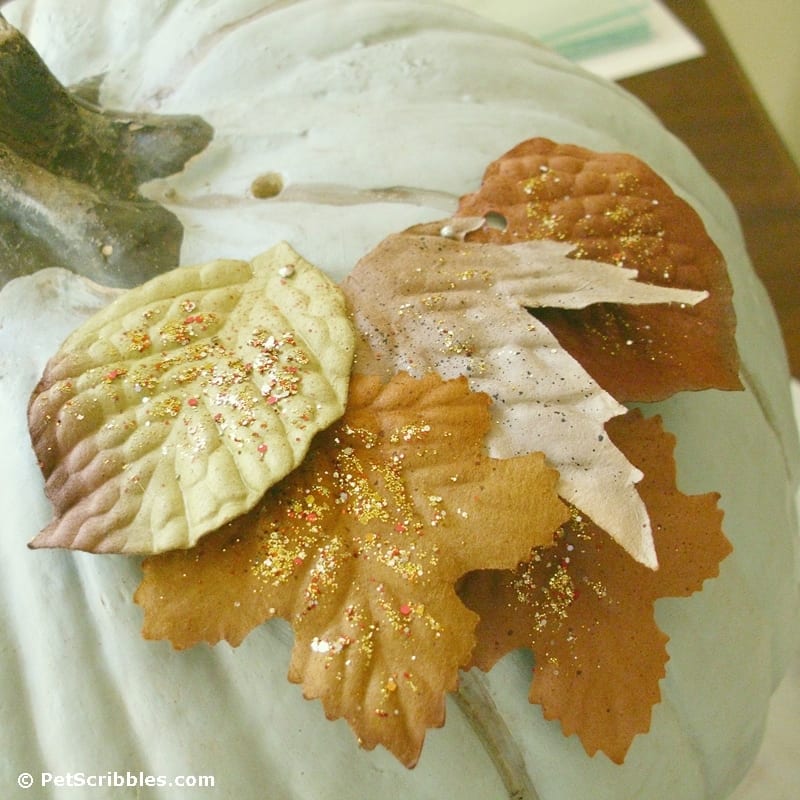
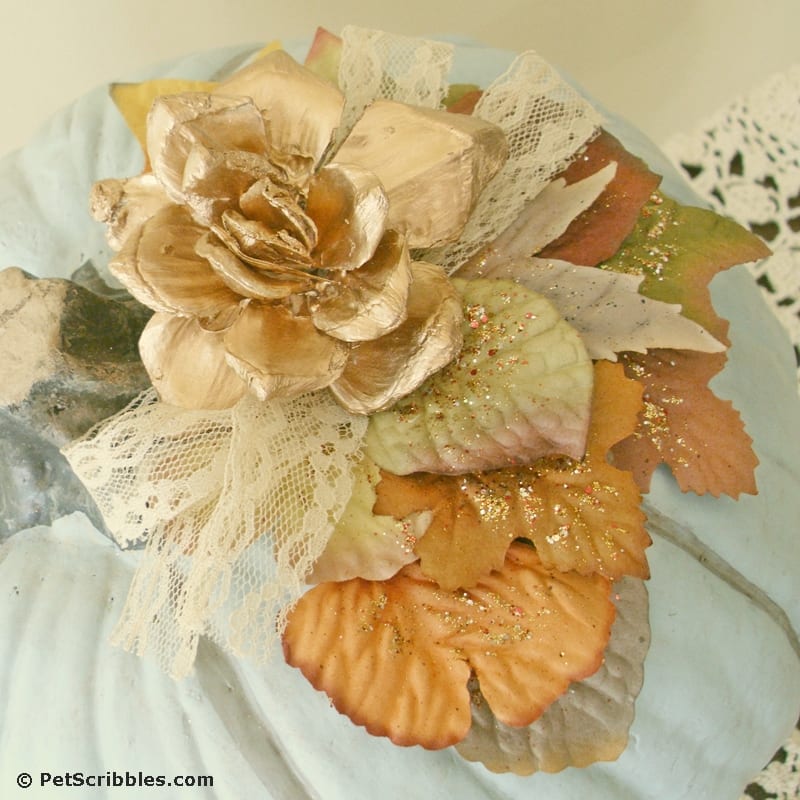
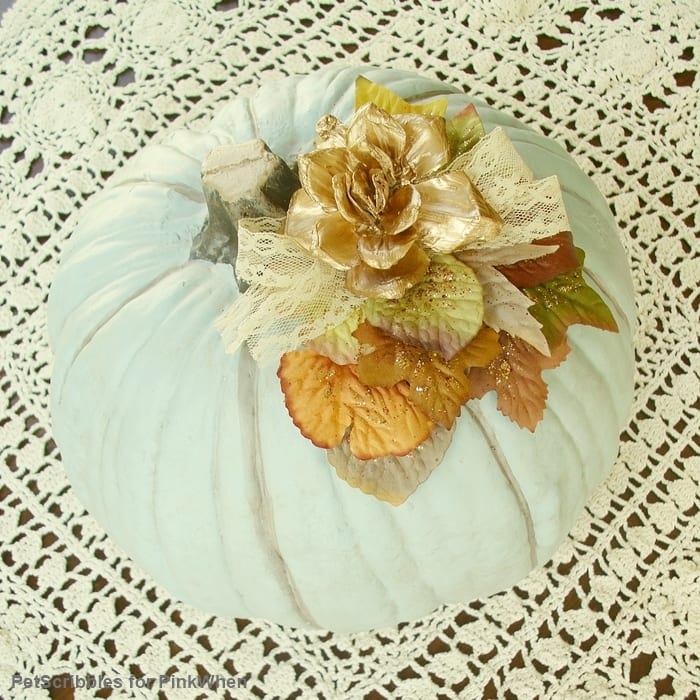
Once you have your arrangement of leaves the way you like, simply pop the gilded gold flower back into its hole at the top.
I added a strip of vintage lace seam binding, looped over itself a few times, and then attached it underneath the flower with a straight pin.
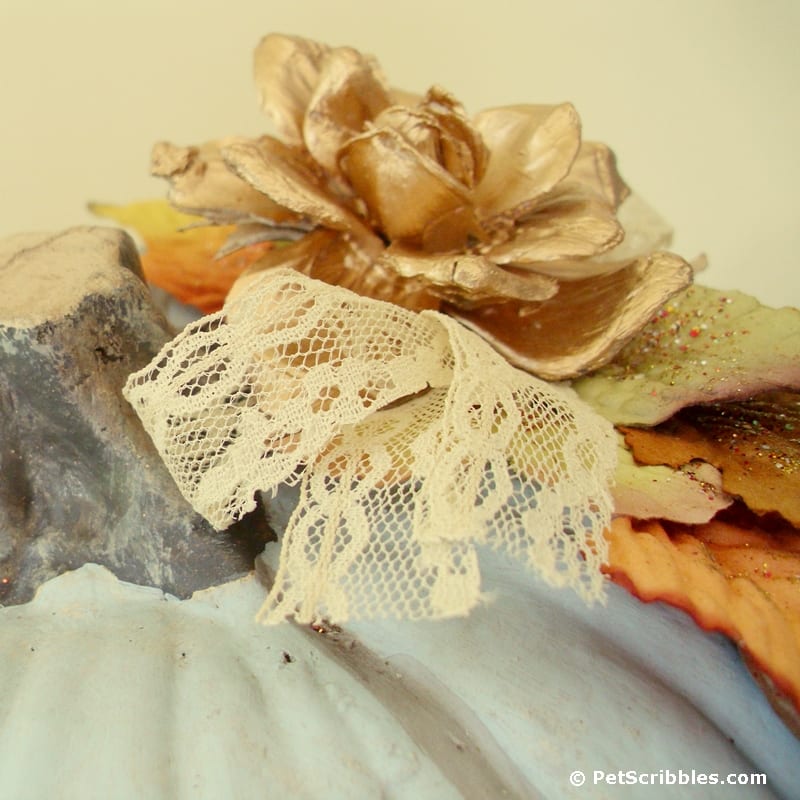

It has a bit of vintage style, don’t you think?
Now is the perfect time to decorate craft pumpkins because almost every craft store has them for at least 50% off right now!
Happy crafting!
~Laura
An older version of this tutorial first appeared on PinkWhen.com, when I was a craft contributor there. This post has been completely updated for you here!