This vintage leprechaun St. Patrick’s Day decor is a stunning decoration you’ll love to display every year! There are many steps involved but they are easy! You can make this in an afternoon. Or a morning. Let’s get started!

I don’t really celebrate St. Patrick’s Day, but I do love vintage images. This vintage leprechaun has been in my personal collection for awhile and I decided to feature him on a miniature wood paddle — the perfect decoration to either hang on the wall or display on your mantel!
You can find so many similar images via The Graphics Fairy — and I’ve got a link in the tutorial below where you can find all of her fabulous St. Patrick’s Day vintage images to use in your own projects!
Supplies:
This post contains Amazon affiliate links. When you click on them and shop on Amazon, you’re supporting my blog with absolutely no cost to you. I get a few pennies, which I put right back into the cost of running this blog. I truly appreciate your support!
- small unfinished wood paddle
- acrylic craft paint (I used Americana Acrylic Whispering Turquoise)
- metallic glazes (I used DecoArt Metallic Glazes in Dark Patina and Renaissance Brown)
- paint brush
- sea sponge or cosmetic sponge
- vintage leprechaun image (or image of your choosing)
- Mod Podge Matte Acrylic Sealer Spray
- Antique Mod Podge
- foam brush
- small detail or decoupage scissors
- wax paper
- brayer — what is a brayer?? I explain it below!
- brown Sharpie marker
- Stickles Glitter Glue in Diamond
- straight pin
Vintage Leprechaun St. Patrick’s Day Decor:
Step 1: Paint the wood paddle with two coats of acrylic craft paint. Let dry in between each coat.

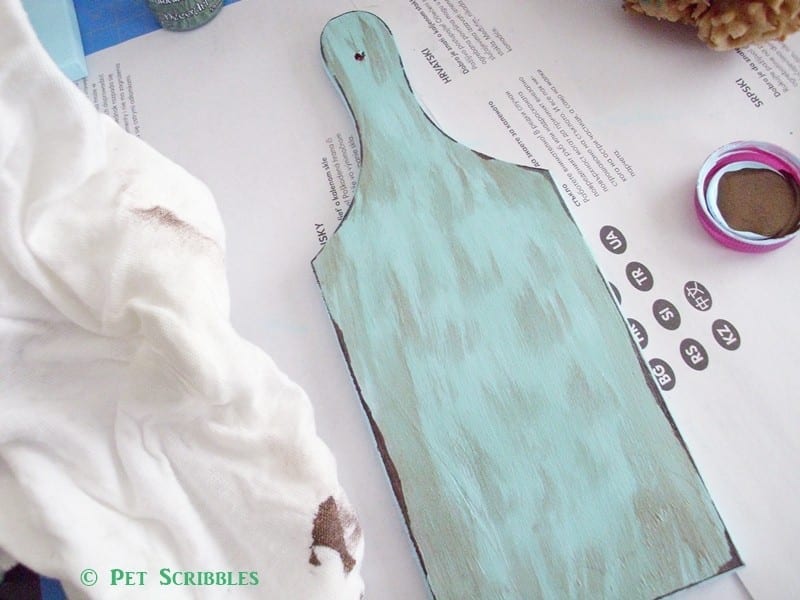
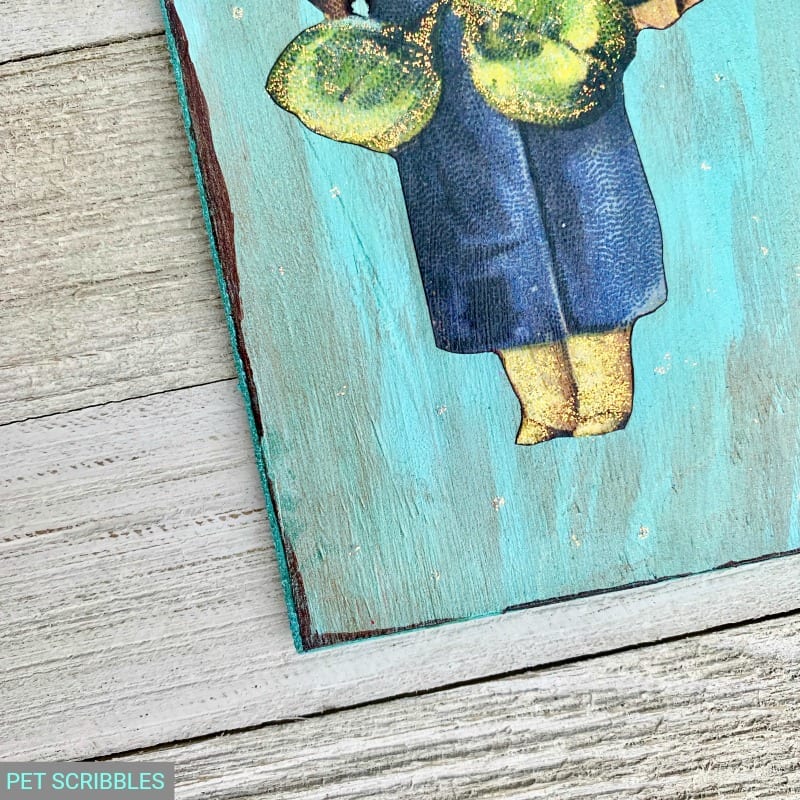
Step 2: Distress the edges of the wood plaque with a brown Sharpie marker. Use the edge of the marker tip and lightly go around the edges, purposely missing spots here and there.
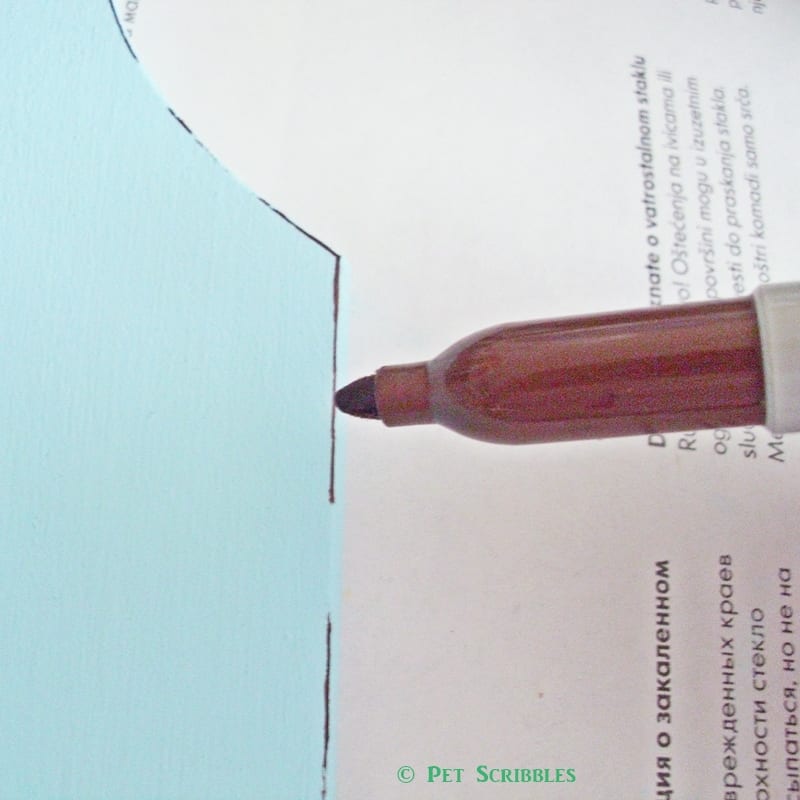
Use more of the marker color on the corners where natural wear would occur.
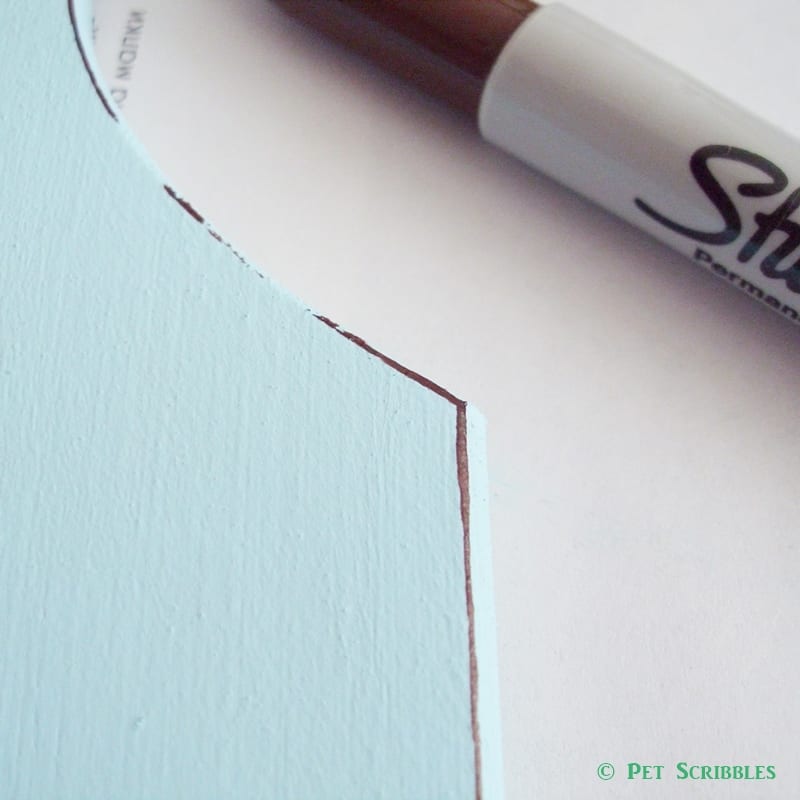
Slowly build up the distressing to your liking, but don’t overdo it.
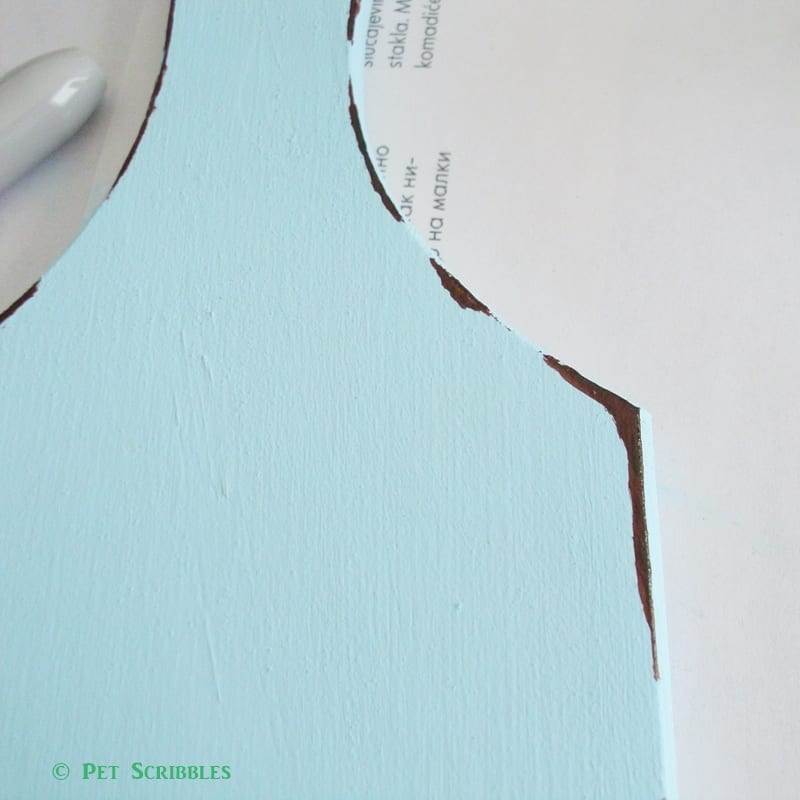
You want the effect to look like paint has worn off the edges of your project. Set aside to dry.
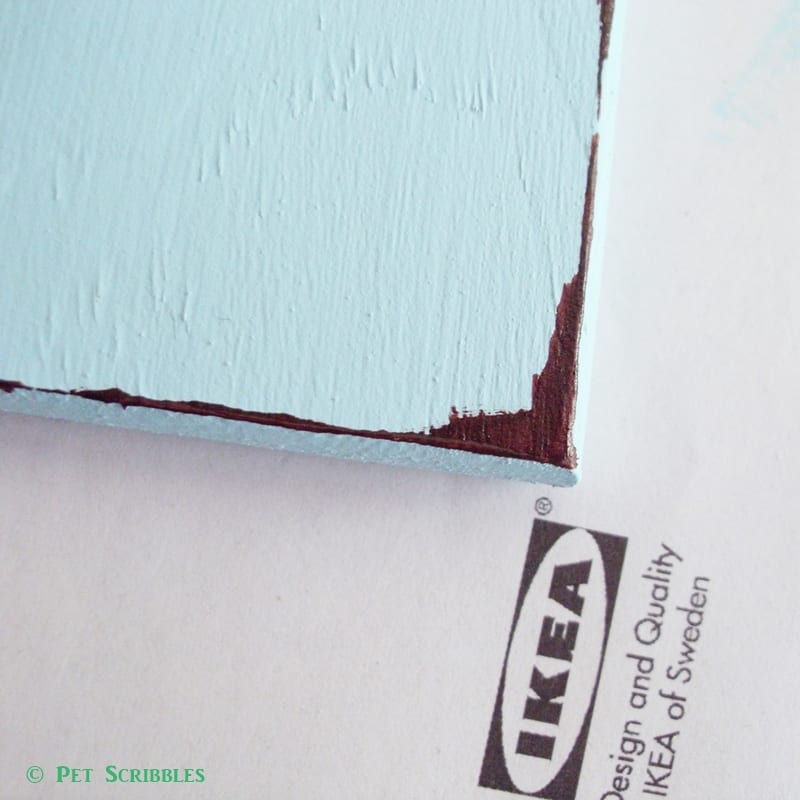
Why does it say IKEA in the image above? Because I use their packing instructions as scrap paper!
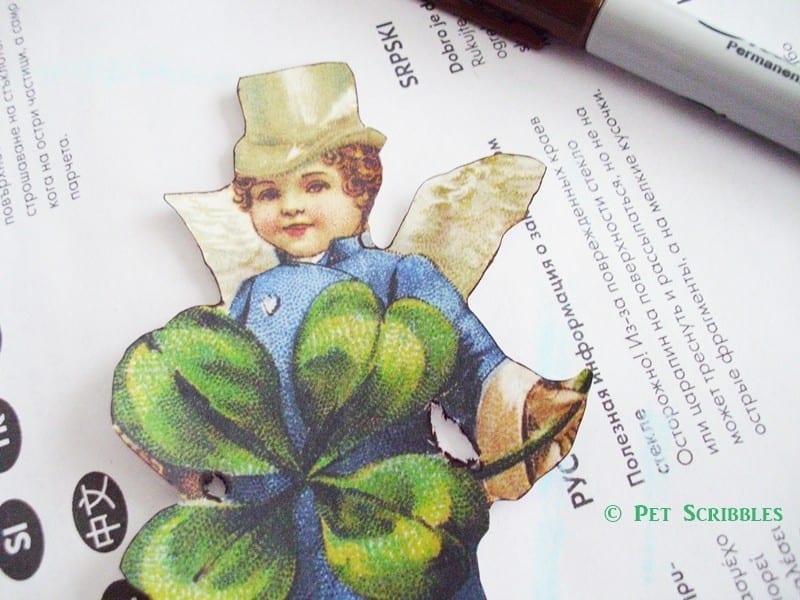
Step 3: Choose a vintage leprochaun image to use. (Mine is from my personal collection.)
Helpful tip: You can find a wealth of beautiful, vintage St. Patrick’s Day images at The Graphics Fairy.
Measure the image and the size of your paddle to size it correctly on your computer before printing out.
Step 4: Print out your image on white paper or lightweight cardstock and spray both sides of the image with acrylic sealer.
Let dry.
Step 5: Cut out your leprechaun using small detail or decoupage scissors.
Step 6: Outline edges using a brown Sharpie marker.
Set aside to dry.
Step 7: Use metallic glazes to add depth and age to the wood paddle. First I used a dark patina metallic paint which I watered down. I applied a few strokes lightly with a sea sponge — you can also use a cosmetic sponge — then immediately wiped it off with a white rag.
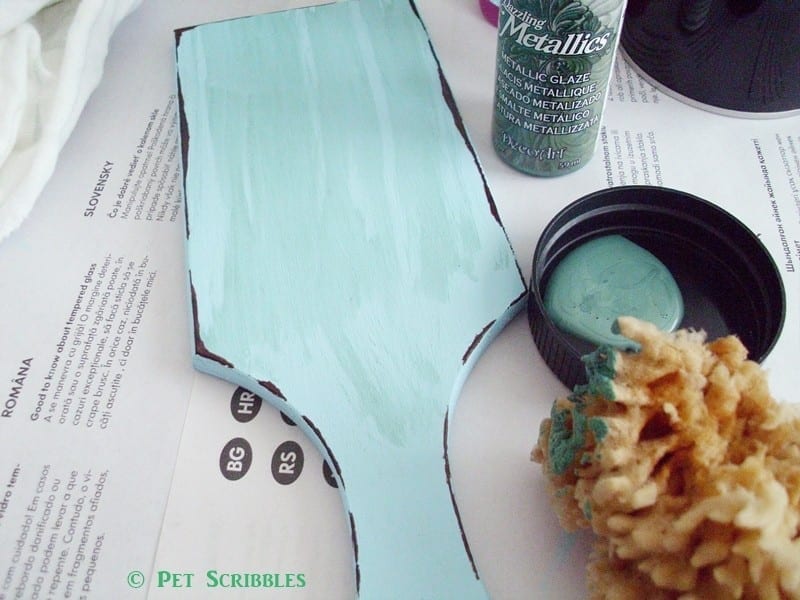
Next I did the same thing with a brown glaze — no need to water this down — before going over it again with the patina glaze.
There’s really no right or wrong way to do this, just slowly build up the color and depth to your own liking. Let dry.
Step 8: Using a foam brush, coat the front of the paddle with Antique Mod Podge and place your image onto the paddle.
Use wax paper on top of the image to help you smooth out the image without getting glue stuck onto your fingers. (I use a brayer and roll it over the wax paper to smooth the glue out.) Let dry for a few minutes.
What the heck is a brayer?
Good question! Think of a brayer as craft-version of a rolling pin. It’s much smaller than a rolling pin and has a handle to help you easily move the brayer back and forth. Brayers are used for all sorts of things such as smoothing, painting, glazing, inking, printmaking, rubber stamping. I mainly use mine as a smoothing tool for:
- handmade greeting cards or any paper you’ve folded: brayers are great for helping to make your crease nice and keep the paper flat.
- when using adhesives with paper, fabric, etc: as mentioned above in Step 7, using a brayer helps spread the adhesive underneath whatever you’re gluing. My own method is to place wax paper over whatever I’m going to smooth out, then slowly move the brayer back and forth over the wax paper to help seal everything.
Why use wax paper? Any glue that seeps out of the edges of your paper or fabric will get onto the wax paper rather than your brayer or your fingers.
You can see the brayer that I have on Amazon via the link below. I’ve tried a few different brands, but really like using the Speedball Hard Rubber Brayer the best for decoupage, gluing and smoothing.
And now back to our tutorial!
Step 9: Cover the front of your image with Antique Mod Podge.
Let dry before proceeding with the next steps.
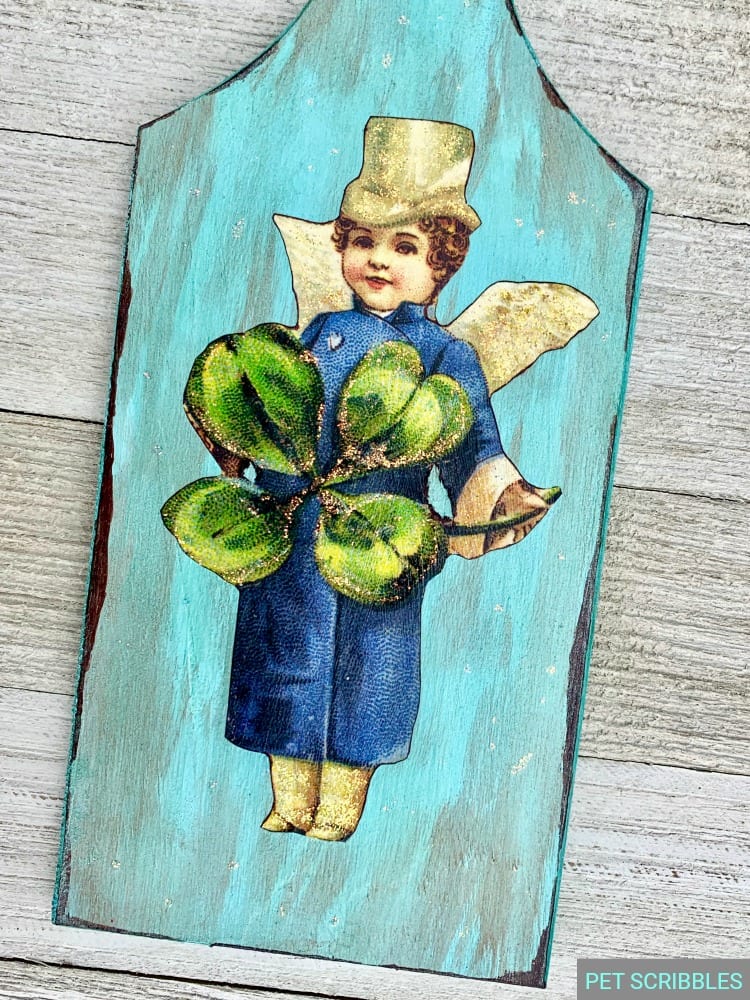
Step 10: Apply glitter glue to the shamrock, wait a minute or two, then carefully wipe off most of the glitter with a white rag.
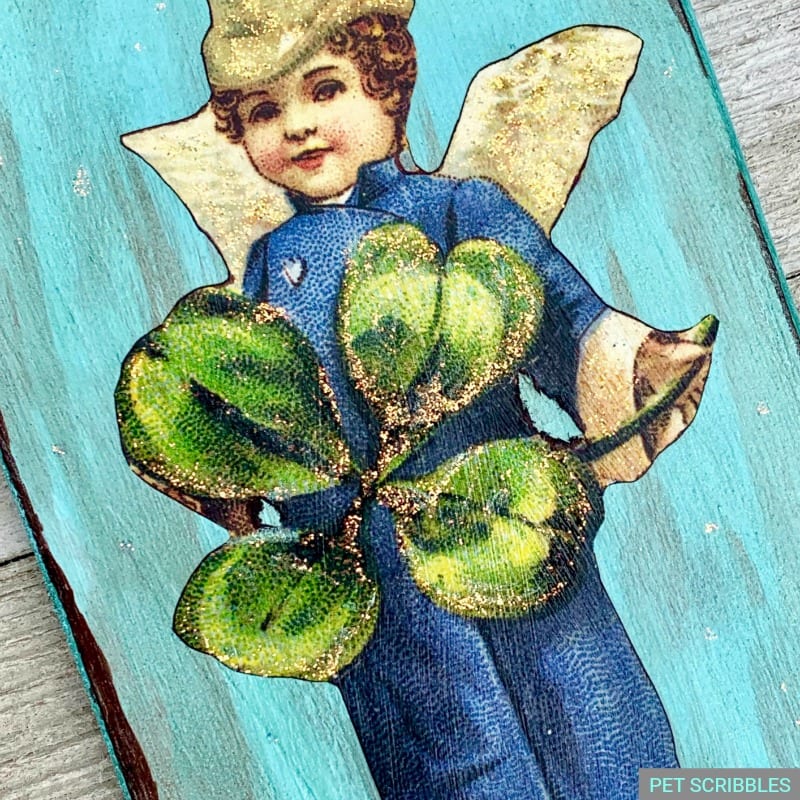
Step 11: Apply glitter glue to the hat, wings, boots and cuff of the leprechaun. Let dry.
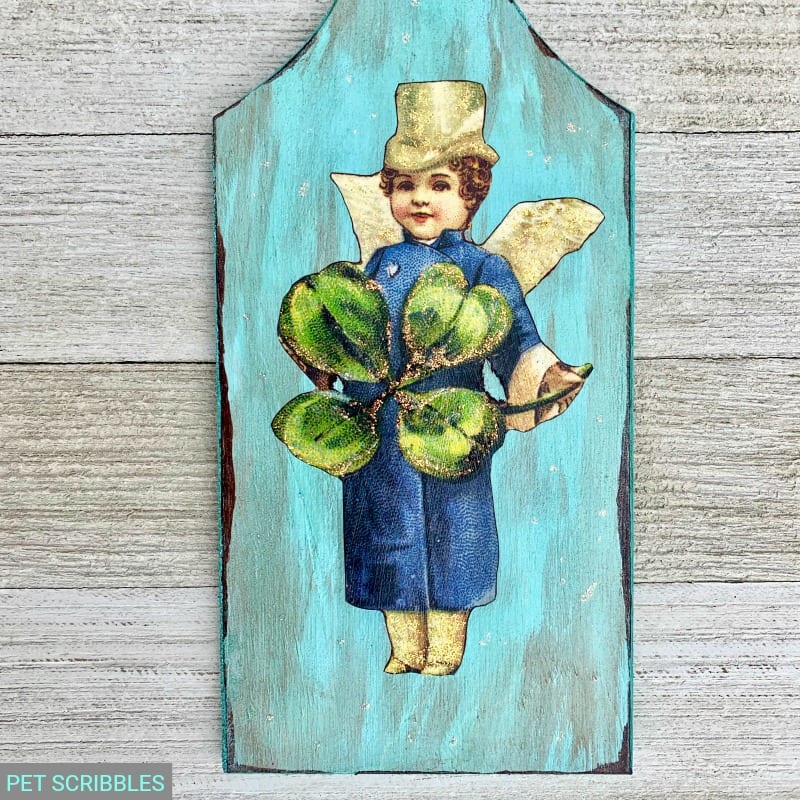
Step 12: Using the head of a straight pin, apply tiny dots of glitter glue all over the front of the paddle, around the leprechaun. Let dry.
Step 13: Tie a bow with some ric-rac trim to match.
And you’re finished!
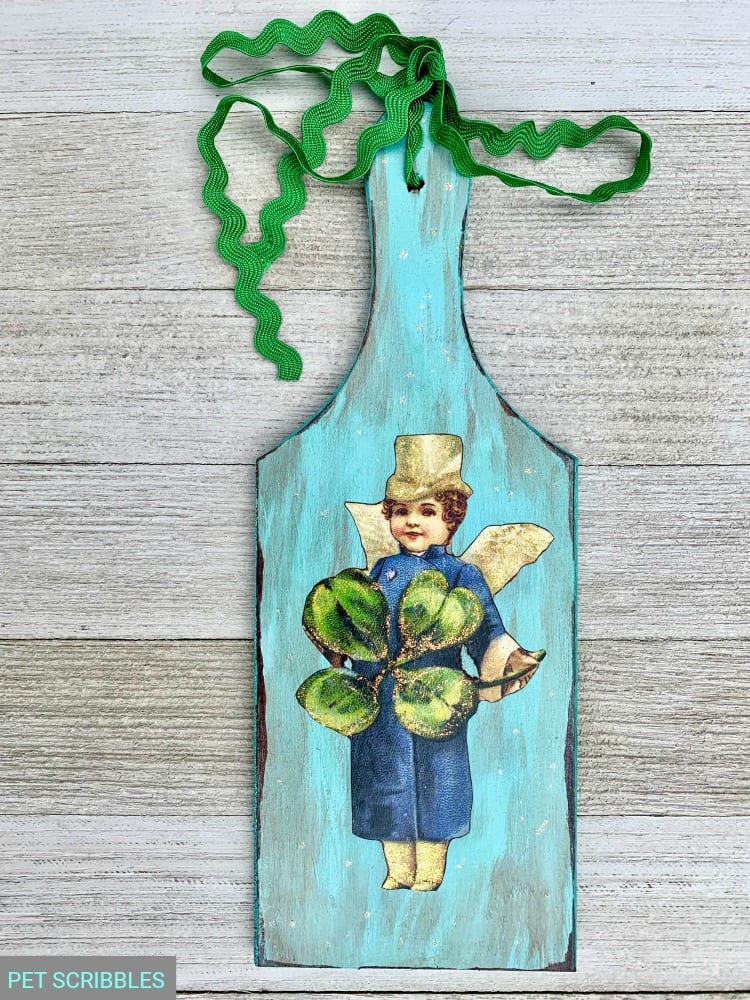
Now you have a sweet vintage leprechaun to give you lots of luck!
Vintage-Style St. Patrick’s Day Decor
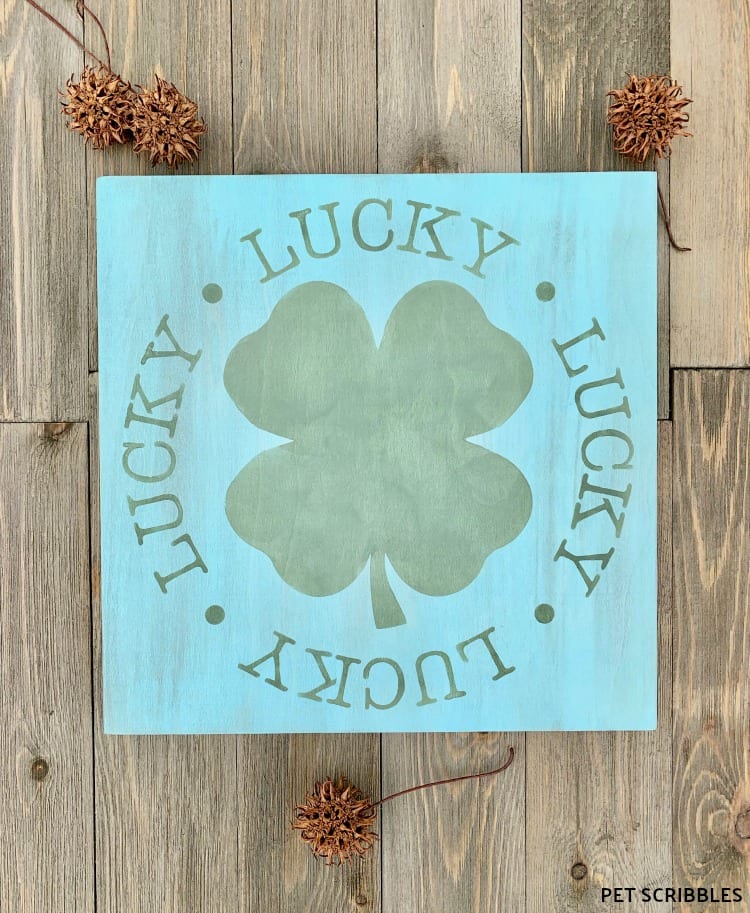
Here are two more vintage-style projects to add to your St. Patrick’s Day decor . . .
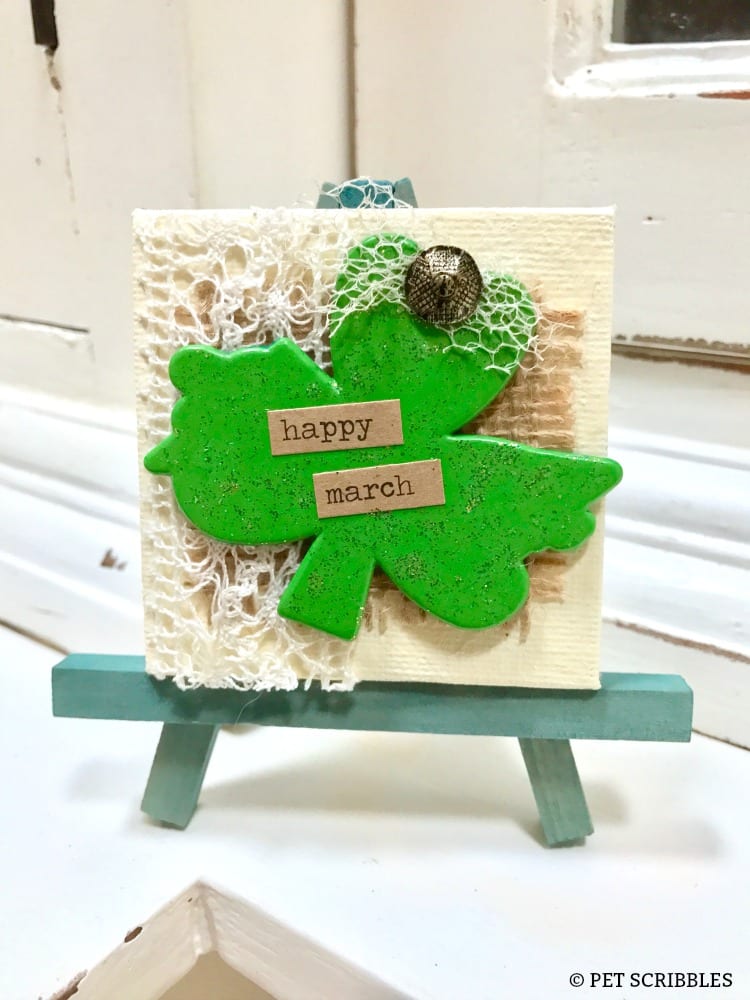
St. Patrick’s Day Painted Wood Sign
Stop by my St. Patrick’s Day Pinterest Board for more St. Paddy’s Day crafts and DIY decor projects!
Happy crafting!