One day, long ago . . .
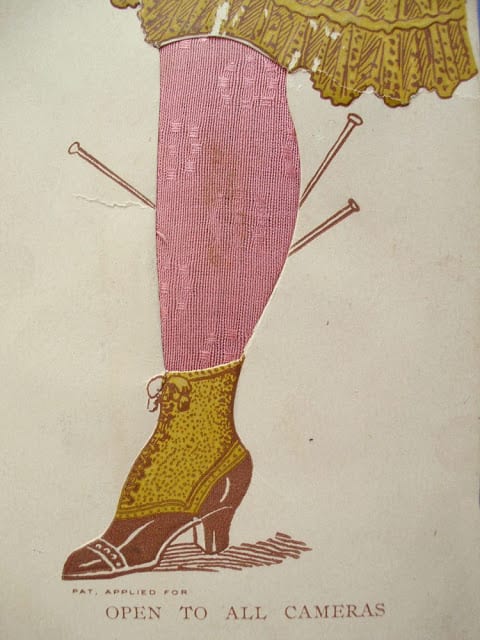 |
| Victorian Pincushion Postcard |
Supplies
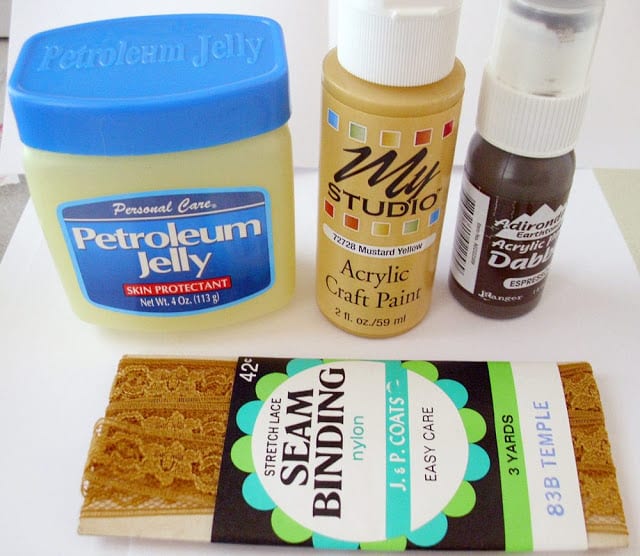 |
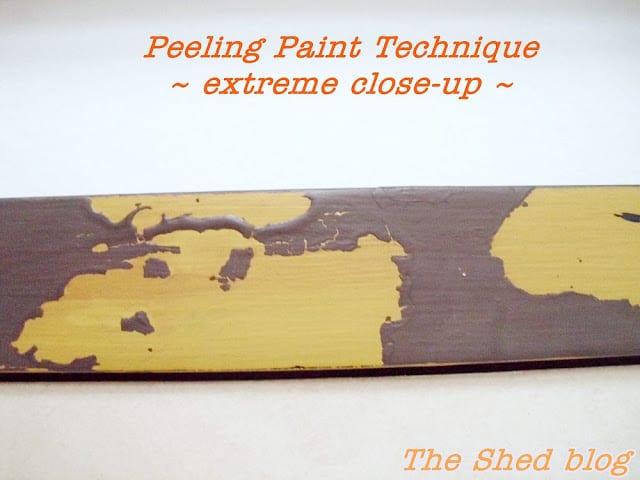
| The must-have ingredient for this Peeling Paint technique? Petroleum jelly! |
- Craft Paint in Mustard Yellow
- Craft Paint in Espresso
- Petroleum Jelly
- Sanding Sponge
- Paper Towels
- Paint brush
- Baby wipes
- Picture Frame – any cheap one from the dollar store, thrift store or craft store will be just fine.
- Vintage lace seam binding – optional
Step One
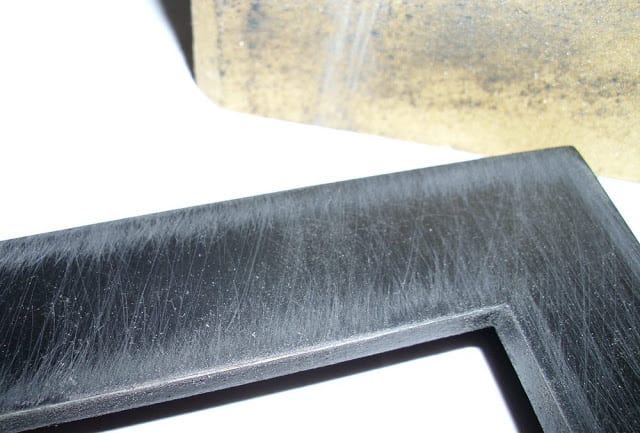 |
| Detail of the sanded frame |
Step Two
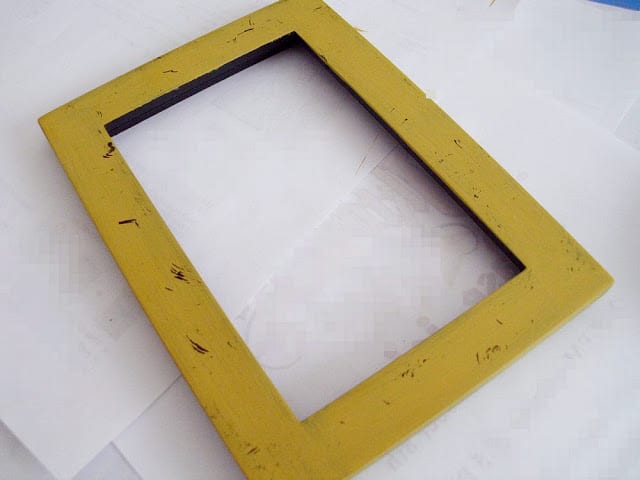 |
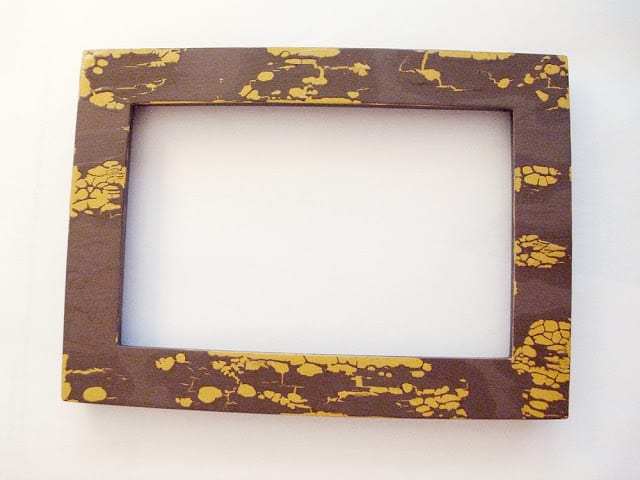
| Frame has base color and distressing applied. |
Step Three
Distress the frame with some scrapes, nicks, and gouges. Once you’re satisfied with the base color, and the frame is completely dry (I waited overnight), take the edge of your sanding sponge and add some scrapes, nicks, and gouges to the frame for a distressed finish. (This will relieve you of any minor stress – it feels good! ha!)
You could stop here at this point if you wanted to, and you’ll have a frame that looks old and vintage.
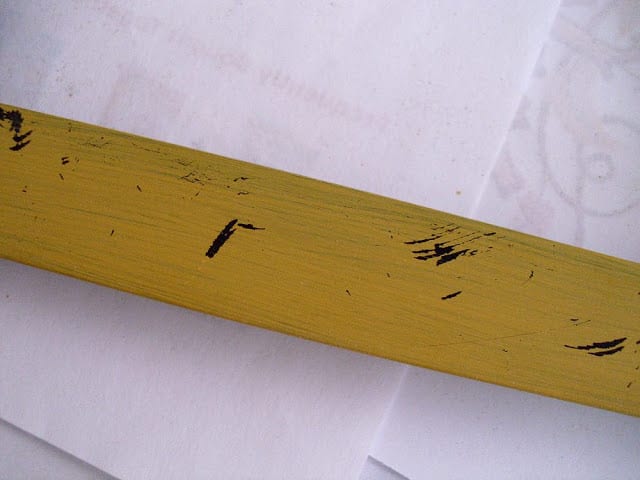 |
| Close-up detail of distressing. |
Step Four
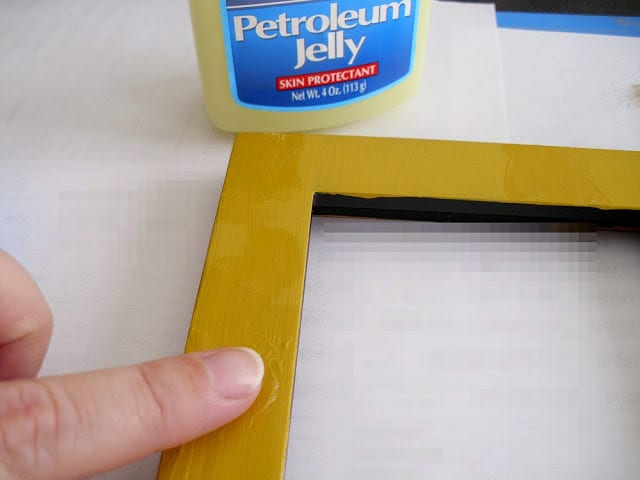 |
| Apply petroleum jelly with your finger. |
Add petroleum jelly. With your finger, add petroleum jelly to your frame in different spots, keeping in mind where you want – and don’t want – the base color to show. Petroleum jelly acts as a resist, so any paint that is applied over the petroleum jelly will not adhere to the frame, thus showing off the base color instead.
This is the essence of the Peeling Paint technique, so I’m going to repeat it:
Petroleum jelly acts as a resist, so any paint that is applied over the petroleum jelly will not adhere to the frame, thus showing off the base color instead.
 |
| I used a nice thick amount of petroleum jelly on many spots all over my frame. |
Step Five
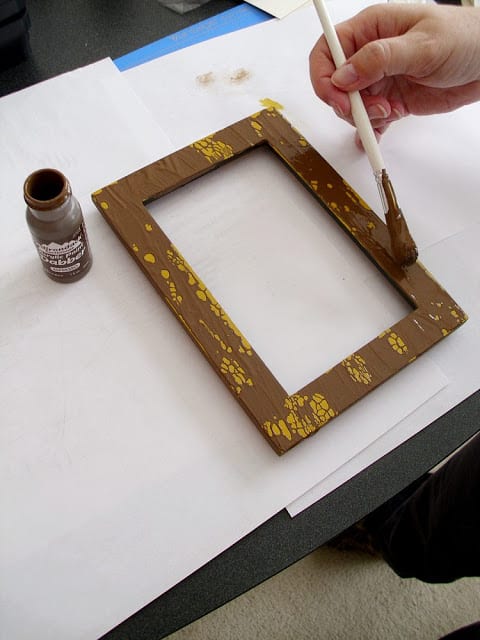 |
| Painting the brown top coat. |
Paint the top coat over the entire frame. I used a brown shade of craft paint. You will see right away that the jelly begins to resist this top coat.
Step Six
 |
| Frame with top coat painted over the petroleum jelly. |
Allow the top coat to dry. I let it dry overnight.
Step Seven
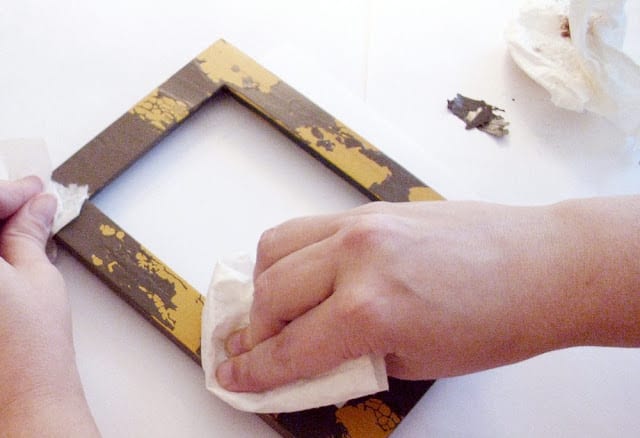 |
| Wiping off the paint/petroleum jelly. |
Wipe off the paint and petroleum jelly with paper towels. The top coat of paint that sits on the spots of petroleum jelly will easily come off. This step is messy yet satisfying as you begin to see results immediately! Once you are satisfied with how your frame looks, you will need to remove the grease left over from the petroleum jelly. I used a baby wipe all over the frame which worked great.
Step Eight
 |
|
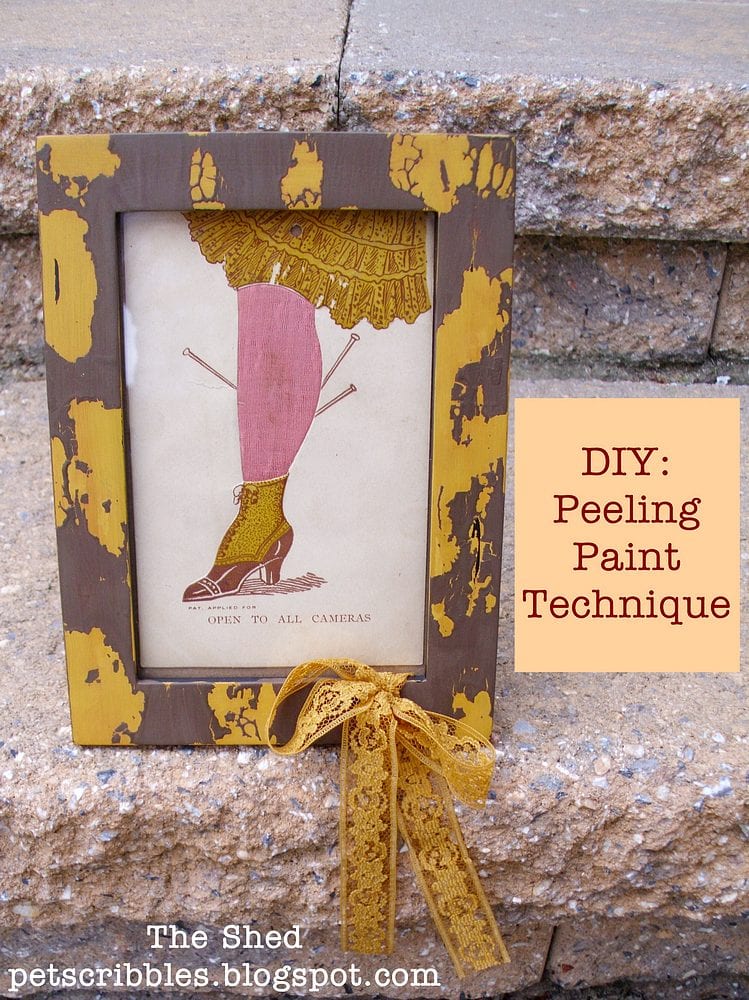
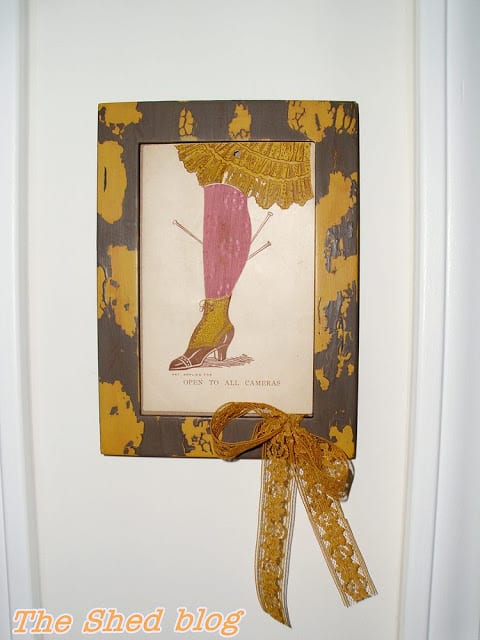
Finished frame with seam binding bow, hanging in my studio. |
To finish off the peeled paint frame, I added vintage lace seam binding. I wrapped the seam binding around (and through) the bottom of the frame and tied it into a bow.
Back of the frame . . .
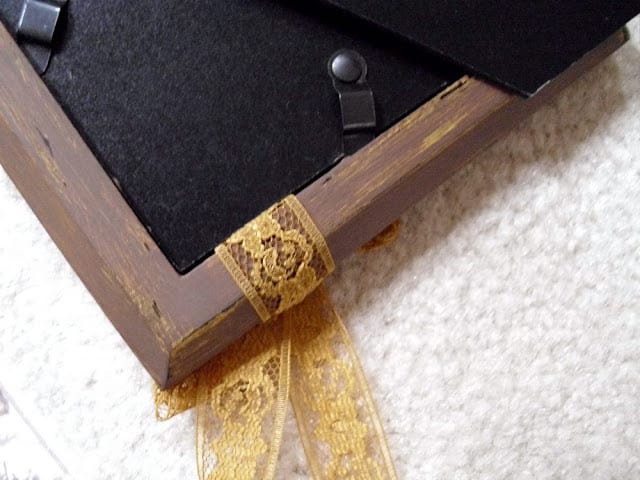 |
| Close-up detail of back of the frame. |
All done!
 |
The possibilities and results are endless with this technique, depending on color combinations and how much (or how little) of your frame gets covered in petroleum jelly.
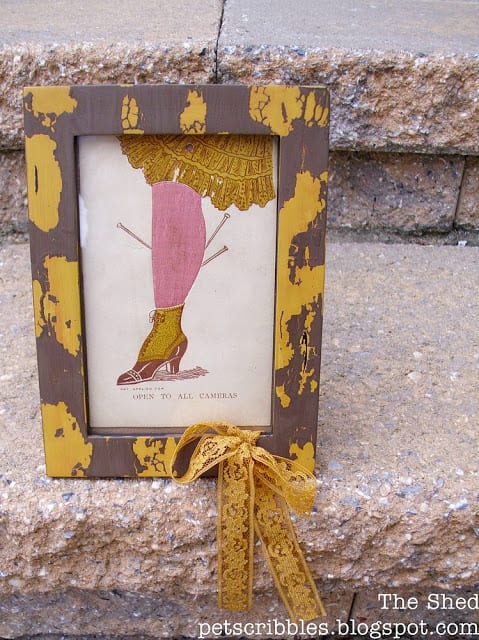
I love how this frame turned out, especially as the colors really flatter my vintage postcard. Yes, the above picture was taken outside for better light, but I have this frame hanging in my studio where I can enjoy it every day.
~Laura
Awesome thanks!!
You’re welcome!
Too cool! I snagged a Lion King Lithograth with frame for less than $3 a while back since my daughter LOVES Lion King, but the frame is brown and blah. I hadn’t figured out what to do with it yet, but I wonder if I could use a light pink and white with this technique and make it sort of Cottage Chic? Do you think that would work?
You definitely could Kim! I think that would be such a sweet color combo – definitely would make the Lion King print stand out plus have that sweet cottage look too! If you do this – I want to see it! 🙂
Okay, since you’ve given it a go and think the colors would work well I think I’m definately putting it on my to do list. Of course, that is a long list, so hopefully it wont be too far down the road. I think it would be lovely, and I was having a hard time trying to figure out how to “girly it up”. 😉 And I will definately share it, thanks!
I know what you mean about long lists, Kim! LOL Have you seen my “crafty tutorials I want to try” board on Pinterest? LOL
Ooooooh!!!! I love the effect ( and of course your fab vintage postcard). Will definitely have to try this! Thanks for sharing at this week’s BFF Open House.
Thank you so much Carol – for the compliment AND for hosting your blog party too! Yes, that postcard is the coolest vintage find – the pink “leg” has a bit of a poof to it with some sort of thin batting inside, which was hard to show in the photos.
Laura,
I’ve seen the results before, great tutorial! Thanks for sharing @ catch as catch can!
gail
Thank you Gail – as it was my very first tutorial here on my blog, your comment means so much! Thank you as well for hosting the blog party. 🙂 I really appreciate it!
that is totally cool. Never have I seen this done before. Thanks for sharing with the newbie party.
And thank YOU Debbie for providing a place for us “newbies” to share our blogs too! 🙂
I’m lovin this, I definitely need to try this!
Thanks Mimi! If you try this, definitely let me know, as I’d love to see it! 🙂
Fun technique! The frame looks great!
Thanks Deneen! Your compliment means a lot, as you have painted and distressed so many beautiful pieces both large and small! Can’t wait to see you at SNAP next week!
Ok! Laura, I just learned something new. I never though of vaseline for distressing. Thanks for sharing this at Throwback Thursdays.
xoxo
Denyse
You made my day: so glad I could share something new with you! 🙂