Marble magnets have been popular for quite a few years, as they are a fun way to hang onto important memos – whether on your fridge or in your office. You can make your own, and customize them to your decor.
Today I’m going to show you how to make these magnets in a glittered version. And in this version, the glitter does not come off onto your hands, the floor or anywhere else!
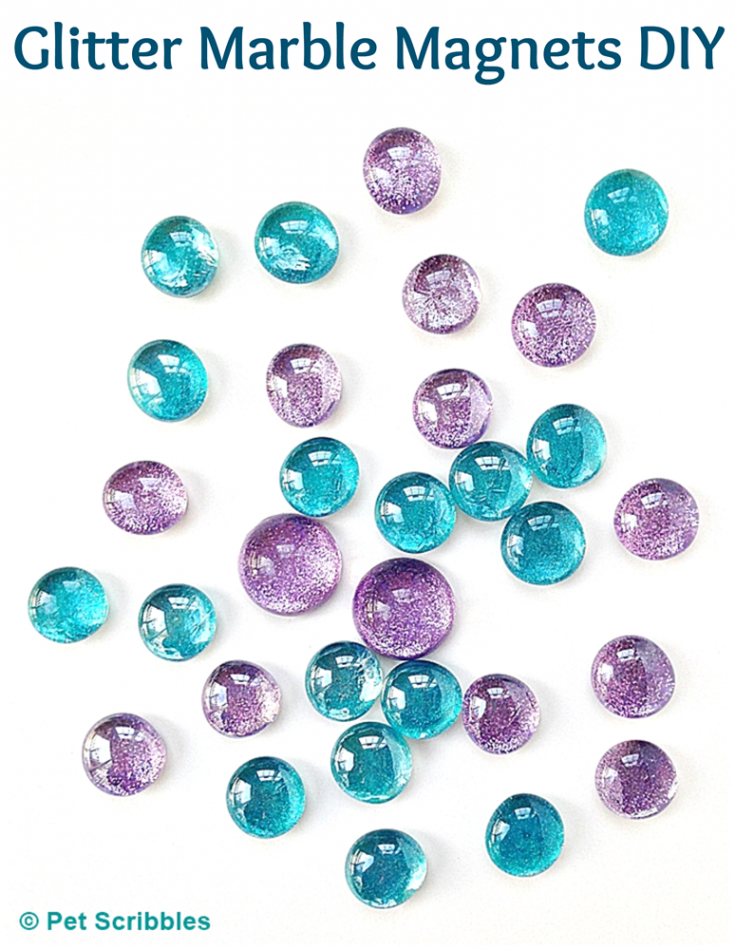
Glitter Marble Magnets DIY!
Supplies:
- Glass gems – found in the floral sections of craft stores
(I also used two larger acrylic cabochons in this DIY) - Adhesive – I used Judikins Diamond Glaze, 2-Ounce
- Magnets – I used Rare Earth Neodymium Magnets, size 3/8″X1/16″
- Glitter paints – I used DecoArt Glamour Dust Glitter Paint in Turquoise Sparkle and Martha Stewart Glitter Paint in Charoite
- Craft paints in colors matching the glitter paints
- Small foam brush for adhesive
- Tiny paint brushes for the paints
Notes:
- Before you begin, look closely at the glass gems to make sure you’re using gems that don’t have any cracks in the glass… unless of course you like the way that adds to the look.
- You will be painting onto the flat side of the gems, which will be the back of your final marble magnet.
Step One: Paint two layers of glitter paint onto the back of each glass gem, letting the first coat dry before applying the second. Let dry. I used aqua and purple glitter paints.
 |
| My favorite brush to use for this is actually an eyeshadow brush! |
 |
| The glitter paint will have a milky quality to it before it dries. |
 |
| The glitter paint milky quality disappears once dry, leaving only pretty glitter! |
 |
| This is what the backs look like after one coat of glitter paint has dried. |
 |
| And this is what the fronts look like with only one coat of glitter paint. See the gaps? That’s why you need two coats! |
Step Two: Paint a layer of paint in the same shade (or very similar) over the glitter paint on each magnet. Let dry.
 |
| On the left: two coats of dried glitter paint on an acrylic cabochon. On the right: one coat of craft paint on top of the glitter paint. |
Step Three: Cover the painted areas of the magnets with a coat of Diamond Glaze adhesive. This seals everything and provides a nice finished look to the backs of the glass gems. Let dry.
Time to add the magnets!
 |
| Keep in mind that these magnets are dangerous for young children and pets. I like this brand of magnets because they come in a protective case as shown. |
Step Four: Glue the magnets onto the backs of the glass gems:
- Place one small drop of the adhesive onto the center back of a glass gem.
- Carefully place a magnet on top of the adhesive, letting the magnet sink down into it.
- Use your finger to apply gentle pressure for a few seconds, while the adhesive begins to bond the magnet to the glass gem.


- Make sure to space your glass gems apart while drying, as the rare-earth magnets are very strong and can snap together if too close. This isn’t a problem when dry – you can just pry them apart – but while drying it could pull one of the magnets off the back of the gem.
- I let mine dry for about 6 hours, but you can wait a bit longer to make sure the adhesive has completely cured.
And now you have a fun set of magnets that you can use, share, or give as a sweet handmade gift!
Here’s a zoomed-in shot of how gorgeous the color is:

They sparkle like little glass gems!

Glitter marble magnets make wonderful gift sets because they are pretty and useful, which is a win-win for gift-giving at the holidays or any time of year!
Happy crafting!
I love making marble magnets! And the glitter just makes them extra fun!!!
You’re so right, Katie! 🙂
OMG I am totally making these!! I am my boss’ secret Santa and she loves all things sparkly!! I’ll have to make some for myself of course because I adore sparkle too! Thanks for sharing!
You’re very welcome, Jillian! I bet your boss will love these magnets! (And you will too!)
I had no idea this was so easy to do. You just opened up a whole new world of possibilities for me my friend 🙂
Amy*
Oh Amy, I can see you making these with alcohol inks and all those awesome artistic touches you do! And of course…..glitter, which I know you love as much as I do! 🙂
Super cool! I love those glass marbles and am always looking for ideas for them! So happy and sparkly!
Hope you make some of these, Malia! And thanks for your happy and sparkly comment!