• Skip to primary navigation
  • Skip to main content
  • Skip to primary sidebar
  • Home
  • Gardening Index
  • Videos
  • Subscribe
  • Navigation Menu: Social Icons

    • Facebook
    • Instagram
    • Pinterest
    • RSS
    • Twitter
    • YouTube
Garden Sanity by Pet Scribbles

Make a Pom-Pom Garland: easy DIY using a kitchen fork!

This post and photos may contain Amazon or other affiliate links. If you purchase something through any link, I may receive a small commission at no extra charge to you. Any supplies used may be given to me free of charge, however, all projects and opinions are my own.


April 23, 2014 By Laura

Pin
Share
Post
54Shares
Make a Pom-Pom Garland: easy DIY using a kitchen fork! No fancy tools needed, except the yarn and colors of your choice plus a fork!


Make a Pom-Pom Garland: easy DIY using a kitchen fork!

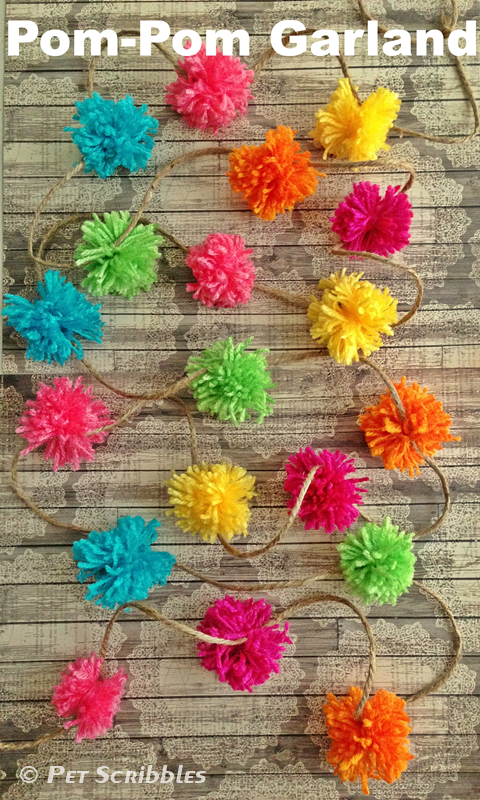
Because everyone deserves to have a pretty pom-pom garland to hang up and enjoy, right?

Right!

And now you can make your own! Easily!

I have an easy-to-follow tutorial today over at Deja Vue Designs, and yes this DIY uses a serving fork that you probably have in your kitchen. And if you don’t? A regular fork will do, it will just make slightly smaller pom-poms.

Here’s the link to see the full DIY including helpful pictures:

DIY Pom-Pom Garland
Happy crafting!
Pin
Share
Post
54Shares

Filed Under: Crafts & DIY Tagged With: Craft Tutorials, DeJa Vue Designs, entertaining at home, garland DIY, home decor, pom-pom garland, pom-poms, yarn crafts

Previous Post: « My Easter Basket Peat Pots Tutorial via Parade Magazine!
Next Post: Red Yucca: a gorgeous, long-blooming perennial! »

Reader Interactions

Comments

  1. ambersy

    May 29, 2014 at 1:43 pm

    Hi there…
    I know this may be a silly question, but how did you attach the pom poms to the twine?
    Thank you!

    • Laura Kuhlmann

      May 29, 2014 at 3:30 pm

      Not a silly question at all! If you look at the complete tutorial over at Deja Vue Designs, scroll down to the image just below Step 11. You’ll see a trimmed up pom-pom with the longer yarn threads — used to tie up the pom-pom in Steps 3 through 8. Don’t cut those off as that’s what you’ll use to secure each pom-pom to the twine! (I’ll edit the tutorial to better reflect this, so thank you for your good question!)

Trackbacks

  1. Bunny Tote Bag DIY says:
    March 4, 2015 at 10:43 am

    […] bunny needed a tail, so why not make it a fun pom pom? (You can learn how I make my pom poms by clicking here for my step-by-step […]

Primary Sidebar


Welcome to Garden Sanity by Pet Scribbles. I’m Laura, an artist and self-taught gardener. Gardening is therapeutic for me, peaceful and calming. I write articles and film videos centered around my own gardens, with plenty of plant suggestions and gardening tips. I’m glad you’re here and happy to share my garden inspiration with you!

As an Amazon Associate I earn from qualifying purchases.

As an Amazon Associate I earn from qualifying purchases.

© 2025 • PET SCRIBBLES LLC • PRIVACY POLICY