—– continued from previous page —–
10 examples of colorful chippy paint looks…
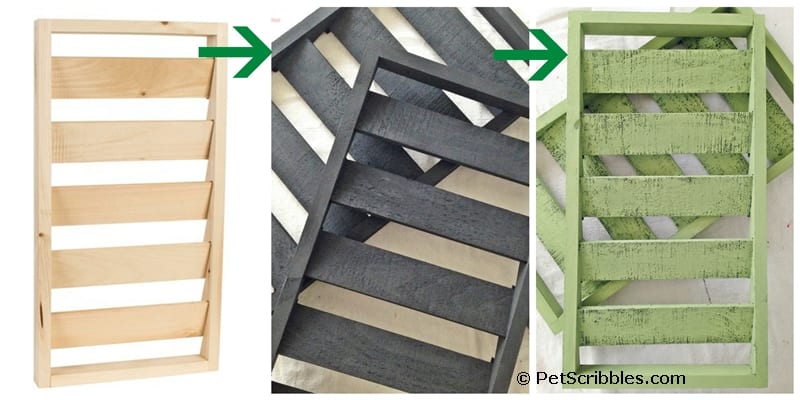
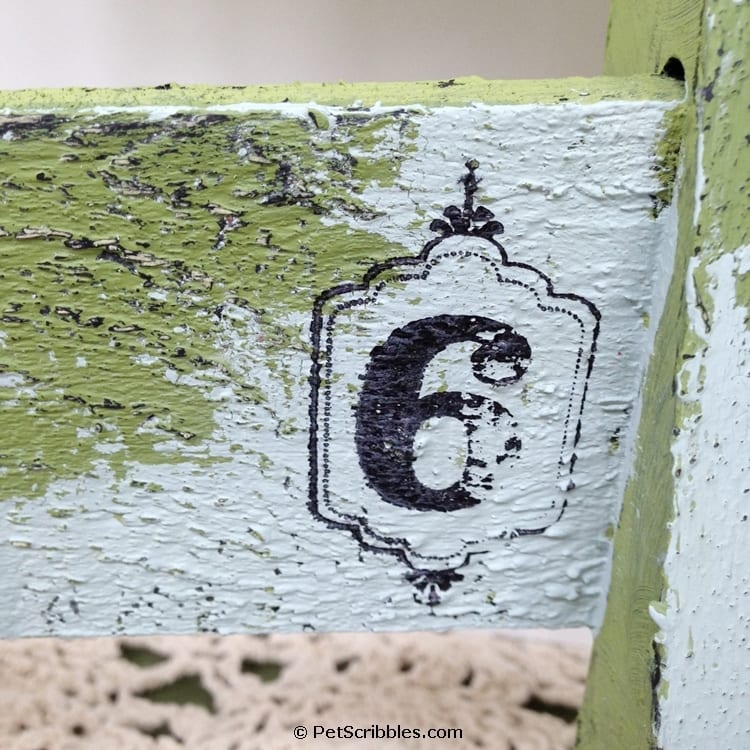
DIY: Peeling Paint Technique
This frame was my first craft tutorial I shared here on this blog, back in 2012!
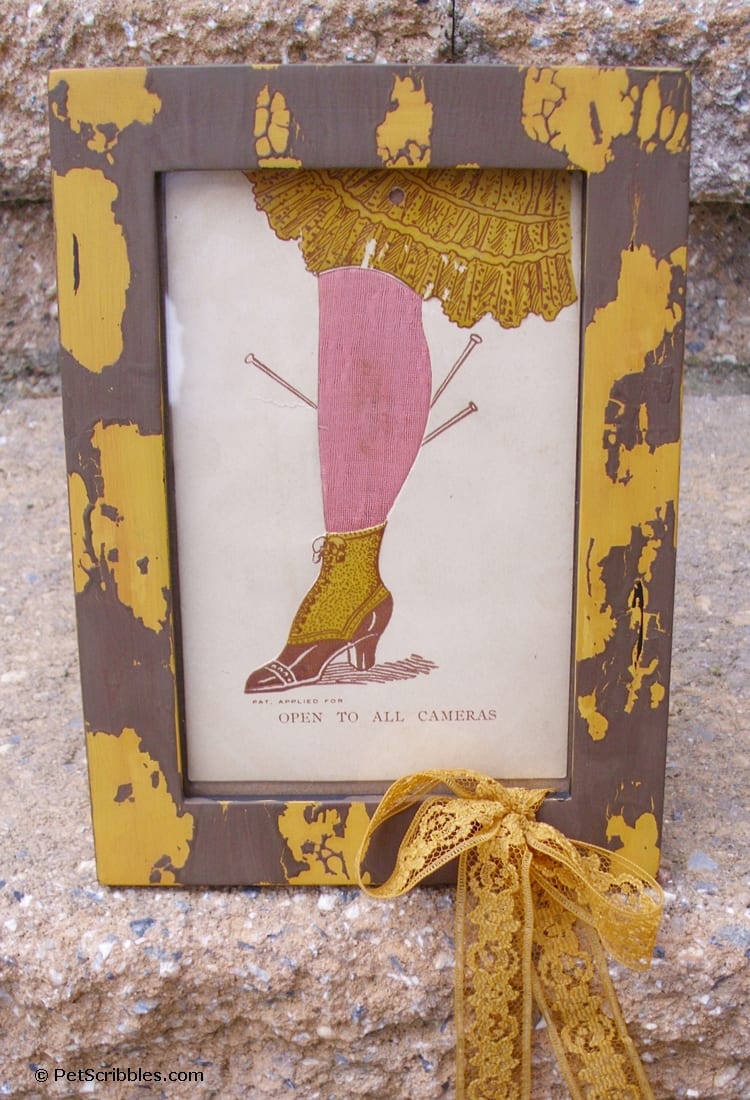
I had found this really cool vintage postcard on Etsy. It’s a pin cushion leg Victorian postcard. The pink leg has some padding in it!
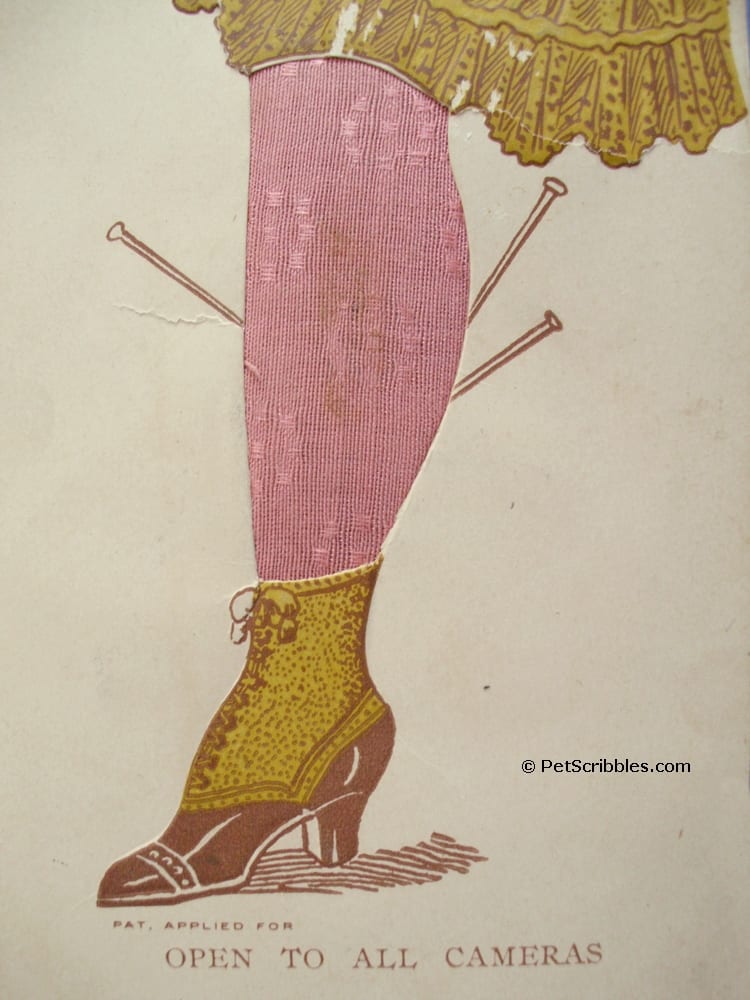
The seller said it’s either Dutch or German from the early 1900s.
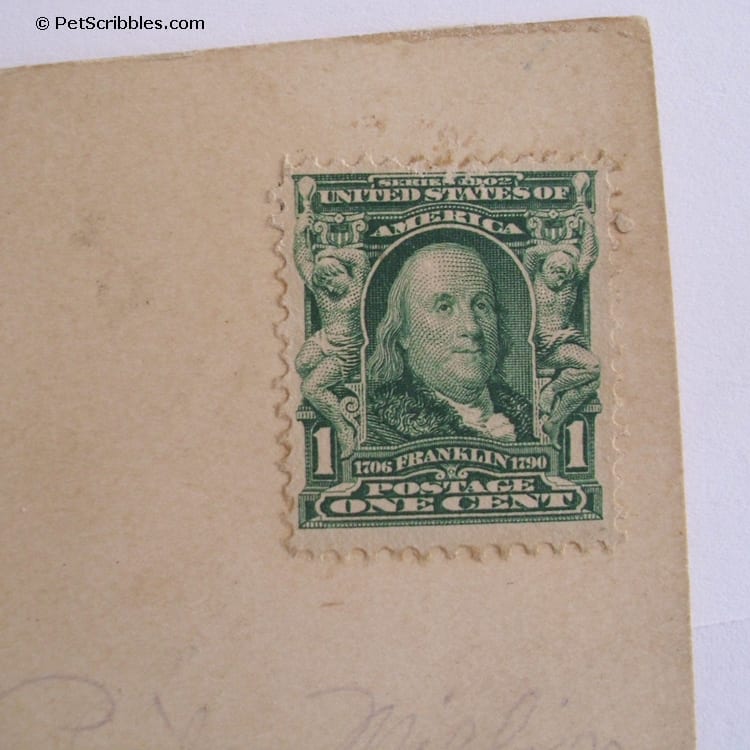
There’s writing and a Ben Franklin postage stamp on the back!
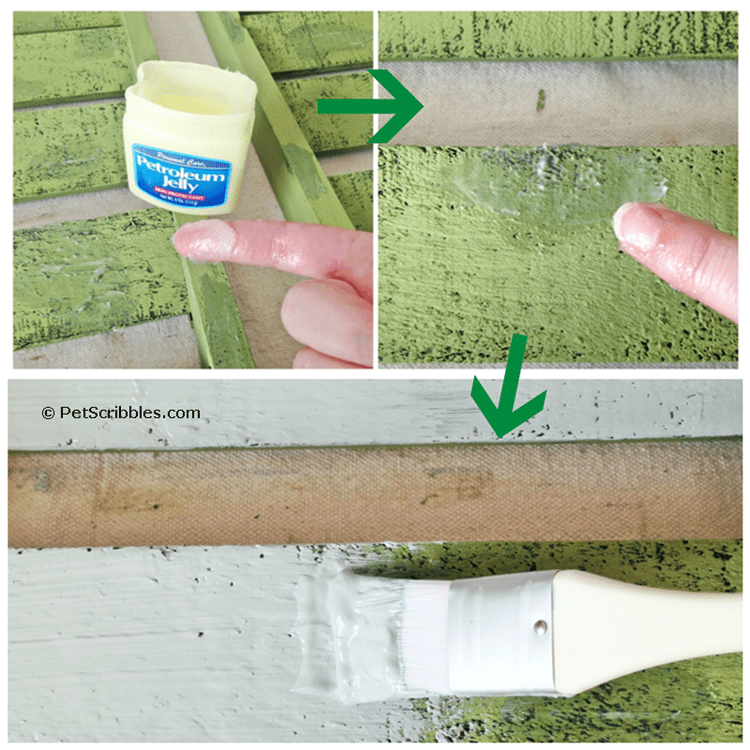
I wanted a unique frame for this, and that’s how this very first tutorial came to be: a step-by-step DIY on using petroleum jelly to create the look of peeling paint.
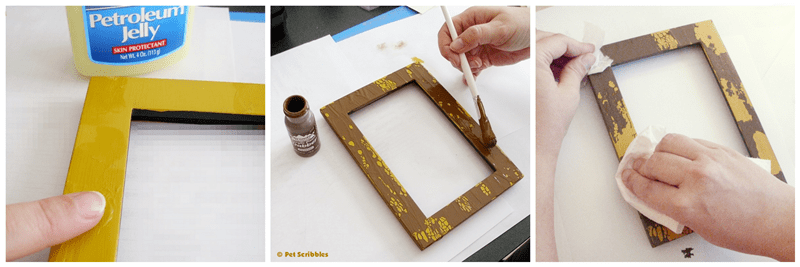
You can see the complete tutorial — my very first one I ever wrote here on my blog — by clicking here: DIY: Peeling Paint Technique.
Peeling Paint Technique: Color Comparison
I did an experiment back in 2012 to see how the peeling paint effect would look if I simply switched the top and bottom colors:
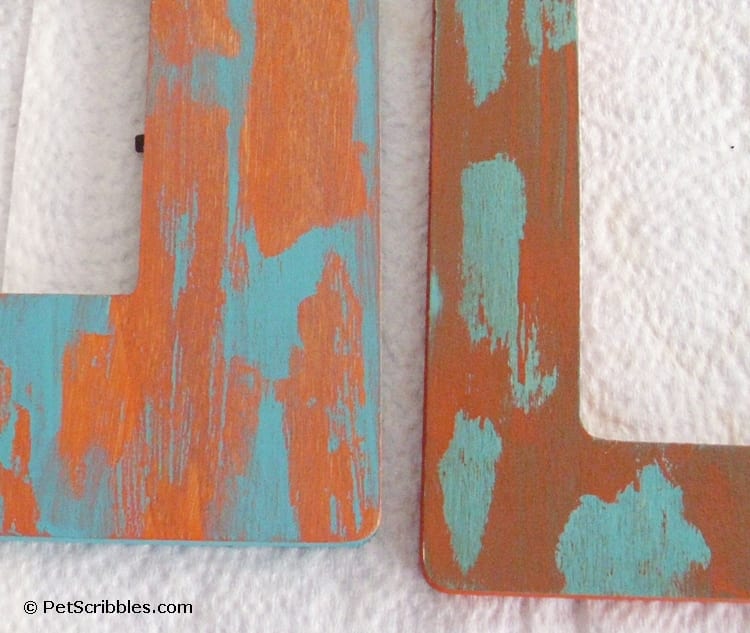
I used two unfinished wood frames from the craft store for this color comparison. Eventually I turned them into Halloween frames:
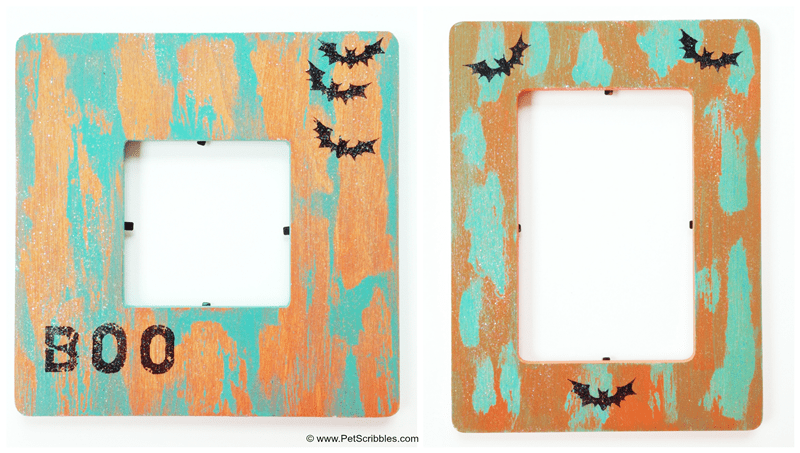
You can see the color switching experiment here: Peeling Paint Technique: Color Comparison
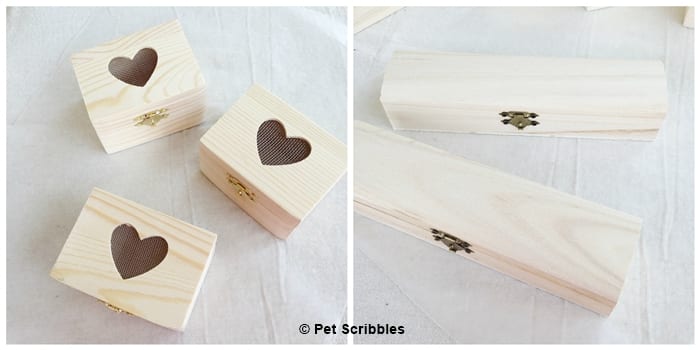
A Chippy Paint Finish in 4 Easy Steps
In 2015, I came up with some little handmade gifts to give to some artist friends I was meeting up with at a conference. I chose these adorable unfinished wood boxes from Darice Crafts:
I asked each person to tell me their favorite color combination — rather than just ask them their favorite color — and that’s how I arrived at the colors for these boxes.
“purple and green”

“mint green and pale pink” and “anything pink”
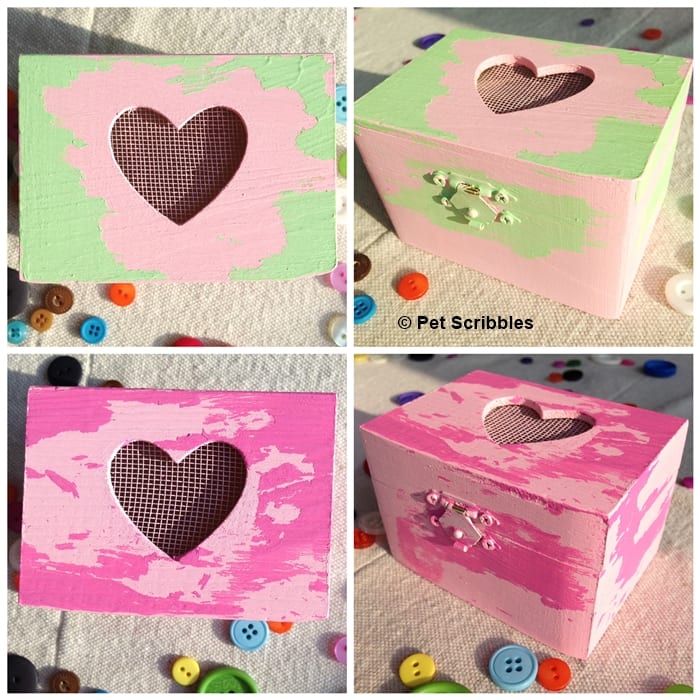
“red and aqua” and “pink and aqua”
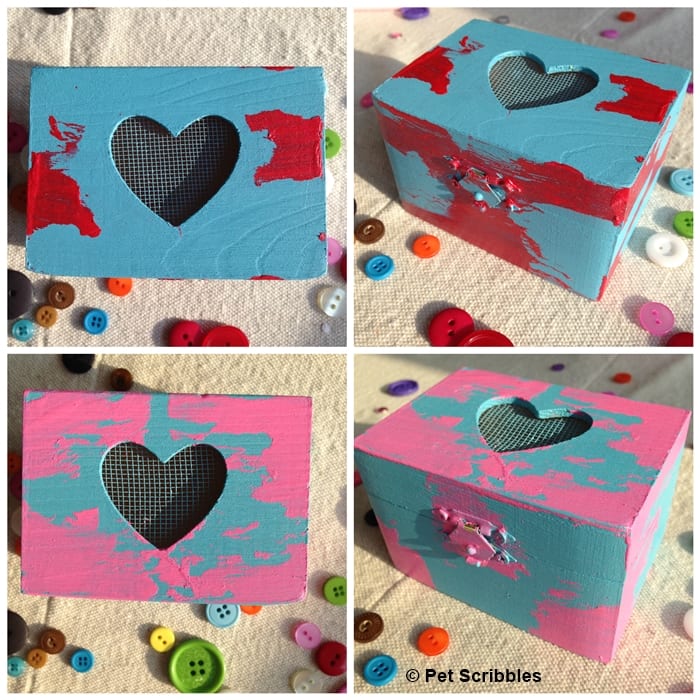
You can see how I made each of the boxes here: Chippy Paint Finish in 4 Easy Steps, which also includes a link to my YouTube video tutorial as well.
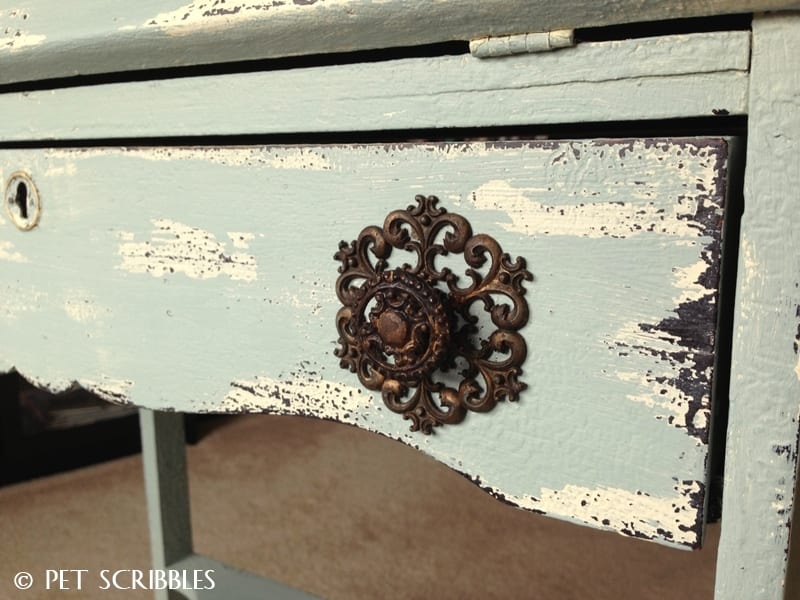
Chippy Paint Antique Secretary Desk
I used the same paint technique on a large antique secretary desk which I found at a vintage store, almost completely beat up and damaged. I brought the desk back to life with some happy paint colors!
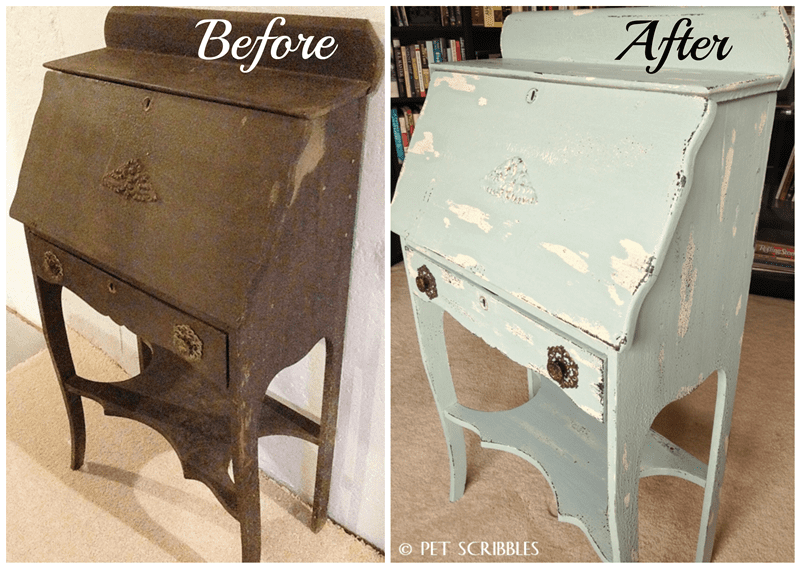
This was a project I did for Home Depot and DecoArt, and I used the existing rough, black surface of the desk to my advantage.
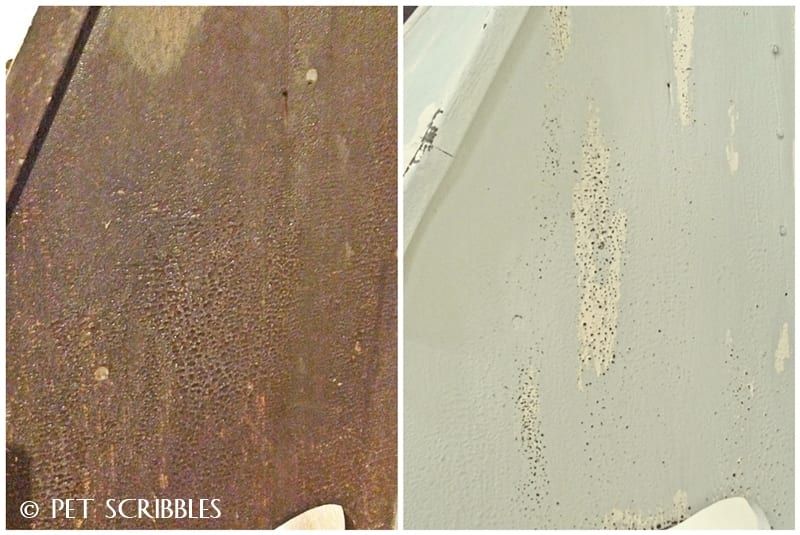
I used petroleum jelly twice on this desk. First to reveal the original black paint through a coat of ivory; and next to reveal both the black and ivory colors through a top coat of light blue.
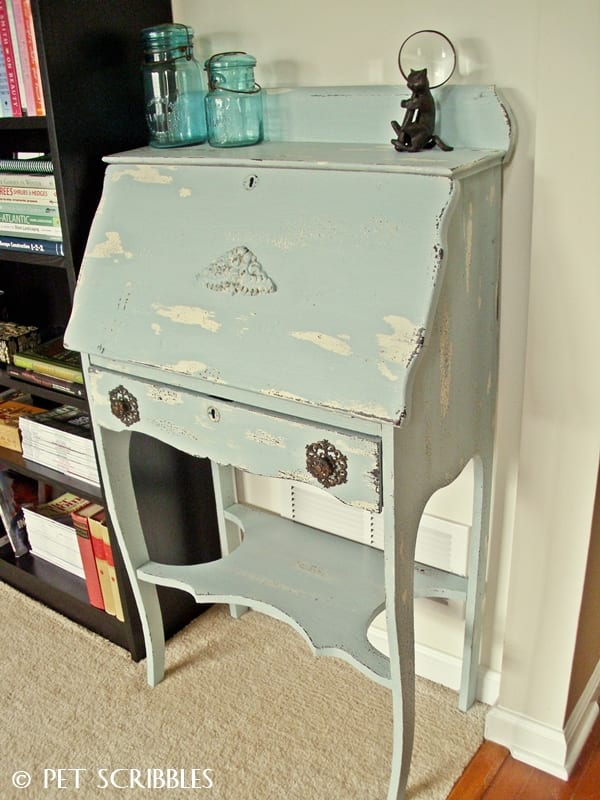
You can see the full tutorial here: Chippy Paint Antique Secretary Desk.
Tissue Box Cover DIY: a weathered wood paint finish
Did you know this faux paint technique works on paper maché too? It does!
In fact, I used it on a paper maché tissue box cover and got a really cool weathered wood paint finish.
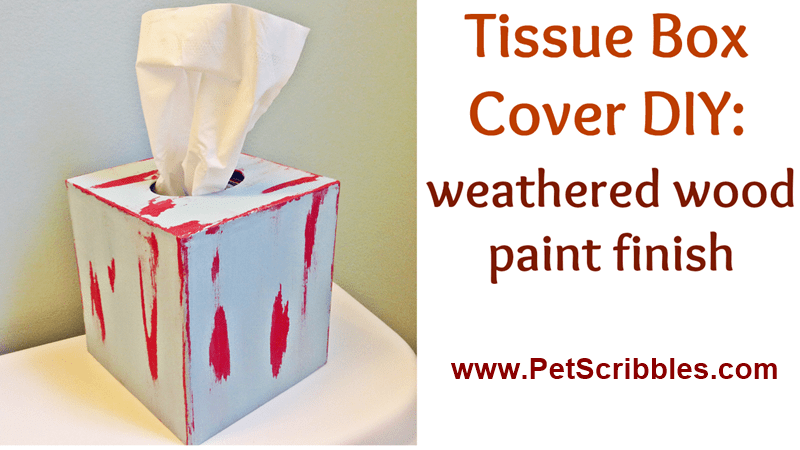
This was a project I did for Darice Crafts, back in 2014. After painting a base color of red, I added the petroleum jelly, then painted a coat of blue over it. Once the blue coat had dried, it was time to use some baby wipes to reveal the read coat underneath.
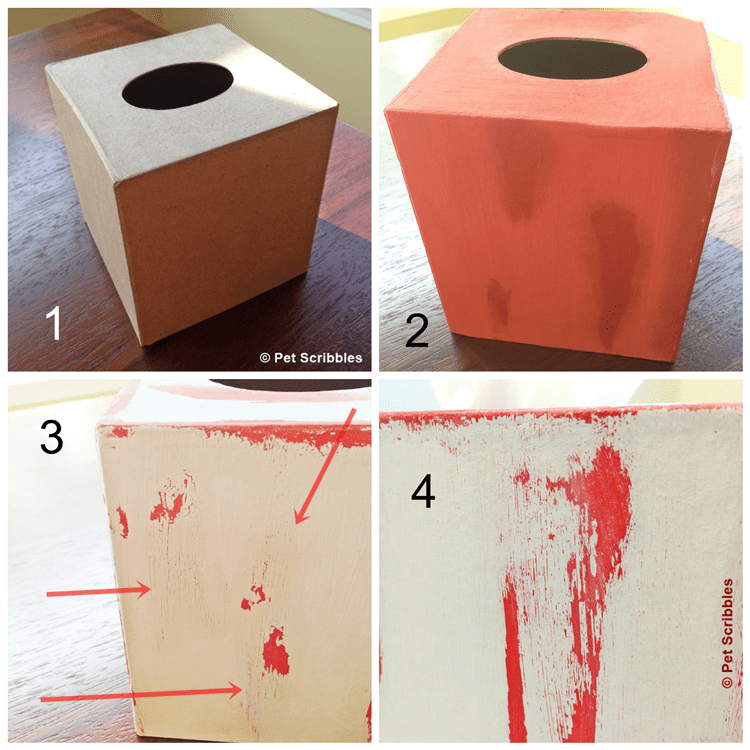
I love how this tissue box turned out, as it truly took on the look of weathered wood!
You can see the full tutorial with a link to my YouTube how-to video here: Tissue Box Cover DIY: a weathered wood paint finish.
How to: a chippy paint finish that always looks authentic!
Last February, I created this set of painted shutters for Walnut Hollow:
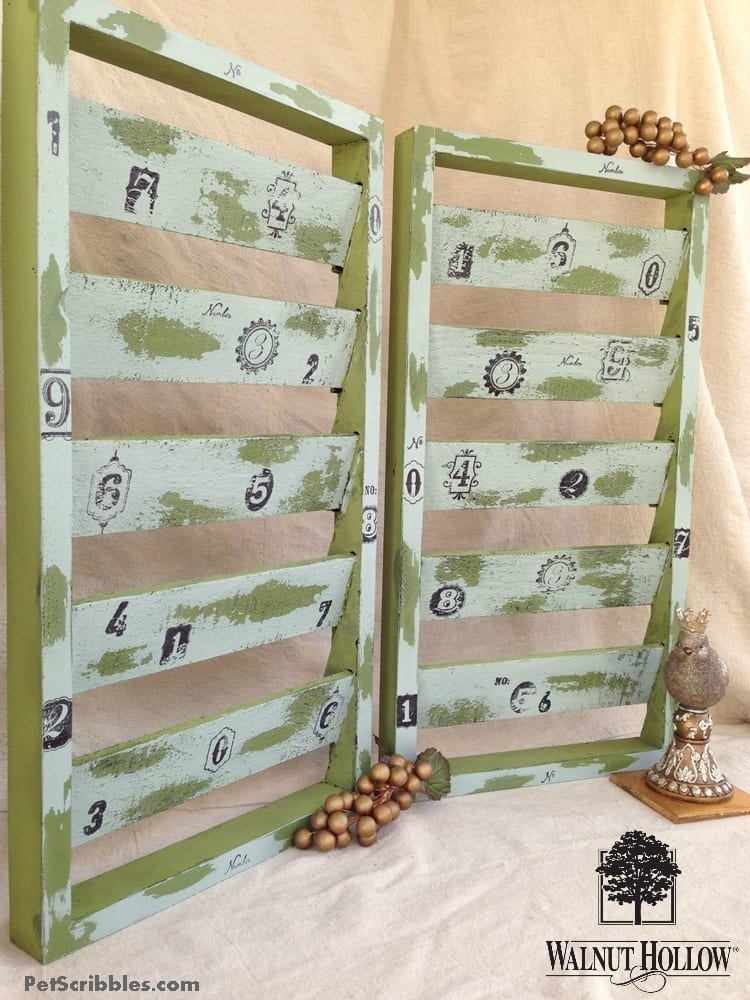
I modeled this paint project after my antique desk, meaning I wanted to have three colors showing through at the end.
Another key difference this time? I purposely did not sand the unfinished wood shutters prior to painting. I kept the surface rough on purpose, which really added an authentic look to the illusion of chipping and peeling paint!
Here’s a super close-up detail of the shutters, so you can see not only the paint colors, but also the rough texture. I love it!
You can see this DIY with plenty more pictures here: How to: a chippy paint finish that always looks authentic.
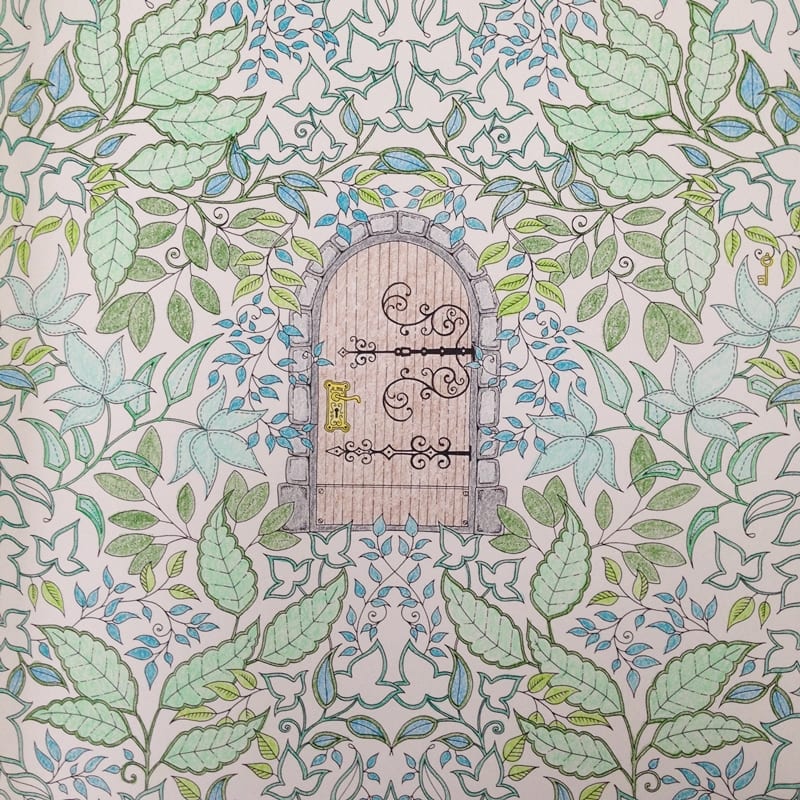
I hope you enjoyed taking this look back with me! I included the coloring page image above, to point out that even when I’m coloring I tend to use colors I love the most!
For those of you that are newer readers of my blog, I hope you check out these older projects of mine!
And for all of you, I hoped this has inspired you to shop your closet for colorful inspiration!
Happy crafting!
~Laura
Love these ideas!
Thanks so much Brandy!