January is all about getting organized, and so I bring you my art supply caddy makeover, and how duct tape can help you distress paint for a vintage, shabby look. Yes, duct tape!
Thanks to DecoArt for sponsoring this project and sharing it with their readers. This project idea and tutorial is 100% my own.
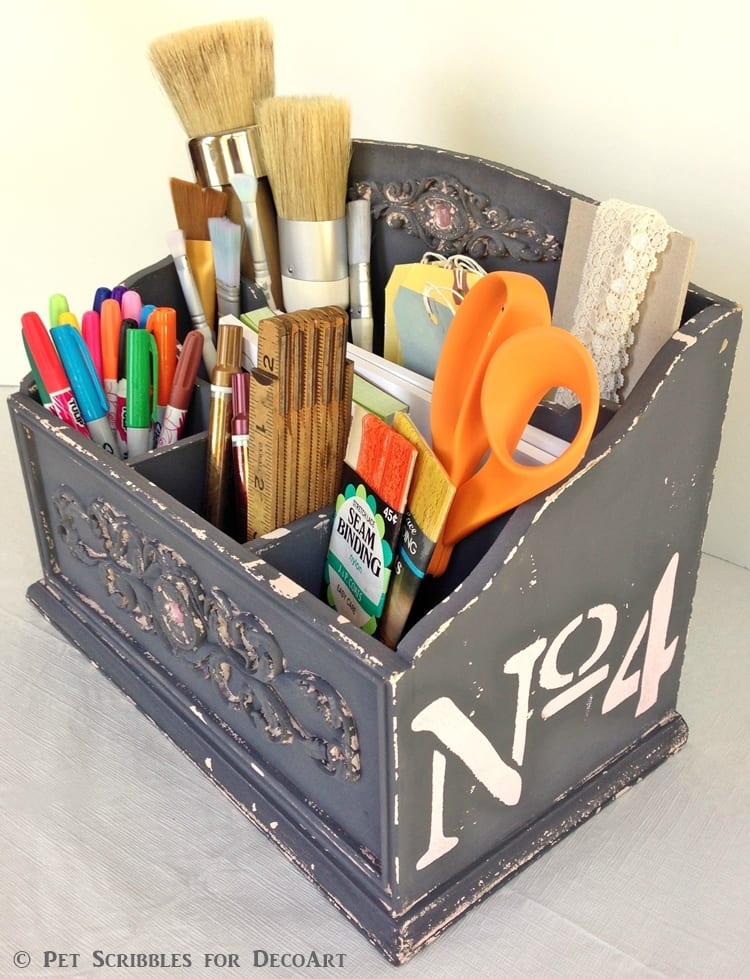
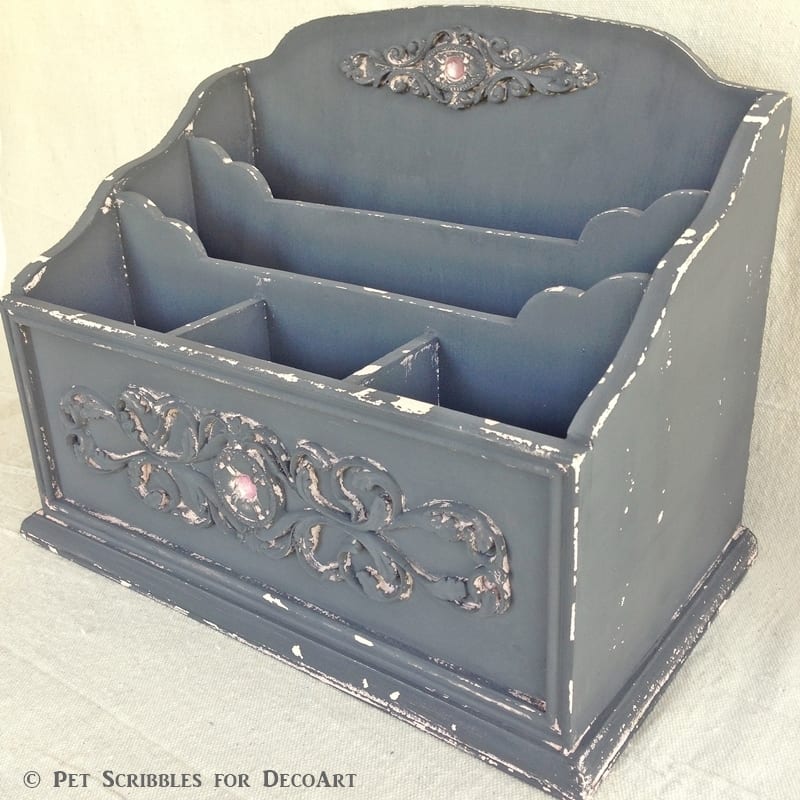
Art Supply Caddy Makeover
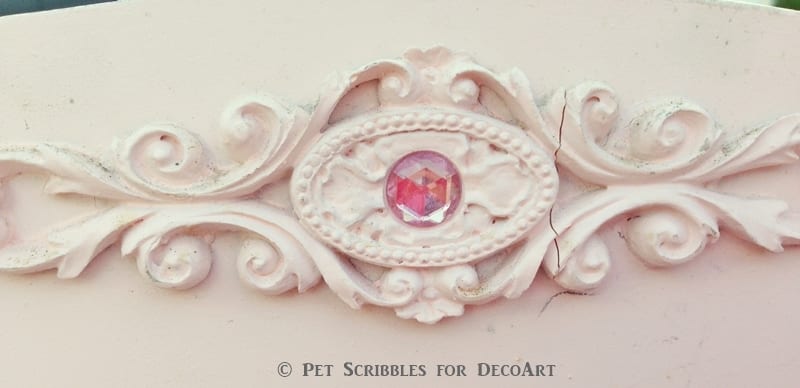
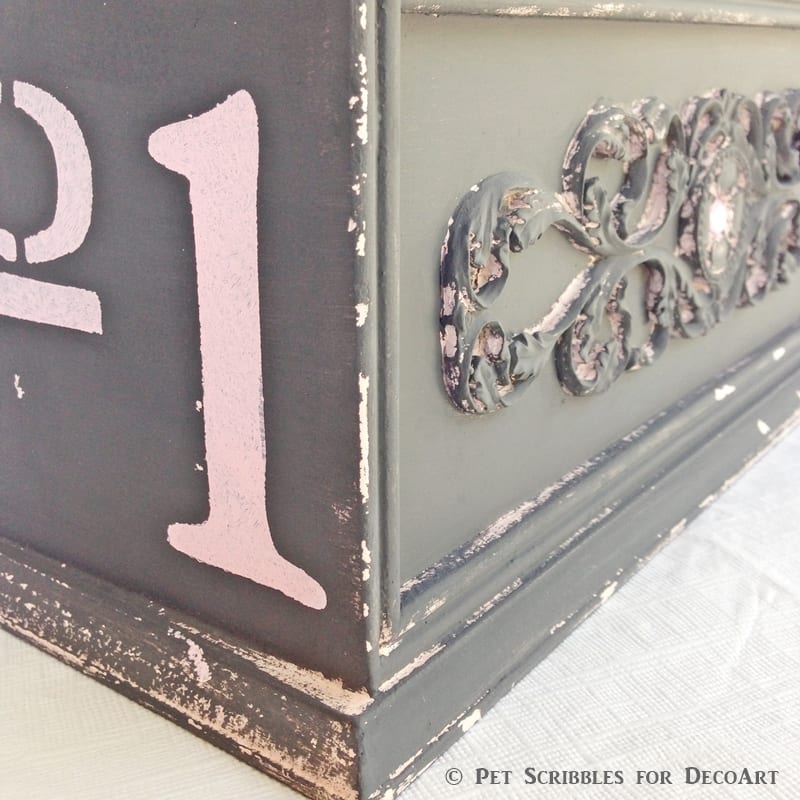
I found this beat-up caddy at a nearby thrift store for $5. The pale pink color was the perfect “under color” for my paint makeover.
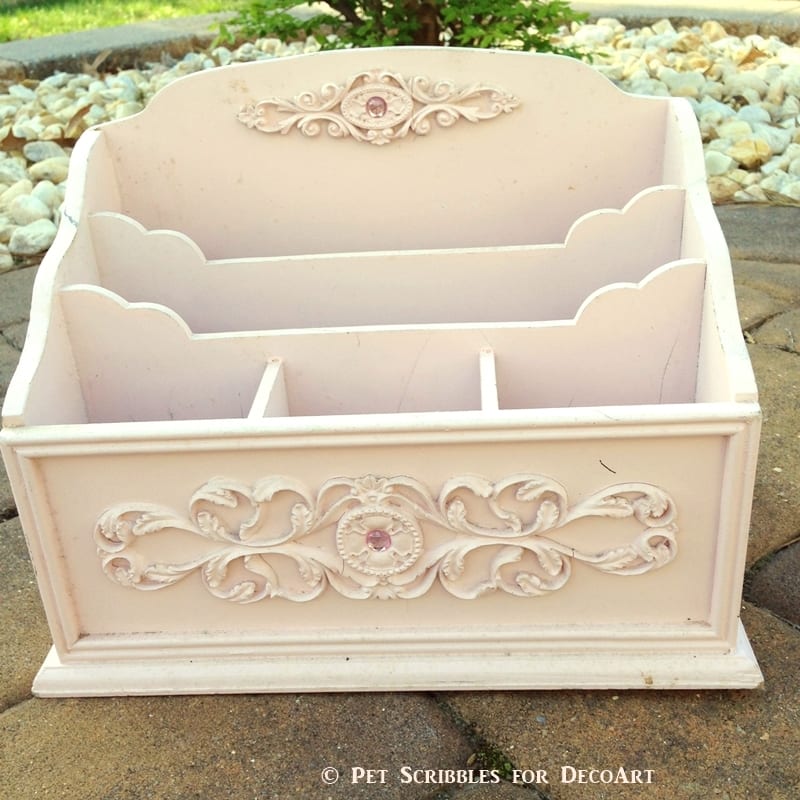
What really sold me on this caddy was how heavy it is, so when I’m grabbing scissors or paint brushes, the caddy will stay in place. Perfect!
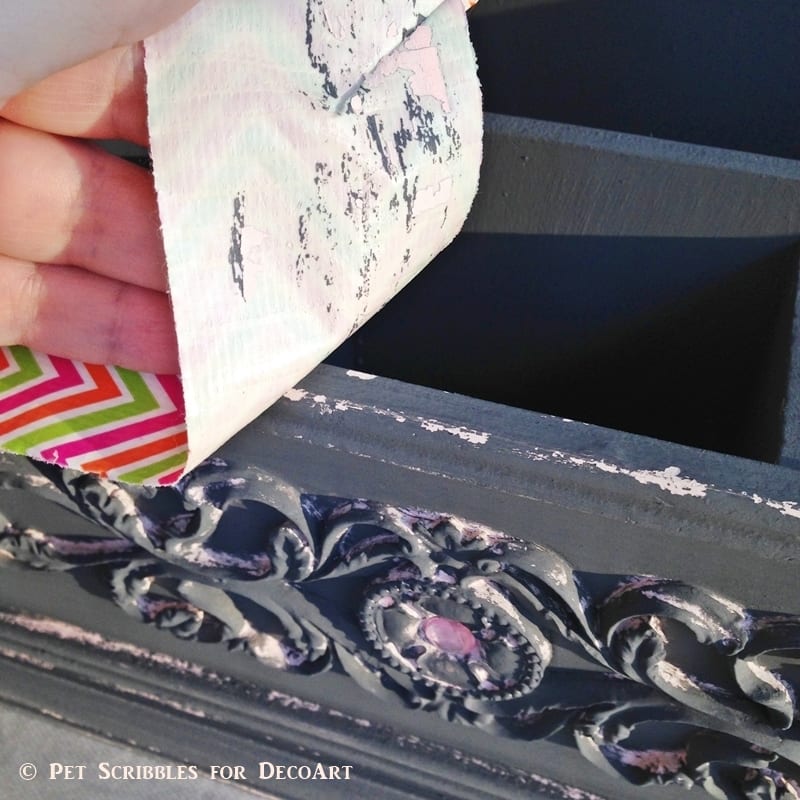
I began by rubbing candle wax along the edges and anywhere else I wanted the pink to show through.
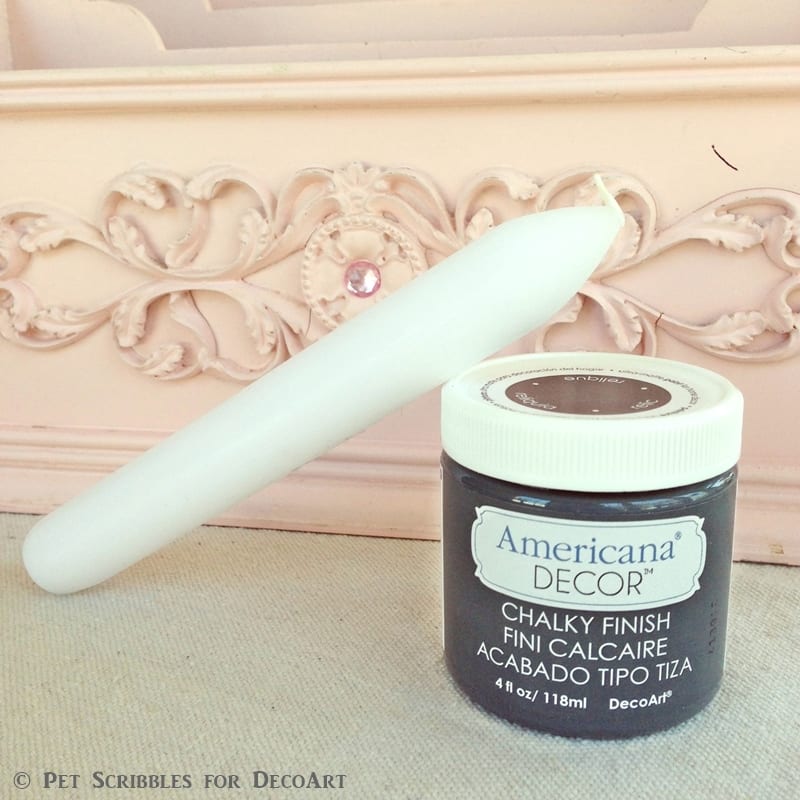
After painting my top color, I used duct tape to help me give the art supply caddy a distressed, shabby look.
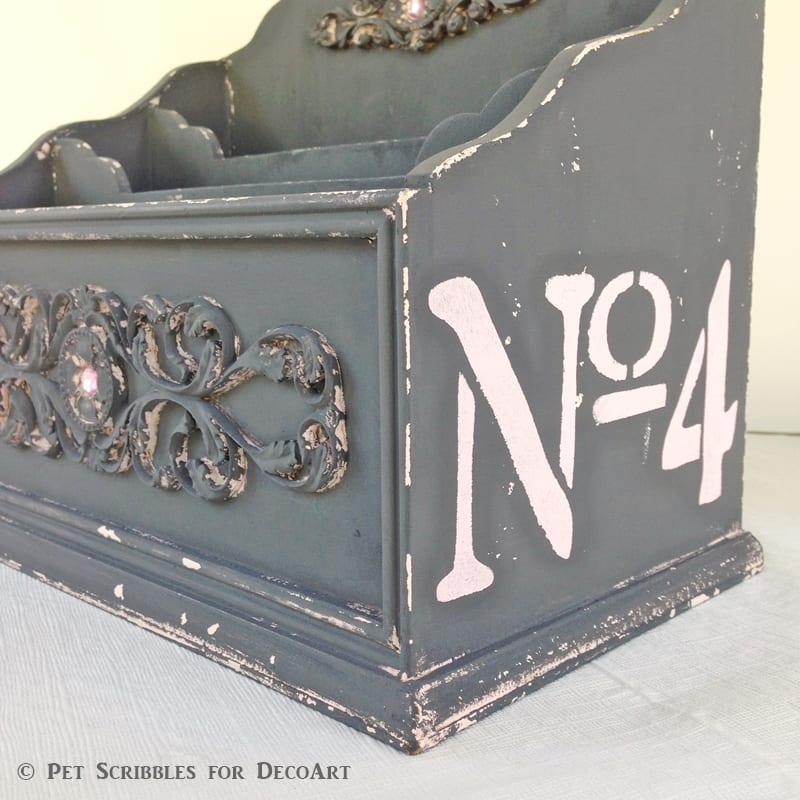
To finish the art supply caddy, I added number stencils to each side.
You can see my complete tutorial — including a list of supplies and helpful step-by-step images — on the DecoArt website!
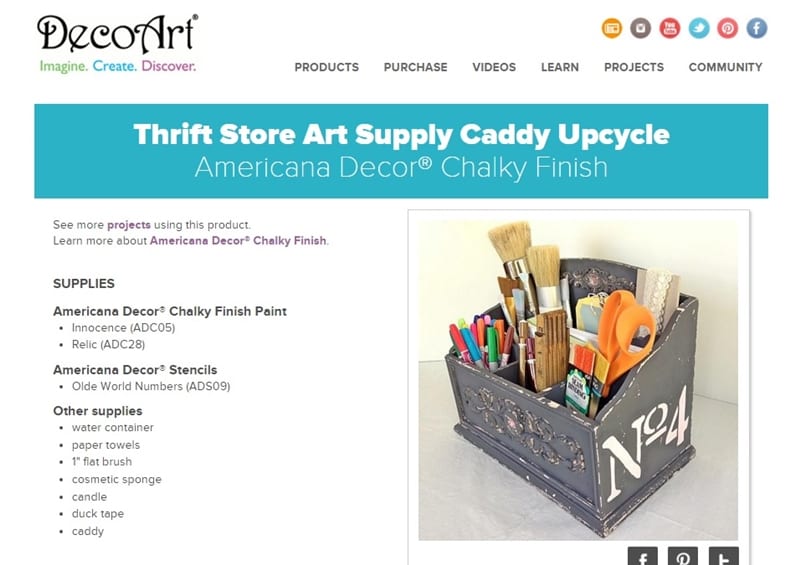
Click on the image above or click here:
Thrift Store Art Supply Caddy Upcycle
Check out the Related Posts below for more of my distressed paint tutorials!
Happy crafting!
~Laura