Make your own shabby books with paint and stencils! It’s an easy way to upcycle discarded or unloved books for a rustic farmhouse look!
I’ve always loved the look of shabby books on display, and have ooh’ed and aah’ed over many a pretty shabby book on Pinterest, but have yet to make my own.
Until now!
I made these shabby books from unwanted recycled books, adding layers of paint and then stenciling some designs on top. It’s easier than it may sound!
You can do this in part of a morning or afternoon.
And you get to paint imperfectly!
On purpose!
So gather up some unwanted books, check out my easy how-to steps, and make your own!
How to Paint and Stencil Shabby Books
Supplies needed:
FTC Disclaimer: Some of the links in this post are affiliate links. I explain more here.
- Chalk paint in colors of your choice
(I used DecoArt Chalky Finish paints in Rustic, Whisper, Timeless and Relic) - French country word stencils — DecoArt
- Paintbrush — Martha Stewart Crafts
- Stencil brush or Pouncer — Martha Stewart Crafts
- Painters tape
- Paper towels
- Wax paper
- Scrap paper
- Old books
Shabby Books Tutorial:
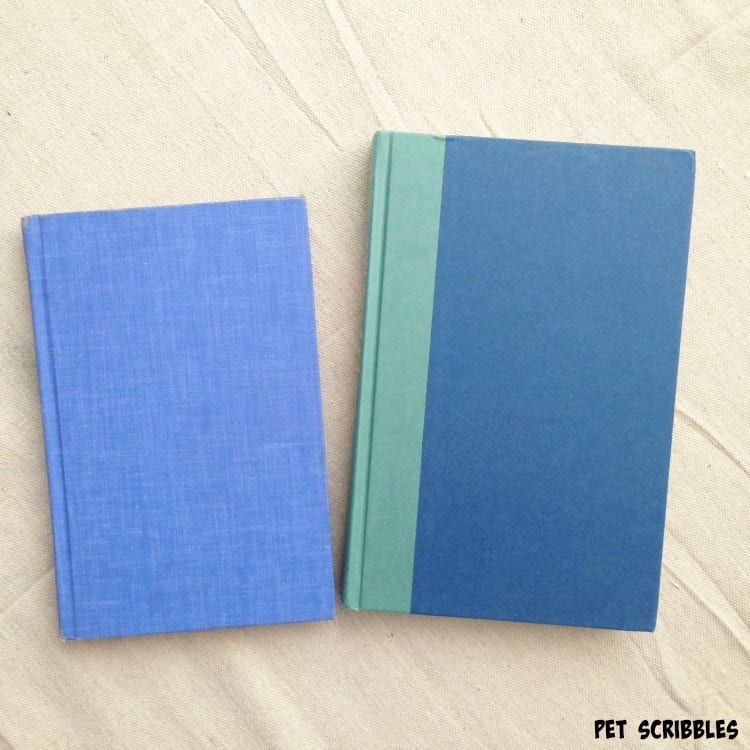
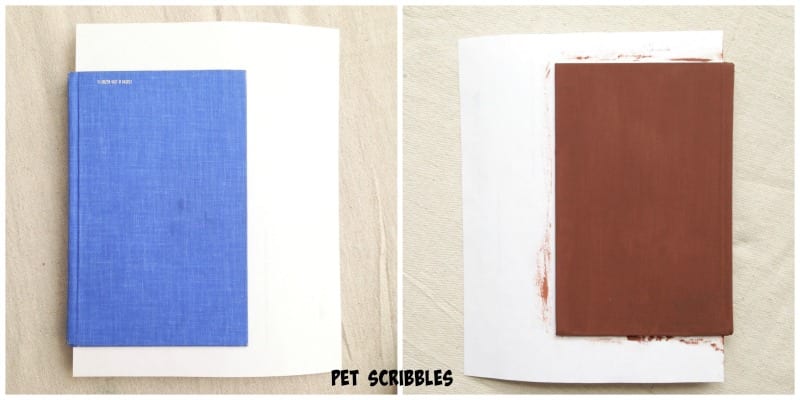
I started with some old books that have been sitting around. If you don’t have any old ones, you can easily find some at thrift stores or garage sales.
Paint a Base Coat
First of all, wipe off any dust from the books.
Paint two quick coats of brown chalk paint (called Rustic) to the front cover, the spine and the back cover, leaving some areas of paint thicker than others. Let dry.
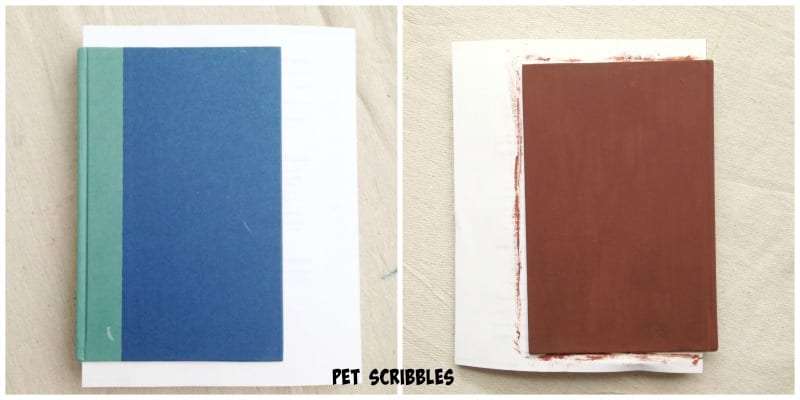
Helpful tip: Stick pieces of scrap paper in between the front and back covers and the book’s pages. This makes the painting go much quicker as you don’t have to worry about where the paint goes!
Add a Distressed Layer of Paint
The following steps are the same for the front cover, the back cover, and the book spine.
Helpful tip: Do each section (front, back, spine) separately, rather than all at once, as you need the paint to remain wet for this technique.
Paint a rough coat of ivory chalk paint (called Whisper) over the brown paint on the front cover.

Make the paint thicker in some areas versus others, and leave some of the brown paint showing through.
Wipe the wet paint off of the front cover using a clean paper towel.
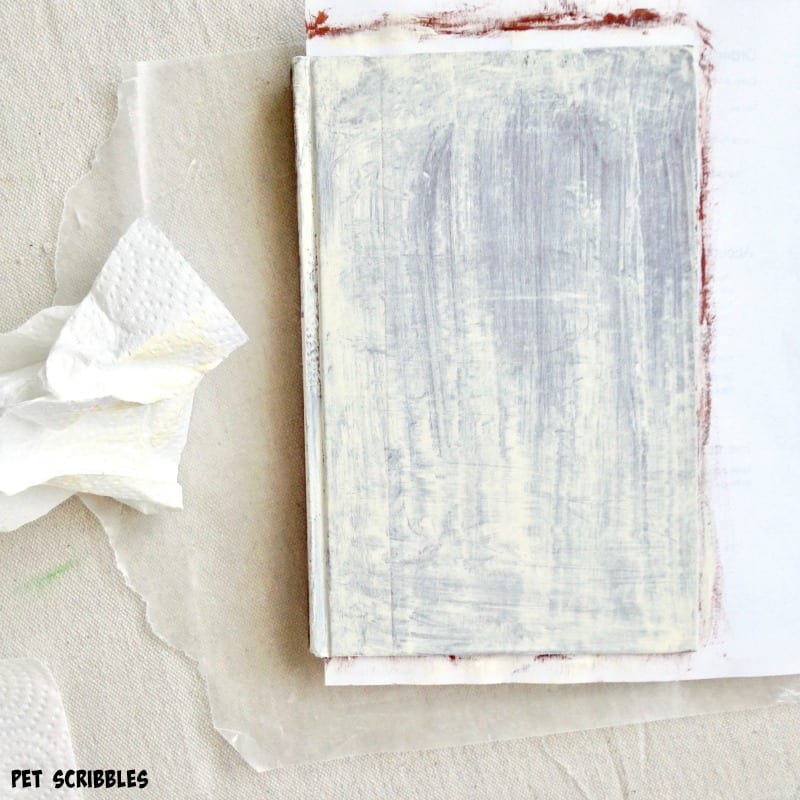
You can wipe the paint from side to side, in circles, top to bottom — whatever way you want to do this is fine.
There is no wrong way to do this!
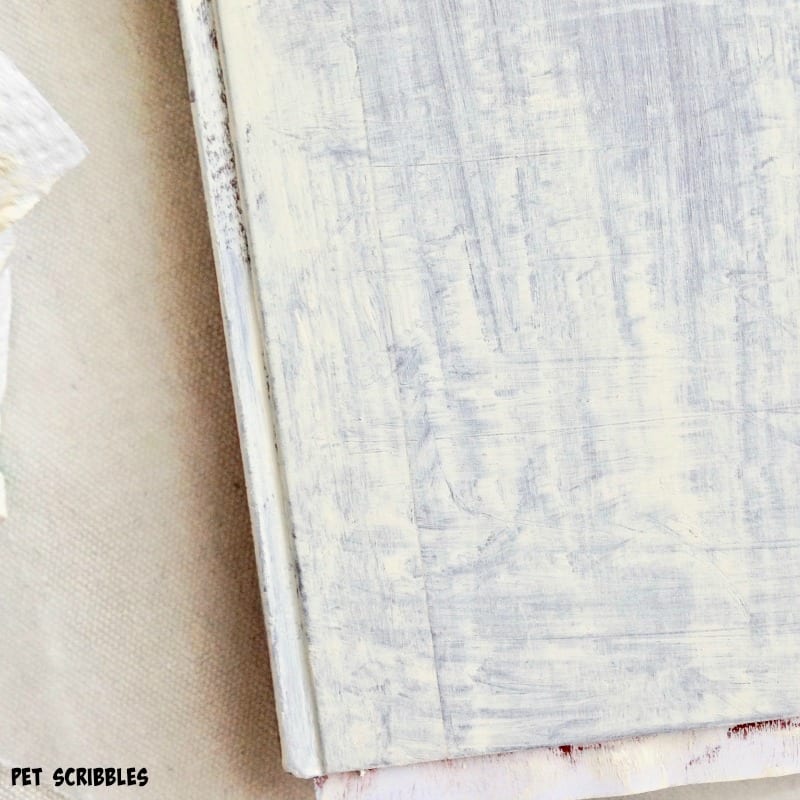
Next, paint another rough coat of ivory paint onto the front cover, and wipe this layer back — if desired — with a clean paper towel.
How this distressed paint looks is up to you, so once you are happy with it, let it dry.
Repeat the above steps for the back cover and the book spine.
Let the books dry on wax paper.
Add a Background Stencil Design
I chose French country stencils for both the background and the book titles.
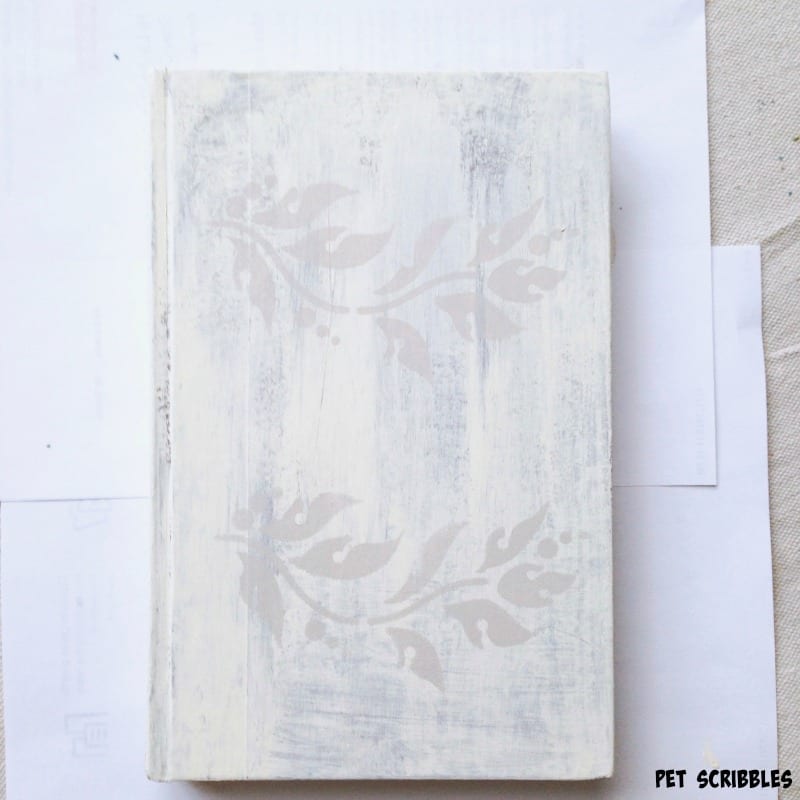
Helpful tip: If you want the stencil design to appear old and faded, use a similar color to the distressed layer of paint.
I used a shade just a bit darker (called Timeless) than the ivory color for this step.
Tape the stencil to the book using painter’s tape and a stencil brush or pouncer to apply the paint.
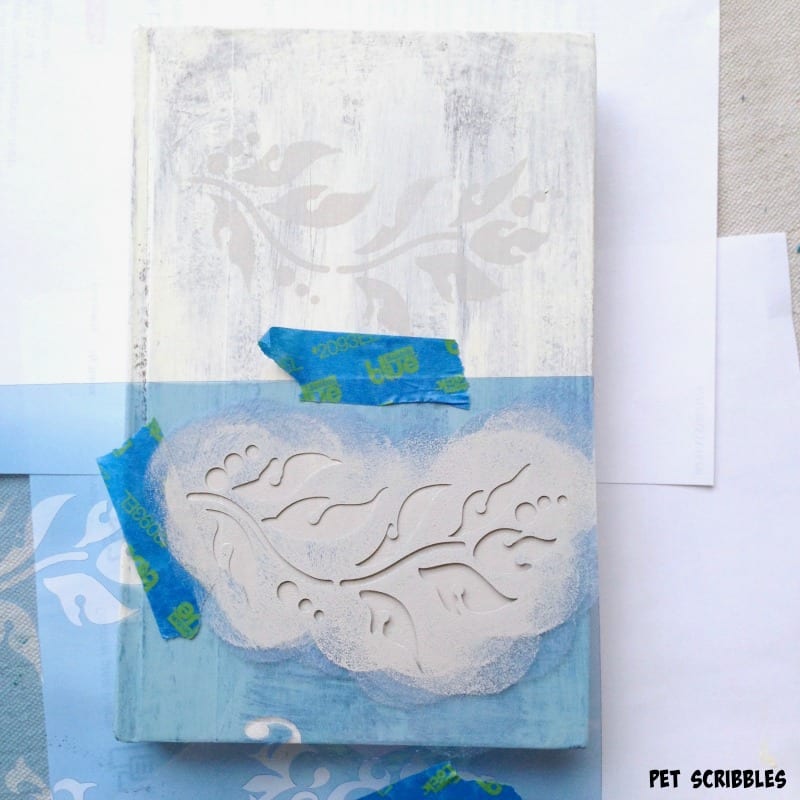
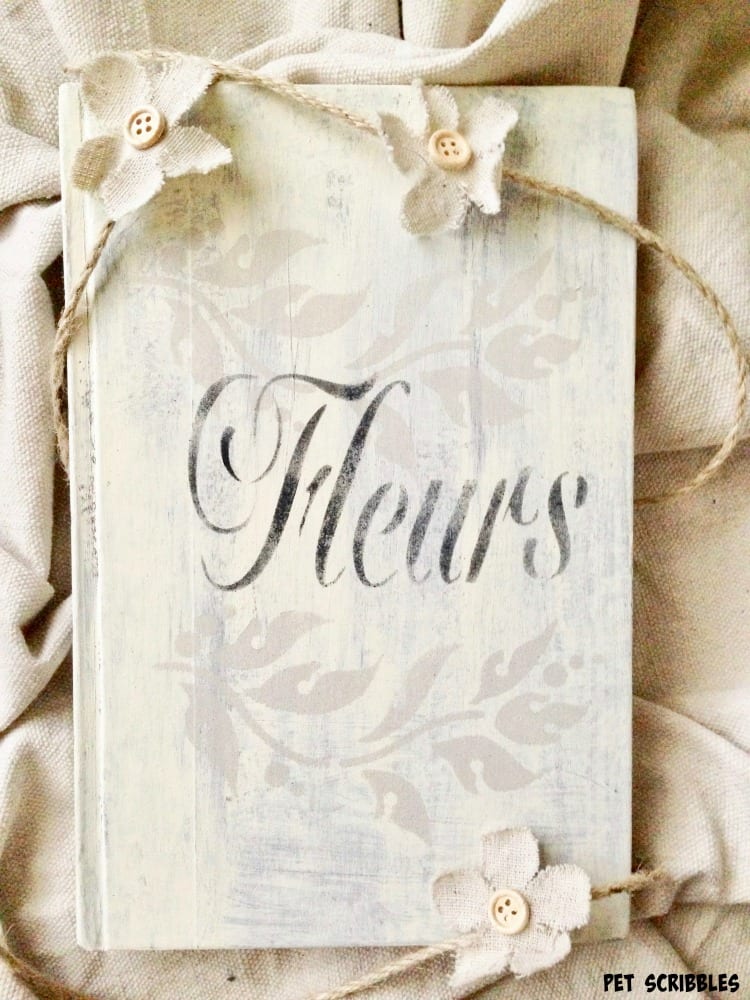
This book now has a leafy vine design:
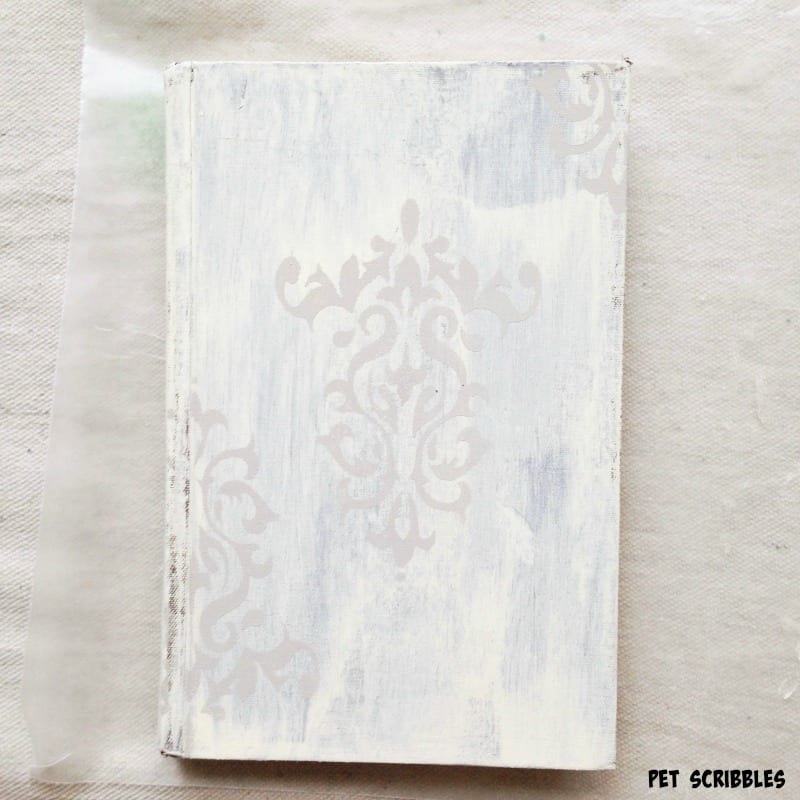
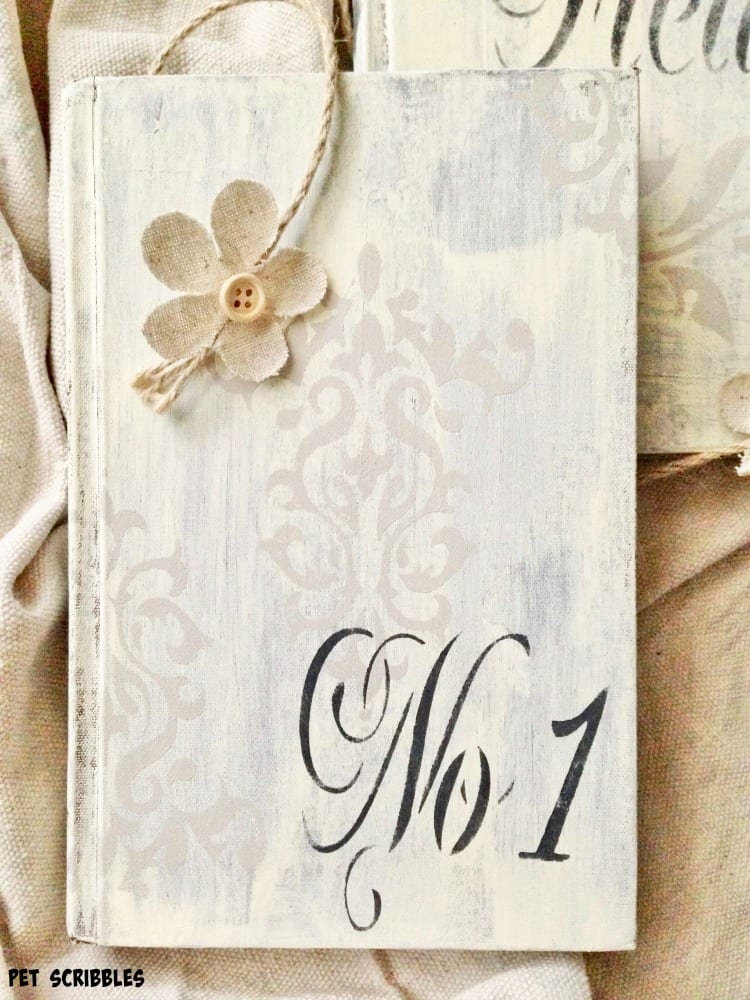
And on the other book, I stenciled on a pretty brocade design on the center of the cover. Next, I repeated the brocade stencil on the lower left and upper right corners, to make the design appear to be running off the cover:
Repeat the above steps for the back cover, if desired, and/or the book’s spine too.
Let dry on wax paper.
Add Stenciled Words and Numbers
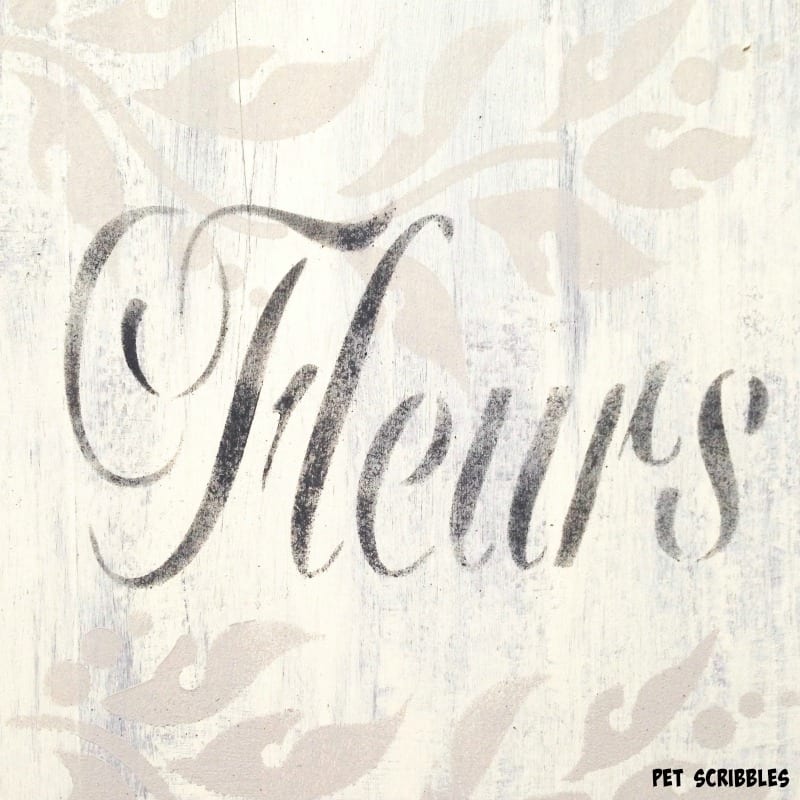
I used a dark gray chalk paint color (called Relic) to stencil the designs I wanted to stand out. Using a dark gray color versus black also helps these designs to appear old and faded rather than new-looking.
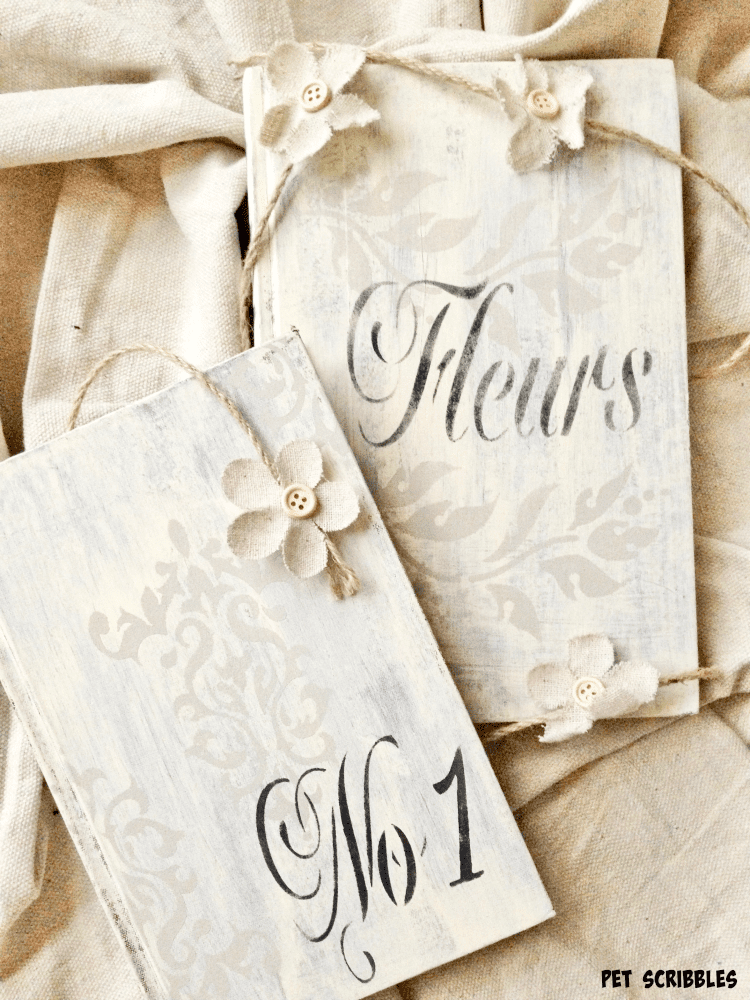
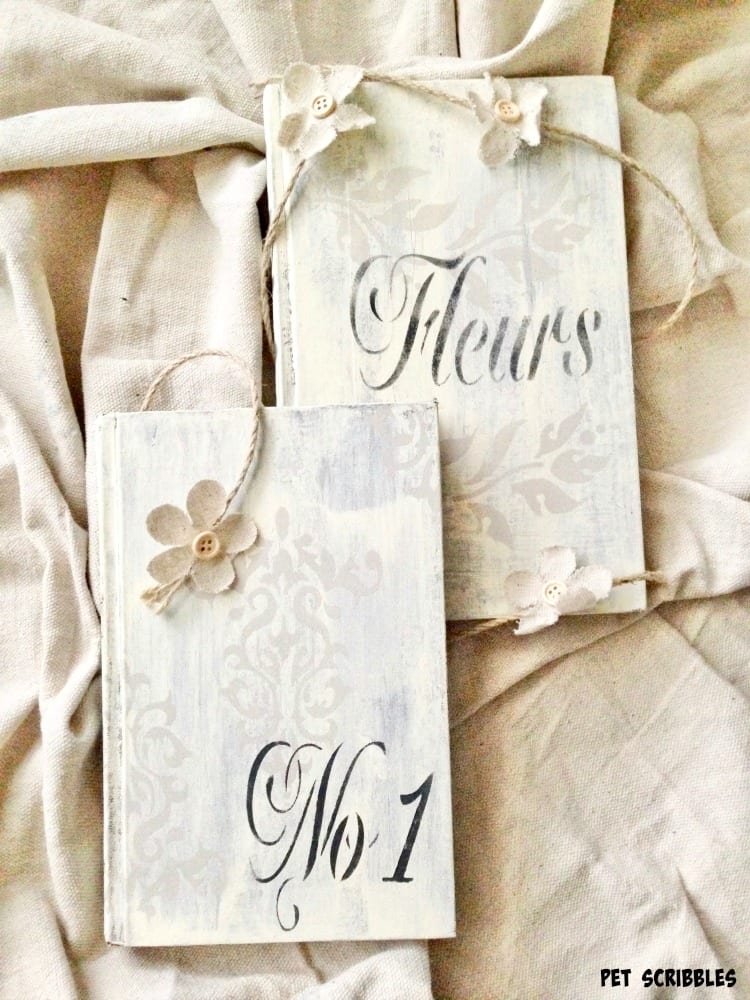
Stencil the French word “Fleurs” — meaning flowers — onto the front cover of the first book:
Then stencil the “No. 1” into the lower right corner of the other book:
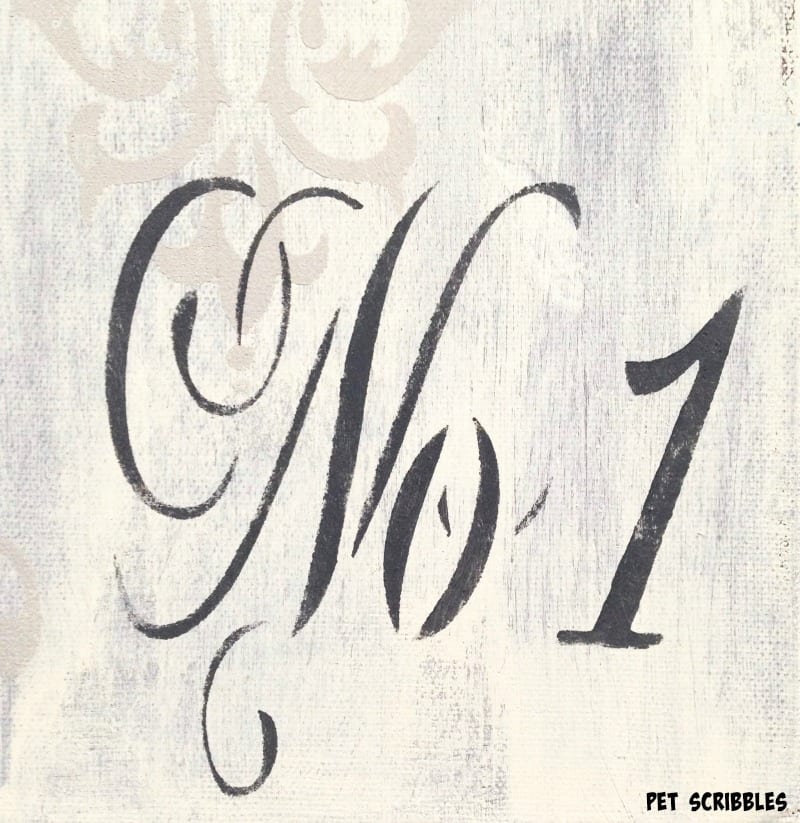
I used a much lighter hand when I stenciled the French word as compared to when I stenciled the number.
There was no particular reason for this, I just wanted to see how each one would look.
Finally, let everything dry well.
I love how these shabby painted books turned out!
Happy crafting!
An older version of this tutorial first appeared on Deja Vue Designs, when I was a craft contributor there. This tutorial has been completely updated for you here!
Loved shabby bookstutorial
Thank you Gayl!