This post is sponsored by Plaid Crafts via The Blueprint Social. I received materials for this project and compensation for my time, but as always: all opinions are most definitely my own!
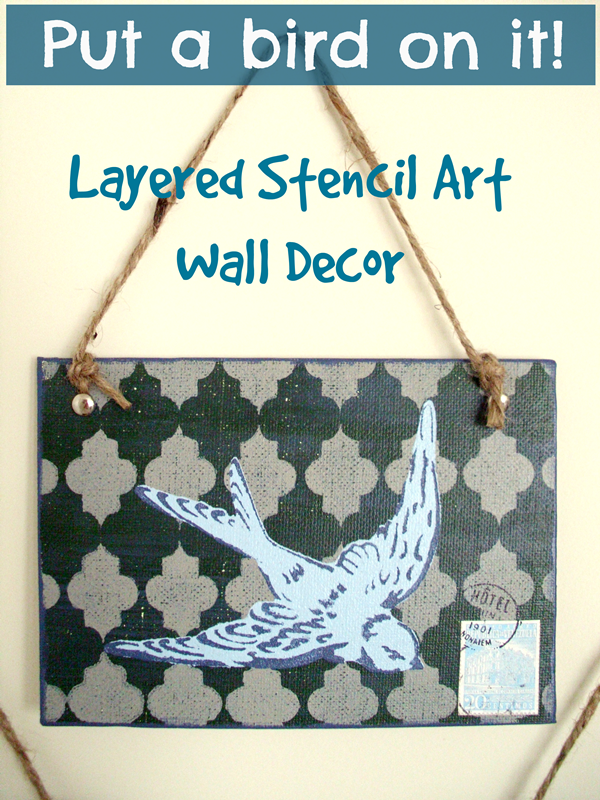
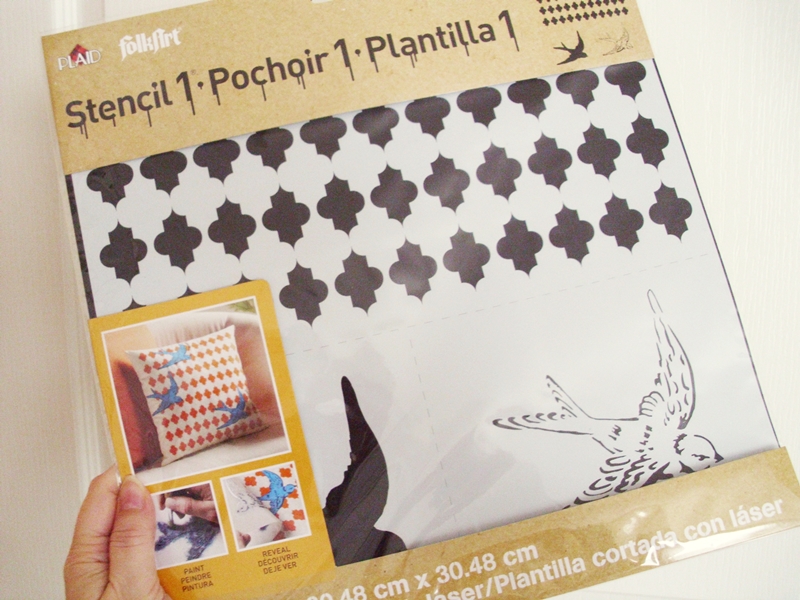
I have a fun project to share with you today: layered stencil art! It is easier than it sounds and you can trust me on that! You see, I thought layering stencil designs was difficult until I tried Ed Roth’s Stencil1 line from Plaid Crafts. The Stencil1 line includes all-over background stencils, large element stencils, and stencil sets which include a background, a silhouette stencil as well as a matching detail stencil to go over the stenciled silhouette image.
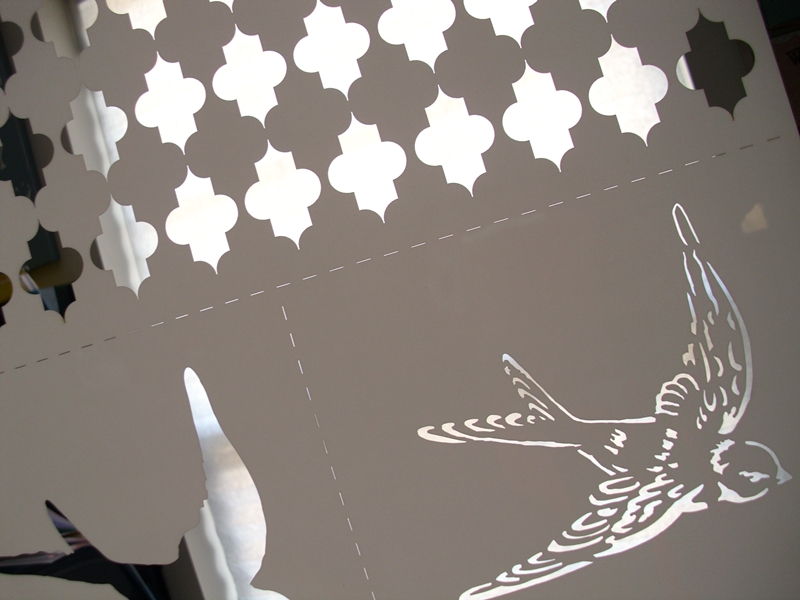
I tried out one of the stencil sets, simply called the Swallow Set, although I kept thinking of the funny phrase “Put a bird on it!” and so that’s what I’m calling this project! The stencils are connected together in the packaging, but are easily cut apart for ease of use.
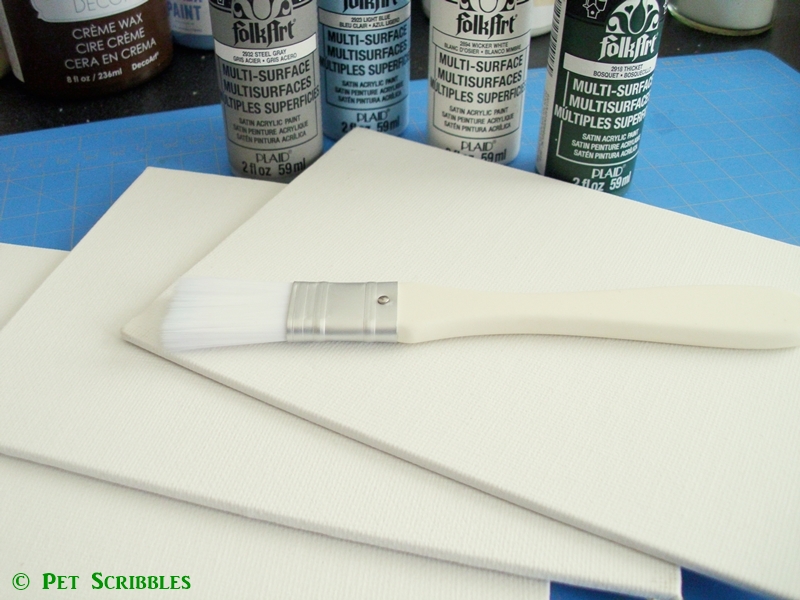
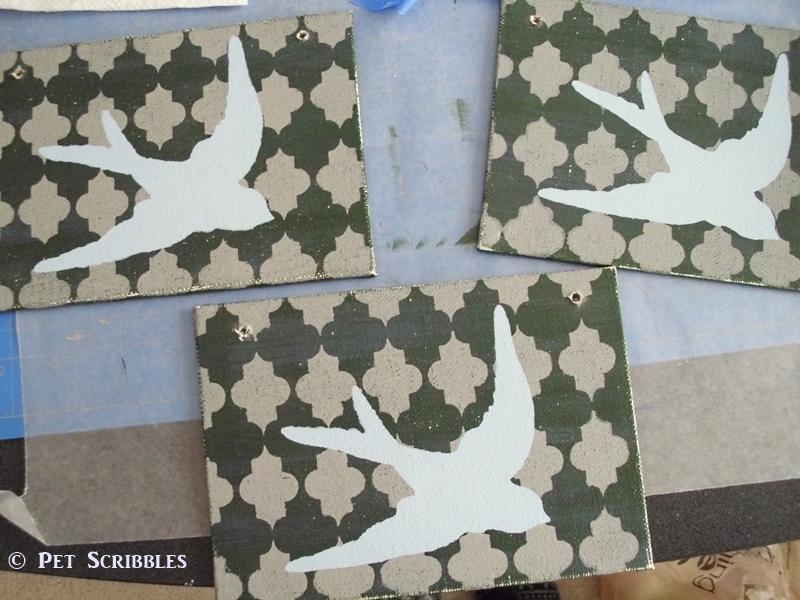
I decided to make a trio of 5 x 7 wall hangings using flat canvases from the craft store. Along with the stencil set, I used FolkArt Multi-Surface paints, which work on any surface including both indoor and outdoor projects. Multi-Surface paints also dry quickly, which really saves time!
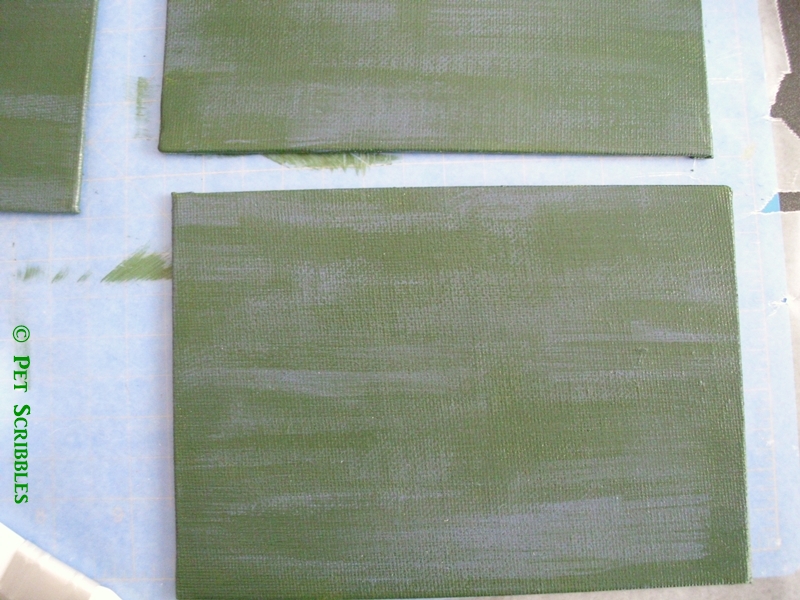
Step One: Paint a background color on each canvas. First I painted the canvases green and let them dry. Then I began to brush on a dark blue paint here and there, immediately wiping the paint back off with a paper towel. I added back a bit more of the green paint here and there to make all three canvases look similar.
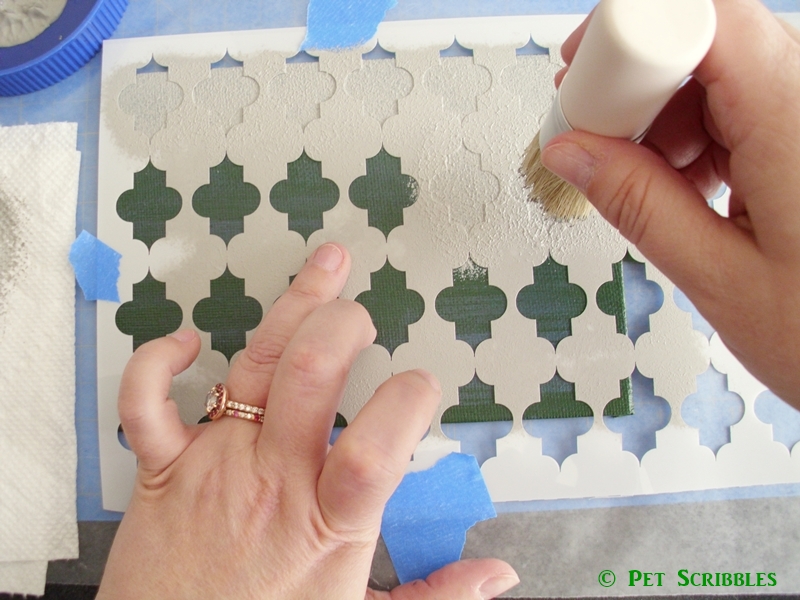
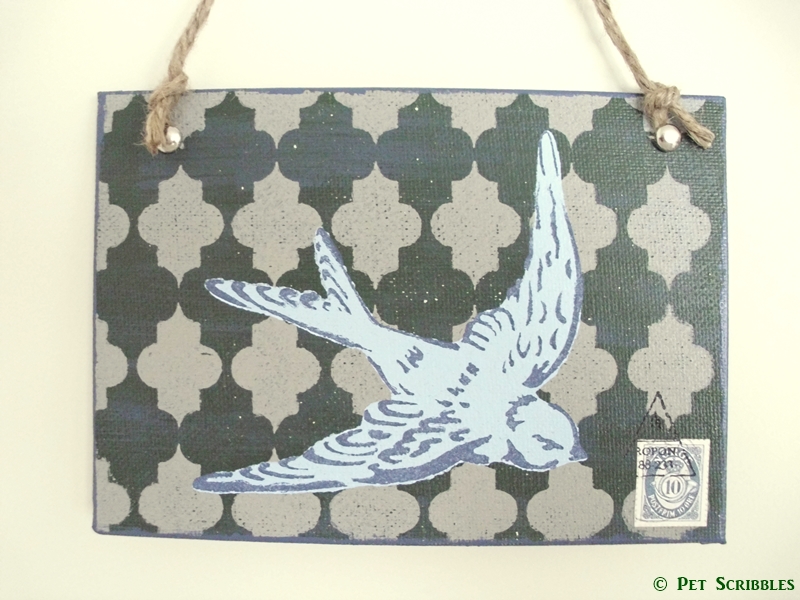
Step Two: Stencil the background design onto each canvas. I used a a light gray color for the background stencil. I lined up the stencil so that the design would continue beyond the edges of each canvas, then used painter’s tape to secure the stencil in place. Use a stencil brush and stencil away! Let dry. To learn how I stencil, you can read my blog post How to Stencil a Canvas Tote Bag as the technique is the same.
Step Three: Sand each canvas to make the background look a bit worn and weathered. Wipe off with a paper towel.
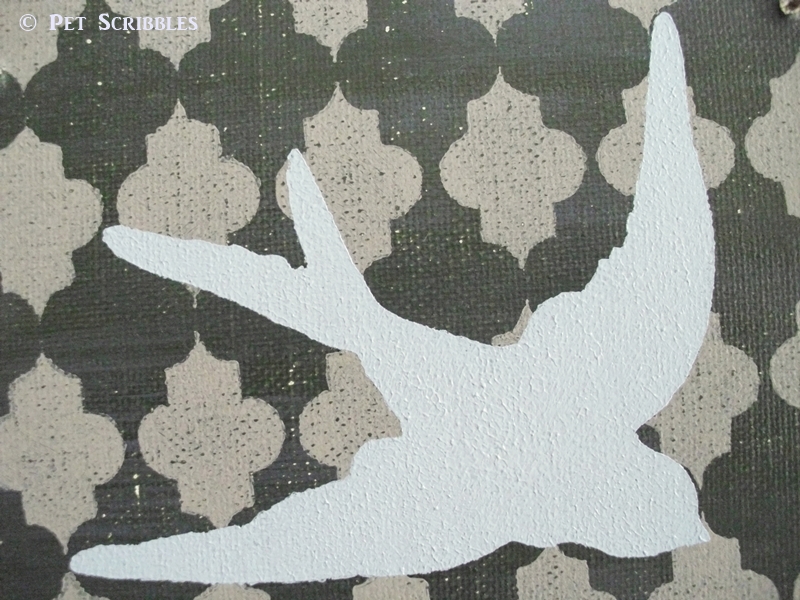
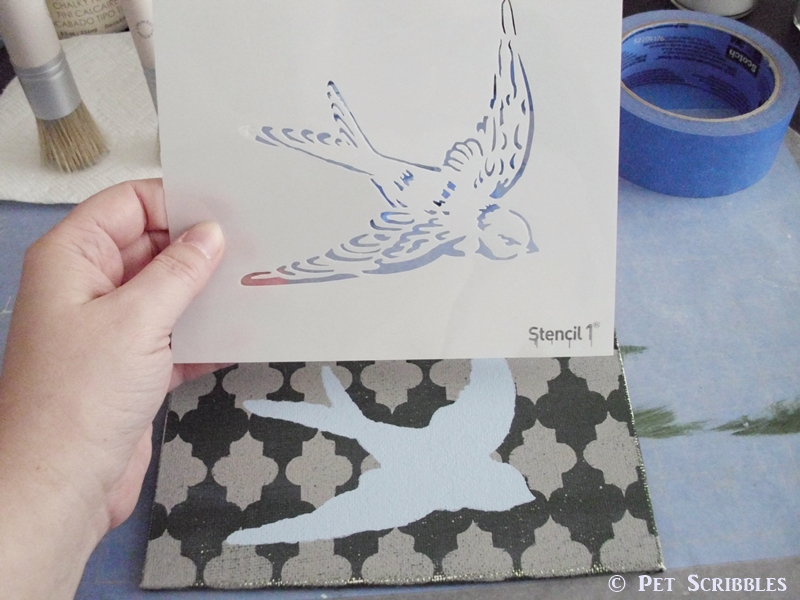
Step Four: Stencil the silhouette image over the background design. I positioned where I wanted the swallow to be on each canvas and secured the stencil with painter’s tape. I used a light blue for the silhouette image. Let dry.
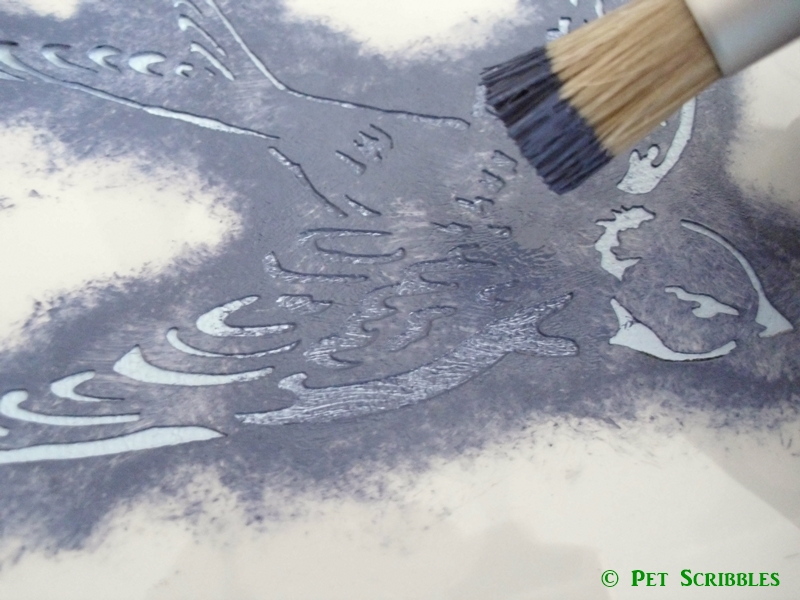
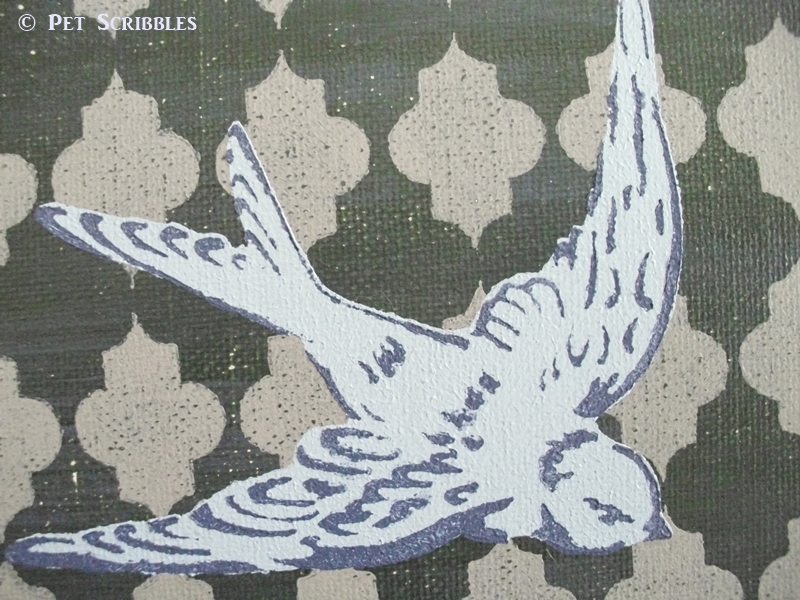
Step Five: Stencil the detailed image over the matching silhouette design. Again, I positioned this detailed image over the swallow silhouette and secured the stencil with painter’s tape.
I used the same darker blue that I used in Step One for the detailed stencil. Let dry.
These mylar stencils are easy to clean with soap and water and can be used again and again. I clean my stencils immediately after using, while I wait for each layer to dry.
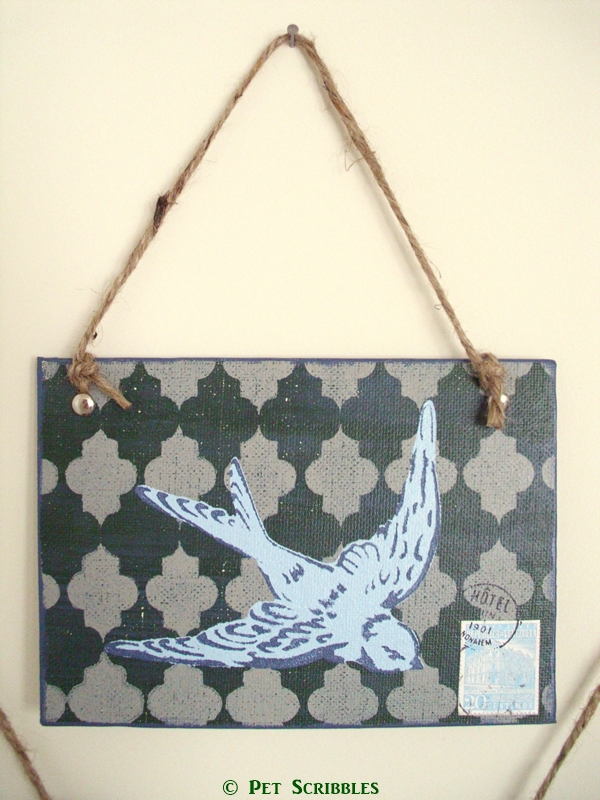
I love how the detailed stencil makes the swallow look as if it’s collaged onto the canvas, rather than a flat layered look. The darker blue paint also picks up the darker blue in the background.
Step Six: Paint the edges of each canvas in matching dark blue paint.
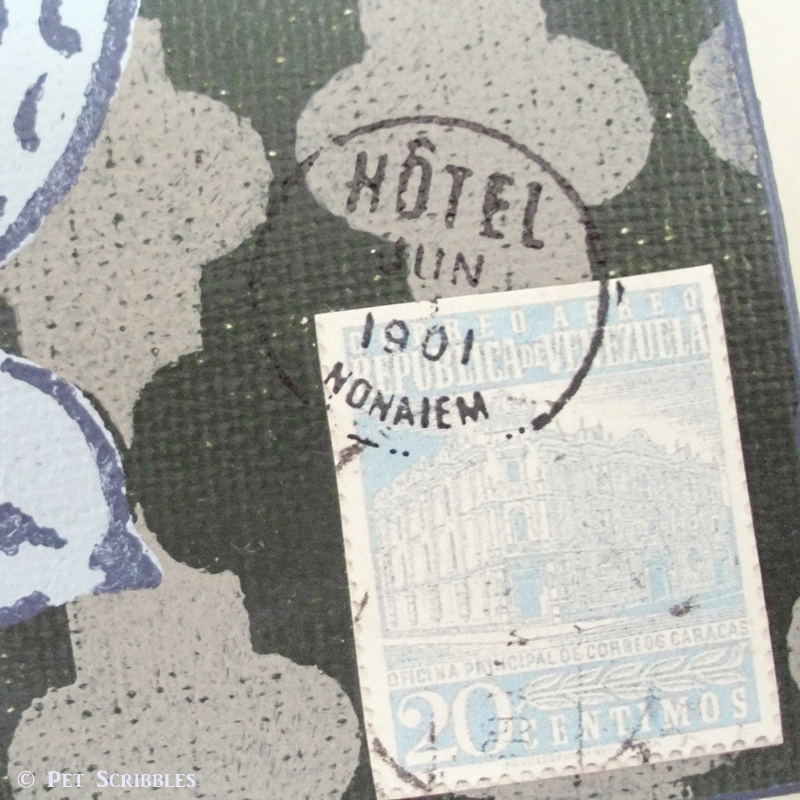
Final Steps: Collage a vintage postage stamp image onto each canvas using Mod Podge. Stamp a canceled postage image over each stamp using black ink.
Drill holes for hanging on the top left and right sides of each canvas. Measure out three equal lengths of twine and attach to the canvas using knots at each end. Attach silver brads through the holes in each canvas. Hang them up and enjoy!
You can check out the entire Ed Roth Stencil1 line at Plaid Crafts online.
And for more inspiration from Plaid Crafts, connect with them via their social media channels:
Pinterest ~ Facebook ~ Twitter ~ Instagram ~ YouTube
Happy stenciling!
~Laura

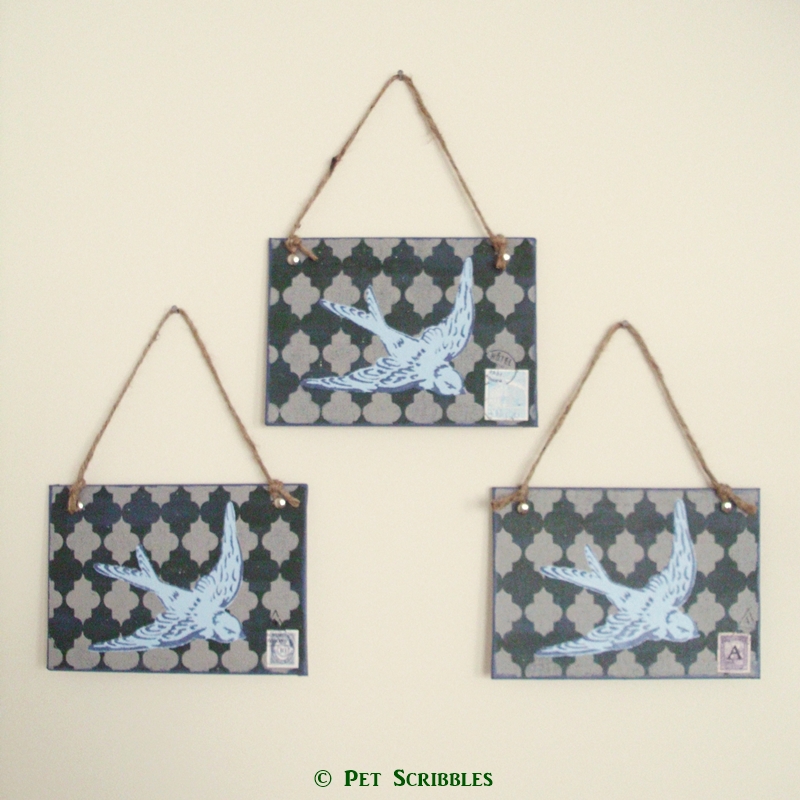
Laura, I think your wall art is lovely! The layers of stencil make it so pretty!
Thanks Jenny! Getting this look was SO easy with these stencils! 🙂
Laura, this is so pretty! The stencils go together so well!
Thanks Steph! That’s what I love about this set: how well the stencils work together!
I love how these layer over each it would make a great wallpaper!
You’re right Kelley! I’d love to try a layered stencil on a wall to make it look like wallpaper too!
Cool! I love the two-step stencil. So versatile!
Thanks Nicole! I definitely want to play with each ‘part’ of the swallow (bird) stencil separately too!
I am in love with these stencils! Anyone can be an artist using them. Your wall art is beautiful
Thanks Jeanie! And I agree: these stencils make it easy to look as talented as Ed Roth himself! 🙂 Well, almost… 😉
It’s gorgeous Laura! I am so excited to see all the cool stencils in this new line!
Thanks Malia! Yes, the complete line has something for everyone!
So many stencils, so little time! Love the layering 😉
Thanks Kelly! And I love your quote – it should be stenciled on something! LOL
How stunning, Laura! One of the canvases hung by itself would have been lovely, but your grouping of three really makes an impact!
Once I move, I’m going to have to check out Multi-Surface paints… I love the ivory at the top and can’t believe how well it covered the canvas. I’ve never worked on a paint-related project before, so I’m still a long way from using stencils,: ( but I’d love to try my hand at painting small canvases and Mod Podging fabric cut-outs on them. Thank you for the introduction to the paints and, yes, even the stencils–I’ll get there eventually! xoxo
I really like the layering … such a neat look!
I do too, Randi! The layering is what I think makes “playing” with these stencils so much fun! (It definitely feels like playtime, especially with the awesome results!)
I love the layered look of your DIY – sooo pretty!
Thank you Heather! Glad you love the layering effect! 🙂
Love how these turned out Laura. Featuring them when my link party opens up tonight.
You just made my week, my friend! Thanks SO much for including them among such amazing features at your link party – which is one of my most favorite link parties on the planet! Thanks Carol!